pies and tarts

A Dozen Pumpkin Recipes from Willow Bird Baking

My pumpkin craze is far from over, y’all. Just a fair warning.

The pumpkin shortage over the past two seasons must have really scarred me, because it seems like every time I pass a display I pick up a couple more cans. I don’t mind; my pumpkin stash has come in handy plenty o’ times. Here are a few of my favorite pumpkin recipes, hand-picked to be perfect for your Thanksgiving meal. Enjoy!

1. Jack O’ Lantern Whoopie Pies
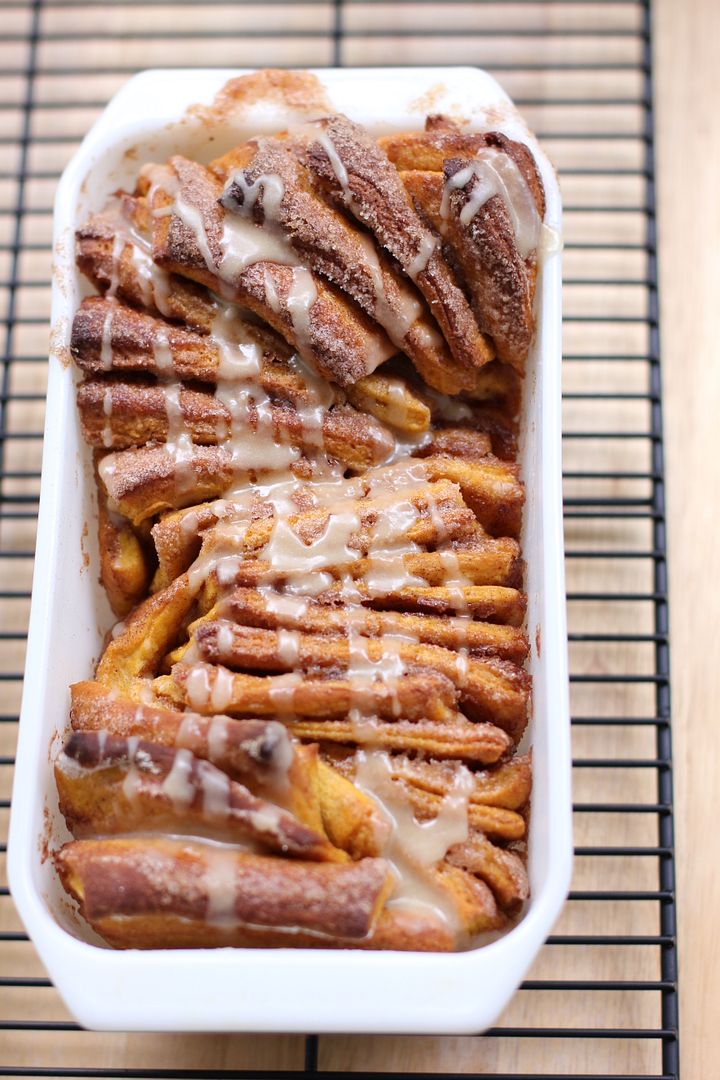
2. Pumpkin Spice Pull Apart Bread with Butter Rum Glaze
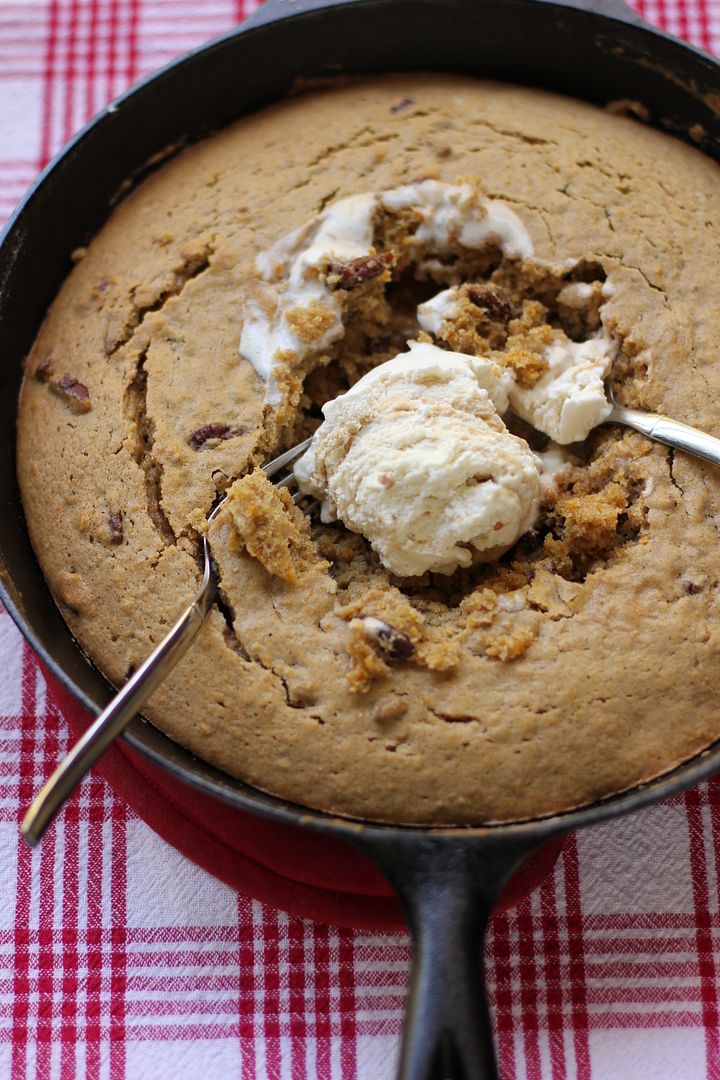
3. One-Skillet Gooey Pumpkin Cookie Cake

4. Mini Pumpkin Pies
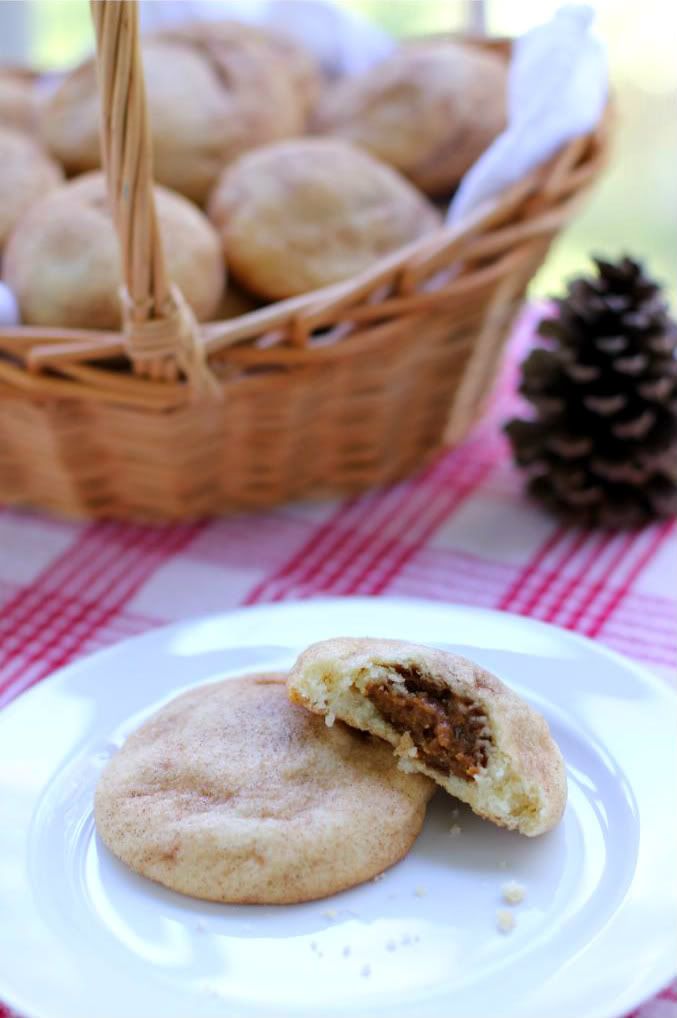
5. Pumpkin Cheesecake Stuffed Snickerdoodles
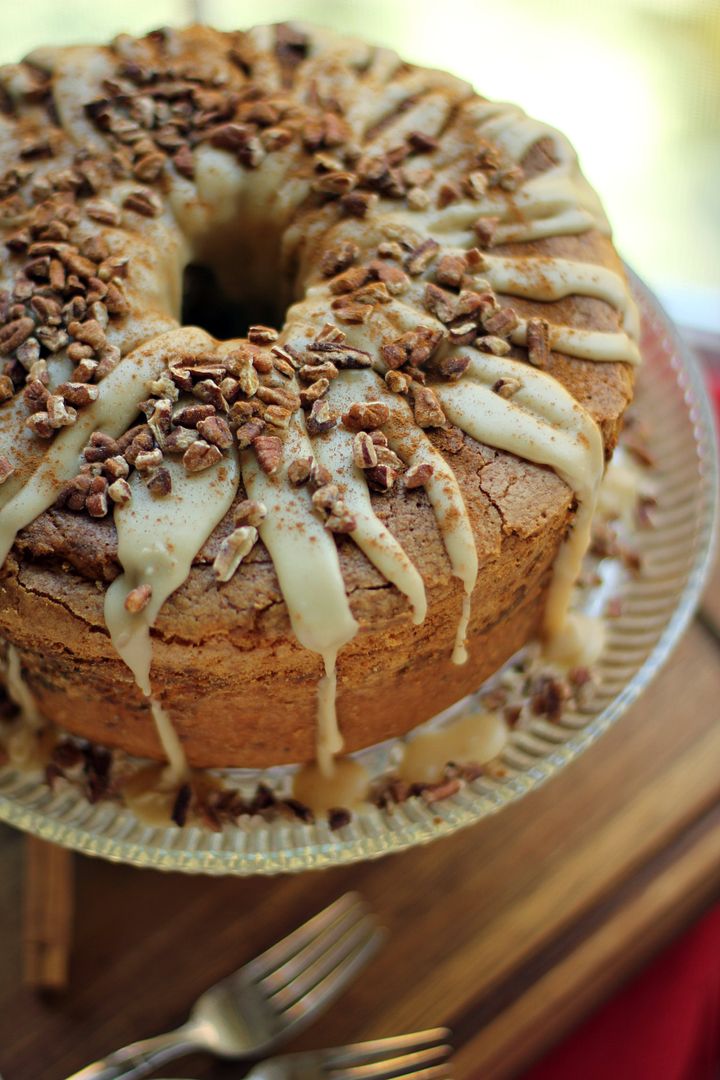
6. Pumpkin Streusel Swirled Cream Cheese Pound Cake

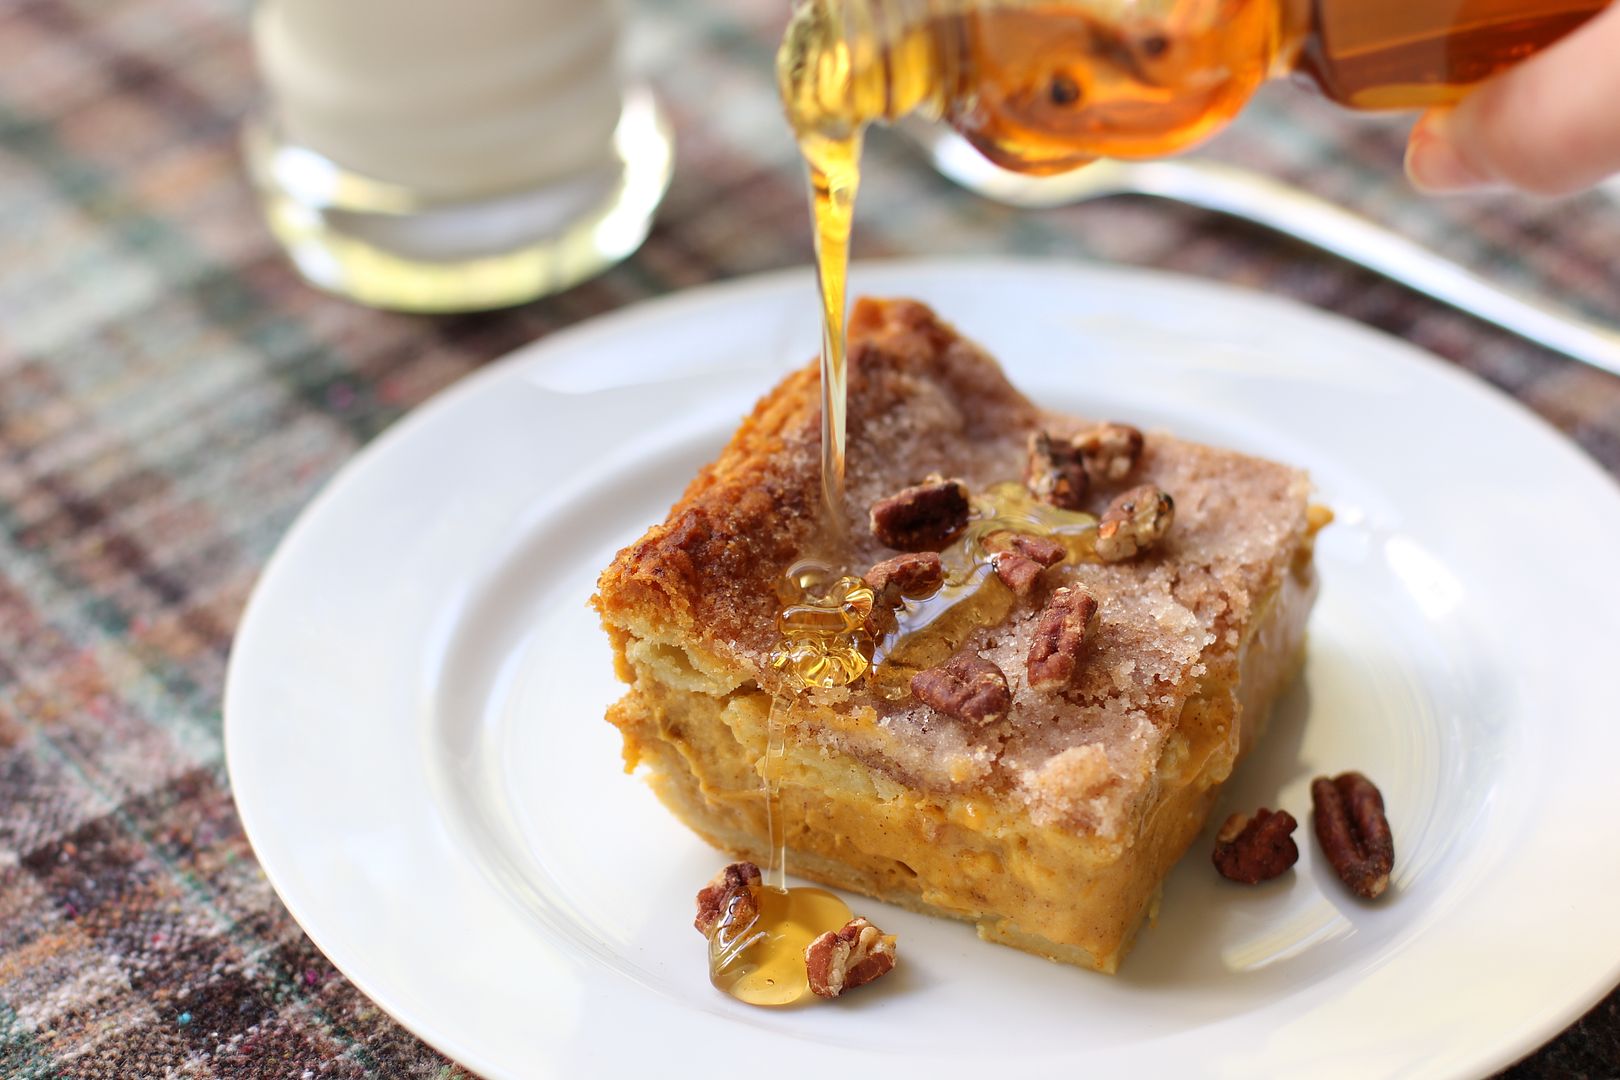
7. Pumpkin Cheesecake Bread Pudding
8. Vegan Pumpkin Nut Bread
9. Easy Sopapilla Pumpkin Cheesecake Bars

10. Chocolate Pumpkin Truffles
11. Pumpkin Pecan Streusel Breakfast Braid
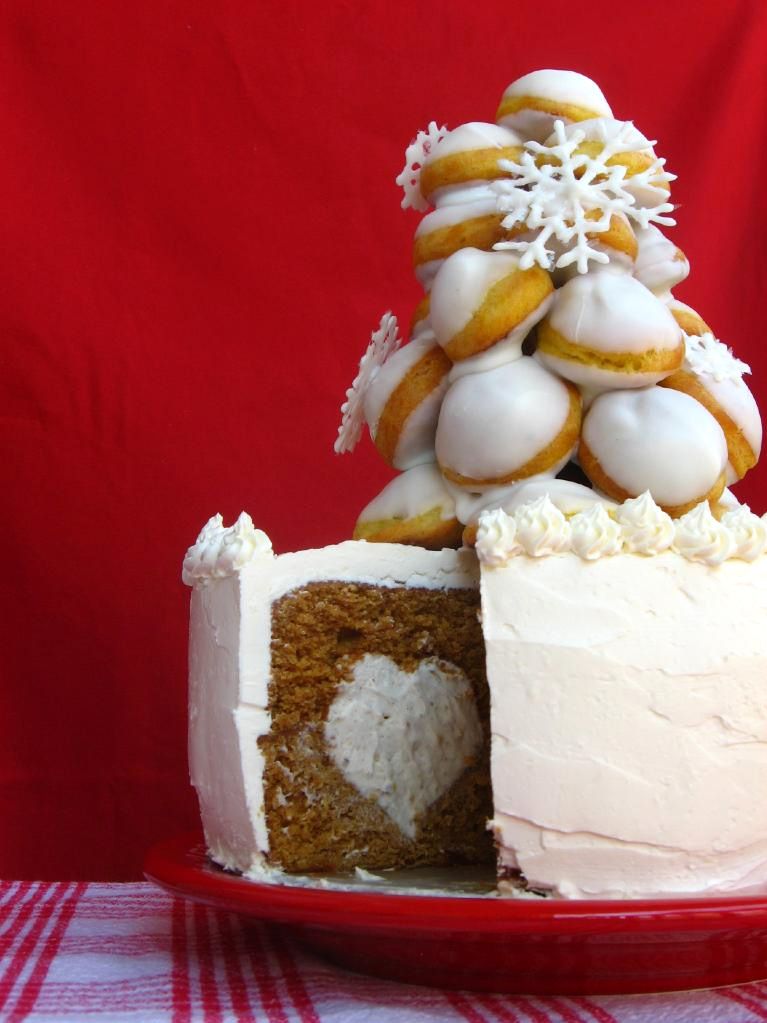
12. Browned Butter Pumpkin Croquemcake with White Chocolate Chai Mousse

…and you guys know there’s more where that came from. Pumpkin and I are BFFs.

If you liked this post, please:
Subscribe to Willow Bird Baking
Follow Willow Bird Baking on Twitter
Follow Willow Bird Baking on Facebook
Give this post a thumbs up on StumbleUpon
Pin It


ShareOther ways to share this post with friends!

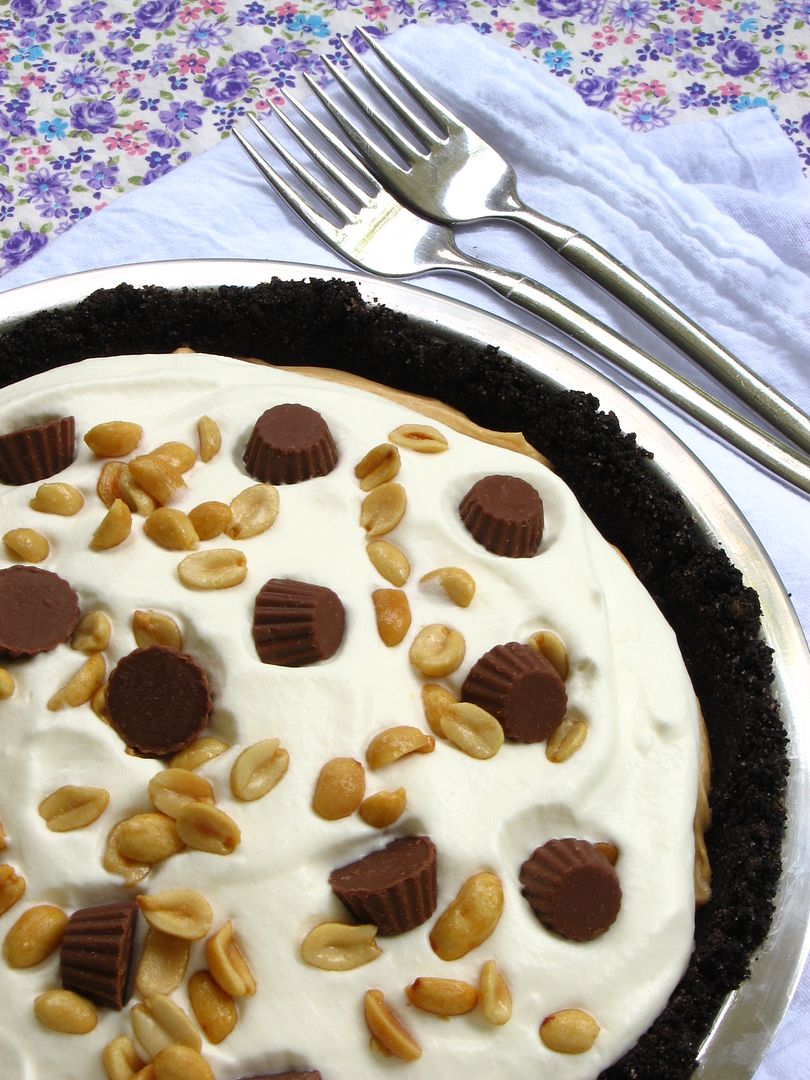
Peanut Butter Pie for Mikey, and for Dad

I was a little girl, maybe 8 years old. My sisters and I were sitting at the breakfast table, bowls of cereal in front of each of us. My dad sat across from us waiting to brush my hair into a tail and clip one of my bows on it before shepherding us off to school.

I’d slept the whole night enveloped in my pink-and-blue quilt under pink-and-white striped wallpaper with a rose border halfway up, unaware of anything wrong in the world. None of my army of teddy bears and dolls had murmured a warning of danger. I didn’t have a gut feeling worthy of a sappy novel. But at breakfast, Dad surprised us all by saying, “I went to the emergency room last night; I thought I was having a heart attack.”

You would have to know me — like, really, really know me — to understand how I reacted. You’d have to know that I firmly believe that my dad is the best man besides Jesus Himself to have ever lived. You’d have to know that by the time I was 8, I’d already started fretting about his mortality. That I’d already started praying that he’d live forever — and not just in the spiritual sense that I now recognize is more valuable. His soul living forever didn’t amount to enough to my 8-year-old heart.

If you knew all that, you wouldn’t be surprised that I cried tears of shock and asked every question I could think to ask. It turns out that Dad (who has always worked two or three jobs to take care of our family) was actually feeling pains from an ulcer, not from a heart attack. I thanked God.

I also thanked God years later when my dad was safely out of surgery for prostate cancer. I also thanked God when my dad finished the radiation treatments for said cancer. I can’t even tell you how I thanked God when we found that, finally, his cancer was gone completely. And I thank God on my knees every time we get new tests that show that, yes, it’s still gone.

Last week I read Jennie’s post, as so many of us did, and saw that she had suddenly lost her husband of 16 years. Just like that. One morning everything’s as it should be and the next, the world has a surreal, devastating new landscape. My heart was crushed for her and her little girls.

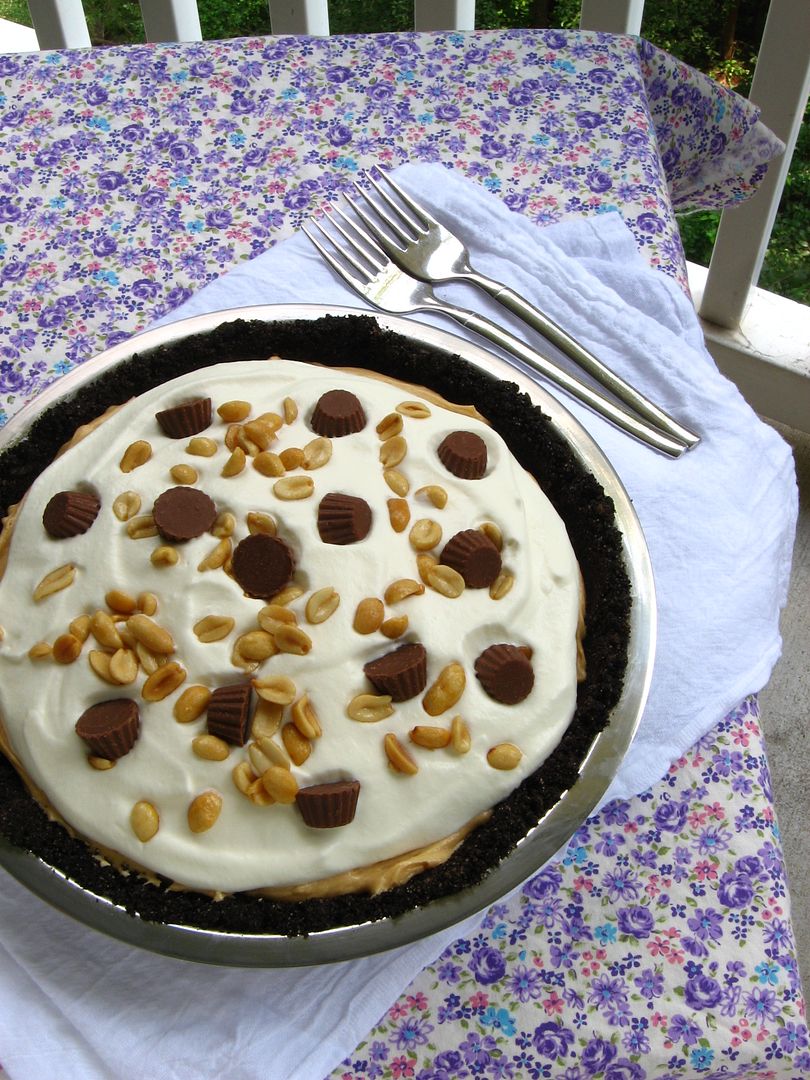
This week, when I thanked God to celebrate my Dad’s 60th year in the world, I knew I wanted to make a peanut butter pie. I wanted to make a virtual hug for Jennie and her family, a memorial pie for Mikey, a token of love for my family, a birthday pie for my dad.

Remember what’s important, y’all.

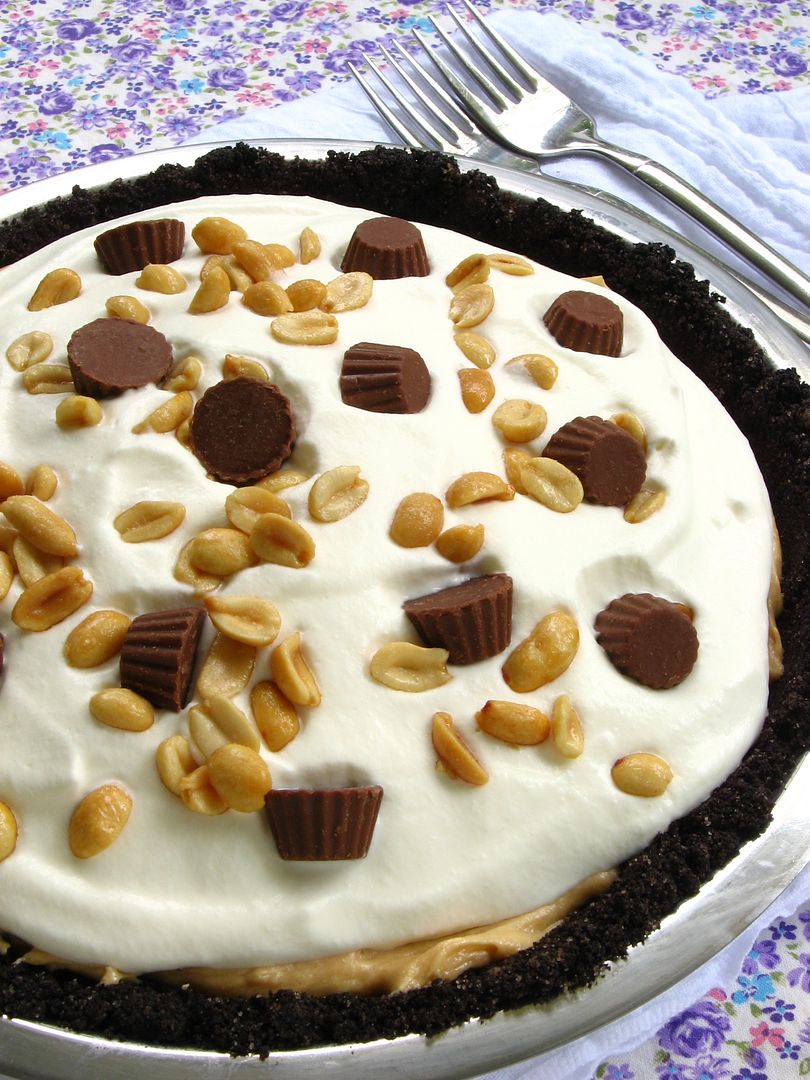
Almost No-Bake Peanut Butter Pie


Recipe by: Adapted from All-Recipes
Yields: about 8-10 slices

Pie Ingredients:
1 1/4 cups chocolate sandwich cookie crumbs (just grind ’em up, cream and all)
1/4 cup butter, melted
1 (8 ounce) package cream cheese, softened
1 cup creamy peanut butter
3/4 cup white sugar
1 tablespoon unsalted butter, softened
1 teaspoon vanilla extract
1 cup heavy whipping cream

Whipped Cream Ingredients:
2 cups heavy whipping cream
4 tablespoons confectioners’ sugar
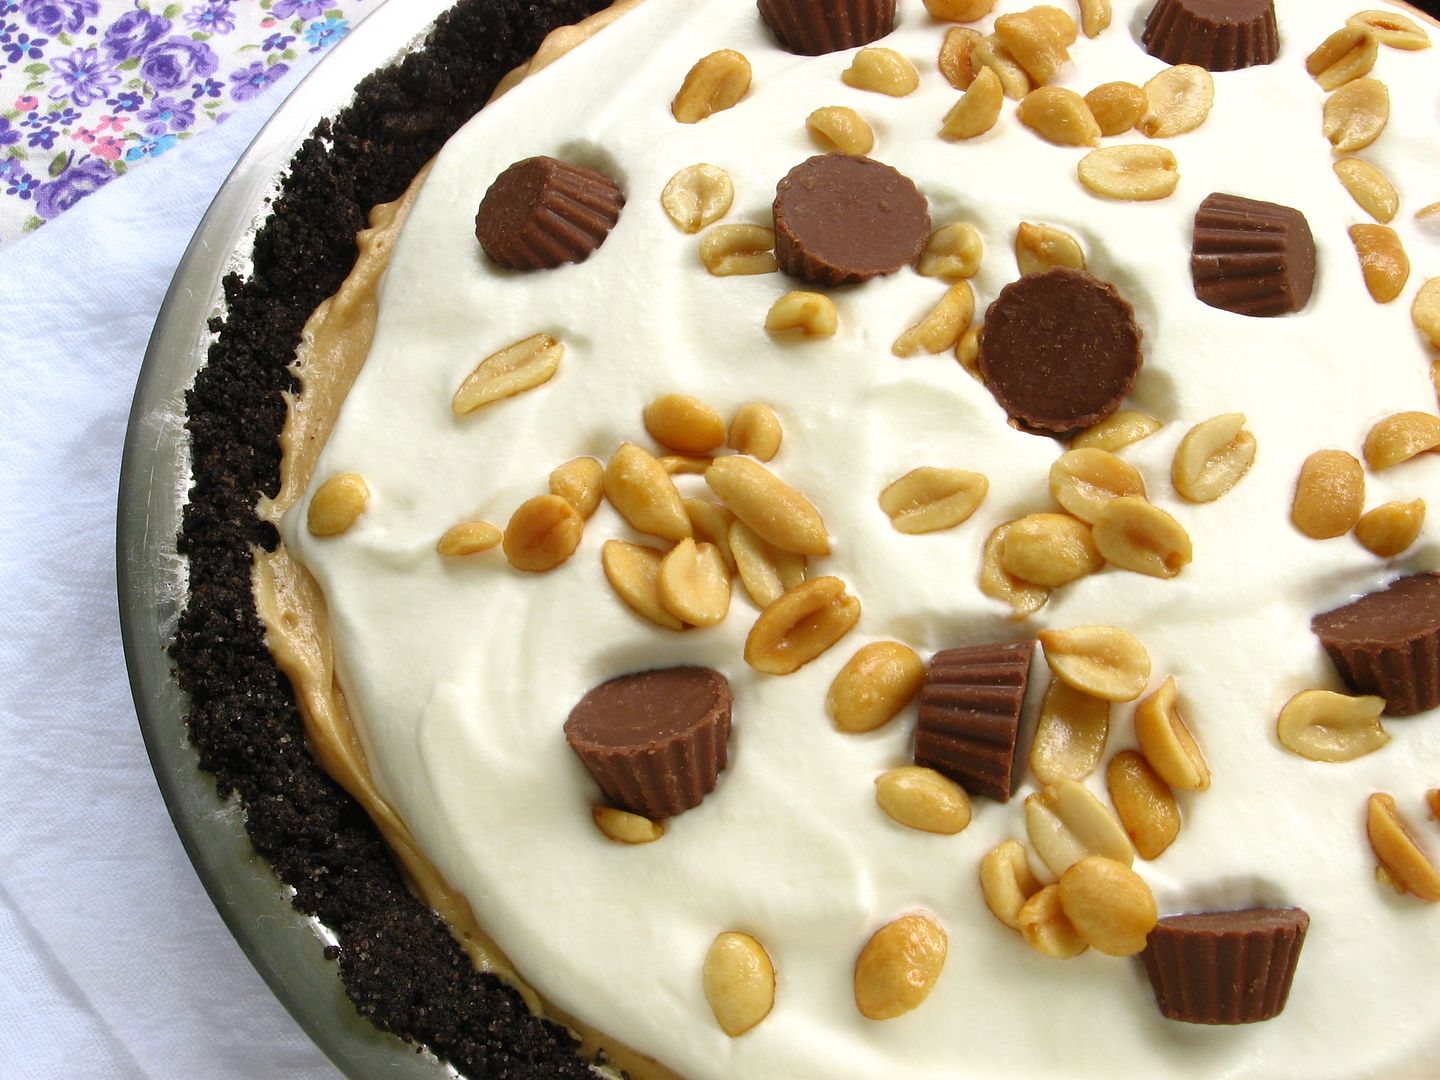
peanuts and/or mini peanut butter cups for garnish (optional)

Directions:
Preheat oven to 375 degrees F. Combine the cookie crumbs and melted butter with a fork and press into a 9-inch pie plate. Spend a few minutes working on it to make sure there aren’t gaps and that it’s a thin layer (I had to discard some of my cookie crumbs because 1 1/4 cups turned out to be a bit too much for my pie plate). Bake for 10 minutes. Cool completely.

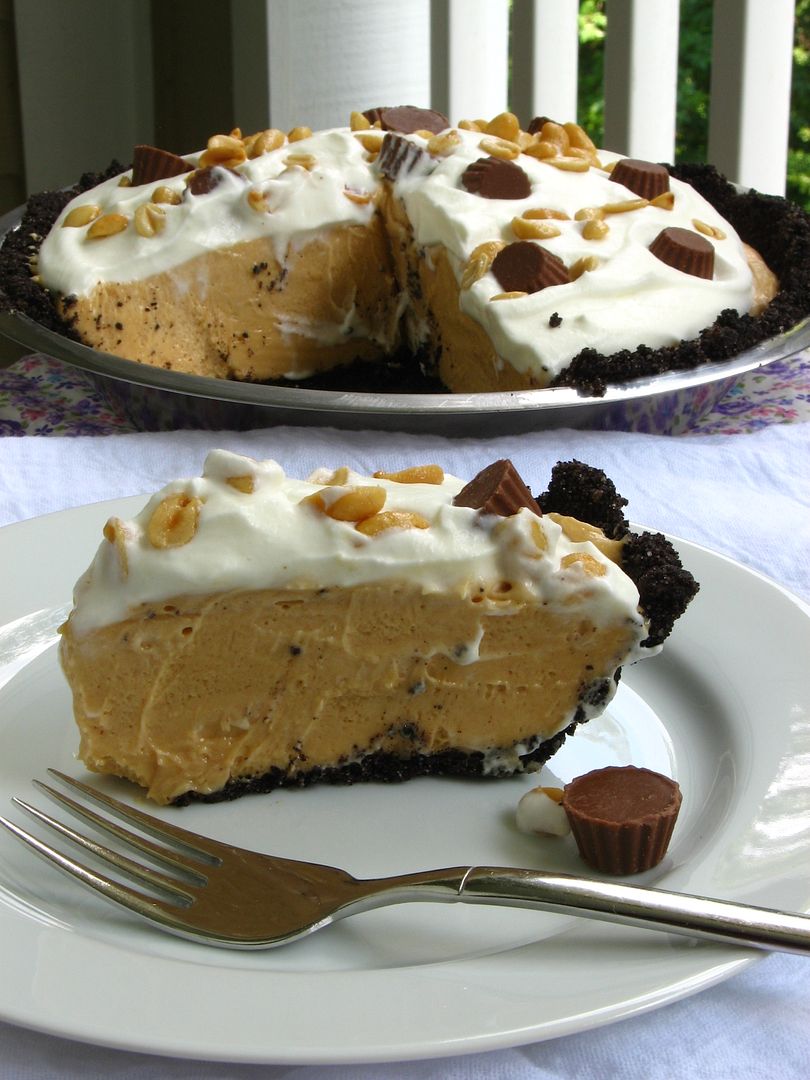
In a large mixing bowl, beat the cream cheese, peanut butter, sugar, butter, and vanilla until smooth. Whip the cream to soft peaks. Stir 1/3 of the cream into the peanut butter mixture to lighten it up, then gently fold the rest of it in. Gently spoon the filling into your crust and use an offset spatula or the back of a spoon to smooth it out. Chill this for a few hours.

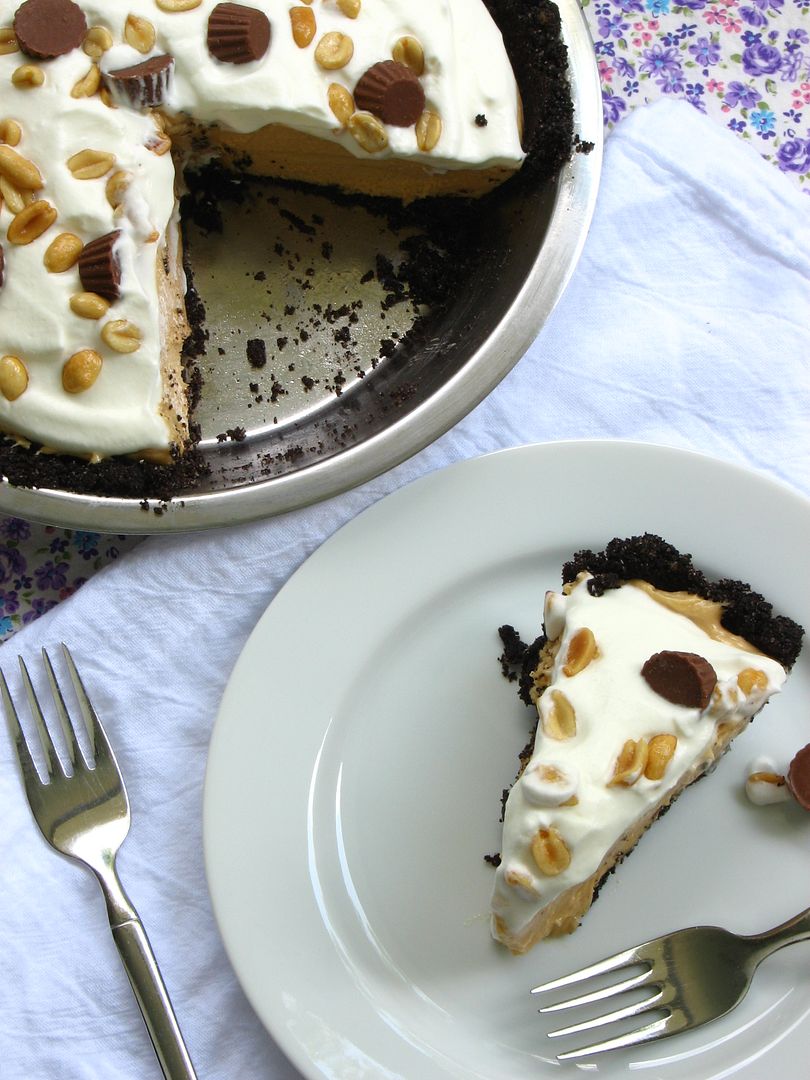
To make whipped cream, whip cream and confectioners’ sugar together until you reach soft peaks. Spoon this over your peanut butter pie and top with peanuts and mini peanut butter cups for garnish, if desired. Serve immediately.

P.S. Are you thinking up your own filled cupcake for the Willow Bird Baking Cupcake Challenge? Bake your creation and email photos to juruble ‘at’ gmail.com by Wednesday, September 7, 2011. I’ll feature your cupcake on WBB! Find more details and some cupcake inspiration here.

If you liked this post, please:
Subscribe to Willow Bird Baking
Follow Willow Bird Baking on Twitter
Follow Willow Bird Baking on Facebook
Give this post a thumbs up on StumbleUpon


ShareOther ways to share this post with friends!

Itsy Bitsy Berry Cream Pies

It happens every year. Early in the springtime, the Sunday comes when I find a neon card tucked inside of my church bulletin, scrounge around in my purse for a pen, and scrawl out some contact information. I drop the card in the jar in the lobby on my way out. I wait for the email telling me where to come for training, inevitably miss training, go to the makeup training. Finally, it’s the first night of Vacation Bible School. I try to find some fun earrings to wear (for some reason, fun earrings have always struck me as a key tool in childcare), and head over to the church.
Last year there was a ranch theme, so every night was spent air-lassoing imaginary animals, tipping our imaginary cowperson hats, conducting chili tastings (I couldn’t make this stuff up), playing with ranch paraphernalia foreign to many of those city kids, and hearing stories about Jesus.

I took great delight in dancing and singing wholeheartedly during worship while all of my third grade charges stared, trying to decide whether I was cool or embarrassing. No comment on their verdict. But we all had a lot of fun.
One of the boys last year (I’ll call him John) stood out to me from the first night. He was subdued, and his freckled face wore the same blank expression no matter what the activity. He seemed guarded, like he had already reached the stage where he wasn’t sure if it was still cool to have fun.
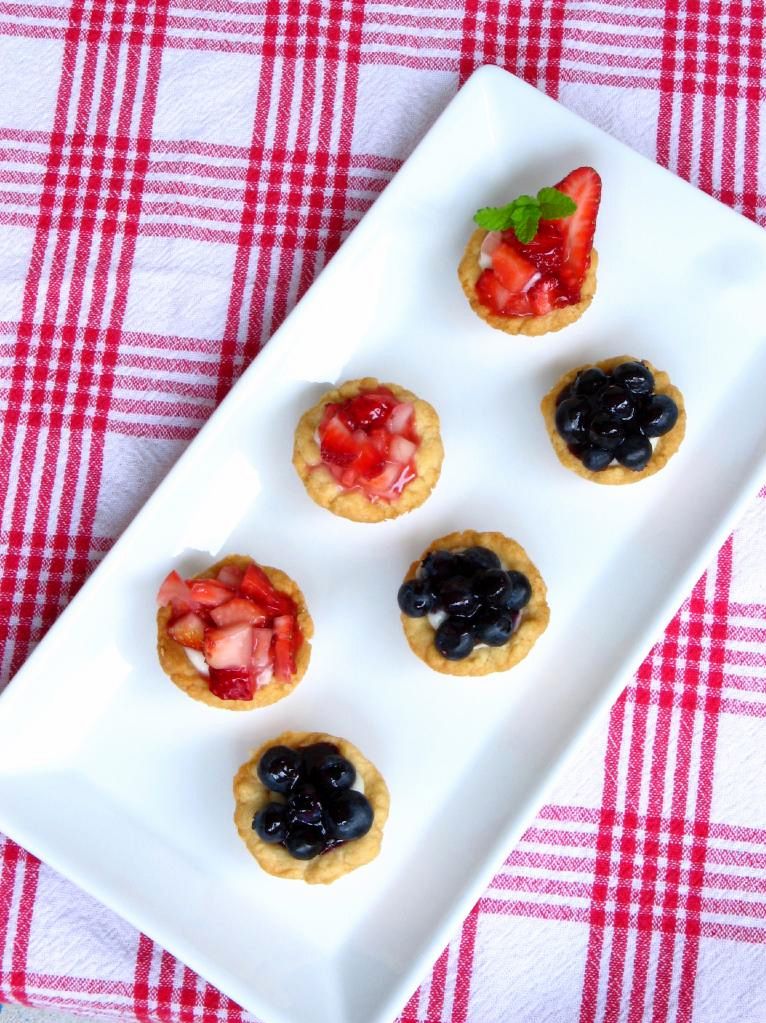
In music class, though, he was different. The music teacher (I’ll call him Mr. Maestro) had a wry sense of humor that John responded to right away. As a result, John would chirrup witty responses to Mr. Maestro’s questions and call out periodically in class. The interruptions were sometimes too frequent, and I could tell by the edge in Mr. Maestro’s voice that he thought John was a bit of a troublemaker. I knew John was actually very sweet, but I wasn’t concerned, since Mr. Maestro was never unfair, just firm.

As an aside, trying not to peg students as “the troublemaker” or “the clown” or “the slacker” is a constant, noble effort of good teachers everywhere. Kids are so dynamic, and most of them truly want to please the adults around them; for this reason, it’s vital to continually give them a fresh slate and the opportunity to remake themselves. That doesn’t mean it’s not a struggle.
On the very last day in music class, Mr. Maestro made a lovely point about helping others. In response, John began enthusiastically, “I sometimes help my mom!” Before he could continue, Mr. Maestro responded, “Oh, do you? That’s nice,” to cut him off at the pass and get on with the lesson. Something turned over in my heart as I watched John disappointedly release the breath with which he had hoped to tell his story.

Before you judge Mr. Maestro too harshly, please think back to a time when you’ve been interrupted repeatedly by a child eager to tell a story. It can be taxing. Some days in my own class, I feel like 75% of my job is shutting down off-topic story telling. Some of those stories were about So-and-so’s sister who ate half a gluestick, but some of them were probably truly charming, edifying additions to our class. We just don’t always have the time. I just don’t always have the energy. We’re all human.

Nevertheless that night, seeing John’s crestfallen face and remembering the emphasis in VBS training on listening to every child, I was determined to do something.
Back downstairs at worship at the end of the night, I was worried John would have long since forgotten his story. I screamed over the din of about a bajillion hyper children and the ecstatic worship music, “John, what was that you were saying about helping your mom?”

The way his face immediately lit up touched my heart; sure enough, this was a special story to him. He explained that his mom was sick and very tired, and so he sometimes swept the floor or did the dishes. With childlike sincerity, he revealed that he was glad he got to serve her.

I could tell he was thankful to share his story, but I was beyond thankful to hear it. It was a moment when God reminded me again (He does so often) that my job is to love Him with all of my heart, mind, and soul, and to love others just as much as I love myself.
Vacation Bible School started up again this week, and while John isn’t in my class this year, I do have more than 20 fourth graders to lead. And you’d better believe I’m doing a ton of listening! So far I’ve heard about video games, making homemade ice cream, a dying grandfather, a new baby sister, and baseball. What serious, funny, sad, crazy, and important things they have to say!

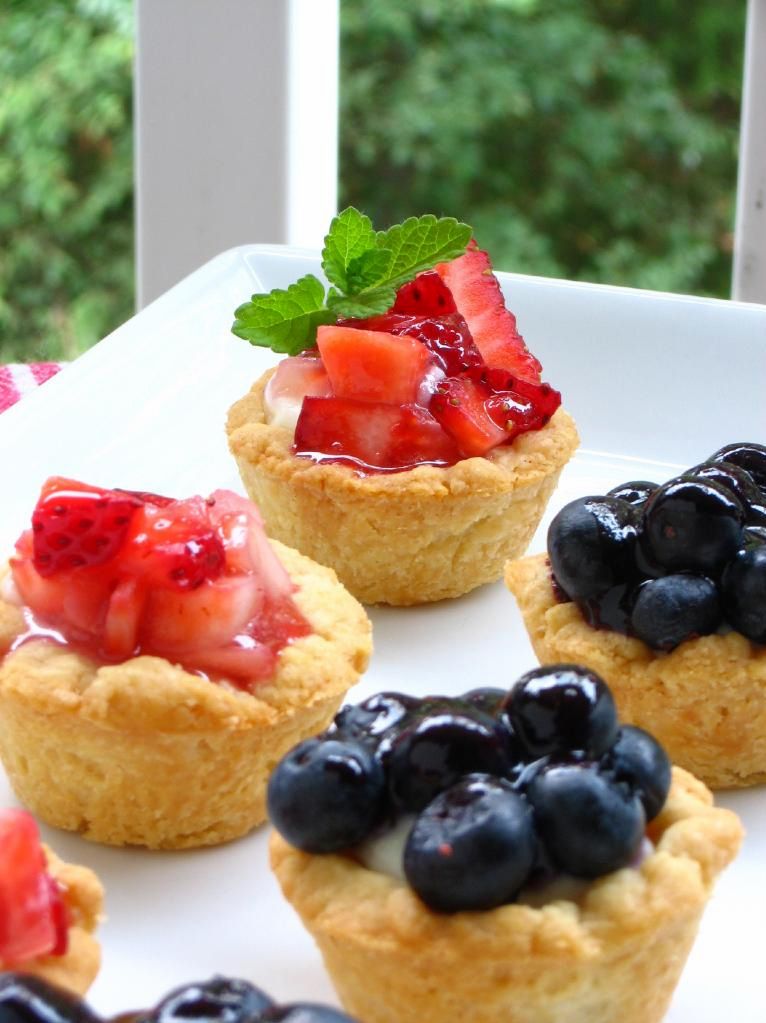
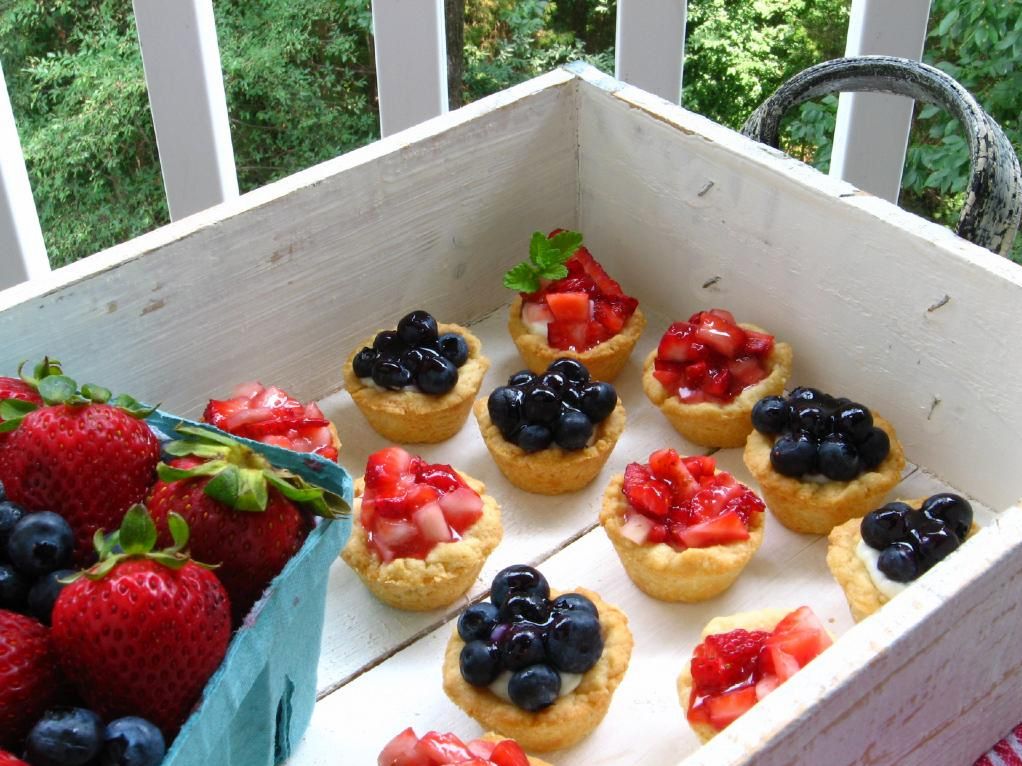
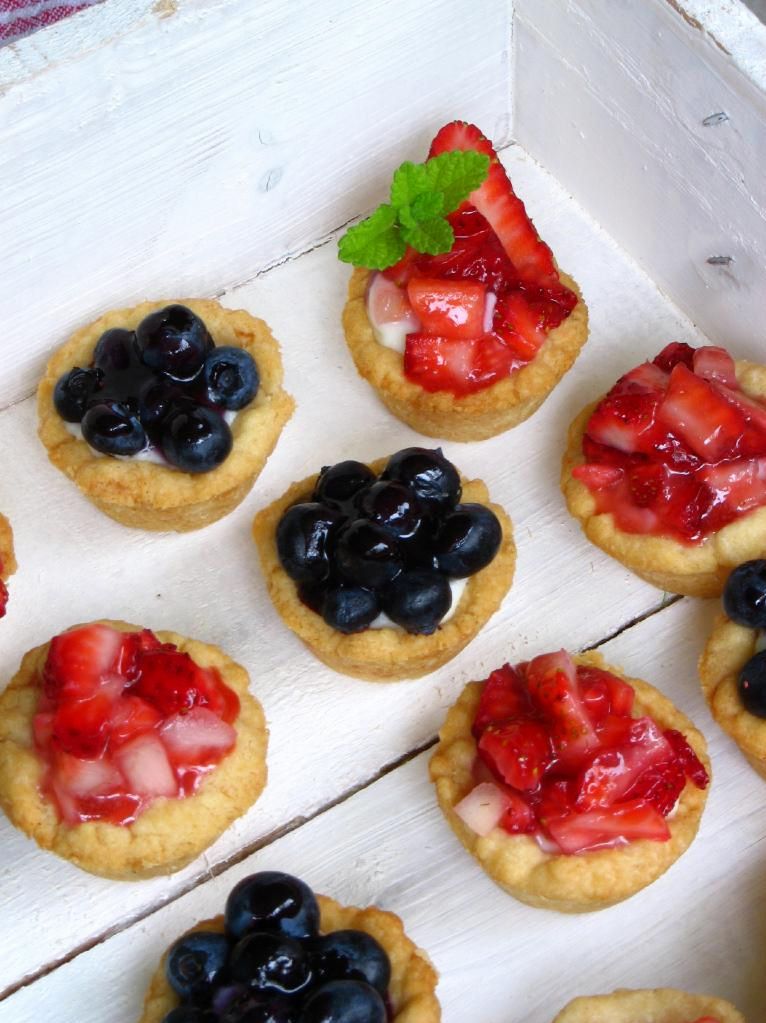
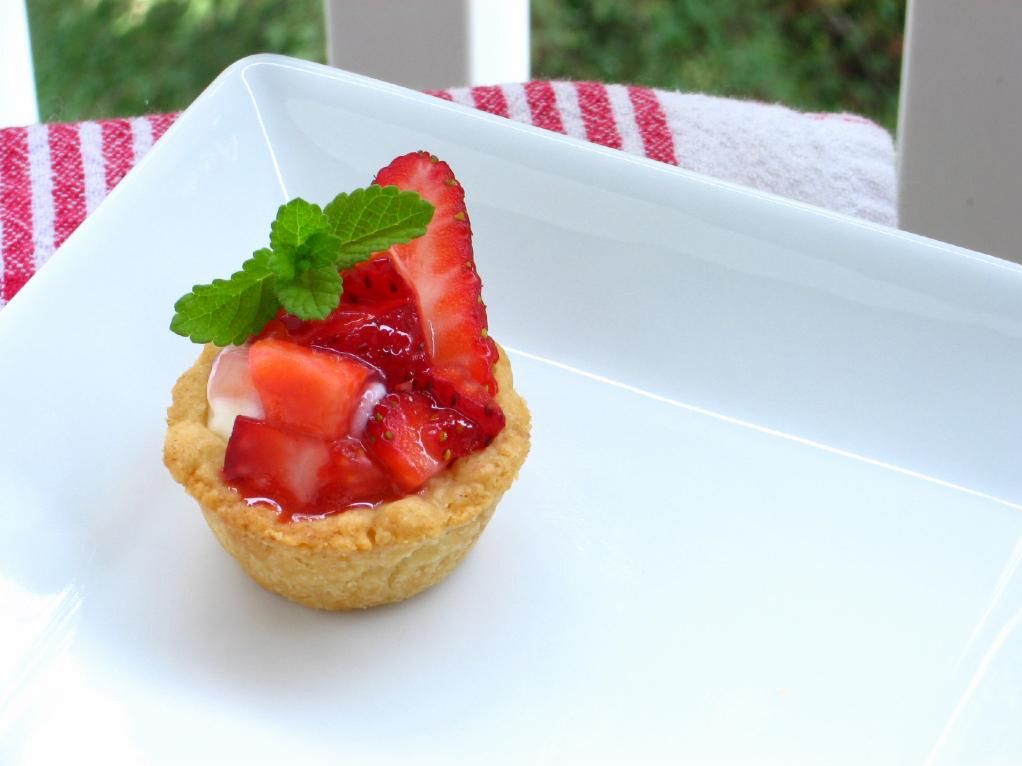
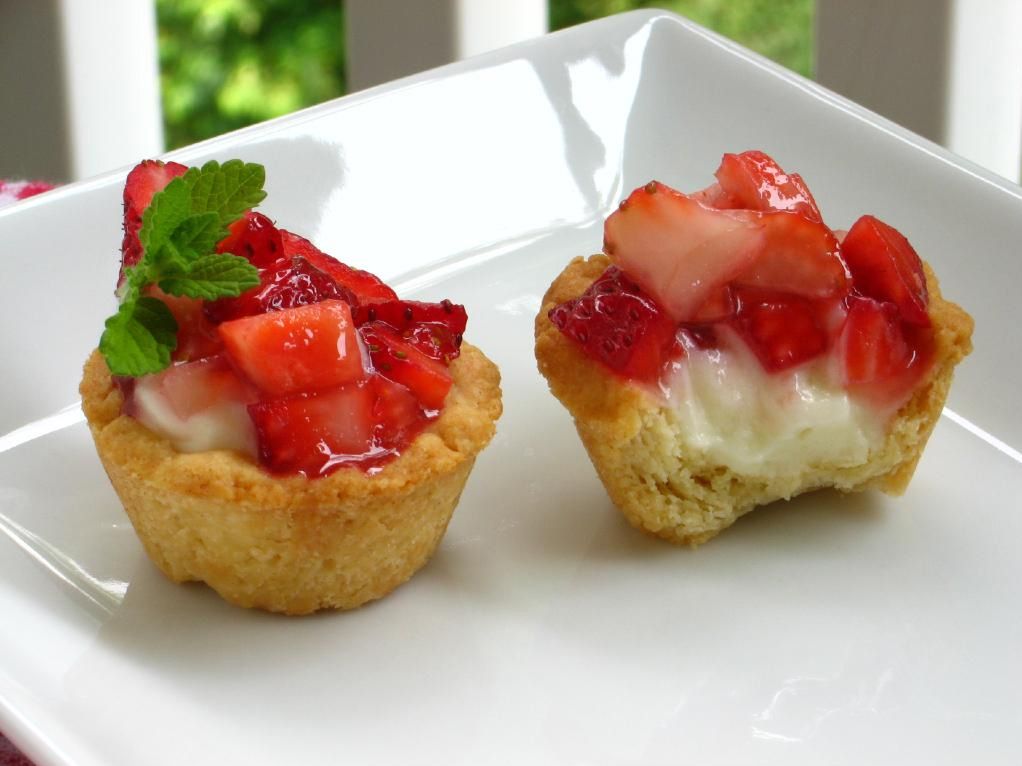
So, in honor of all of those sweet little ones, here are some sweet little pies! I loved my Aunt Pat’s Strawberry Cream Pie so much that I decided to make it in miniature — and in blueberry! These little pies are bright, fresh, and creamy in addition to being adorable finger foods. They’re an especially great first step for a home cook who’s nervous about rolling out a pie crust, since there’s no rolling involved. Happy summer!

Itsy Bitsy Berry Cream Pies


Recipe by: Adapted from my Aunt Pat’s Strawberry Cream Pie recipe
Yields: about 56 mini pies

Crust Ingredients:
4 cups flour
2 teaspoons salt
3/4 cup cold shortening or lard
3/4 cup cold butter, chopped
6-8 tablespoons cold water

Cream Filling Ingredients:
1/2 cup sugar
3 tablespoons cornstarch
3 tablespoons flour
1/2 teaspoon salt
2 cups milk
1 egg, slightly beaten
1/2 cup whipping cream
1 teaspoon vanilla extract
1.5 cups of diced fresh strawberries (or about 1.5 cups blueberries)

Glaze Ingredients:
1 cup fresh strawberries (or blueberries)
1 cup water
1/2 cup sugar
4 teaspoons cornstarch

Directions:
Note on timing: To make the preparation of these mini pies even more manageable, I prepared and baked the pie shells a day in advance. I then made the cream filling, diced the berries, and made my glaze on the day I was planning to serve them. They really benefit from at least a few hours in the fridge before serving.

Make the crust dough: Pulse flour and salt together to combine. Add scoops of lard and pulse into the mixture has the texture of coarse sand, about 10 seconds. Add in chunks of butter and pulse until butter pieces are no larger than small peas, about 10 pulses. Add minimum amount of water and pulse on low. If dough remains crumbly and doesn’t come together, add another 2 tablespoons of water. Add as little as is required to enable the dough to be rolled into a ball. Form the dough into a disk, wrap in plastic, and refrigerate for 20-30 minutes.

After the dough has chilled, preheat the oven to 450 degrees F. Take about 1/4 of the dough out of the fridge at a time. Pinch off walnut-sized balls. Place a ball in each well of an ungreased mini-muffin pan. Using your fingers, work the dough up the sides of each well. Use a fork to “dock” the bottom and sides of the dough –poke holes in it so that it doesn’t puff up too much as it bakes. Bake for 12-15 minutes or until lightly browned. Cool the mini pie shells in the pan for 5 minutes or so before gently removing them (you can use a table knife to help you lever them out) to a cooling rack to cool completely.

Make cream filling: While the crust bakes, prepare your cream filling. Prepare an ice water bath in a bowl big enough to accommodate your saucepan. Mix sugar, cornstarch, flour, and salt in a saucepan over medium-high heat. Stir in the milk and bring to a boil, stirring constantly. Reduce heat and cook until thickened, still stirring constantly. Spoon out about 1/4 cup of your hot mixture and gradually drizzle it into your beaten egg, whisking constantly. This will temper the egg so that when you add it back into the hot mixture, it won’t cook. Add the egg into the hot mixture, continuing to stir constantly. Bring this just to boiling.

Set the saucepan in the ice water bath and stir it periodically as it cools. Once cool enough, chill the mixture in the refrigerator. During this time, whip the cream and vanilla together to stiff peaks. Take the chilled mixture from the fridge and beat it to break it up. Stir in about 1/3 of the cream to lighten it, and then gently fold in the rest of the cream until well combined. Chill until ready to use.

Assemble the pies: Using a piping bag (or a ziplock with the corner cut off), pipe cream into each pie shell. Top with diced strawberries or blueberries. Chill these while you make your glaze.

Make the glaze: Crush 1 cup of strawberries (or blueberries) and cook with water in a saucepan over medium-high heat for two minutes. Strain through a fine mesh sieve and discard the pulp. Add the juice back to the saucepan over medium-high heat and gradually stir in sugar and cornstarch. Cook until thickened. If you want, you can tint this glaze with food coloring to desired hue, but mine was plenty bright enough! Cool the glaze slightly, and then spoon over the top of your mini pies. Chill pies for at least a few hours for best results.

If you liked this post, please:
Subscribe to Willow Bird Baking
Follow Willow Bird Baking on Twitter
Follow Willow Bird Baking on Facebook
Give this post a thumbs up on StumbleUpon


ShareOther ways to share this post with friends!
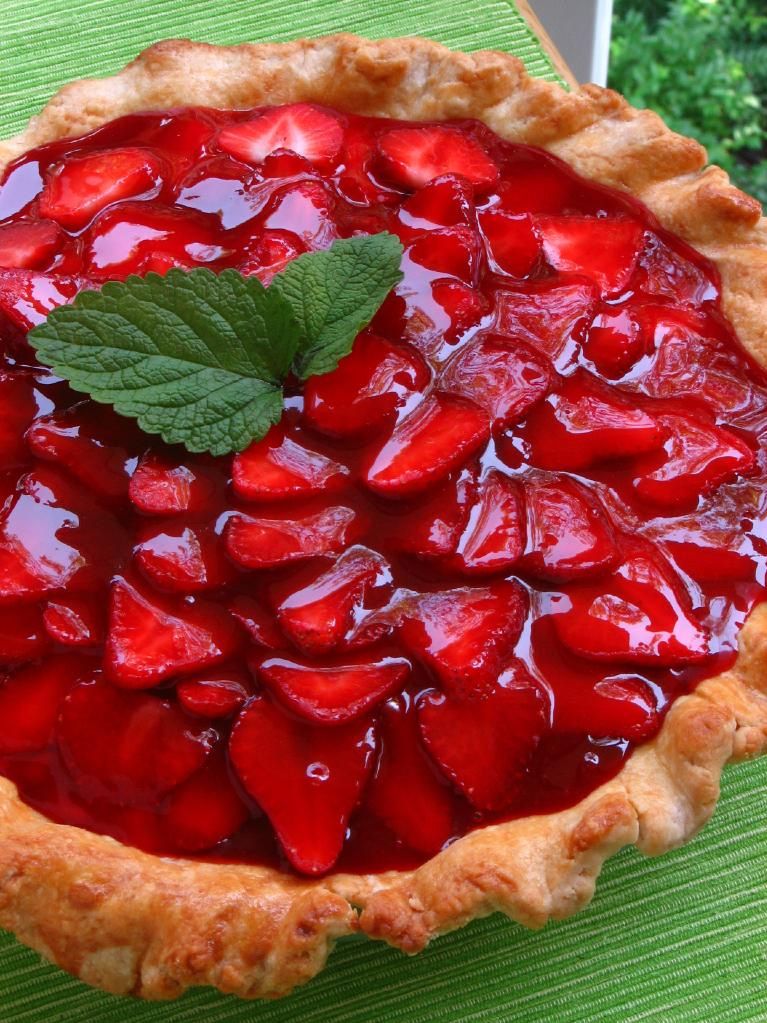
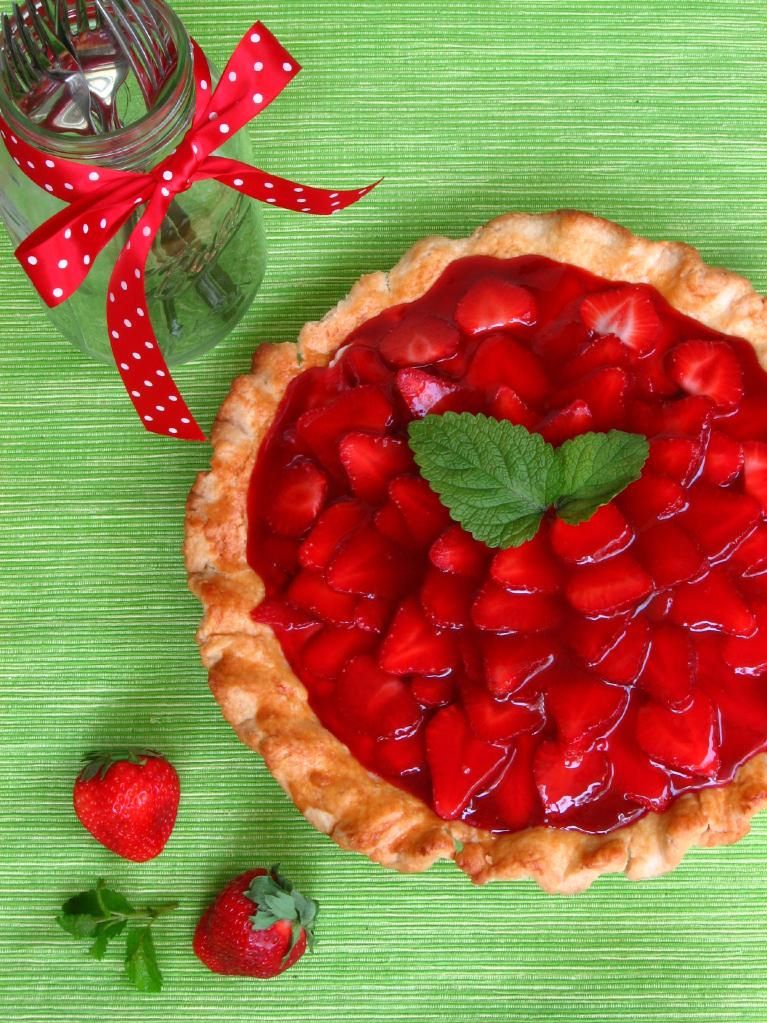
(Freshly Picked!) Strawberry Cream Pie

Before we get to the pie: prayers go out for those of you in any of the areas affected by tornadoes this year — you are on our hearts and minds daily.

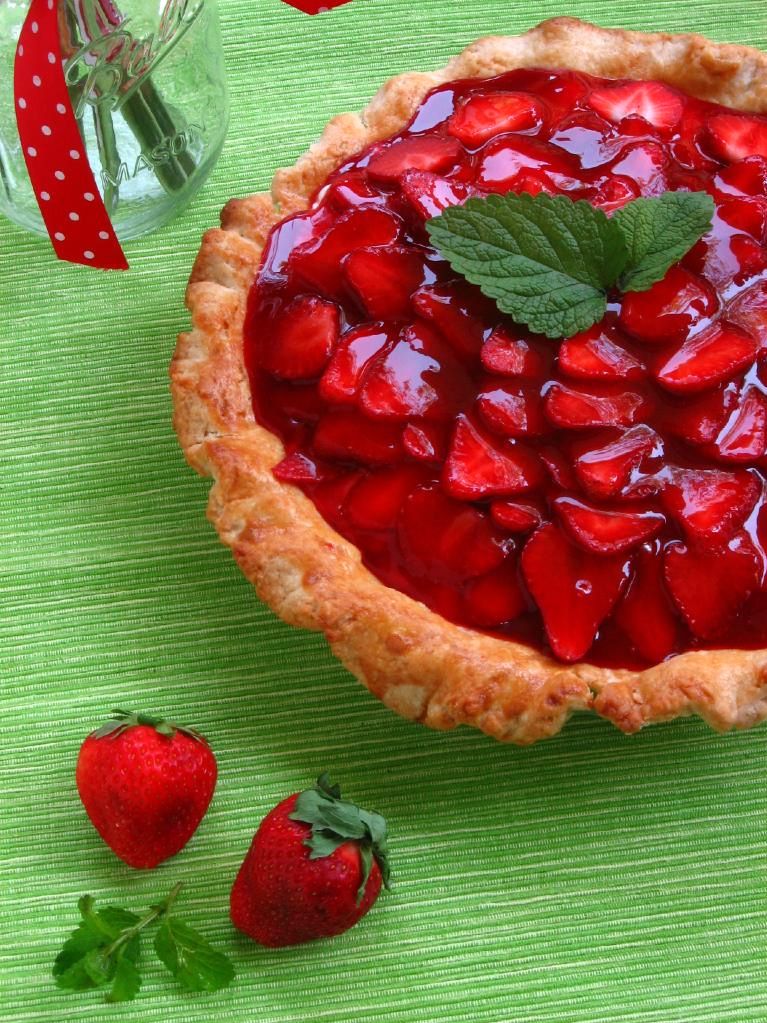
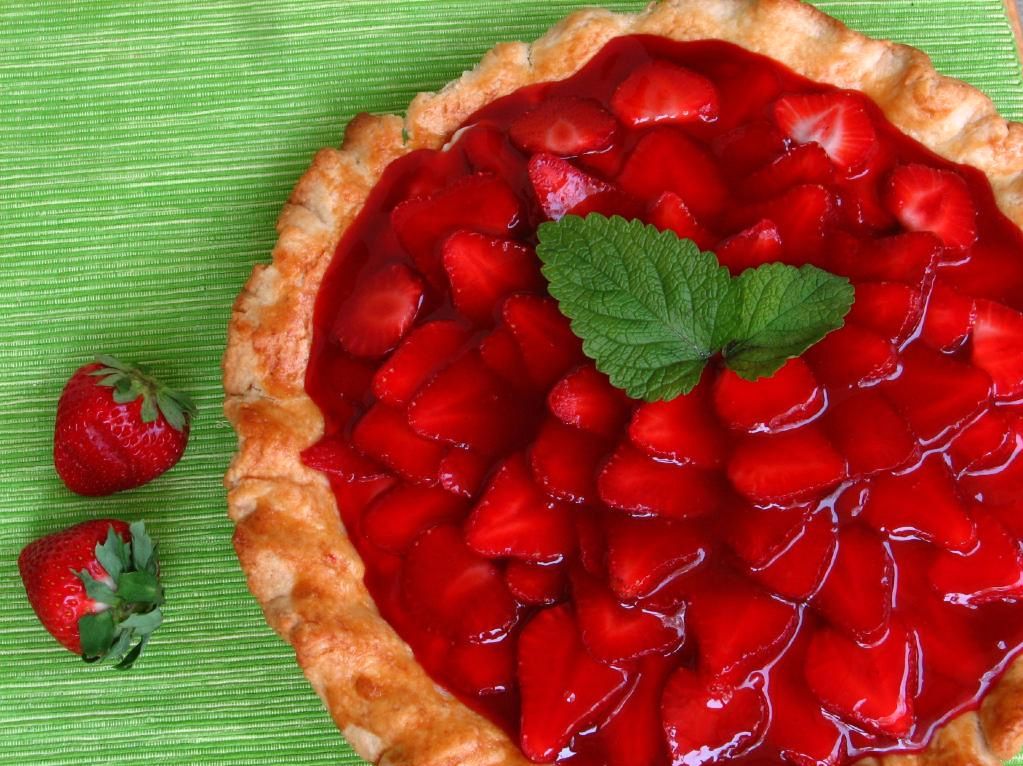
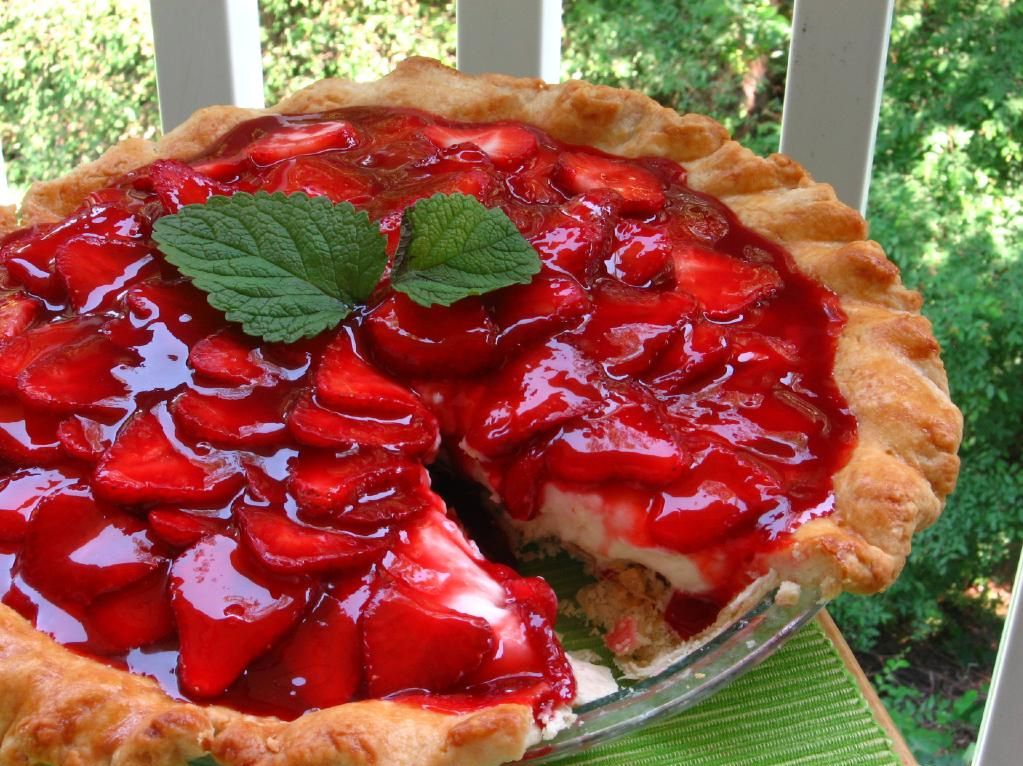
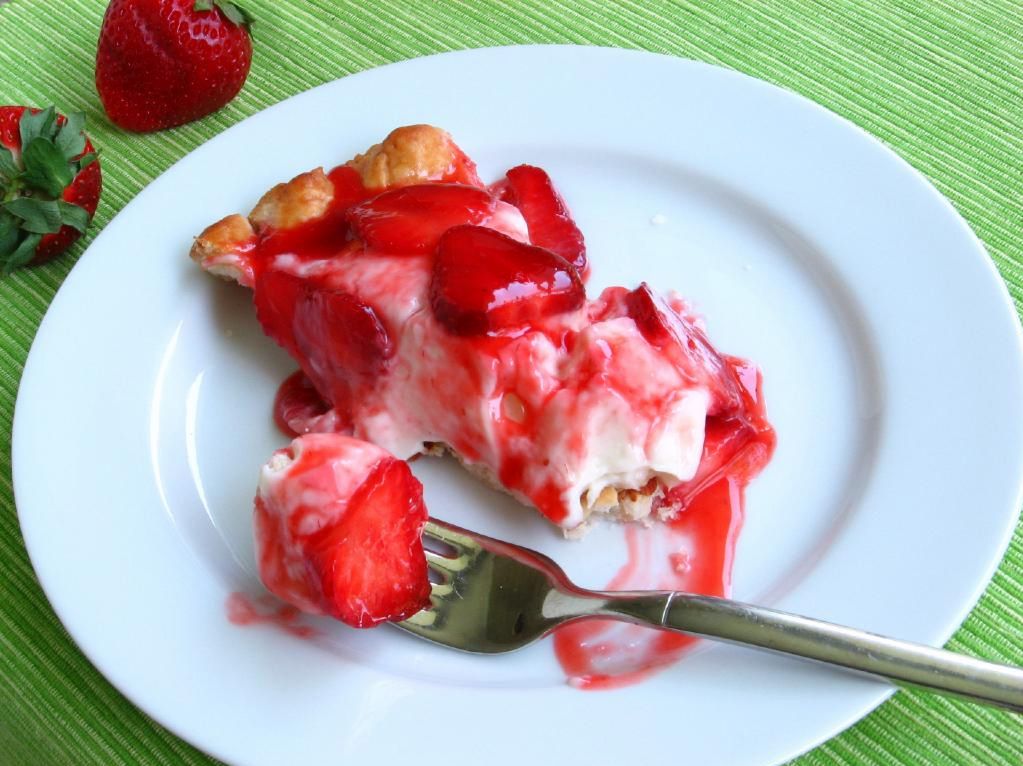
I just made perhaps the prettiest, most scrumptious pie I’ve had the privilege of shoveling into my mouth. Encased in a flaky, tender pie crust are billowy mounds of pastry cream, toasted almonds, and fresh glazed strawberry slices. Making it even sweeter (not as if it needed it or anything) is the source of the recipe. It comes from this lovely lady, my Aunt Pat, who’s also responsible for this lovely flower garden. Just call her a domestic genius:

My cousin sent me this recipe mounted on a gorgeous wooden plaque and it now sits by my computer desk as a reminder of my sweet family and all of the food memories that bind us — grandma’s homemade sausage gravy and biscuits, all the potluck Thanksgiving treats, and now, thankfully, this Strawberry Cream Pie.

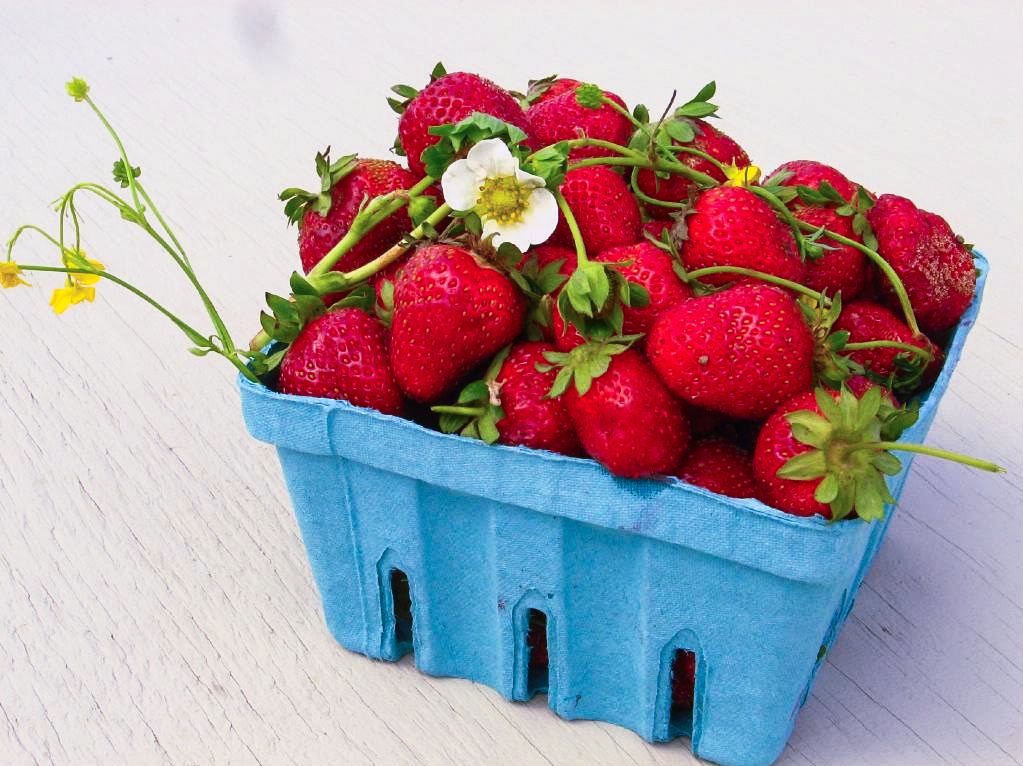
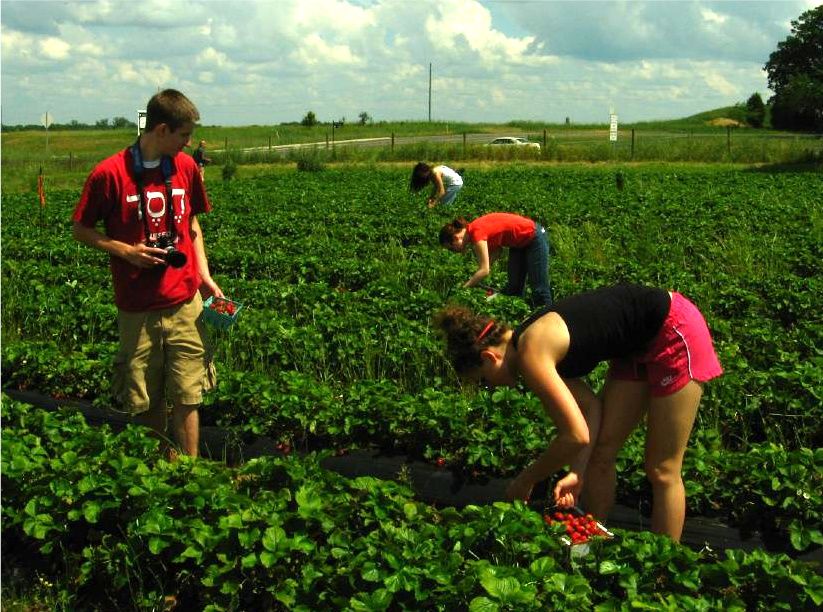
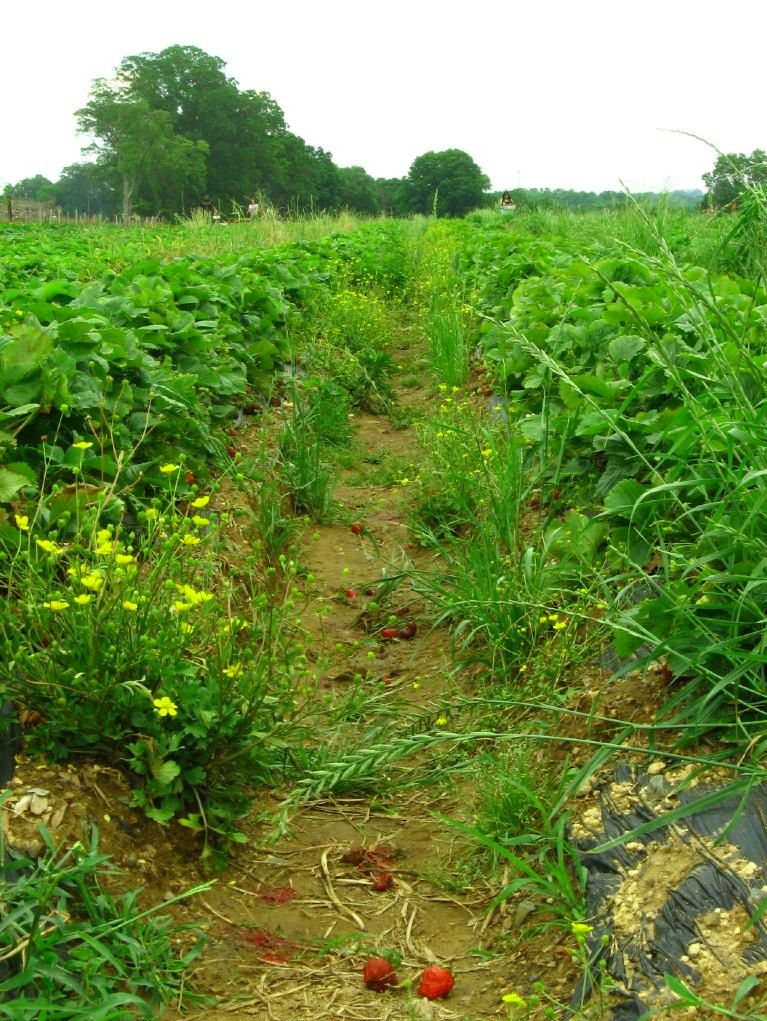
Another sweet thing about this pie is that it comes to you during May, which is National Strawberry Month! The Charlotte Food Bloggers celebrated by going strawberry pickin’ at Miller’s Farm in South Carolina.


freshly picked strawberries!

I’d never been strawberry picking, but the thought of dancing around the kitchen whipping up this pie spurred me along row by row, bush by bush. Along my journey, I realized that one could glean many a life lesson from the berry-picking process. Here are just a few:

Life Lessons from Strawberry Pickin’:

1. The best berries are in the middle of the bush. Sometimes the things in life that are worthwhile also require more effort. Sitting in the sunshine and playing in the sand is worth the hassle of loading the beach chairs into the car and slathering on sunscreen. Showing love to a friend is worth the time it takes to create a special dessert for them. Seeing your family is worth enduring an hours-long road trip and a few embarrassing childhood anecdotes. Go for what’s worthwhile, even if it’s hard.

2. There will be bugs. They’ll even, like, bite you and stuff. But the hard and annoying parts of your life are still parts of your life — not just times to get through, but times to experience! Every hardship is an opportunity to react with grace and integrity, and to grow as a person. And, in the case of bugs, to itch.

3. Don’t be afraid to get a little muddy. Life’s more relaxing when you stop trying to keep things perfect.

4. Pet the pig . . . You know, like “smell the roses,” except cuter. There were a few random animals at the farm that we decided to love on after our berry baskets were full: a porker aptly named Juicy, a goat, a duck, and a donkey. Don’t hurry past the fun parts of life.

5. . . . But watch out for the donkey, because he flippin’ bites, especially if you have strawberry juice on your fingers. This probably has no life application. But really, watch out for that beast.

6. Being “hot, sticky, sweet” is not all that Def Leppard made it out to be, but it does make you thankful for showers.

7. Be sure to wear some flowers in your hair. Everything’s more fun when you’re purposeful about enjoying yourself. Optimism and positivity come naturally for some people — and some of us have to make it happen.

8. Sweet experiences are best enjoyed with people you love. And even the not-so-sweet experiences can be helped along by great company. Like these crazies:


Charlotte bloggers Crosby, Diana, Katie, and Erin pick berries (not pictured: Vanessa, Taylor, and Julia)

9. The early picker gets the berry. Plan ahead and keep your life organized according to the systems that work best for you. We went picking when the strawberries were just past their peak, so others nabbed the better berries. Next time, we’ll be proactive!

10. Use your strawberries before they go all mushy. Don’t wait for great things to happen, and don’t let your talents and energy be wasted on sitting around, fearing failure. If you think an endeavor is worthwhile, give it your all and make it happen.

This life lesson can also be translated as: get in the kitchen this instant make a Strawberry Cream Pie!

Have you ever been strawberry picking? What’s your favorite use for delectable strawbs?

Strawberry Cream Pie


Recipe by: Pat Howard
Yields: about 10 servings

Crust Ingredients:
2 cups flour
1 teaspoons salt
3/8 cup cold shortening or lard
3/8 cup cold butter, chopped
3-4 tablespoons cold water

Cream Ingredients:
1/2 cup sugar
3 tablespoons cornstarch
3 tablespoons flour
1/2 teaspoon salt
2 cups milk
1 egg, slightly beaten
1/2 cup whipping cream
1 teaspoon vanilla extract

Other Ingredients:
1/2 cup sliced almonds
1 1/2 cups fresh strawberries
1/2 cup water
1/4 cup sugar
2 teaspoons cornstarch
red food coloring (optional; I skipped this)
mint leaves or whole strawberries for garnish (optional)

Directions:
Note on timing: There are several components of this pie, but their preparation fits together nicely. You can make the crust dough and while it’s chilling, toast your almonds and set them out to cool. While the crust is baking and cooling, make and refrigerate the cream and slice your strawberries. Assemble these things once the crust is cool, and chill your almost-completed pie while you whip up the glaze. Chill the whole concoction for a few hours before slicing for best results.

Make the crust dough: Pulse flour and salt together to combine. Add scoops of lard and pulse into the mixture has the texture of coarse sand, about 10 seconds. Add in chunks of butter and pulse until butter pieces are no larger than small peas, about 10 pulses. Add minimum amount of water and pulse on low. If dough remains crumbly and doesn’t come together, add another 2 tablespoons of water. Add as little as is required to enable the dough to be rolled into a ball. Form the dough into a disk, wrap in plastic, and refrigerate for 20-30 minutes.

Toast your almonds: While the crust dough is chilling, preheat your oven to 350 degrees F and spread your sliced almonds out on a baking sheet. Toast for about 4-6 minutes, using a spatula to gently flip and stir the almonds ever 2 minutes. They burn quickly, so keep a close watch on the nuts and remove them when they just start to get some color and are fragrant. Mine took about 5 minutes.

Finish making your crust: Preheat oven to 450 degrees F. Roll disk of dough out to around 2 inches larger than your (9-inch) pie plate and transfer it, situating it in the plate. Fold the excess dough around the edges and crimp, trimming where necessary. Cover the dough with parchment paper and fill with pie weights or dried beans, pressing to the edges. Bake for around 20 minutes. Remove weights and paper, egg wash crust, and bake 5-10 minutes more, until golden brown (you won’t be baking it again, so make sure it has good color — shielding edges with foil if they begin getting too dark). Let crust cool completely.

Make cream filling: While the crust bakes, prepare your cream filling. Prepare an ice water bath in a bowl big enough to accommodate your saucepan. Mix sugar, cornstarch, flour, and salt in a saucepan over medium-high heat. Stir in the milk and bring to a boil, stirring constantly. Reduce heat and cook until thickened, still stirring constantly. Spoon out about 1/4 cup of your hot mixture and gradually drizzle it into your beaten egg, whisking constantly. This will temper the egg so that when you add it back into the hot mixture, it won’t cook. Add the egg into the hot mixture, continuing to stir constantly. Bring this just to boiling.

Set the saucepan in the ice water bath and stir it periodically as it cools. Once cool enough, chill the mixture in the refrigerator. During this time, whip the cream and vanilla together to stiff peaks. Take the chilled mixture from the fridge and beat it to break it up. Stir in about 1/3 of the cream to lighten it, and then gently fold in the rest of the cream until well combined. Chill until ready to use.

Assemble the pie: Cover bottom of crust with toasted almonds, and then dollop in chilled cream mixture, spreading it smooth with an offset spatula or the back of a spoon. Slice about a cup of fresh strawberries and layer them in overlapping concentric circles on the top of your pie. Chill this while you make your glaze.

Make the glaze: Crush remaining 1/2 cup of strawberries and cook with water in a saucepan over medium-high heat for two minutes. Strain through a fine mesh sieve and discard the pulp. Add the juice back to the saucepan over medium-high heat and gradually stir in sugar and cornstarch. Cook until thickened. If you want, you can tint this glaze with food coloring to desired hue, but mine was plenty bright enough! Cool the glaze slightly (I transferred mine to a heat-proof measuring cup with a pour spout to cool for a bit) and then pour over top of strawberry slices on your pie. Garnish with big mint leaves, if you’d like, or whole strawberries. Chill entire pie for at least a few hours for best results; cut with a knife held under hot water and then dried.


life’s too short — eat strawberries!

If you liked this post, please:
Subscribe to Willow Bird Baking
Follow Willow Bird Baking on Twitter
Follow Willow Bird Baking on Facebook
Give this post a thumbs up on StumbleUpon


ShareOther ways to share this post with friends!
Mini Apple Pies with Cheddar Crusts

On car trips when I was younger, one of my favorite things to do was to torment my little brother. He would be tucked safely into his car seat minding his own business when I would attack. There was no tickling or hitting or poking involved — that’s just not my style. Instead, I launched a calculated verbal and psychological assault.

Despite the fact that we were usually in Tennessee or Kentucky at the time, I’d point out the window and scream, “HEY, look, it’s Disney World!” His hopeful little face would whip around to see the happiest place on earth, only to be confronted with cornfields and the occasional disinterested cow. “Oh, you just missed it,” I’d say, consoling him with a pat on the arm.

After he’d missed a few more Disney Worlds and a Sea World or two, he was about as frustrated as a hornet in a mason jar. His spluttering protests were met with one of those smug-big-sister shrugs on my part. “What?” I’d say, “I can’t help it if you’re turning around too slow.”

Okay, so I was kind of a punk. In my defense, I was little. And he was usually a pill, I promise.

Anyway, huge counterexample aside, I’m actually a pretty trustworthy person. I don’t know if Alex will ever trust me again, but you can.

One thing you should certainly trust me about is the fact that apple pies and cheddar cheese were made for each other. Some folks — especially in my part of the world, it seems — have never heard of this combo. People can be downright skeptical when you mention it.

I first heard about pairing apple pie and cheddar cheese only a few years ago. I was shocked to find out that this odd couple was an established and beloved tradition in some places. How had I missed out on this my entire life? I promptly ran to the grocery store, bought a mini apple pie and a block of sharp cheddar, and gave it a try. Turns out all those crazy New Englanders (love you guys!) weren’t wrong: the sweet filling with the sharp cheese was a perfect match.

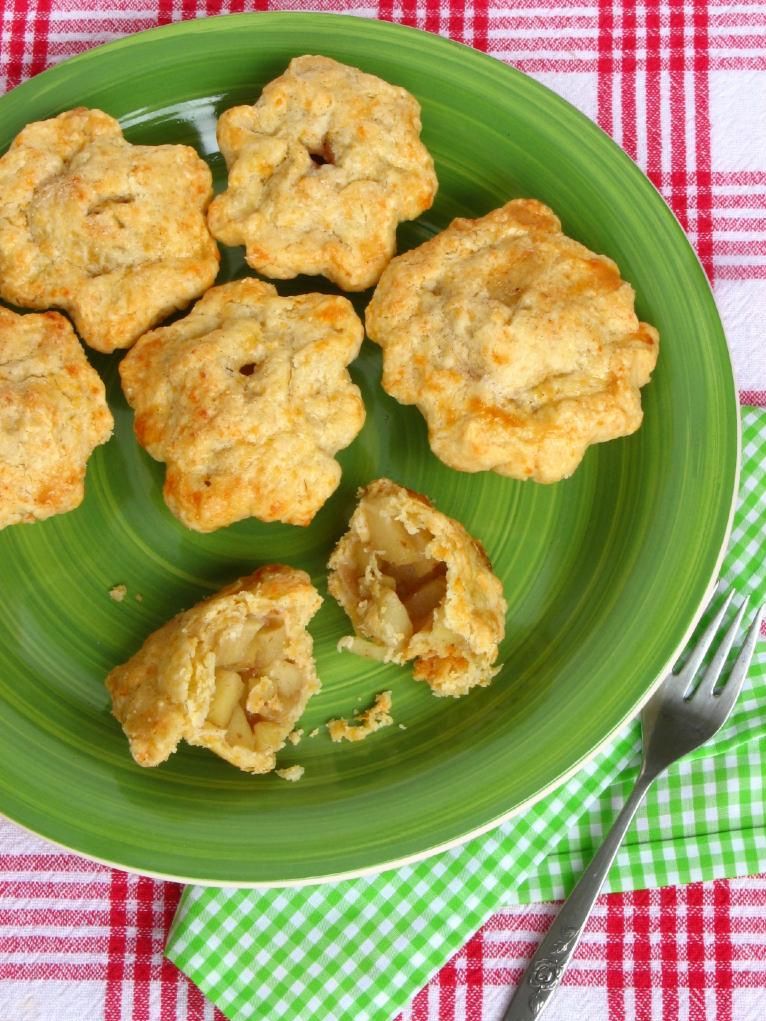
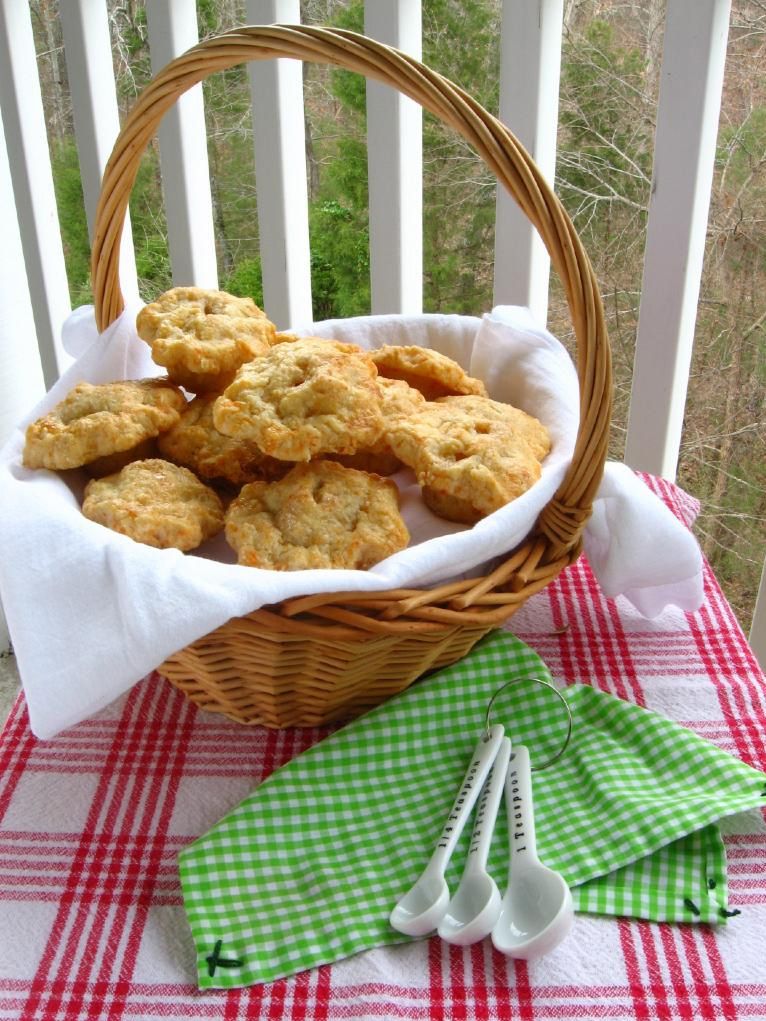
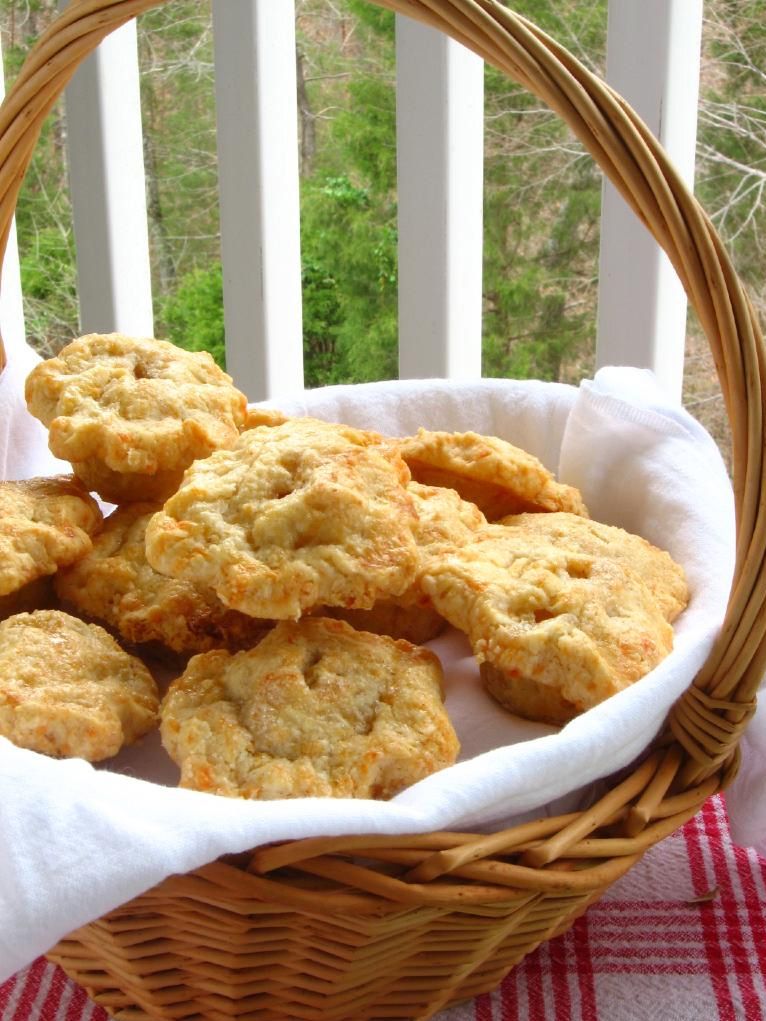
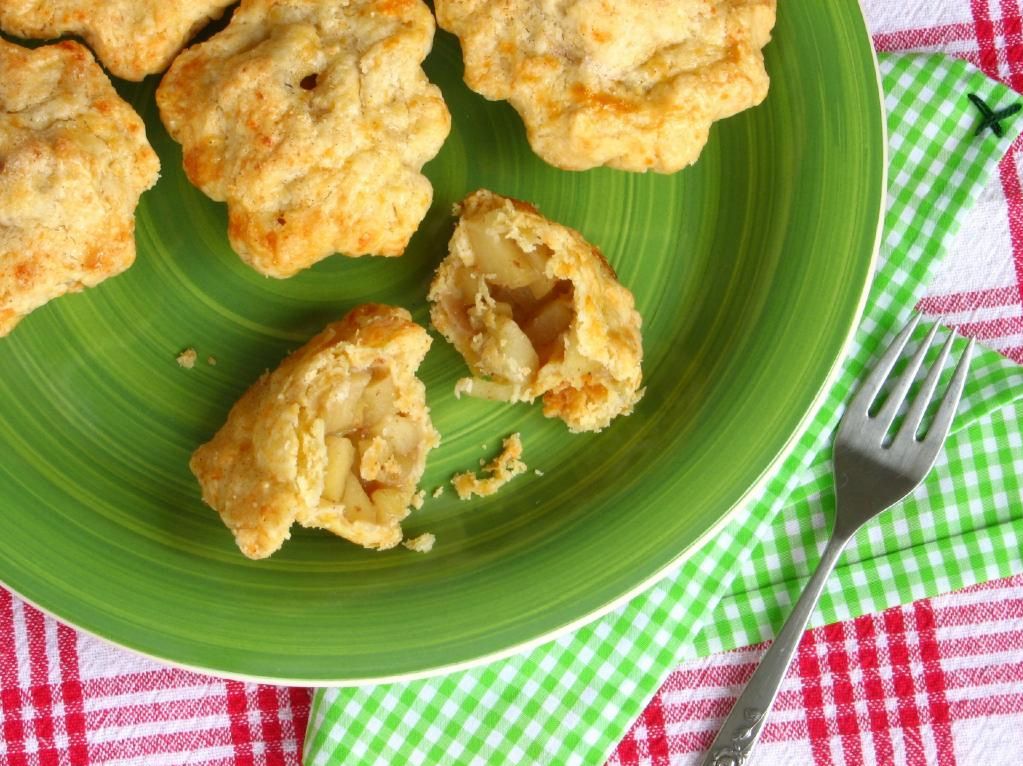
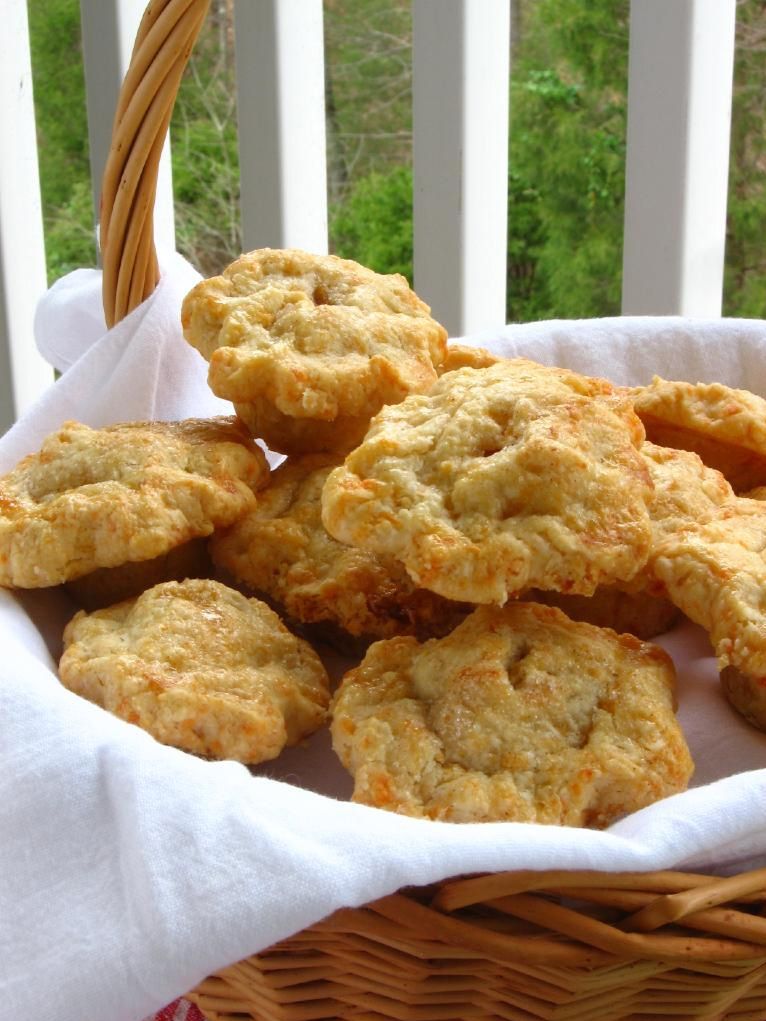
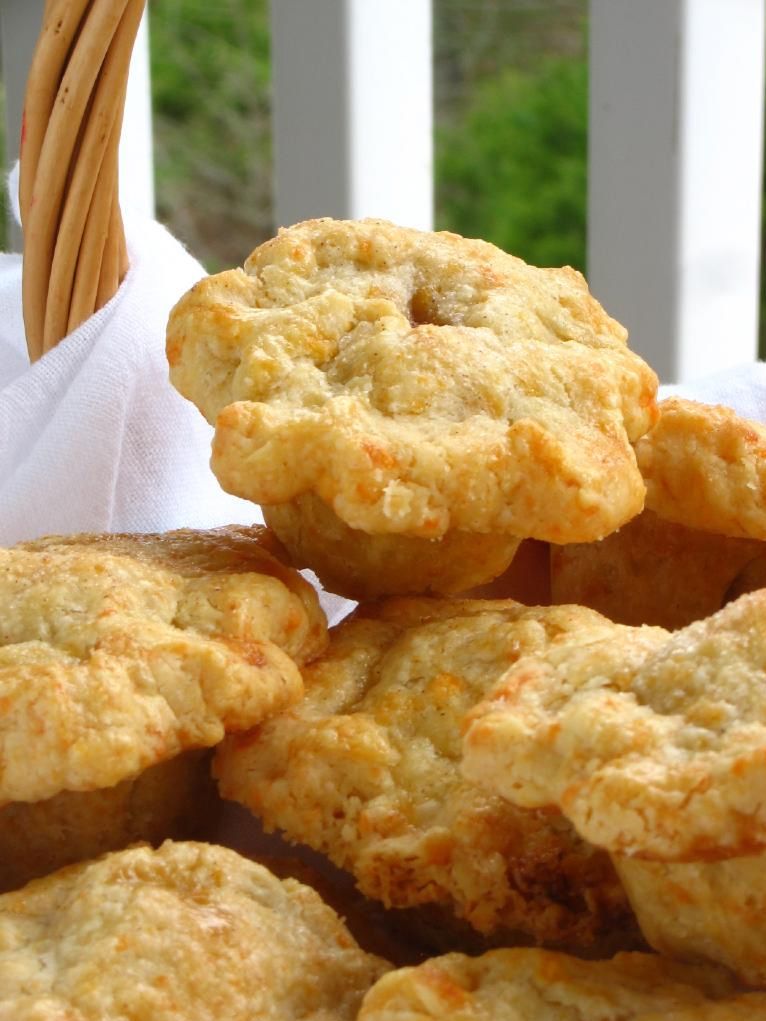
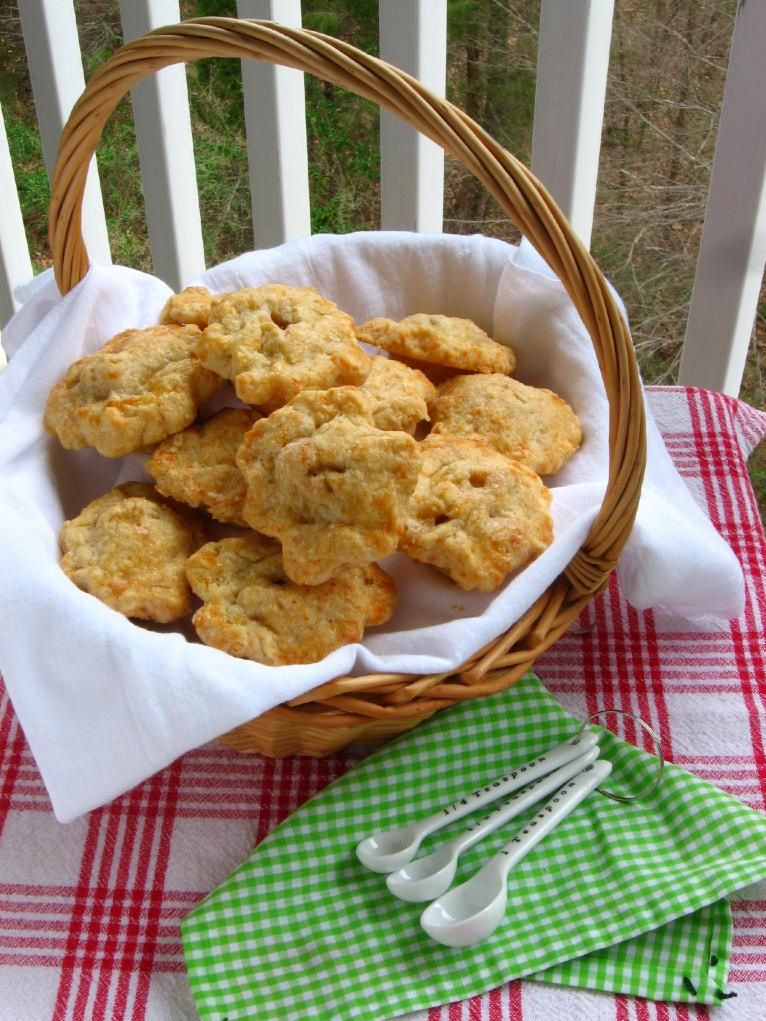
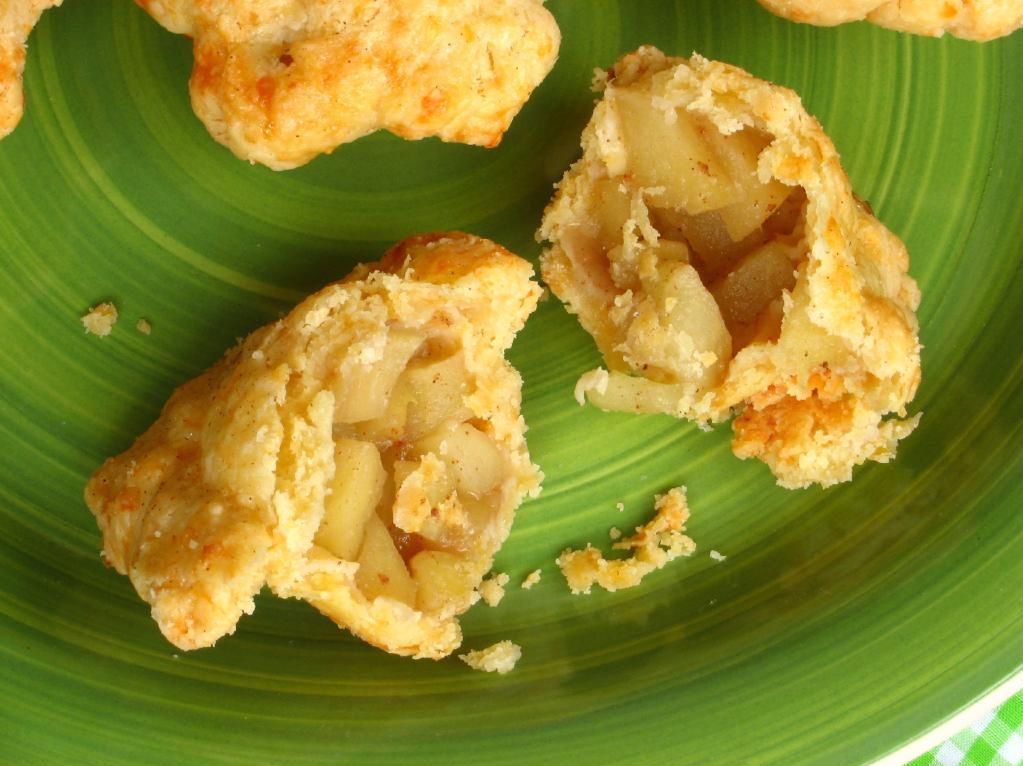
So what would be better than a slice of apple pie with a slice of cheddar cheese on top? How about a pie that fully integrates the apply and cheddary goodness? I created these mini apple pies with cheddar crusts to do just that. The cheddar crust is phenomenal — I think I ate more of it raw than I used in the pies — and I chose a sweet apple filling to balance it out. The result is a buttery, sweet-and-salty piece of heaven.

If this is the first time you’ve heard of the apple pie and cheddar combo, trust me — all Disney Worlds and Sea Worlds aside — when I say you have to try it. And if you’ve enjoyed a slice of apple pie with a hunk of cheddar on top, back me up: tell us how much you love it.

P.S.: Some folks have apparently been known to say, “An apple pie without the cheese is like a hug without the squeeze.”

P.S. 2: Happy Pi Day — only one day late. These little guys are worth the wait.

Mini Apple Pies with Cheddar Crusts


Recipe by: Adapted from my own pie crust and Betty Crocker’s filling
Yield: 4 cupcake-sized apple pies and 10-12 mini apple-pies

Crust Ingredients:
4 cups flour
1 teaspoon salt
10 ounces extra-sharp cheddar, grated
3/4 cup cold lard (non-hydrogenated if available)*
3/4 cup cold butter, chopped
6-8 tablespoons cold water
1 egg beaten with 1 tablespoon water for egg wash
1/4 cup white sugar mixed with 1 teaspoon cinnamon for sprinkling
*you can substitute vegetable shortening here if you wish, but I highly recommend the lard!

Filling Ingredients:
1/4 cup sugar
1/8 cup all-purpose flour
1/2 teaspoon ground cinnamon
1/2 teaspoon ground nutmeg
pinch salt
4 cups mixed apples, peeled and chopped (4 medium — I used Gala, Fuji, Granny Smith, and Golden Delicious)
1 tablespoon butter

Directions: Pulse flour and salt together to combine. Add scoops of lard and pulse into the mixture has the texture of coarse sand, about 10 seconds. Add in chunks of butter and cheese and pulse until butter pieces are no larger than small peas, about 10 pulses. Add minimum amount of water and pulse on low. If dough remains crumbly and doesn’t come together, add another 2 tablespoons of water. Add as little as is required to enable the dough to be rolled into a ball. Form the dough into 2 disks, wrap in plastic, and refrigerate for 20-30 minutes while preparing your filling.

Prepare filling: Mix all ingredients together except for butter.

Preheat your oven to 400 degrees F. Use cupcake pans, mini-cupcake pans or both for your pies, as desired. After crust has chilled, roll it out between two sheets of parchment paper until it’s relatively thin — a little thinner than 1/4 inch. Pull the parchment paper off the dough every now and then (flipping to do this on both sides) to ensure your dough isn’t sticking. Use a big round cookie cutter or a knife to cut out a piece of dough about 2 inches larger around than your cupcake wells (or about 1 inch larger around than your mini-cupcake wells). Fit this dough down into a well as a bottom crust. Fill it with filling, top it with a few bits of butter, and use another circle of dough to form the top crust. Crimp the edges (careful not to make your crimping too elaborate — if your edge is too big, your pies can be top-heavy and pull apart. You may just want to use a fork to create decorative edges instead of traditional “crimping.”) Repeat this process until all of your mini pies are ready for the oven. Brush them all with egg wash and sprinkle cinnamon and sugar mixture over the top.

Bake mini pies at 400 degrees for 15 minutes (for cupcake-sized) or 10 minutes (for mini-cupcake sized). Turn temperature down to 375 degrees F, open the oven to rotate your pans and cool it off for a few seconds, and turn temperature down to 375 degrees F. Bake cupcake-size pies for 7-9 minutes longer, and mini-cupcake sized pies for 6-7 minutes longer. Remove from the oven and let pies cool completely in the pan — then gently “twist” the pies in their wells to be sure they aren’t sticking and pull them out. Serve immediately or store in an air-tight container in the refrigerator.

P.S. Don’t forget about the Cheesecake Challenge! Choose any one of 9 cheesecake recipes to prepare within the next month. Email a photo to me by 4/5/2011 to be featured on Willow Bird Baking! Get more details about the challenge here.

If you liked this post, please:
Subscribe to Willow Bird Baking
Follow Willow Bird Baking on Twitter
Follow Willow Bird Baking on Facebook
Give this post a thumbs up on StumbleUpon


ShareOther ways to share this post with friends!
1 4 5 6 7 8 9