When I was 14 years old, I did something I had never done before. I outright lied to my parents. (Don’t tell my students; I’ve convinced them that I was above reproach as a middle schooler.)
I would say that I don’t know what possessed me, but I do: there was this bold, irreverent high school boy (with long hair, swoon!) who wanted to meet me.
Mike and I had been talking online for weeks. I’d accidentally contacted him while trying to instant message his sister, who was my classmate and friend, and after awhile I was smitten. We’d tried to arrange a meeting, but my parents had understandably forbidden it because of his age. One weekend, though, Mike had a movie date with another girl and I had a parent-sanctioned very public “date” with another boy my age. We were both really only interested in meeting each other, though, and saw this as an opportunity: I fudged the time of my date and asked my parents to drop me off at the mall hours before I was actually supposed to be there. I wore my cutest black pants and white button-down shirt and told Mike to meet me by the fountain.
To be clear, I was the goody-two-shoesiest kid you could imagine. Lying to my parents was not a thing I did, much less lying to my parents to meet a boy. I don’t know how I kept it together. My face burned the whole time I stood by the fountain. When I felt a hand on my shoulder, I thought I might die. Through waves of intense teenage angst, agonizing pangs of conscience, and tremendous excitement, I turned around to finally meet Mike.

He was just so cool, y’all. He was wearing a South Carolina Gamecocks baseball cap that just said COCKS in gigantic letters, a choice I found hilarious and characteristically bold. His long hair (!) was pulled back in a ponytail. He wrapped me in a hug first thing. I died. The end.
Well, that’s what it felt like, anyway. In reality, I awkwardly broke the hug and we started walking around the mall. I’m sure I was laughing nervously every 5 seconds. I’d never been on a real date-date before — like, with someone I really liked! An older boy! With long hair! Ahhh! — and I had no clue what to actually do. Questions raced through my mind: Should we walk through stores? Is that boring? Should we eat? But who pays? Does he expect me to kiss him? Will he try and kiss me? Is that a thing people do? Hyperventilate, rinse, repeat.
I walked in a happy/anxious daze through the wide mall corridors, talking about who knows what. Mike was so much more comfortable than I was. He held my hand without a second thought. He decided he wanted Chinese food, but I felt too shy to let him buy me anything other than a Coke. He took about 4 straws and drank his water through all of them at once without saying a word about it. Who does that?! He was so cool. Ahhh.
Finally, way too soon, it was almost time for my legitimate “date” to arrive. Mike saw that I was disappointed and asked me if I wanted to continue hanging out, but I knew it’d be wrong to ditch the other guy. We reluctantly said our goodbyes. I could tell he wanted to kiss me, but I told him I was way too nervous! It was a good thing: right at that point, my “real date” walked up. I introduced Mike as a friend and then he left. I thought about him the rest of the day, the rest of the week, the rest of the month, the rest of my life since then.
And in case you’re wondering: Miss Goody-Two-Shoes spilled everything to her parents that very evening, and assured them Mike was a perfect gentleman. They were Not. Amused.

This past Saturday, 15 years after that first meeting, Mike and I were walking hand-in-hand again, this time around one of our favorite little shopping centers in Raleigh. A live band was playing covers of Otis Redding and Tracy Chapman and the sun had just started to set, so the weather was cooling off. We walked out of a store and stood by a fountain in the twilight, giving each other a little hug. “Julie,” he started. Before I knew what was happening, he was down on one knee. “Will you marry me?”
At first, the words didn’t register. I thought he was asking . . . I don’t know. Casually? Generally? Like, “Hey, you want to get married someday?” My brain wasn’t working. But it quickly got into gear: he’s down on his knee! in his nice linen pants, even! that means this is, like, the REAL THING.
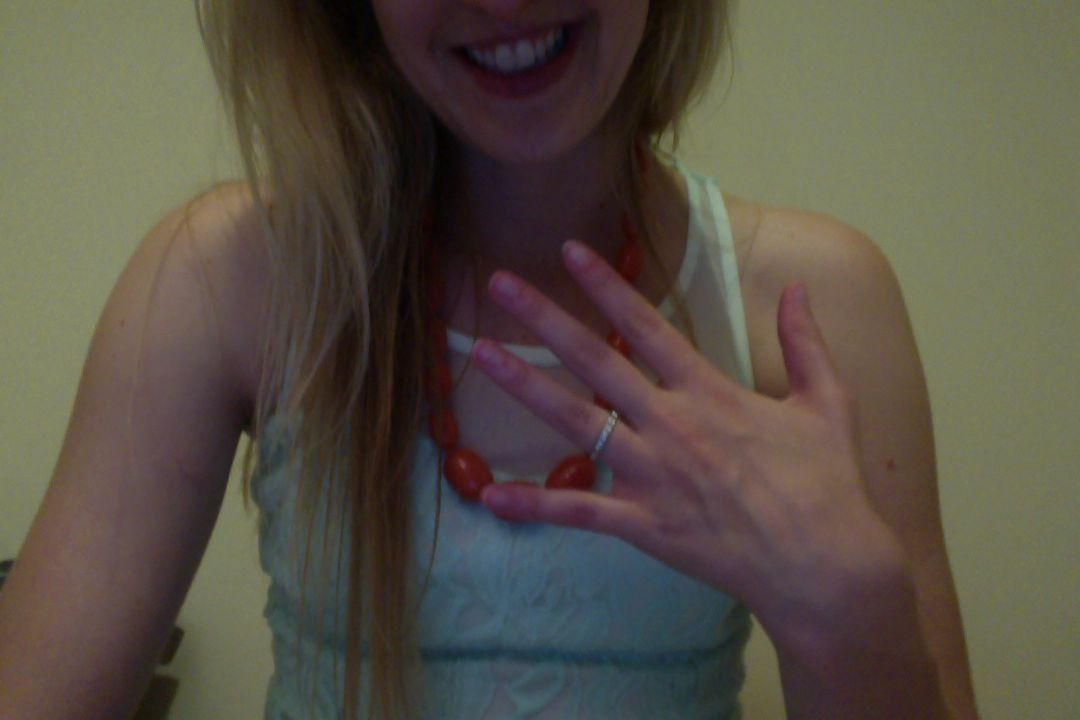
I think I said something like, “Yes. Wait, really? What? OH. This is happening! YES.” Cue so many tears and so much laughter. He held up the most beautiful ring I’ve ever seen — a vintage art deco band from the 1930s, it turns out, though at the time, all I could think was, he even has a ring; oh man, this is totally the real thing!

I’ve always wondered: after the big proposal and related kerfuffle, what does the newly engaged couple do? How do you follow that? Do you talk? Do you pile in your car and go home? Do you go celebrate?
For us, the answer was a lot more nervous laughter and a lot of crying. We probably sat by that fountain for at least 45 minutes afterward, calling my parents, thanking congratulatory passers-by, holding hands, and thinking about our 15 years together. At one point I demonstrated my Zumba moves to Justin Timberlake’s “Mirror.” To be honest, nothing was making sense at that point. We were just so happy, so in love, so excited.
I told Mike as we were walking to the car, “Well, this is the best day of my life so far.”
“Really?” he asked.
“Definitely.”
But if I had to pick a second place, I might pick that first day we met, by that first fountain — the first time I saw the man who I would someday marry.
One year ago: Crispy Baked Sweet Potato Fries with Basil Salt and Lemon Garlic Dipping Sauce
Two years ago: Blueberry Cream Cheese Almond Braid
Three years ago: Blueberry Walnut Bread