raspberry

Red, White, and FOOD!

Here are some Willow Bird recipes that are perfect for your 4th of July celebration! If I had to tell you just one thing you have to make in order to fully enjoy all the fireworks and summer heat, it’d be the Old-fashioned Burger Stand Burgers. Everything else is delicious, too, but I’m craving one of those tender, thin, salty, juicy, tangy burgers right this second! And it doesn’t get much cuter than the printable fry pouches and checkered trays.


Old-fashioned Burger Stand Burgers with Easy Fries (and cute pouch/tray printables!)


Strawberry Lemonade Popsicles


Itsy Bitsy Berry Cream Pies


Deconstructed Pizza Bites


Pretzel Dogs


Red Berry Pie


Sparkling Strawberry Lemonade


Sparkling Raspberry Lemonade

Stay tuned later this week for a cute party banner that you can make with minimal effort and about $8. I made the whole thing while watching America’s Got Talent, so it obviously doesn’t take much concentration, either! Happy eating!

If you liked this post, please:
Subscribe to Willow Bird Baking
Follow Willow Bird Baking on Twitter
Follow Willow Bird Baking on Facebook
Give this post a thumbs up on StumbleUpon


ShareOther ways to share this post with friends!

Foodbuzz 24×24: School’s IN for Summer!

My students and I wait all year to hear the words, “School’s out for summer!” but this year is a little different for me, because I was chosen to host a June Foodbuzz 24×24 party. The Foodbuzz 24×24 “highlights unique meals occurring around the globe during a 24-hour period.”

For my unique meal, I wanted to create a whimsical, nostalgic picnic celebrating my memories of elementary school. The best part was the guest list: a handful of ladies I went to elementary school with and hadn’t seen since! School’s IN for Summer!

It was the early 90s. I was in elementary school, jamming out to Ace of Base on my walkman, collecting everything that had anything to do with cats, and rocking one-shoulder-unhooked overalls. I’m not even going to bother apologizing for those, because I know you were wearing them, too. And probably poofy bangs. So shut up.


Don’t, like, do your hair for picture day or anything, Julie.

My entrepreneurial spirit was strong even back then — over the years I created a stuffed animal school, a stuffed animal savings bank, and a lotion company (wherein I mixed several of my mother’s lotions together and sold the result with a handmade label. Sorry, mom.)

I was also already a writer (albeit of questionable quality). I started writing a collection of stories on my toy typewriter called Julie and the Strawberry Point Patrol that I was sure would eventually be a profitable series of detective novels. I also, in all seriousness, sent off a handwritten/drawn book manuscript to Harper Collins. I was That Kid. If only I’d had some thick coke-bottle glasses.

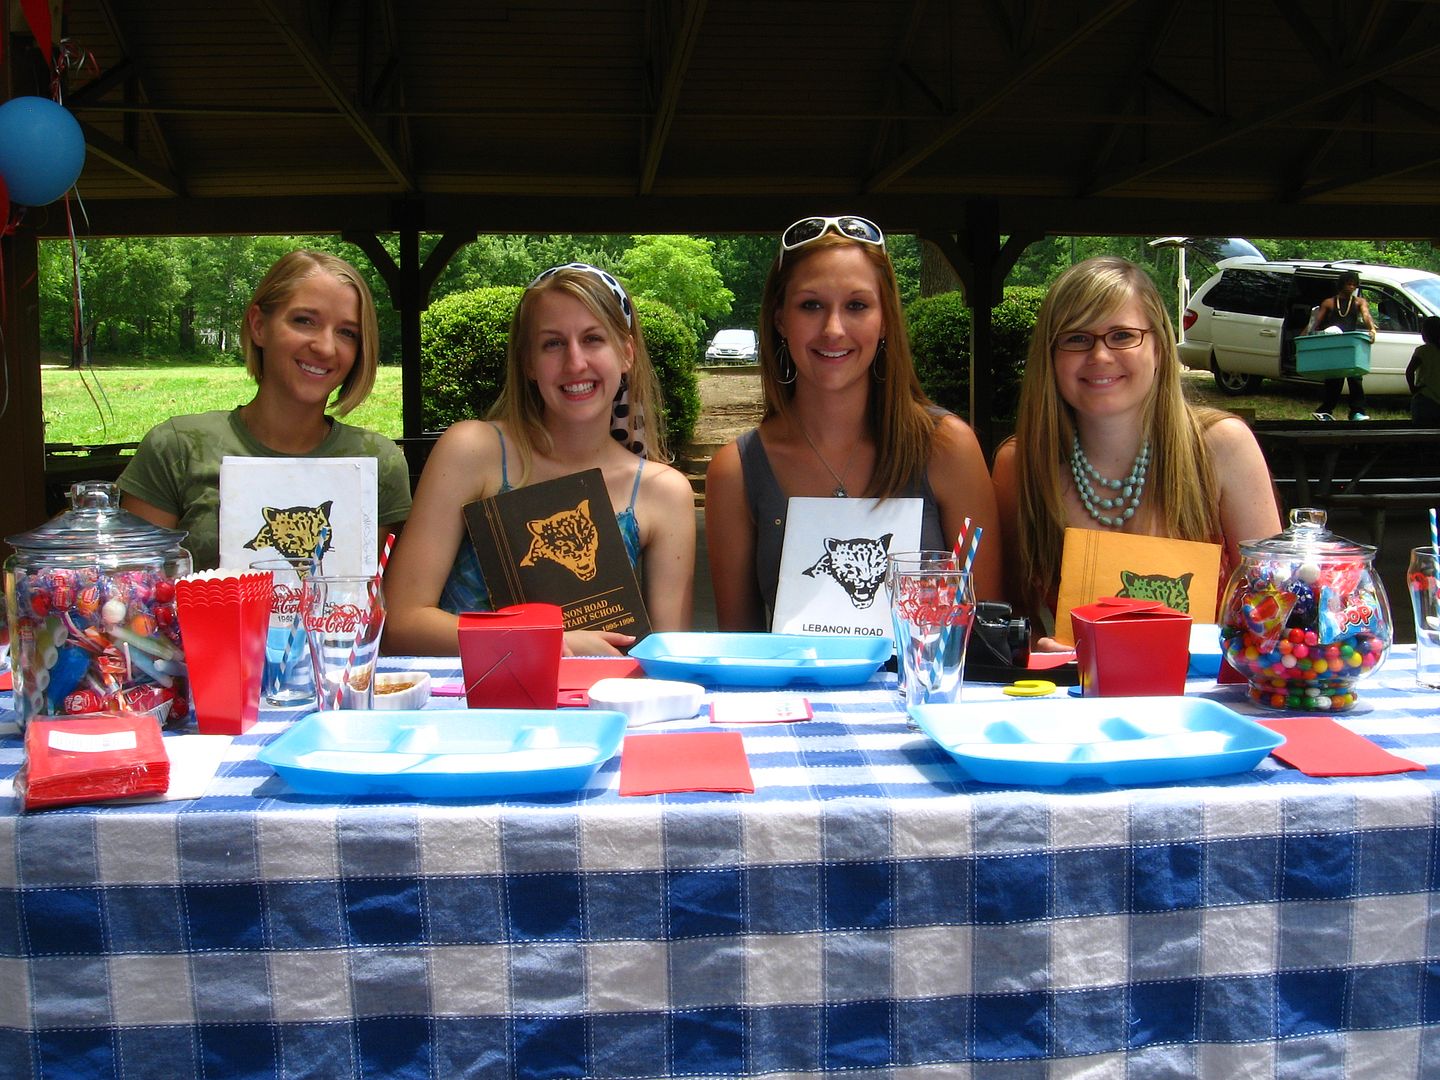
Those were definitely days worth remembering, but more importantly, there are so many people worth remembering. That’s why this past weekend, I threw an elementary school mini-reunion picnic and invited three lovely ladies I hadn’t seen in years. I wish all of Lebanon Road Elementary School class of 1996 could’ve been there, too, because it was so much fun.

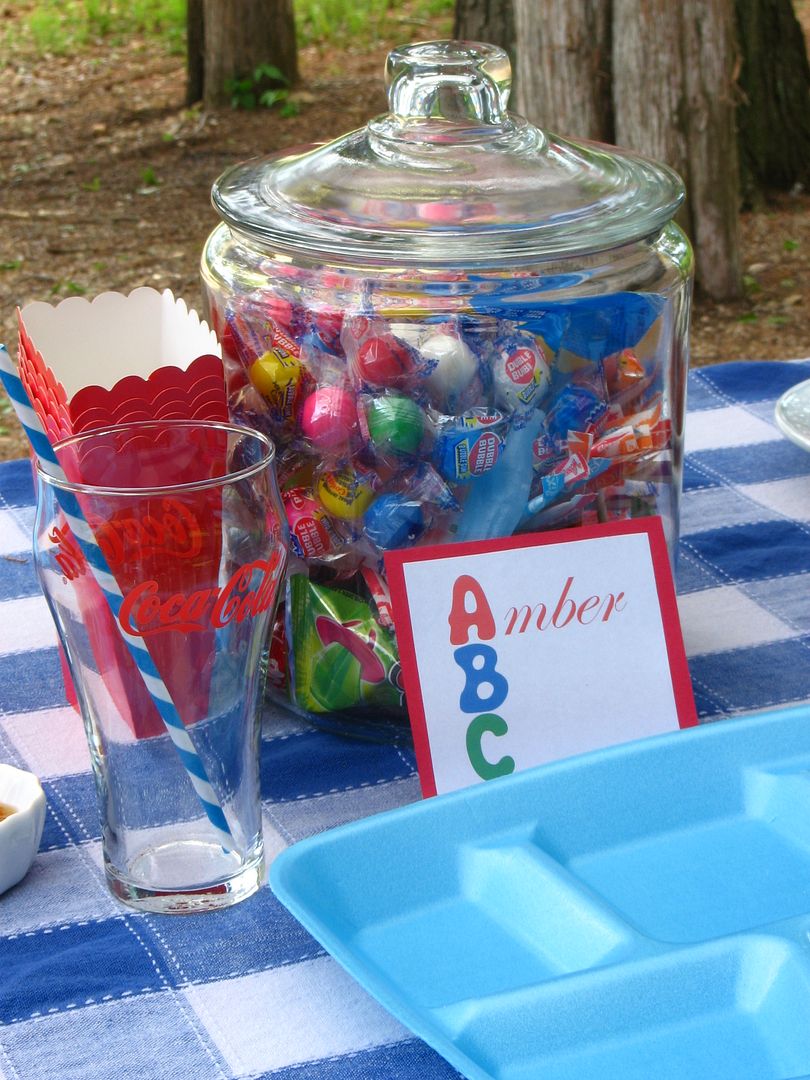
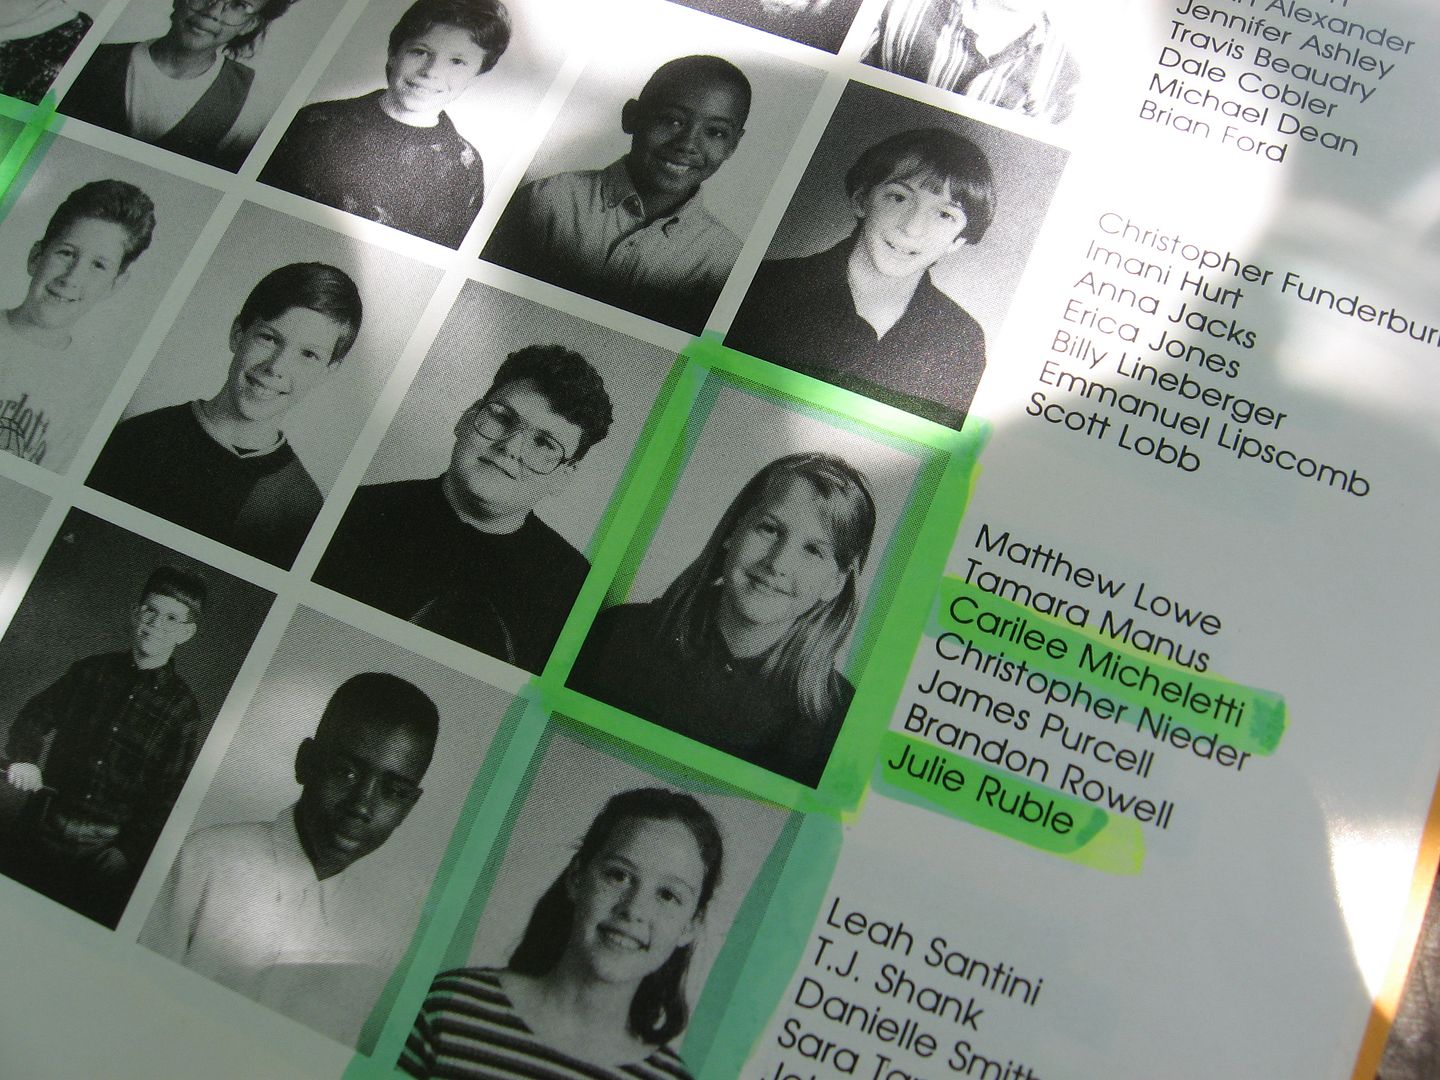
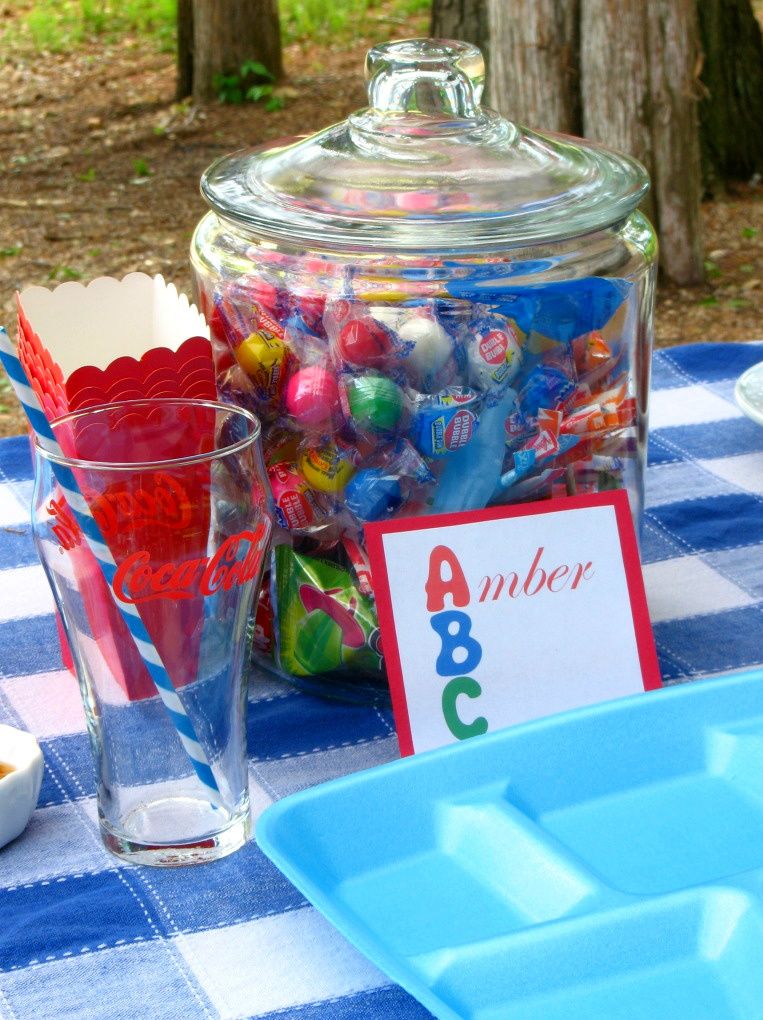
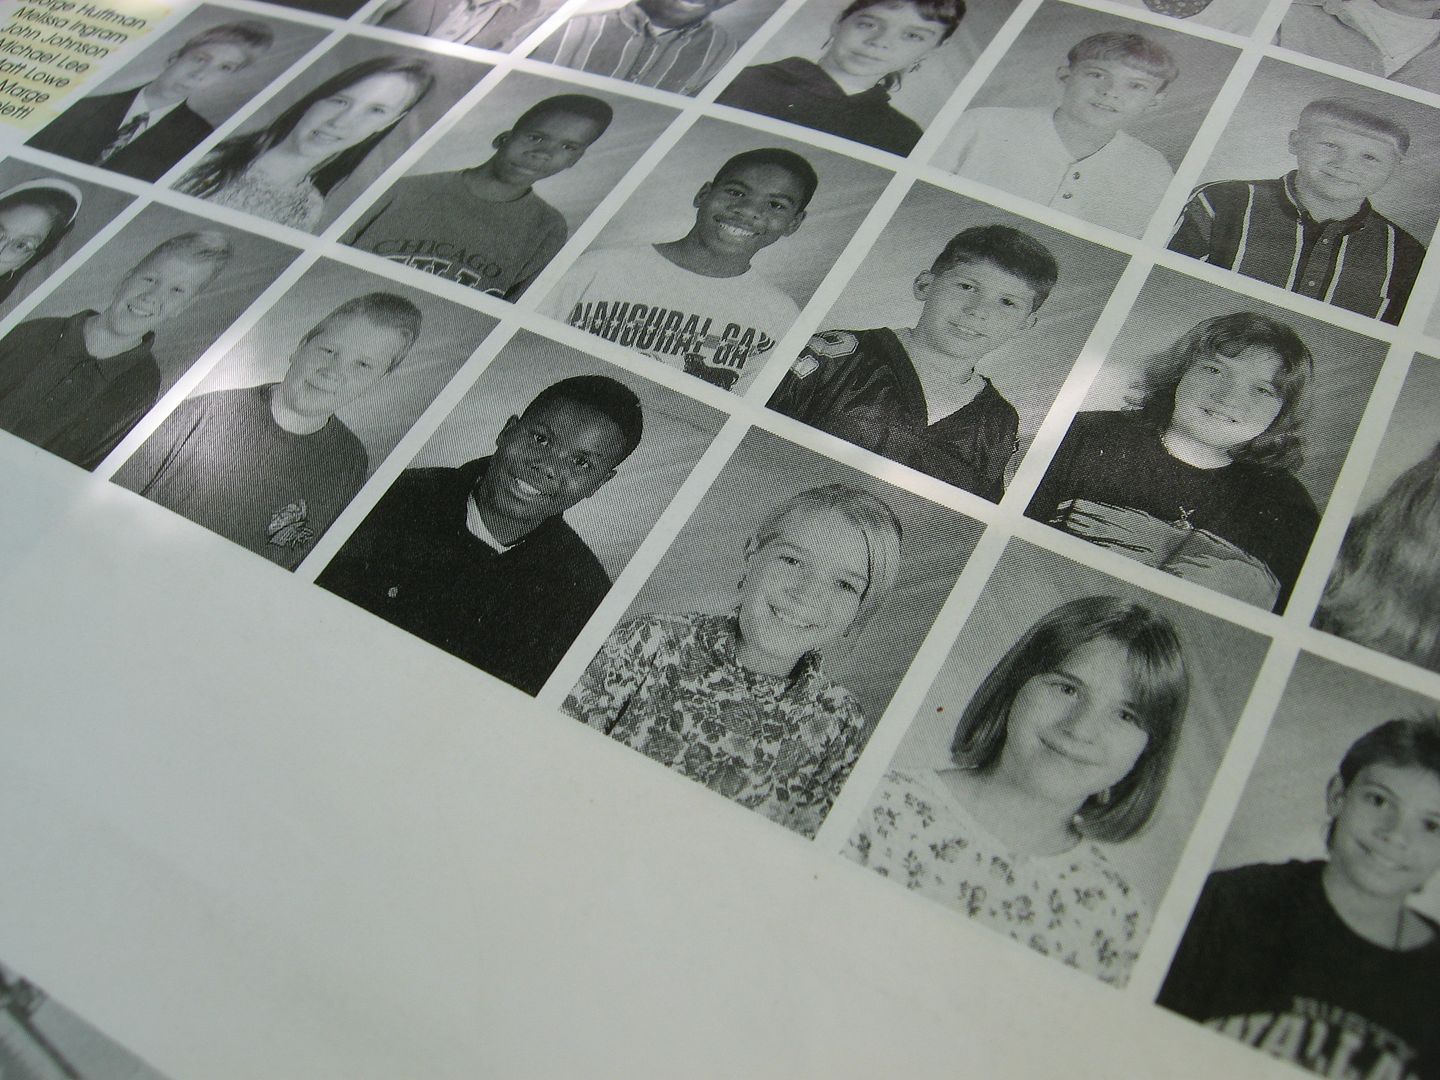
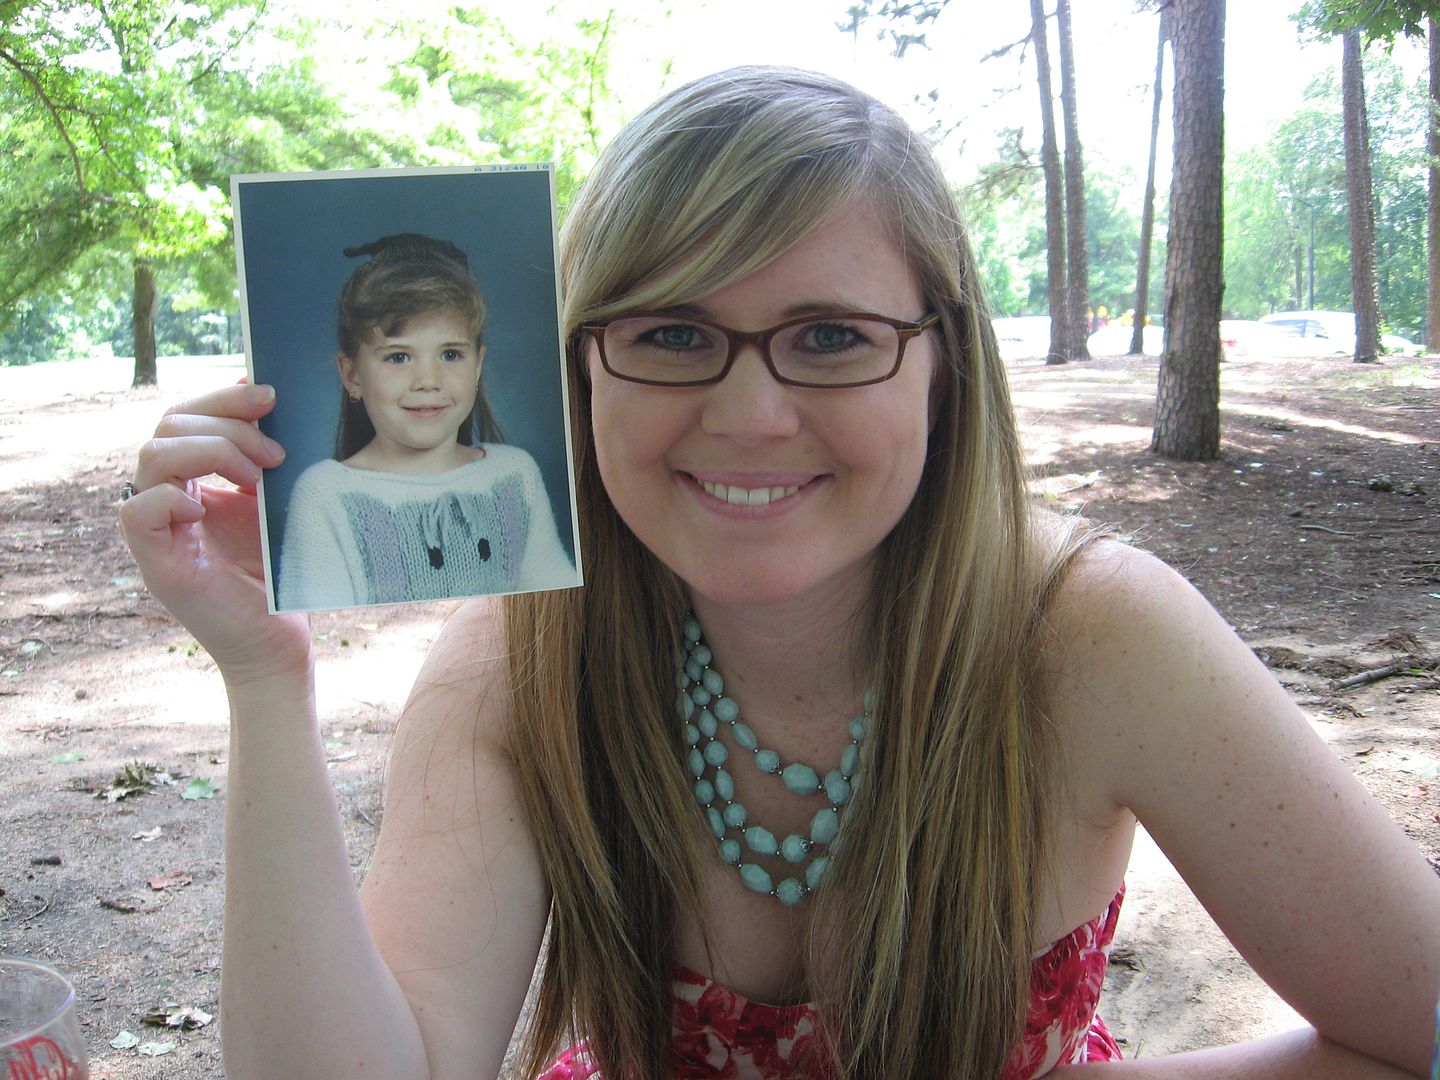
I set the picnic table in bright primary colors with sunflowers, foam ABCs, striped party straws, and gigantic candy jars full of nostalgic treats: Ring Pops, Pixie Stix, Dubble Bubble gumballs, Pez dispensers, Nik-L-Nips, and Tootsie Pops. A homemade party banner and some balloons stretched over our picnic table. Everyone brought childhood photos, elementary school yearbooks, mementos, and tons of fun memories to share.

The Cast of Characters:

Amber was a pint-sized dynamo in elementary school. She was tiny, but she took gymnastics and could do all sorts of amazing things. I remember thinking Amber was the sweetest friend in 4th grade, when we were both in Ms. Oatman’s class together.


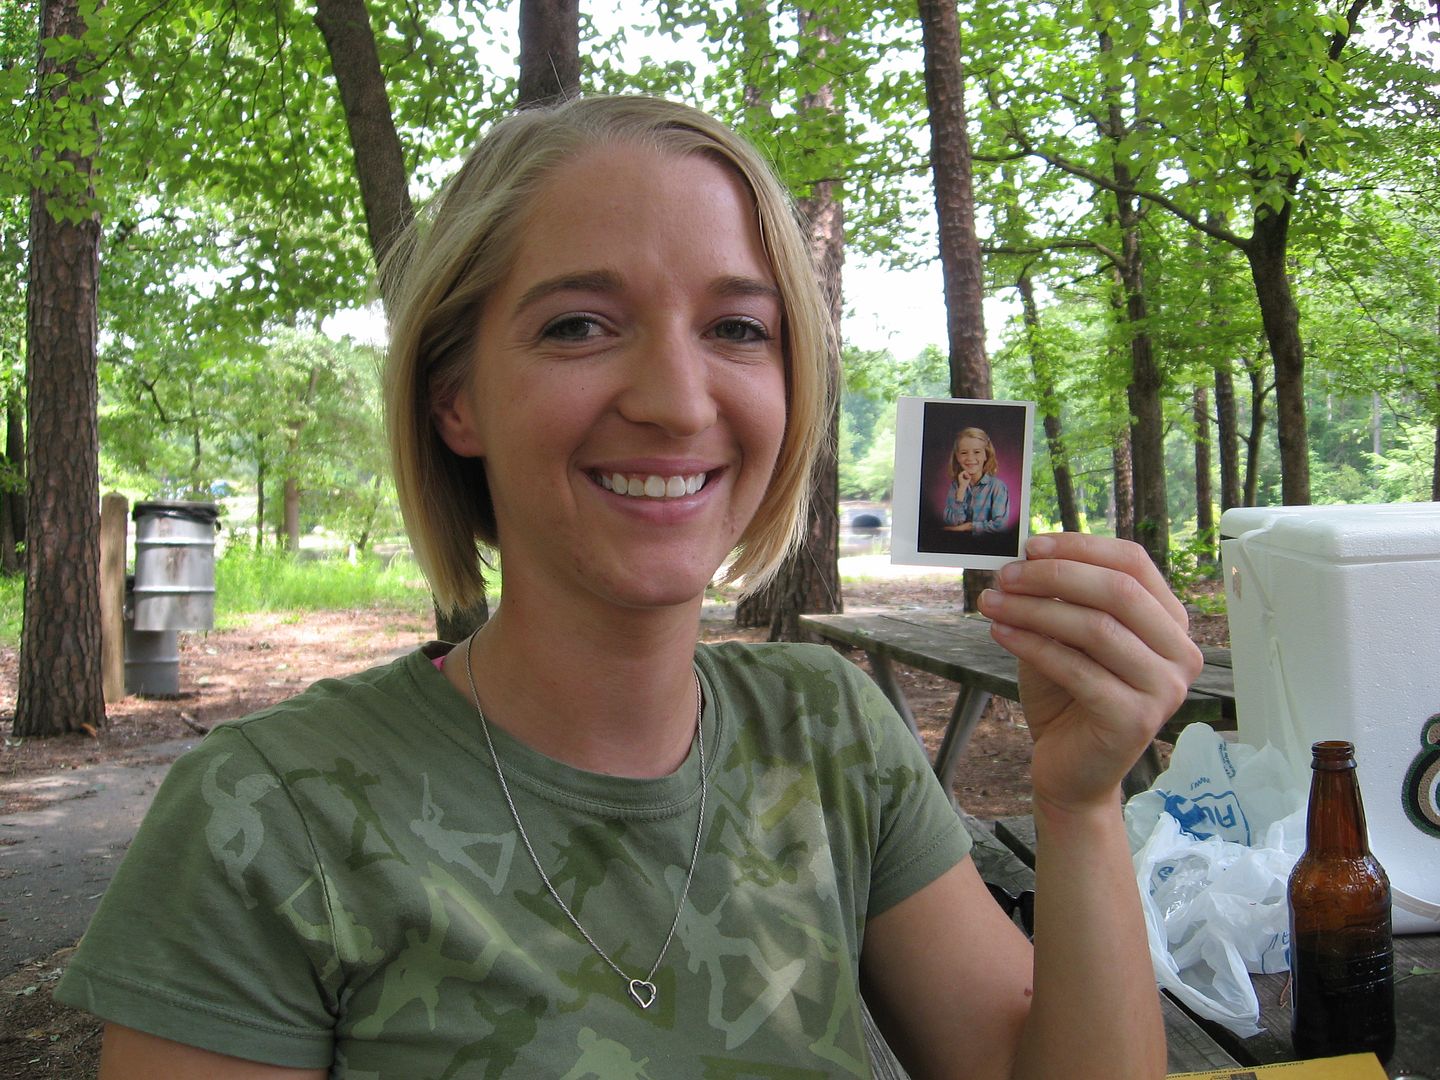
Amber, then and now.

Now, Amber is married to her high school sweetheart, Patrick. She’s a nurse and lives in Charlotte with her zoo: 4 dogs and 2 cats!


Amber in elementary school.

Oh, yeah, and she’s still a dedicated athlete. Amber’s now a powerlifter, and, um, she could totally kick your butt:


Photo by Jeff “Boomer” Alred

Alisha was my BFF from second grade until distance finally got the best of us: she moved away in the middle of fifth grade. We lived down the street from each other, so almost every day would find me scuttling off to her house to play with her and her sister, Lauren. Her mom, Loretta, is also so important to me — she drove me to church youth events with Alisha when I was little, in addition to driving us home from school, driving us to get ice cream, driving us to the moon and back. You get the idea.


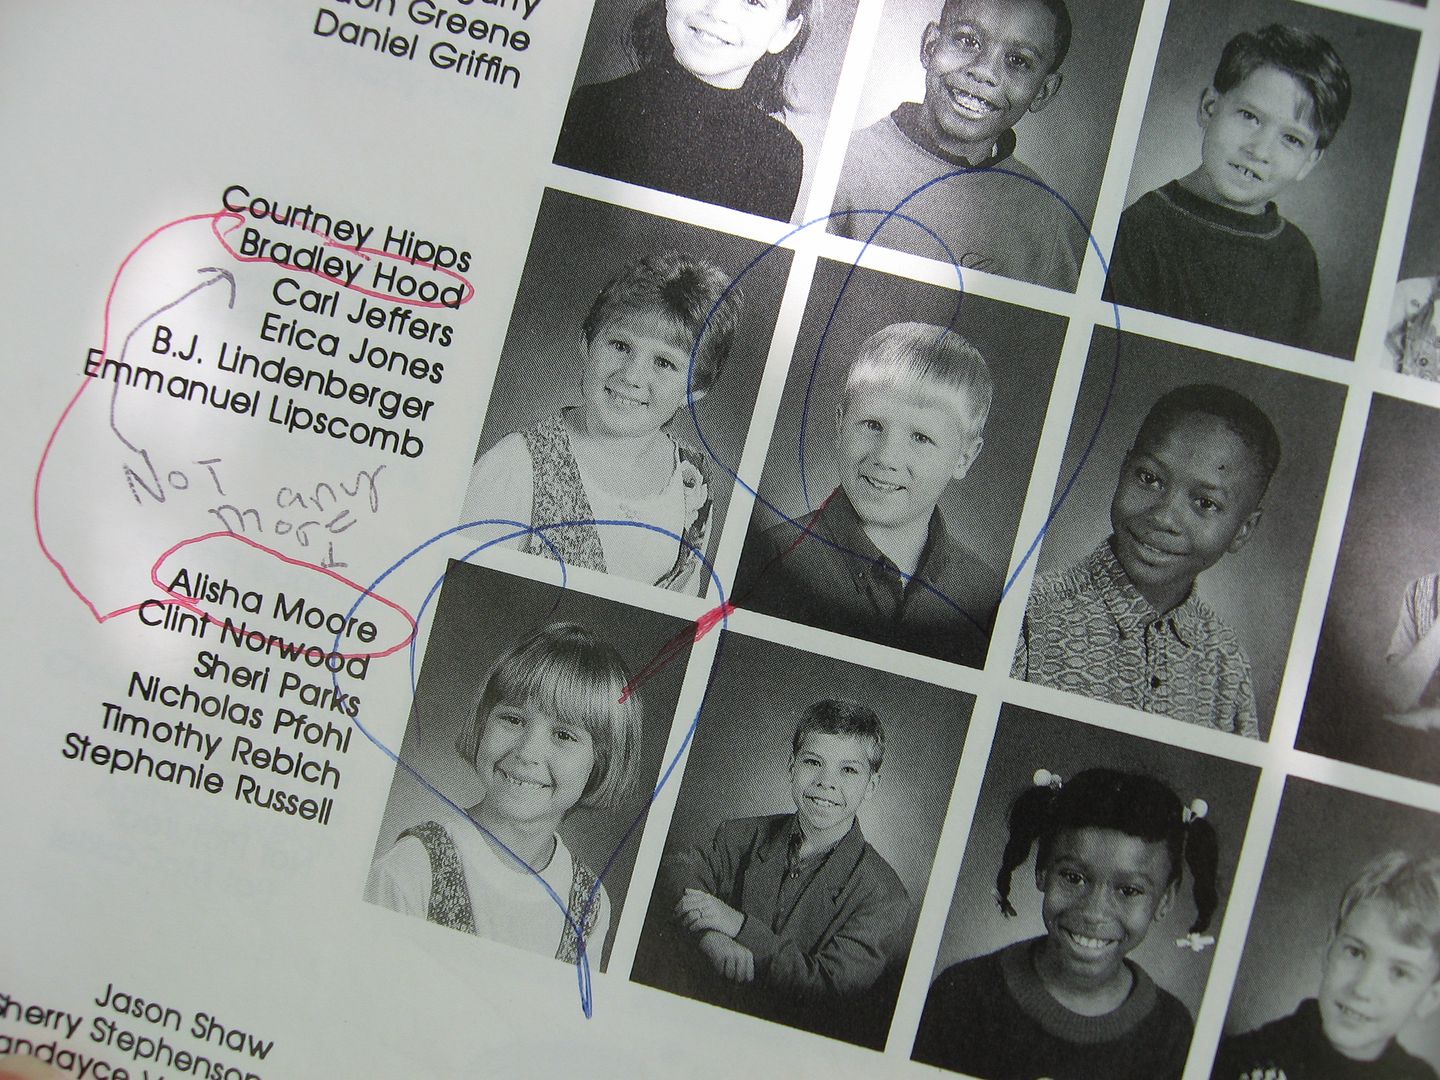
Alisha lovvvved Bradley Hood — well, most of the time.

Alisha and I were the perfect pair of friends: she was the cute, social one and I was the strategic, nerdy one. When our powers combined, we could tackle anything. I still remember the day 6 or 7 years ago when she called me and told me she was going to be a mommy! Here was the girl I’d played in the creek with at 7 years old, and she was going to have a baby of her own. Now Alisha and her daughter Olivia live in Mt. Pleasant, where Alisha works at an eye doctor’s office.


Alisha and Olivia

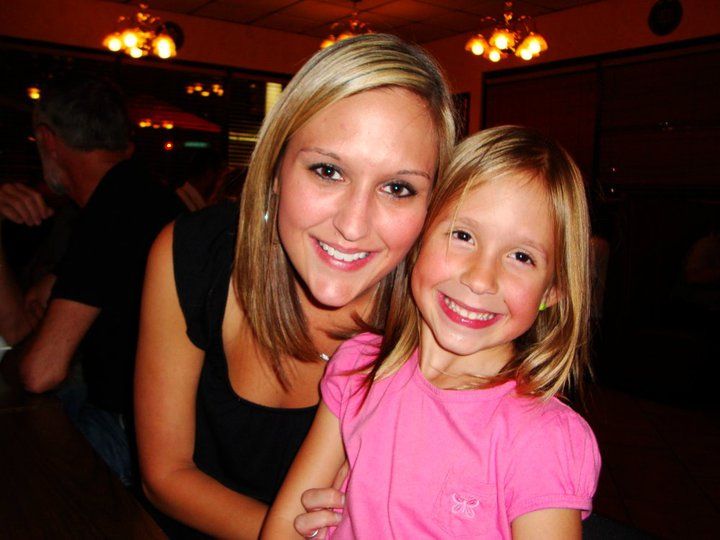
Ashley was so sweet in elementary school (and still is)! She lived down the street from my friend Tamara, and in fifth and sixth grade I’d go over to their neighborhood and we’d all hang out. She jokes that she had horrible hair in elementary school, but I always thought her hair was adorable.


Ashley, then and now.

Today, Ashley works in sales at a software company and is married to — get this — a guy we went to elementary school with! His name is Scott, and he was my buddy in second grade, before he moved to another school. Though he and Ashley are both from North Carolina, they actually reunited in Georgia after college. Now that they’re married, they live with their dog and their pet pig, Clyde.


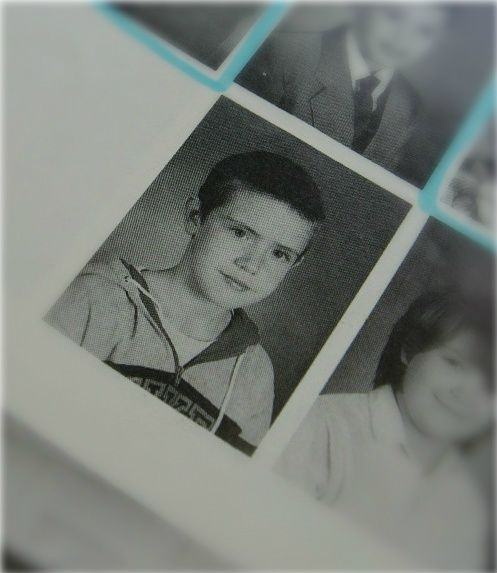
Ashley and her future husband, Scott, in elementary school.

The Menu: School Lunch Redux

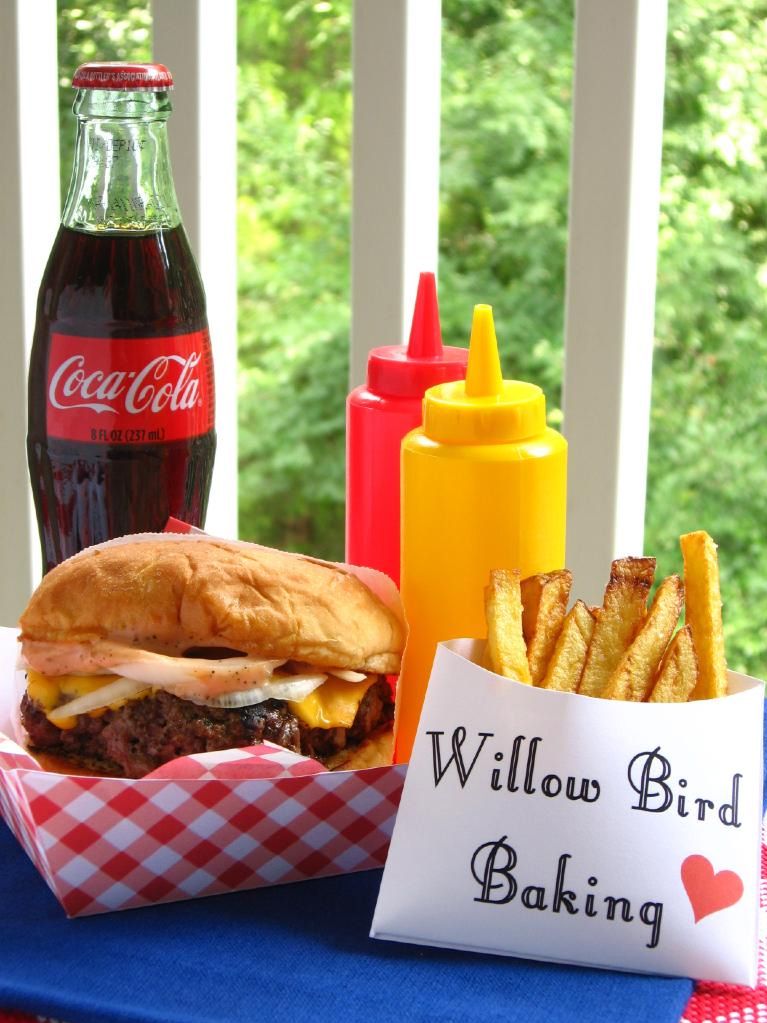
I set a nice table and invited a fun bunch, but a picnic’s not a picnic without the food! To make the menu match the theme, I took foods you might remember from your cafeteria tray or lunchbox and updated them for adult tastes. Thanks to my coworker Anne for this fun idea!

Here’s the lineup:

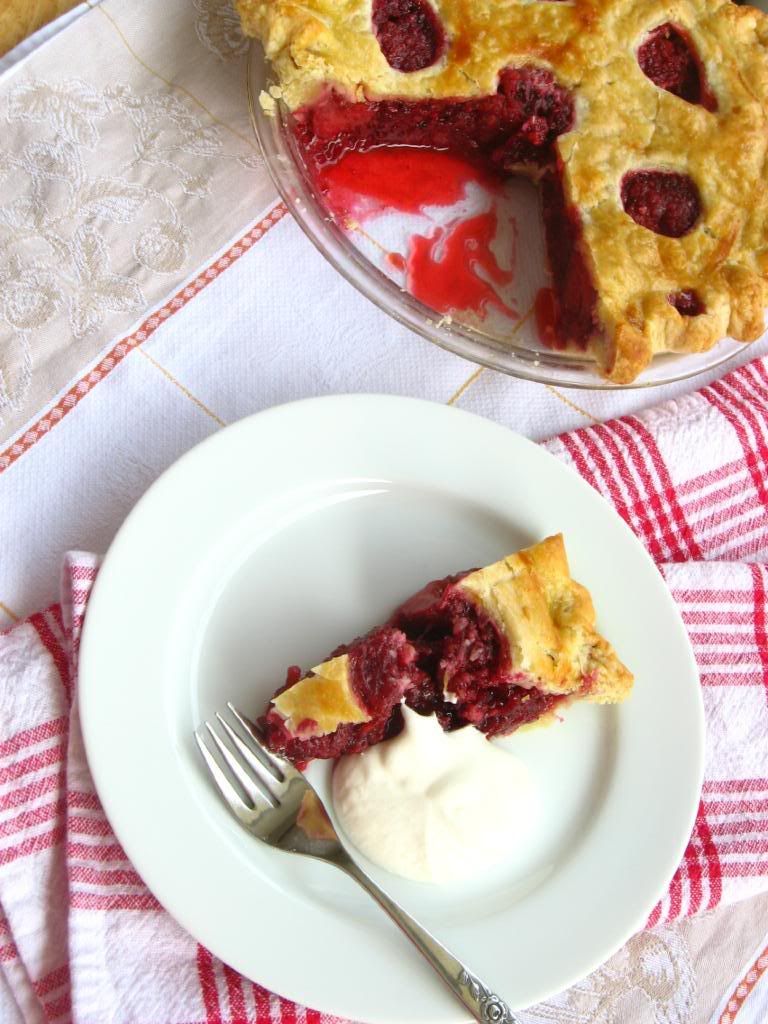
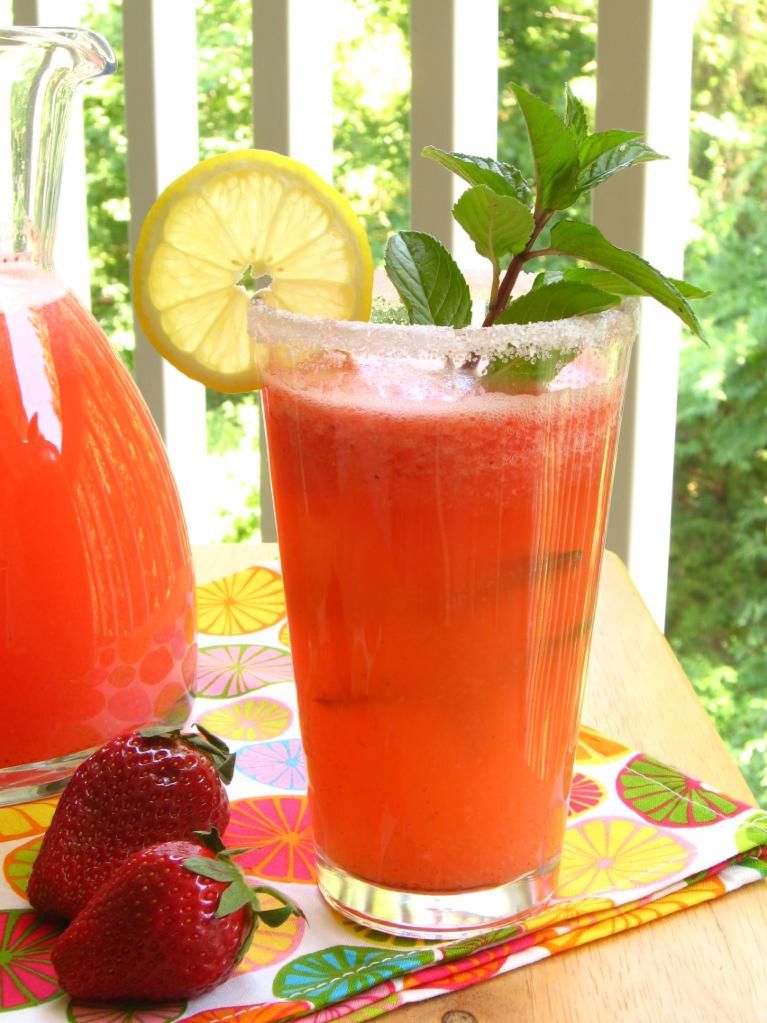
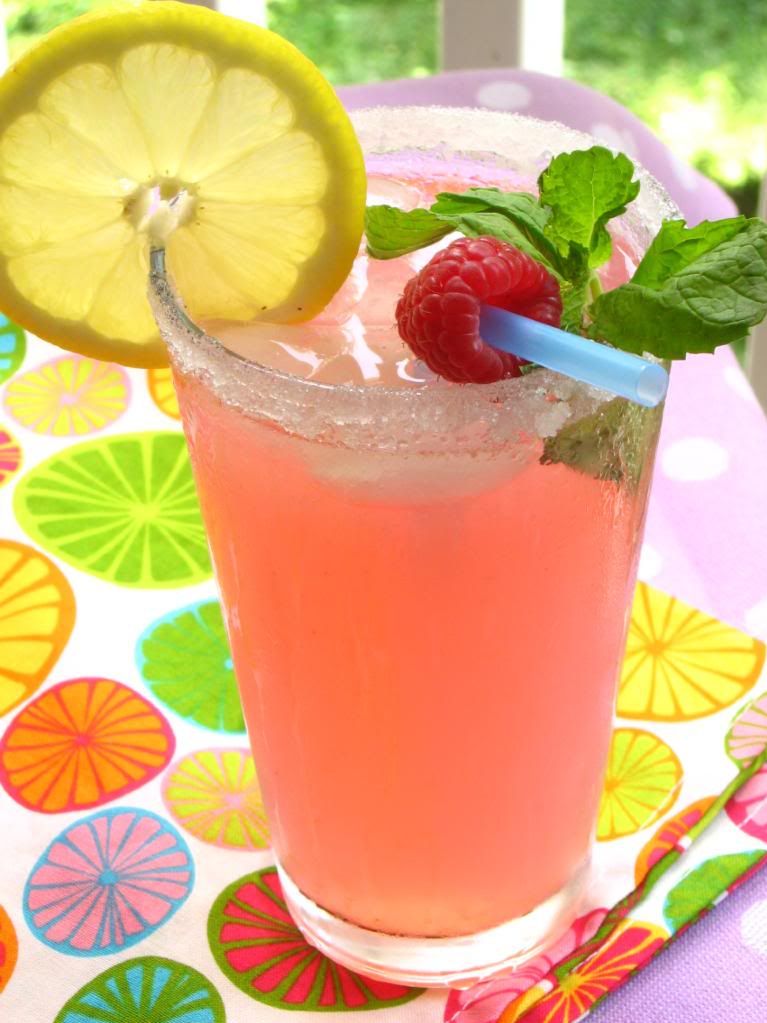
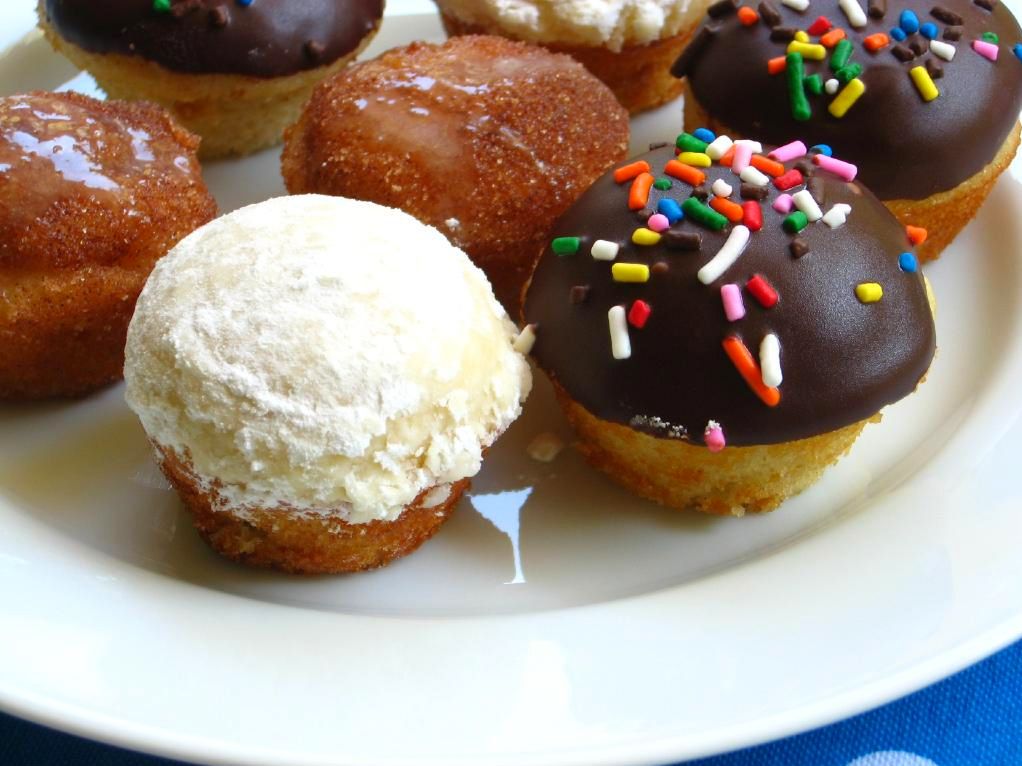
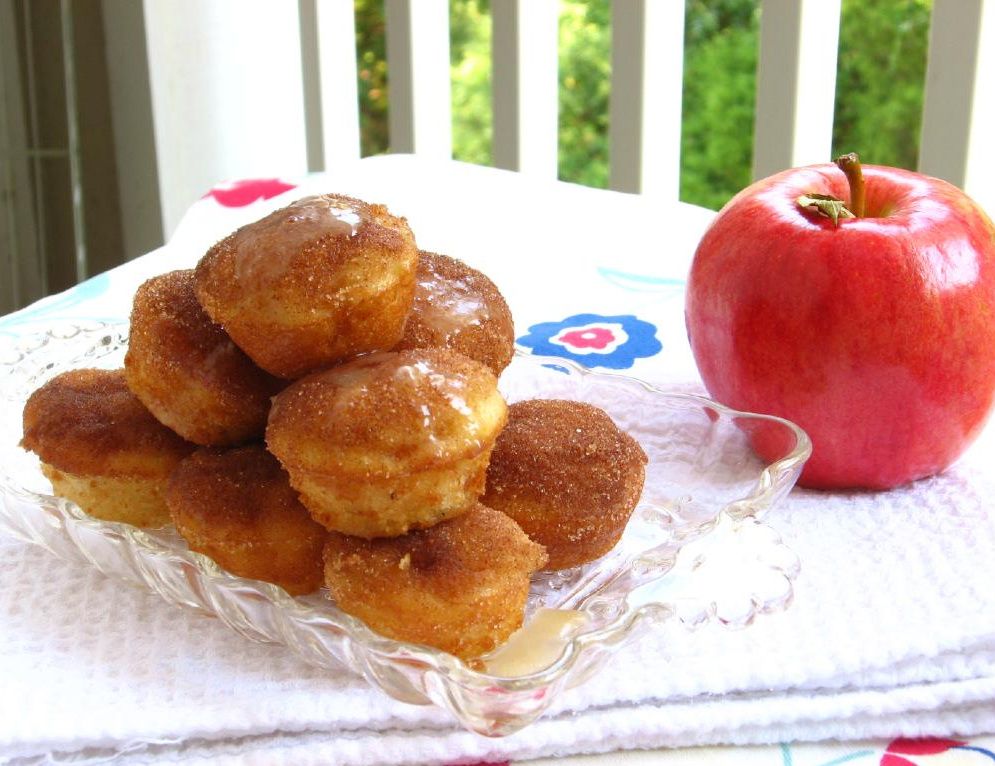
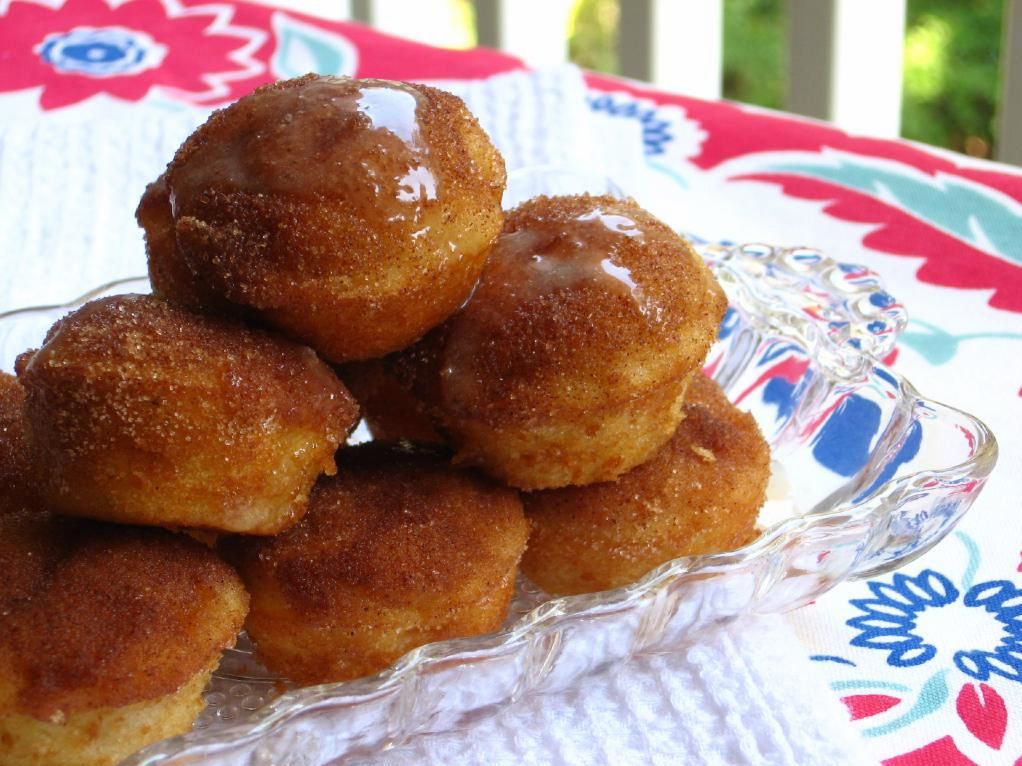
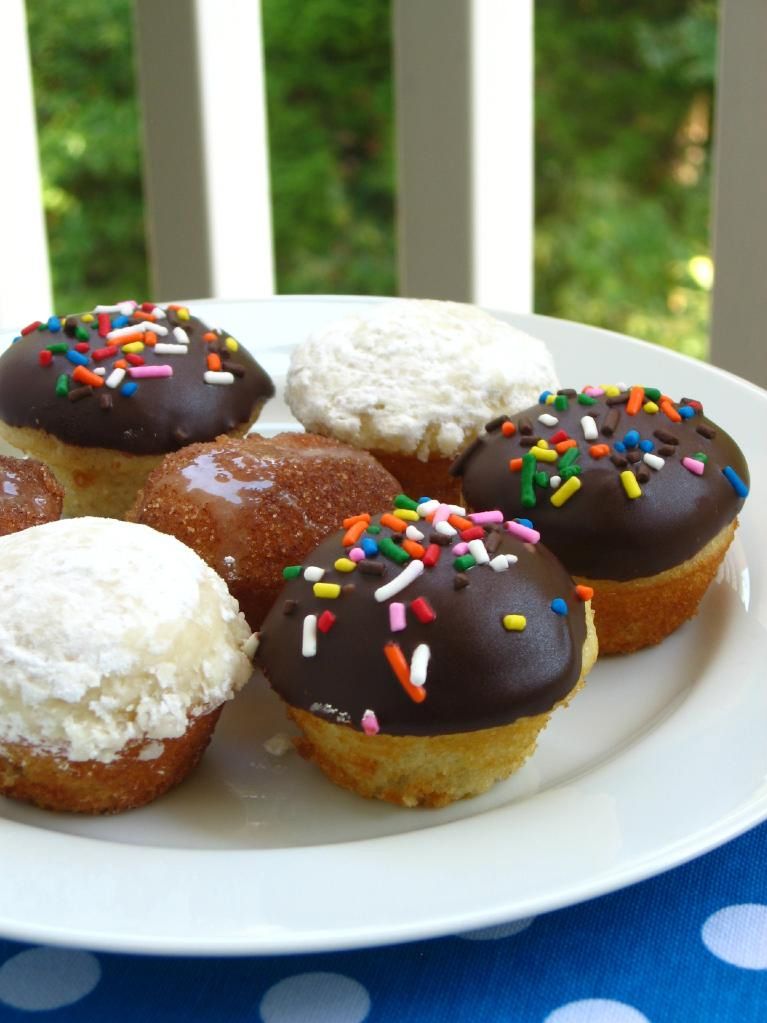
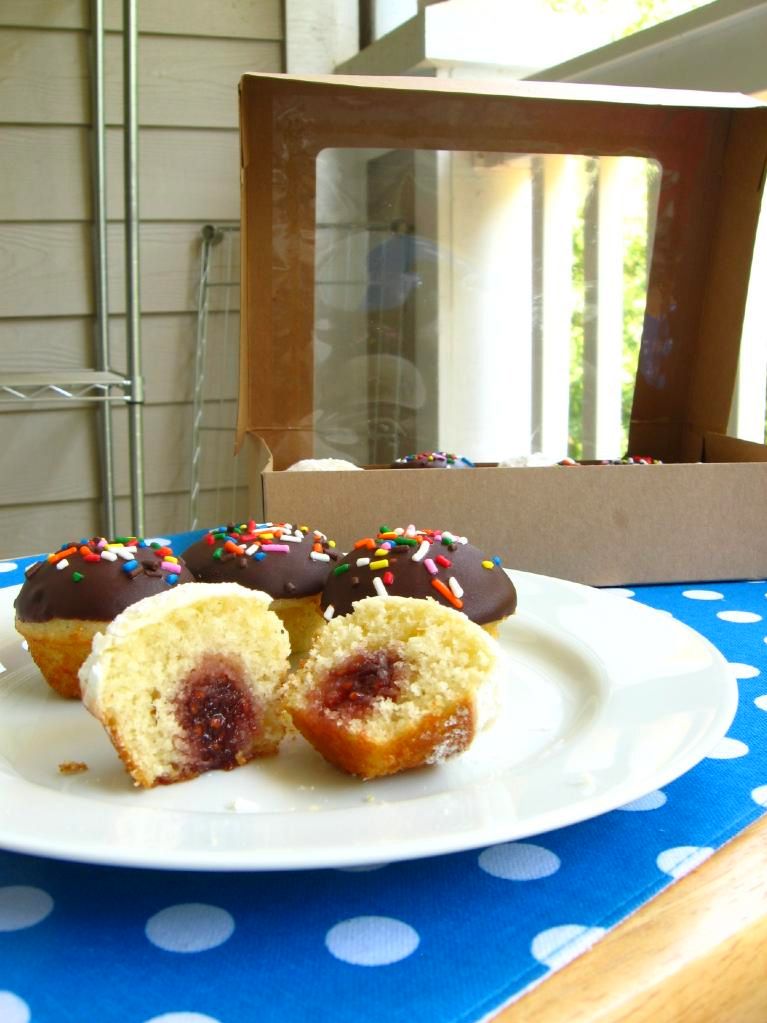
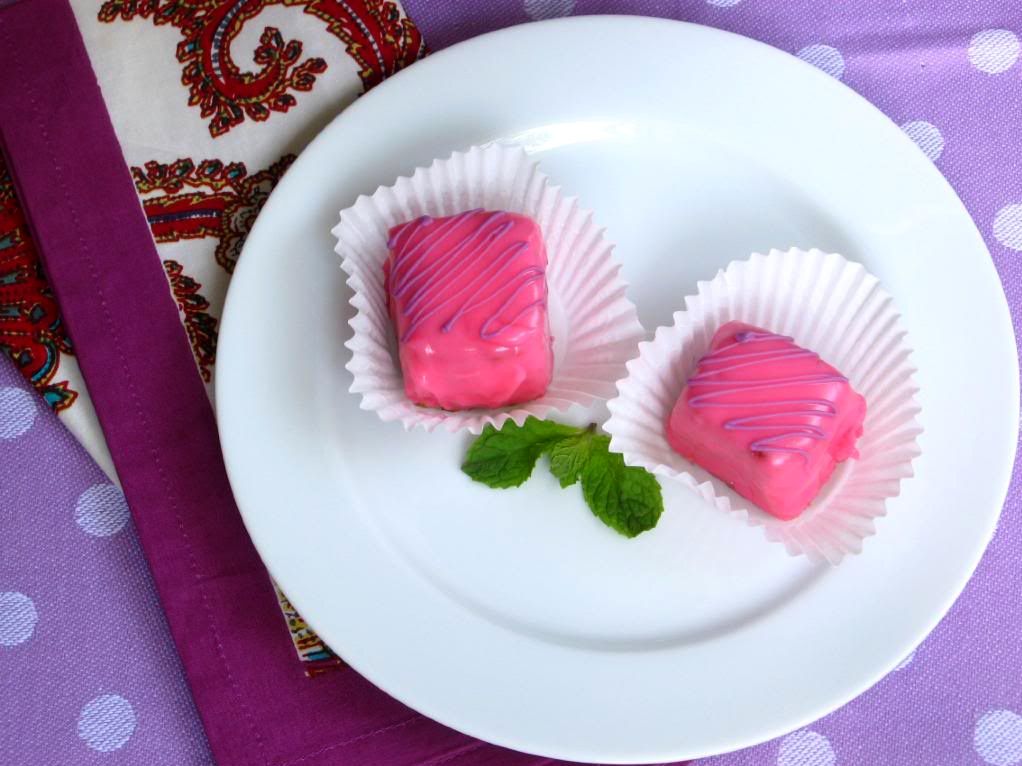
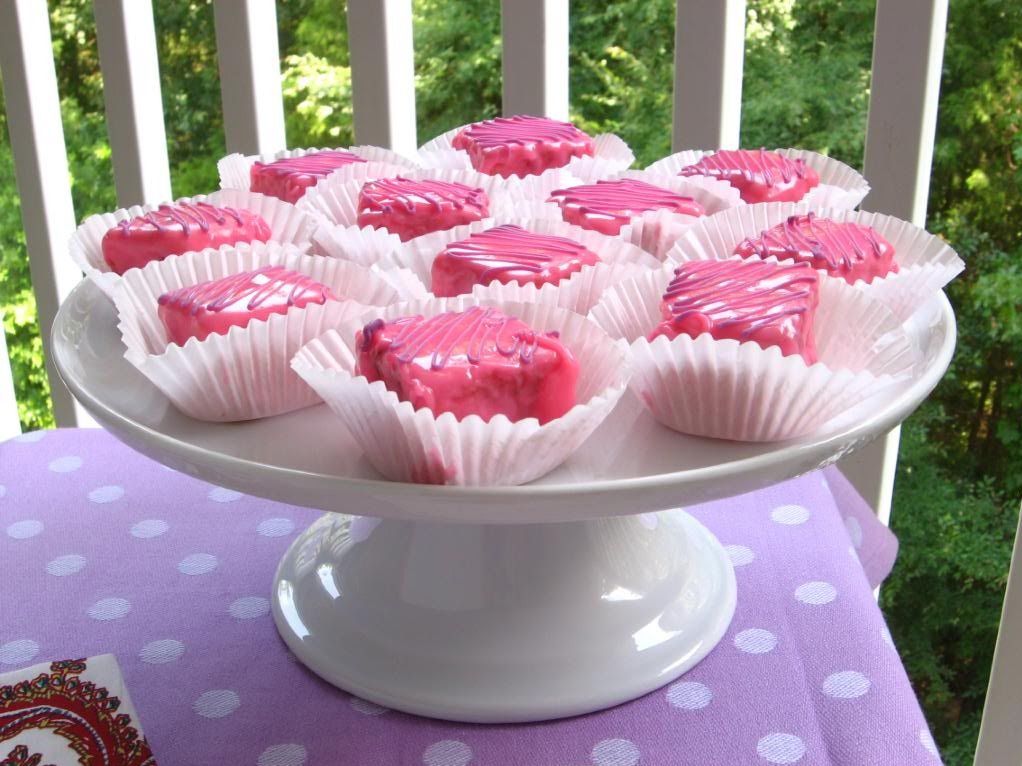
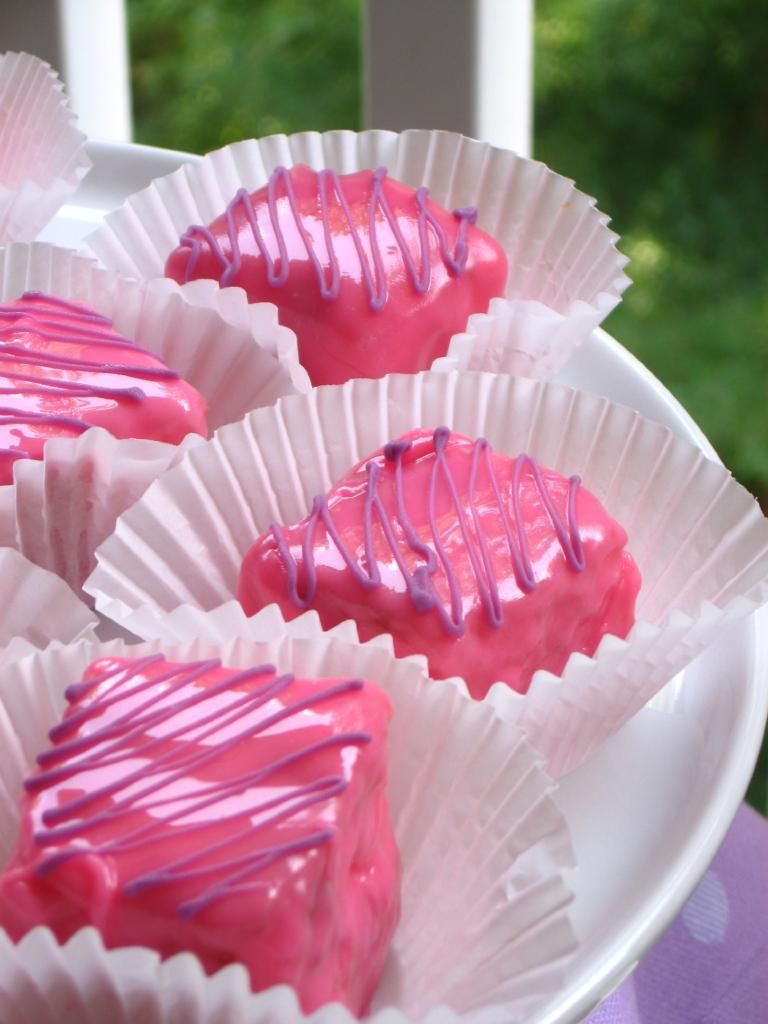
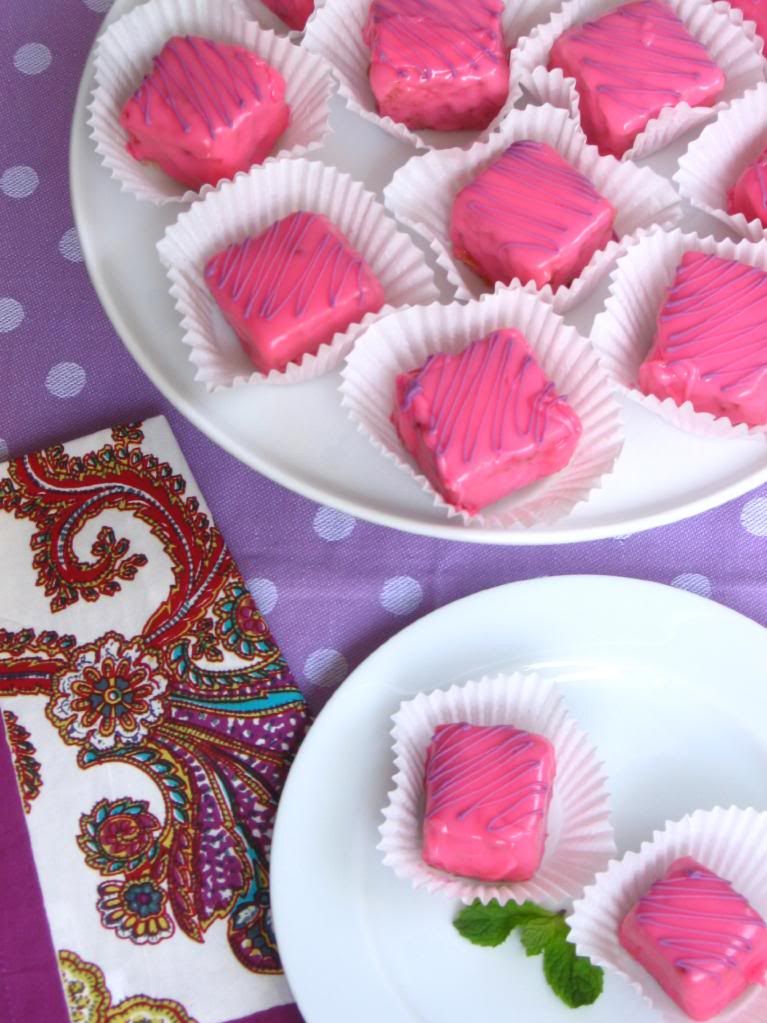
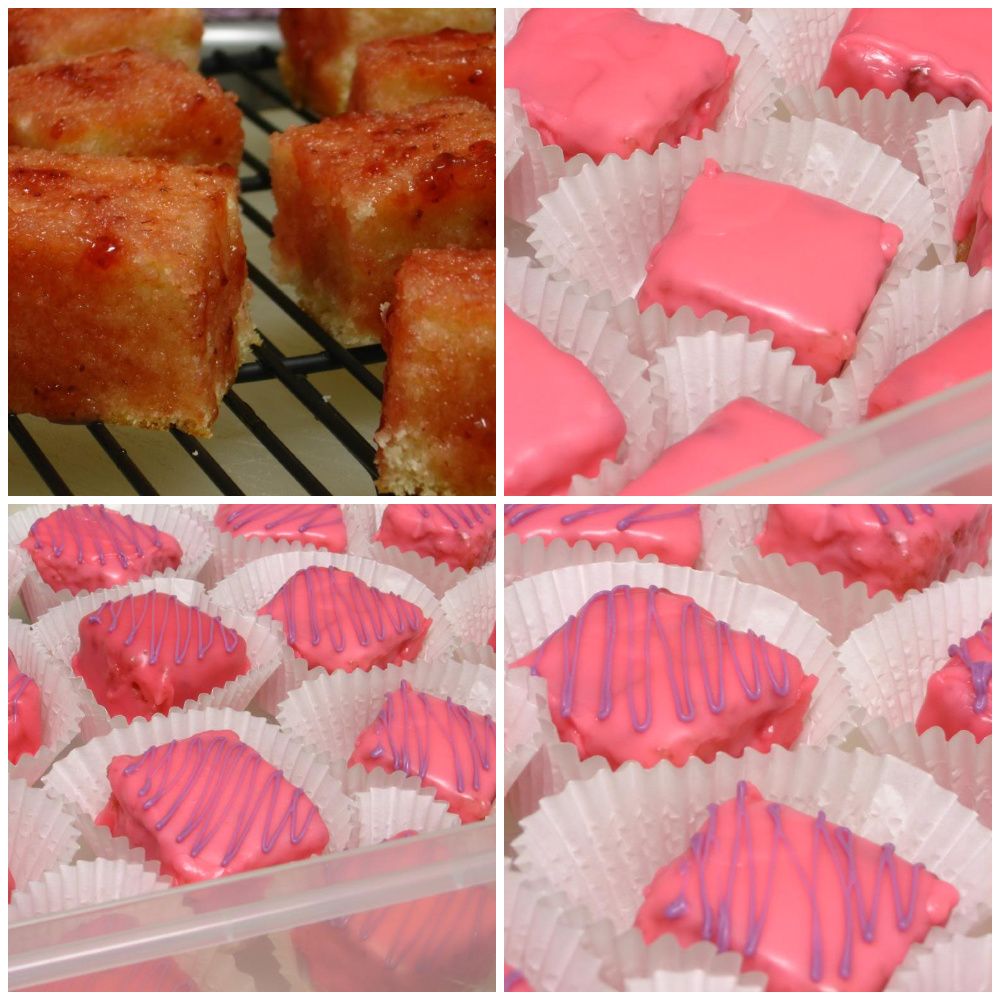
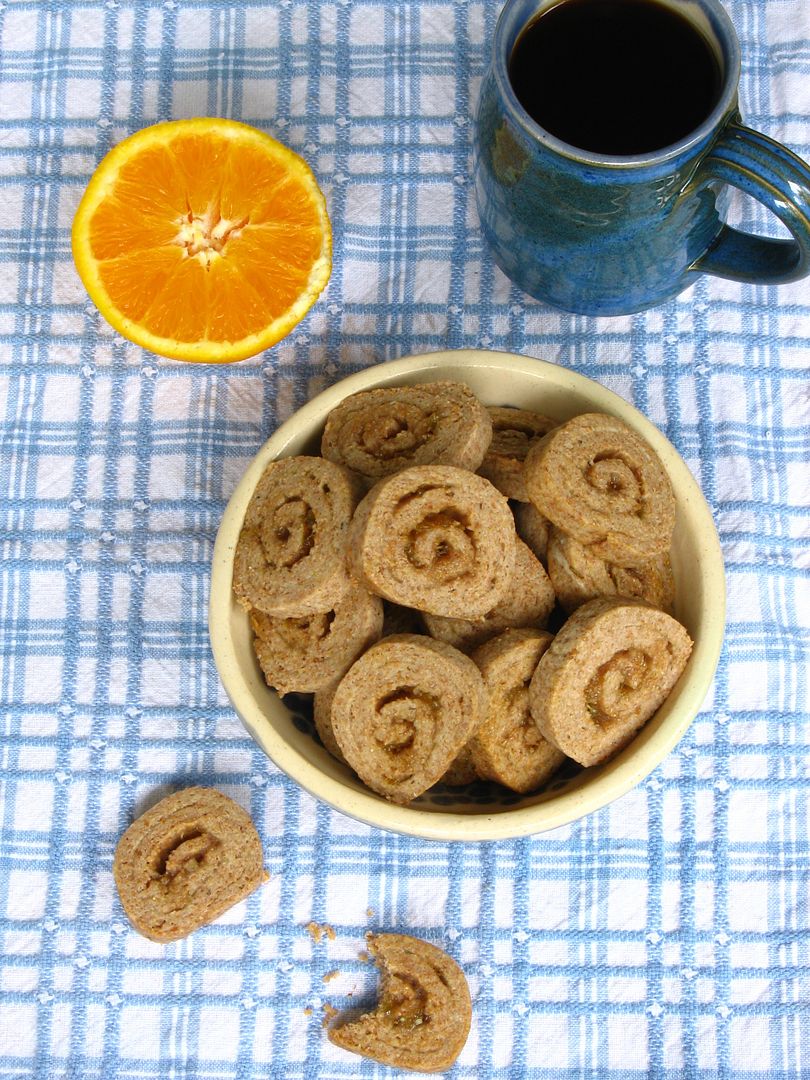
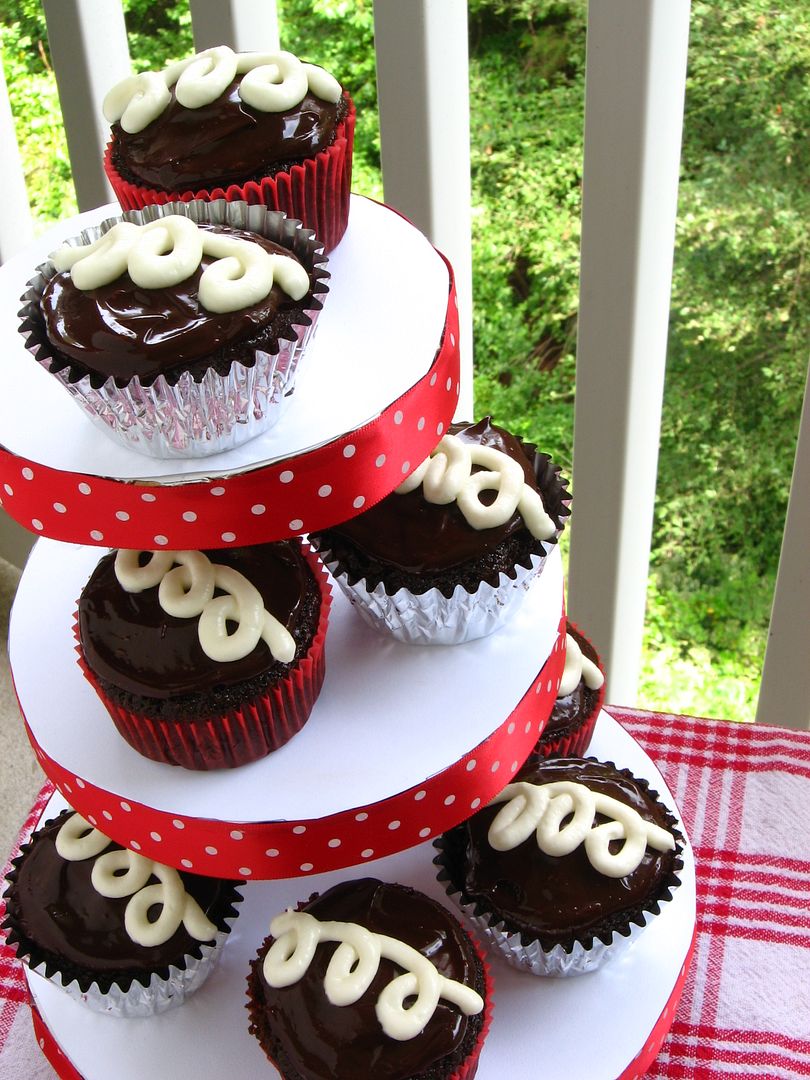
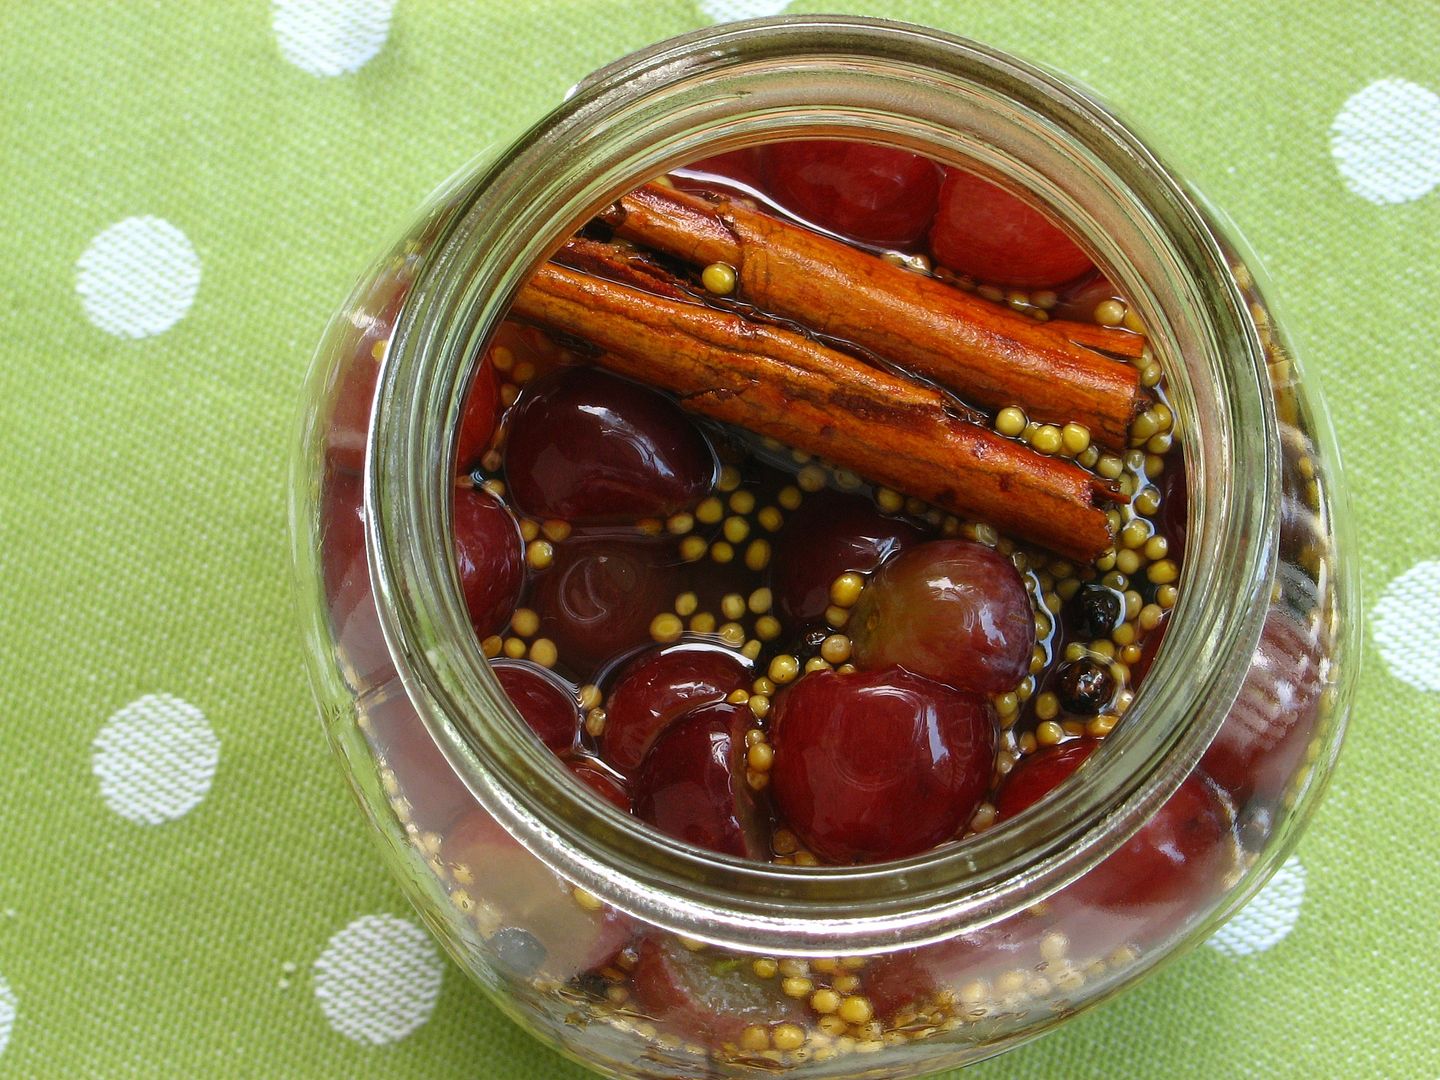
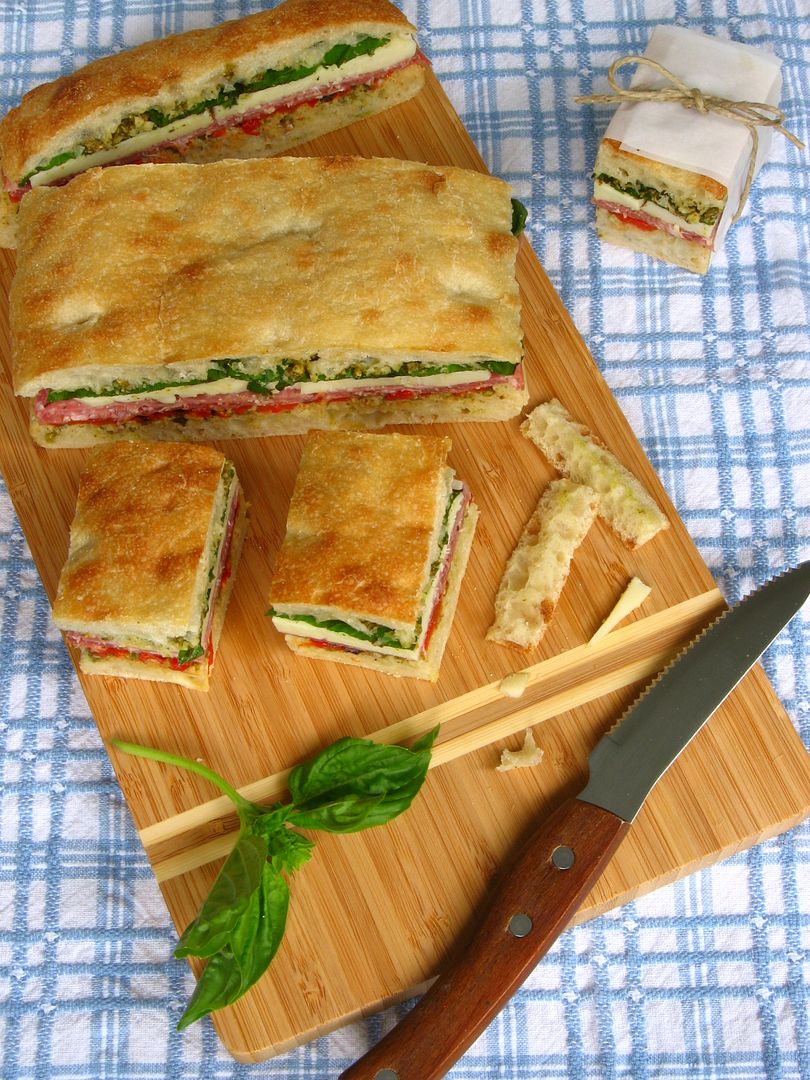
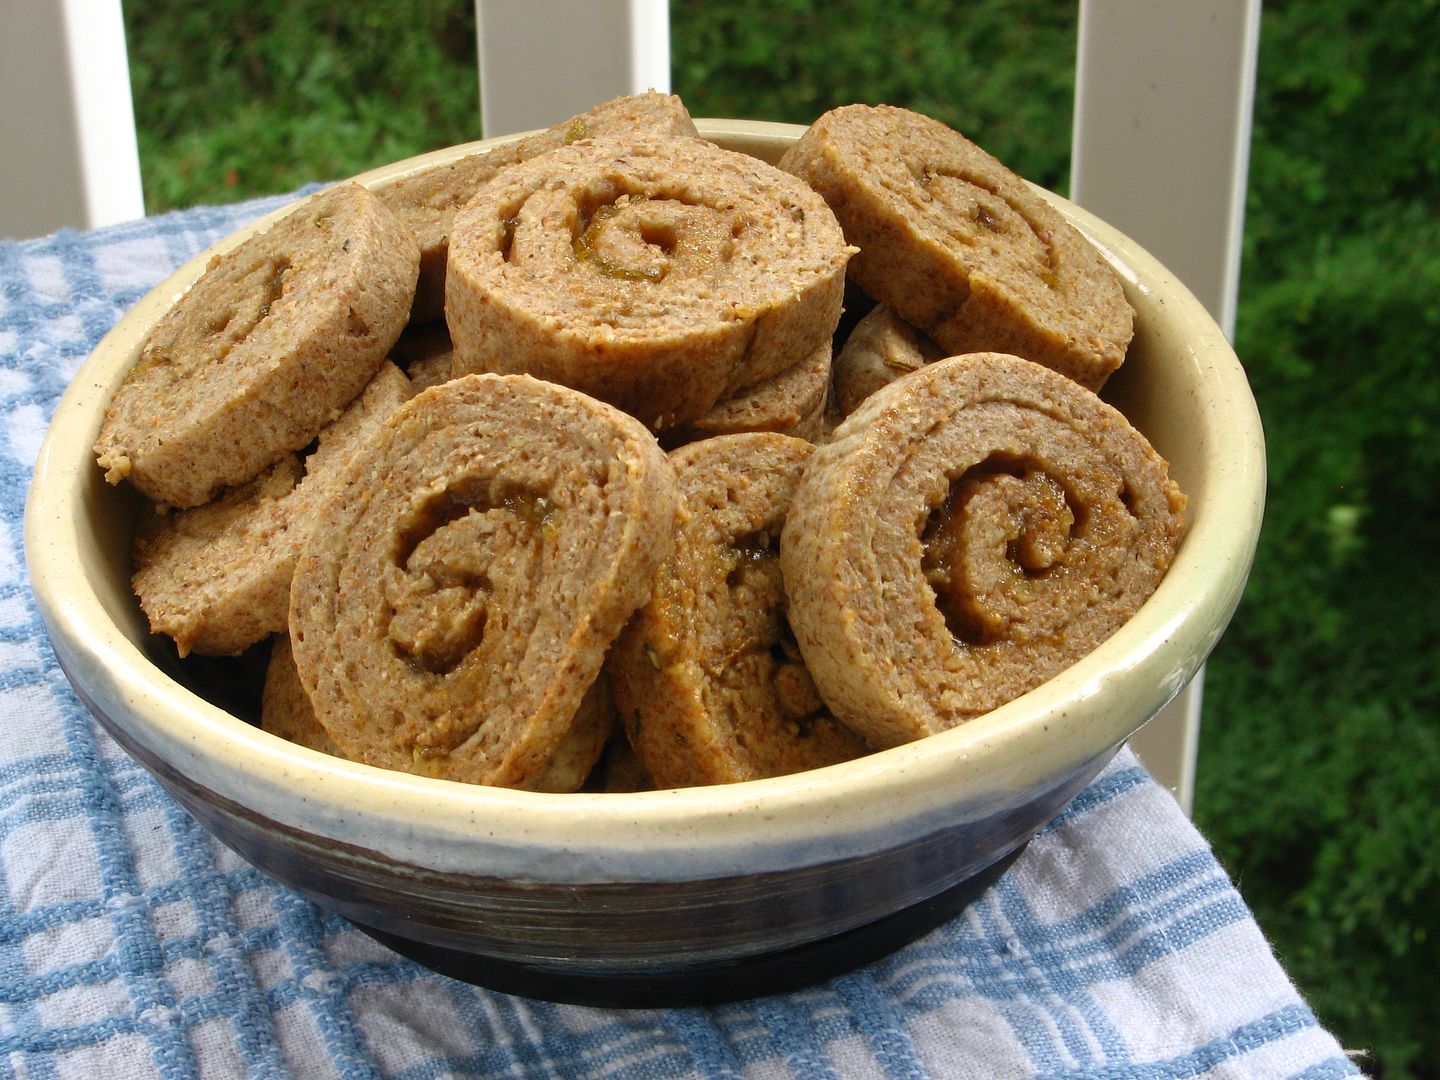
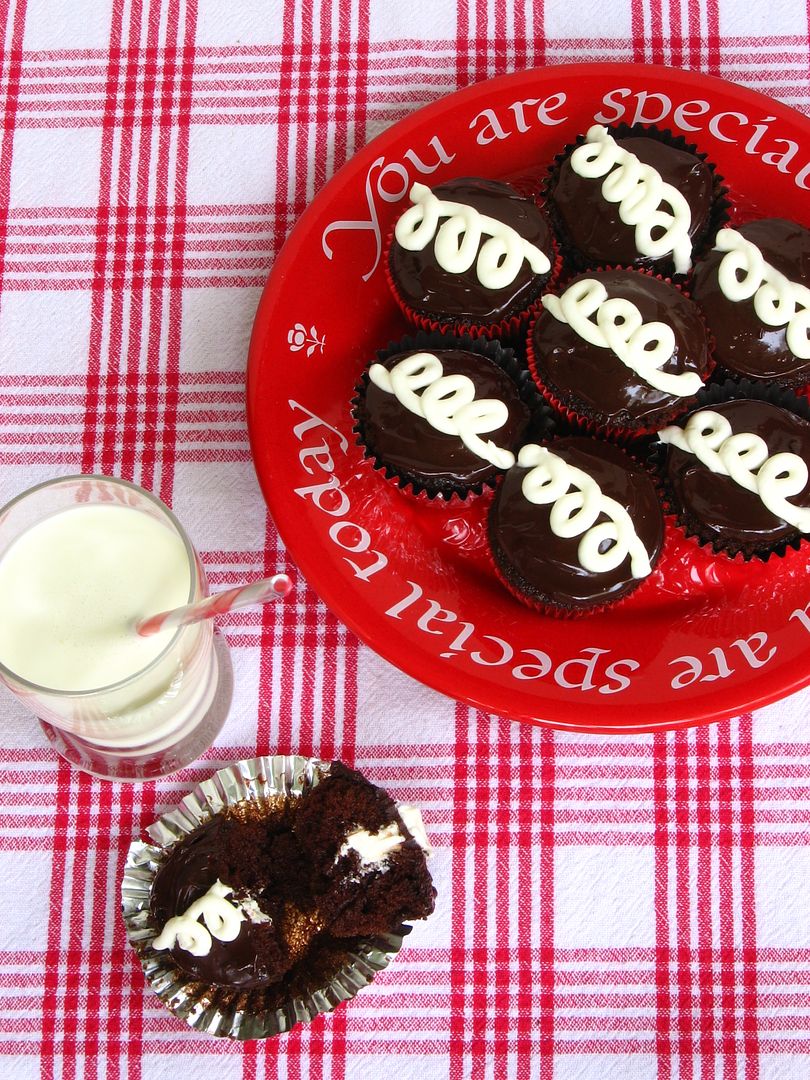
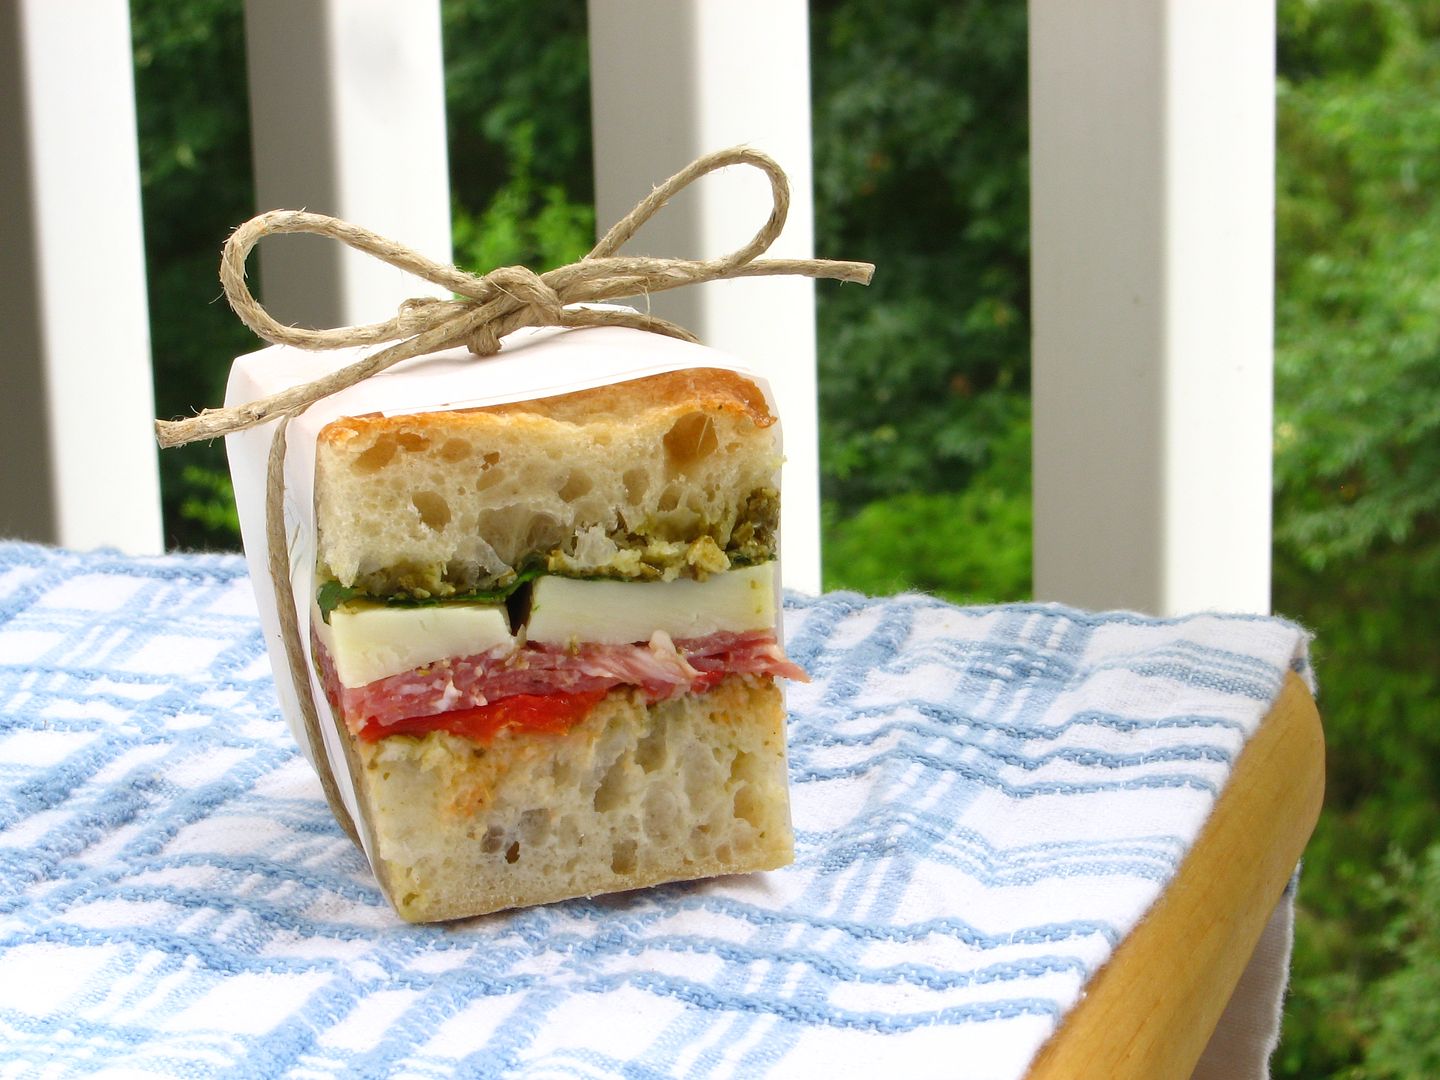
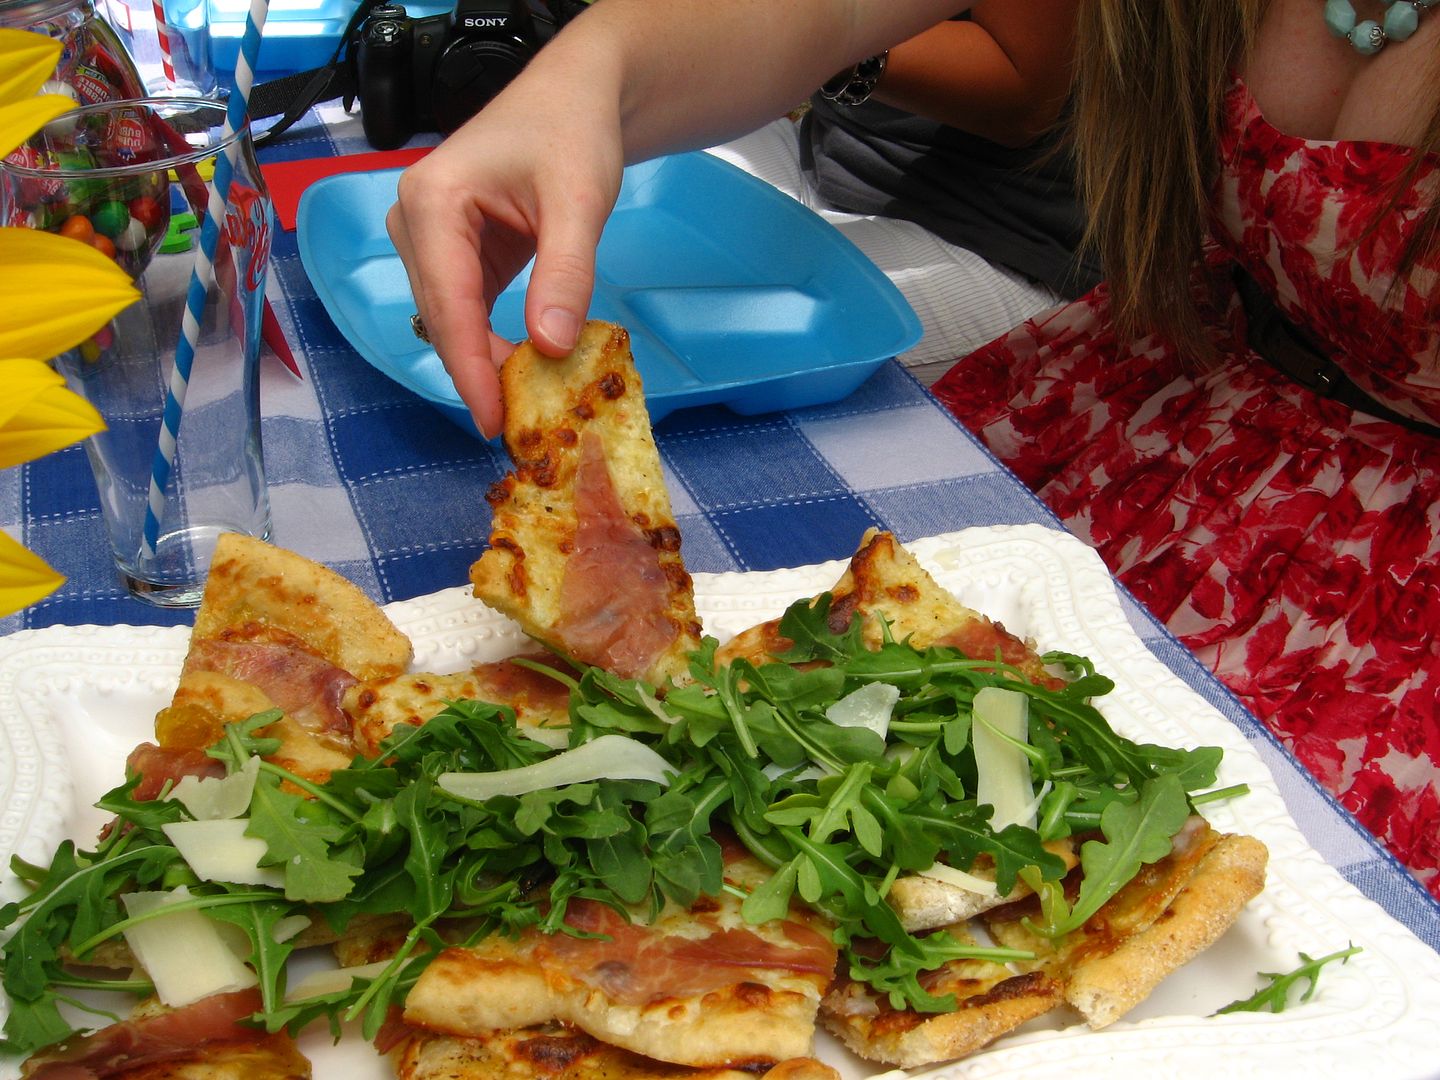
Cardboard-like, square lunchroom pizza became a homemade Fig and Prosciutto Pizza topped with fresh arugula and shaved Parmesan. Instead of a classic peanut butter and jelly sandwich, I made a bright Italian Pressed Sandwich. Baggies of grapes and potato chips morphed into Pickled Grapes with Goat Cheese and Savory Sour Cream and Fig Cookie Spirals, slathered with whipped cream cheese and fig jam. Fruit Roll-Ups and Hostess Cupcakes became homemade Straw-Raspberry Basil Fruit Leather and Fauxstess Cupcakes. We drank lemonade and root beer with our updated lunchroom fare.

During the picnic, we shared scores of memories. We talked about Terilyn Cunningham, our sweet friend who died from an asthma attack after elementary school. I remember her having an attack one day in gym class and the teacher asking me to walk with her to the classroom to get her inhaler. On the way, she explained what it felt like to be unable to breathe. In just a year or two, she was gone.

On happier notes, we laughed at our sixth grade newsletter, The Leopard’s Roar, written on an early 90s Word Processor with a big block font. Alisha recalled the field trip when I called out to Bobby Joe (and his dad, who was chaperoning) that she liked him. Oops. We remembered teachers and administrators — Mrs. Shaughnessy! Ms. Oatman! Mr. Meserve! Mrs. Foster! Mrs. Hildreth! Ms. Horne! Mrs. Borders! Mrs. Taylor! — as well as friends who’ve been flung far and wide over time.

The Inevitable Near-Disaster

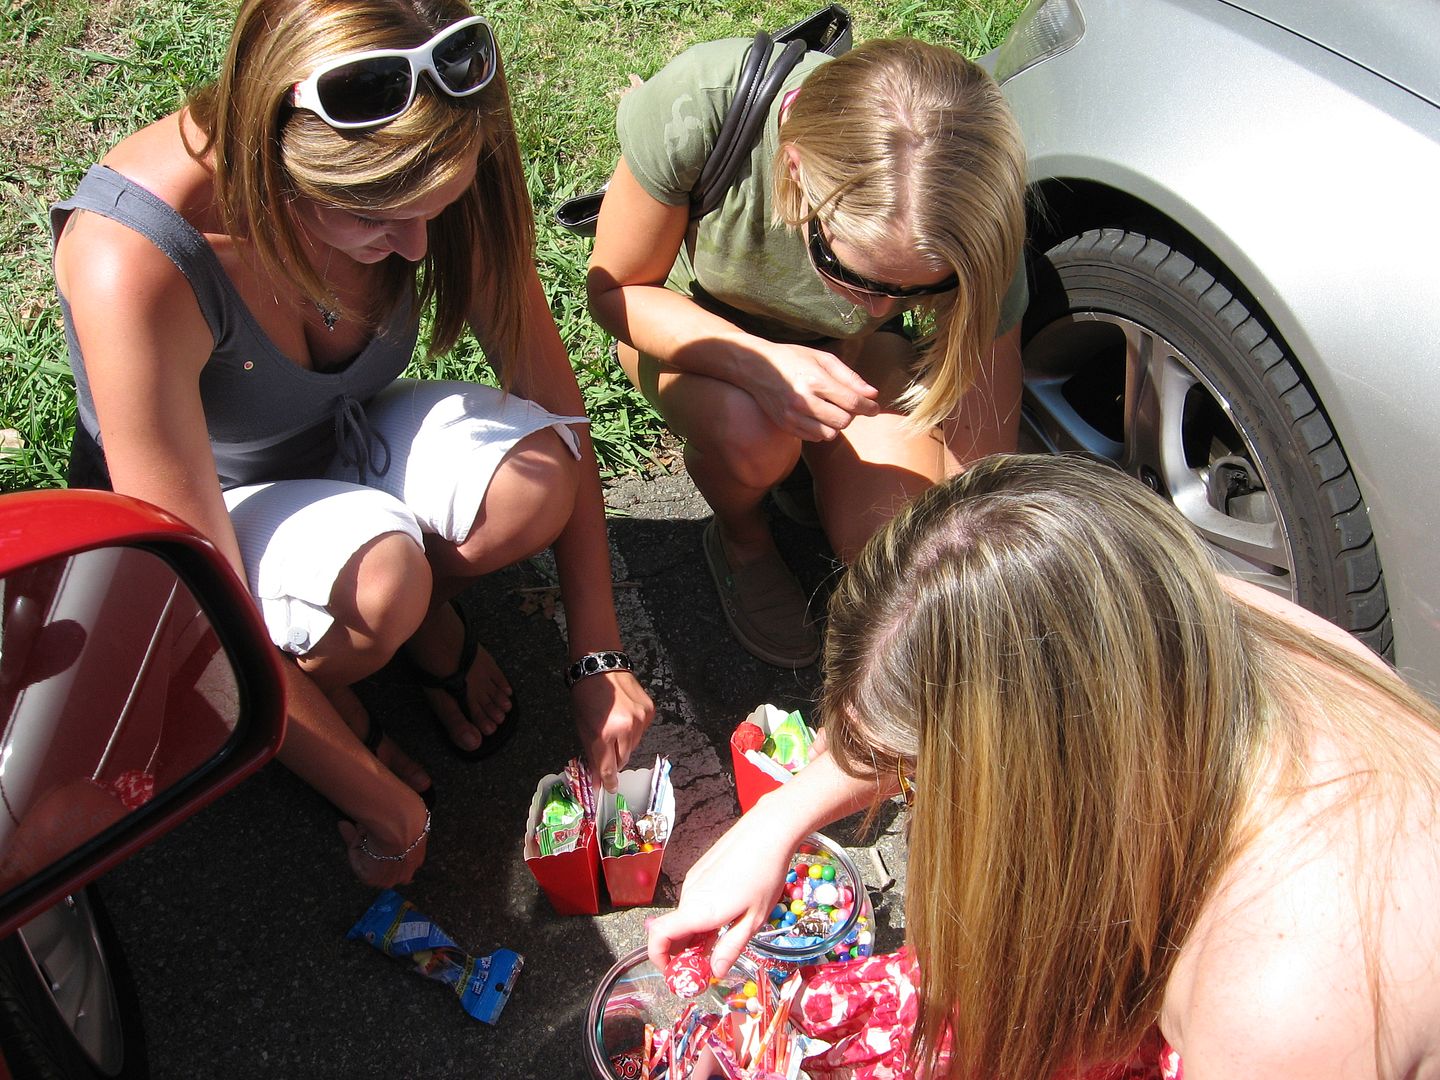
Right smack in the middle of our meal, though, this happened:

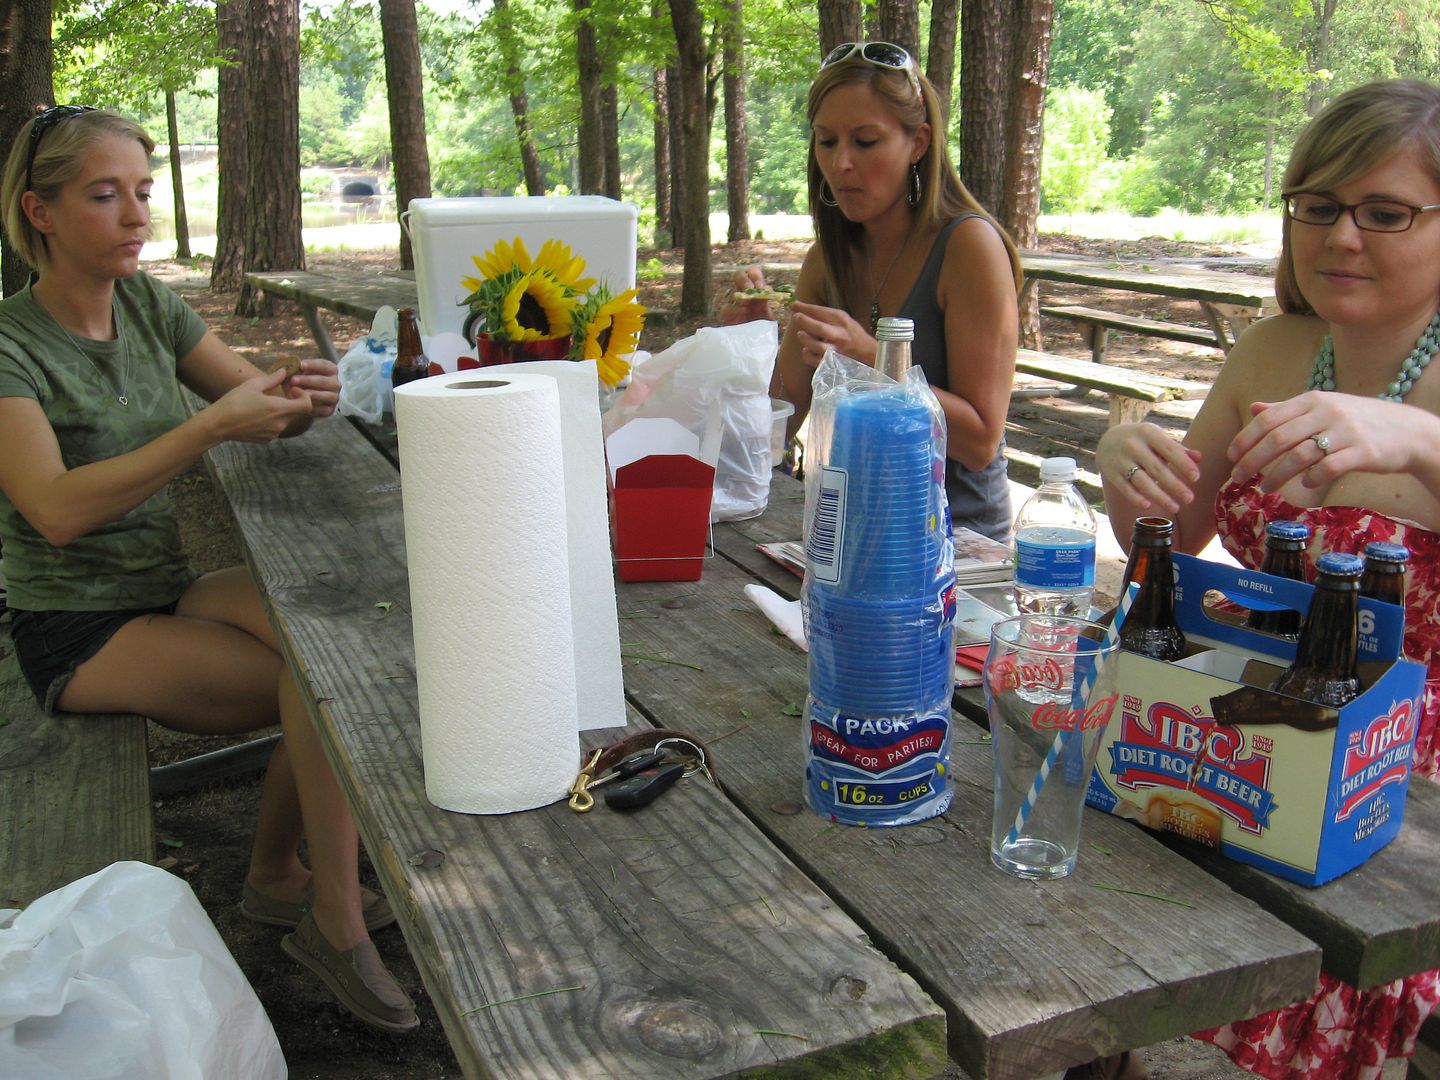
Picnics and parties never seem to go off without a hitch, and this one was no exception. Though I’d made a point to check that the picnic area we were using hadn’t been reserved, turns out it had been! After all the work setting everything up, we had to quickly shuffle everything back into my car and relocate to another picnic table to finish up.

The girls didn’t miss a step before pitching in, and a helpful park employee assisted. In no time at all, we were laughing about the mess, eating, and picking up our conversation where we left off. The new picnic table might not have been decked out quite as nicely, but it was in the shade and turned out to be the perfect place to continue the festivities. All’s well that ends well, right?

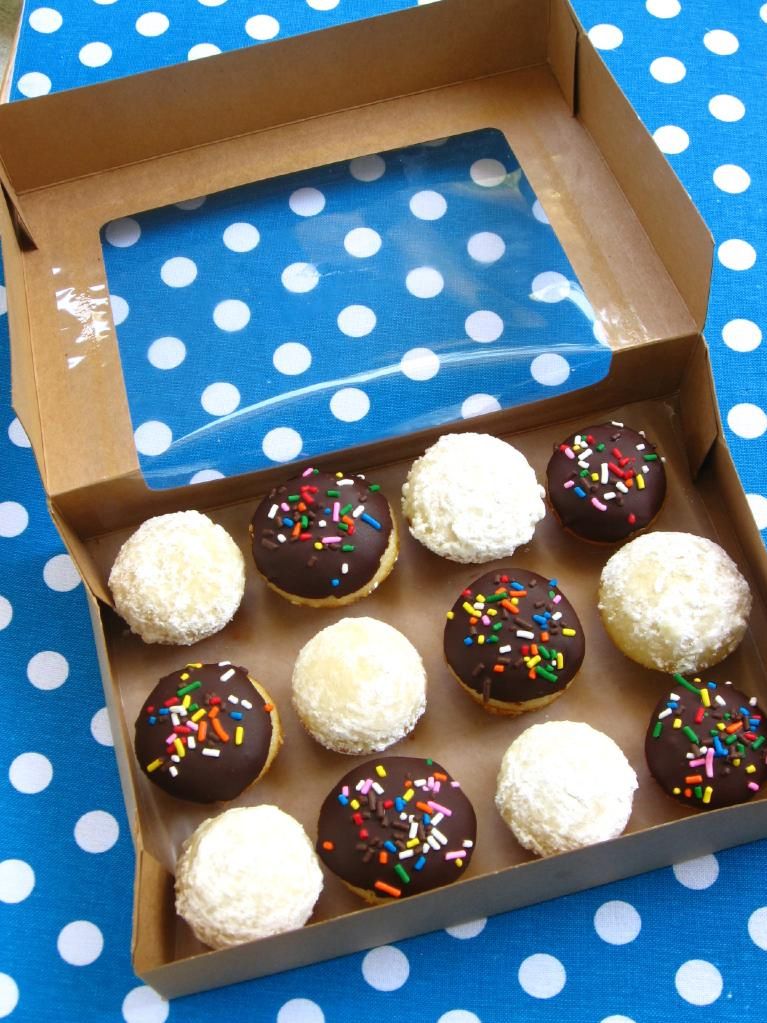
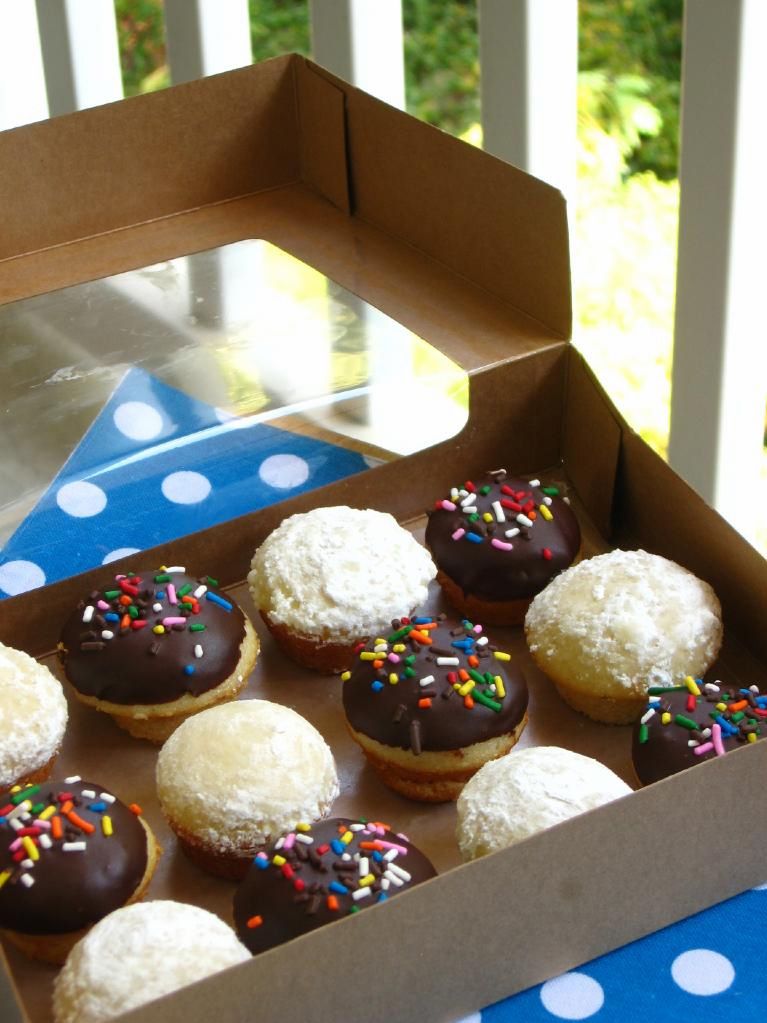
And things did end well! The huge candy jars I filled for table centerpieces doubled as party favors. At the end of the picnic, each of us grabbed a treat box to fill full of candy. It might have been easier to sort through the candy when it was sitting on a pretty picnic table, but at this point, we weren’t above scrounging through the jars in the parking lot. Not even a little bit.

I had so much fun with these interesting, successful, strong, lovely ladies, and I can’t wait to see them again soon! Despite a few obstacles, the elementary school throwback was a fantastic blast from the past, and worth every ounce of this:


Tons of picnic planning.


Over the coming weeks, the following recipes and crafts will appear on Willow Bird Baking. I hope you enjoy these updated cafeteria classics as much as we did!

School’s IN for Summer:
Recipes and Crafts

  1. Homemade Red Berry Basil Fruit Leather
  2. Pickled Grapes with Goat Cheese
  3. Savory Sour Cream Fig Spiral Cookies
  4. Fig and Prosciutto Pizza
  5. Italian Pressed Sandwiches
  6. Fauxstess Cupcakes
  7. Easy Homemade Party Banner

P.S. A special thanks to Taylor Mathis for bringing his pretty blue tablecloth and gigantic diffuser to help me out!

What’s your favorite elementary school memory?

If you liked this post, please:
Subscribe to Willow Bird Baking
Follow Willow Bird Baking on Twitter
Follow Willow Bird Baking on Facebook
Give this post a thumbs up on StumbleUpon
Buzz this post up on Foodbuzz’s 24×24 site!


ShareOther ways to share this post with friends!

Lemon Berry Crumble Breakup Bars

This is a hard story to write — hard enough that it’s taken me almost two months to even attempt it. I still feel raw about it, and I still don’t know how to address the situation head-on. So I’ll just muddle through it the best way I can.

On November 28, Mike and I broke up. It was a cold day, and I dropped him off at the train station so he could head back to Raleigh. Watching him close the door and walk into the station was like watching a movie, except that it wasn’t fiction. I knew we were about to travel a rocky road, but there was no way to switch off the television, no credits to roll — just the aftermath to clean up as best we could.

4,237 days (or 11 years, 7 months, and 5 days) earlier, I had just turned 15 years old. I was sitting in my room, looking out the window, and talking to Mike on the phone. He had something to ask me, but was obviously nervous: “If I were to ask you . . . something . . . what would you say?”

I helped him get to the point. Yes, I want to be your girlfriend. I couldn’t have imagined at that moment where the next 12 years would take us. Who knows when they’re 15 that they’re embarking on something monumental?

Over the years, our relationship brought us trials, for sure.

It also brought me through high school. Sometimes I’d leave school and drive straight to his apartment to watch Star Trek and eat Hamburger Helper (my early attempts at “cooking for him”).

It took me to college, coming home to see him every weekend. It took me off to the coast to study marine zoogeography for a semester — I remember the strain of distance, calling every night on my newly acquired cell phone, and his visit out to Atlantic Beach to see me.

Our relationship saw me through my first teaching job, a tumultuous experience for me. In the first hopeful, idealistic days before I began, he came and painted every single one of my lab tables a deep green to cover the graffiti. Later in the year, when my administration decided to switch my classroom and everything went wrong, my clean tables were mixed in with others and his hard work was lost. He was still there, though, helping me pack up boxes and carry them down the hallway to my new room.

The relationship also saw me through my year as a research technician and, finally, to my position at Woodlawn, the wonderful school where I now teach.

It saw Mike through college at UNCC. He rocketed through in 3 years with nearly perfect grades. It also saw him move his life three hours north to a new city this past fall to begin graduate school at NC State. It saw us through celebrations, new beginnings, and difficult endings. I wouldn’t trade a single day.

These Berry Crumble Bars were actually made at the very tail end of summer and are one of the only dishes I ever photographed at Mike’s apartment in Raleigh. I brought them up to share with him and my little brother, who is an undergraduate at NC State. The bars are buttery, crumbly, slightly lemony, and bright — almost cobbleresque, and perfect with a scoop of vanilla bean ice cream.

The original recipe used only blueberries, but throwing in other berries or even combining berries is an easy way to create multiple varieties of crumble bars; I settled on blueberry and raspberry. Mike and I probably ate a billion of them over the course of my visit. I had a way of encouraging him to have dessert after every meal. I’m sure you’re not surprised.

So what do you say at the end of a story about a breakup? I think in this case, thank you. Thank you, Mike, for being who you are, and for 12 wonderful years. Thank you, God, for the promise that all things are working together for good for me (Romans 8:28). Thank you, friends and family and lovely readers, for your support during a rough time. Here’s to weathering loss and embracing the future — and to dessert!

Lemon Berry Crumble Breakup Bars


Recipe by: Adapted from My Baking Addiction
Yields: 9 raspberry bars and 9 blueberry bars

Ingredients:
1 cup white sugar
1 teaspoon baking powder
3 cups all-purpose flour
1 cup unsalted butter
1 egg
1 teaspoon pure vanilla extract
1/2 teaspoon kosher salt
2 teaspoons lemon juice
2 cups fresh or frozen blueberries
2 cups fresh or frozen raspberries
1/2 cup white sugar
3 teaspoons cornstarch

Directions:
Preheat the oven to 375 degrees F (190 degrees C). Line a 9×13 inch pan with parchment paper and spray with nonstick cooking spray. Stir together 1 cup sugar, 3 cups flour, salt, and baking powder in a medium bowl. In a separate, small bowl, beat together the egg, lemon juice, and vanilla. Using a pastry cutter or food processor, cut the butter and egg mixture into the flour to form a crumbly dough. Press half of dough evenly into prepared pan.

In two additional bowls, mix together 1/4 cup sugar and 1 1/2 teaspoons cornstarch. Gently mix blueberries into one bowl and raspberries into the other. Sprinkle berries evenly over pressed dough — I did half the pan with blueberries and half with raspberries, but you could alternate or even mix the berries if you’d rather. Crumble the rest of the dough over top of the berries. Bake in preheated oven for 45 minutes or until slightly brown. Cool completely (and even chilling a little helps to ensure they’ll hold together) before cutting into squares. These bars are fun because you can have two different flavors (blueberry and raspberry) or cut your bars such that you have a combination of both berries.

If you liked this post, please:
Subscribe to Willow Bird Baking
Follow Willow Bird Baking on Twitter
Follow Willow Bird Baking on Facebook
Give this post a thumbs up on StumbleUpon


ShareOther ways to share this post with friends!

Assorted Donut Muffins and Project Food Blog: Vote Now!

Willow Bird Baking is a contestant in Project Food Blog, a contest comprised of a series of challenges to find the next food blog star. If you missed it, my first challenge post explains why I blog, and what makes WBB special. Voting for Challenge #1 is now open! To vote, register for a Foodbuzz account. Once you’re registered, sign in and go here. To vote, click the heart next to the words “Vote for this Entry.” I am so grateful for your support!


At this point, just about all of us have either made Donut Muffins, eaten Donut Muffins from a generous friend, bookmarked a recipe for Donut Muffins, drooled over photos of Donut Muffins, or cursed the day Donut Muffins were invented as we kicked our scales across the bathroom.

I was in the “bookmarked the recipe” category for way too long. Every time I’d see another Donut Muffin post pop up in my Google Reader, I’d admonish myself for not having made them yet. They’re billed as warm, pluffy cake-donut-like muffins that have soaked up butter before being coated in cinnamon and sugar. It’s basically criminal that I hadn’t made them until this past weekend. But don’t worry — I made up for lost time.

What’s the fun of donuts? The taste, definitely — but also the puff of powdered sugar, the jam centers, the colorful sprinkles, the melty chocolate, the sticky glaze. A major component of what makes donuts so fun is the assortment. Even though I have a favorite donut, I always buy a few kinds so that I can pick through the box excitedly, tasting different combinations and flavors. So why make just one sort of Donut Muffin? Especially when it’s so easy to make a few kinds?

In my Donut Muffin assortment: Caramel Apple Donut Muffins, Jam-Filled Powdered Sugar Donut Muffins, and of course, Chocolate Sprinkle Donut Muffins.

You start out by making the batter like normal, but then separate a third of it to add diced apples to. After baking all the muffins up, the apple donut muffins get coated in cinnamon, sugar, and a caramel glaze. Another 1/3 of the batch gets coated with powdered sugar and filled with raspberry jam. The final 1/3 gets a bath in melted chocolate and some sprinkles. I bought a box of bakery cookies just to have a cute little “donut box” to put them in (no clue what I’m going to do with those cookies)!

The Chocolate Sprinkle Donut Muffins were good — but next time I’ll fill them with whipped cream or pastry cream for more donuttiness (that is a Merriam-Webster-certified real word, y’all. Okay, it’s not. Not even close). The Jam-Filled Powdered Sugar Donut Muffins were delicious little jammy bites. But the Caramel Apple Donut Muffins . . . they were OUT OF THIS WORLD. Like, OUT OF THIS GALAXY. Like, OH MY GOODNESS. My roommate had to sit down when she took her first bite, and she insists they’re the best thing I’ve ever made. Are you dicing apples yet? Good.

When they’re warmed up slightly, full of apply, buttery, cinnamon-sugary goodness, and coated with the buttery caramel glaze, these fluffy Caramel Apple Donut Muffins are analogous to the donuts you’d drive across town for. Sure, you want the assortment — and I ate plenty of the other two tasty flavors — but these are the ones you’d keep coming back for.

By the way, are you afraid of caramel? That’s probably because you’ve been using recipes with directions that say things like “look for an amber color,” or, even better, a “dark amber color.” I don’t know about you, but I think “amber” is pretty subjective. What gives? We stopped using terms like “low oven” and “slow oven” in recipes long ago in favor of fancy little things called oven temperatures. It’s time we switched over our sugar recipes to include temperatures as well. Caramel is nowhere near as frightening with a candy thermometer, y’all. You’ll be glad to see I’ve provided temperatures for your caramel sauce below, since I’m not feeling prehistoric.

What’s your favorite kind of donut? I think mine changed with my first bite o’ Donut Muffins! The recipe below shows you how to make all 3 kinds at once, but feel free to make just one sort if you’re feeling decisive.

Assorted Donut Muffins


Recipe by: Willow Bird Baking, adapted from the base recipe by Buns In My Oven. Caramel sauce by Martha Stewart.
Yield: 36 mini-muffins or 18 regular muffins

Batter Ingredients:
3/4 cup sugar
1 large egg
1 1/2 cups all purpose flour
2 tsp baking power
1/4 tsp salt
1/4 tsp ground nutmeg
1/4 cup vegetable oil
3/4 cup milk (low fat is fine)
1 tsp vanilla extract

Extras for Chocolate Sprinkle Donut Muffins:
melted chocolate
sprinkles
whipped cream (if desired, for filling)

Extras for Caramel Apple Donut Muffins:
2 tablespoons melted butter, for dipping
1/4 cup sugar mixed with 1 1/2 teaspoons cinnamon
1/4 apple, peeled and diced (I used a Gala apple)
caramel sauce (recipe below)

Extras for Jam-Filled Powdered Sugar Donut Muffins:
raspberry jam (or flavor of your choice)
about 3/4 cup powdered sugar, sifted
melted butter leftover from Caramel Apple Donut Muffins

Directions:
Prepare two mini-muffin pans by spraying with cooking spray. Preheat the oven to 350 degrees F. Beat sugar and egg together in a large bowl until fluffy. In a smaller bowl, whisk together flour, baking powder, salt, and nutmeg. Pour dry ingredients into wet ingredients and stir until combined. Add vegetable oil, milk, and vanilla extract and mix. Separate 1/3 of mixture into separate bowl and fold in diced apples (these will be the Caramel Apple Donut Muffins). Pour all batter into prepared muffin tins, filling each about 3/4 full. Bake for 13-15 minutes until tester comes out clean.

Let cool in the pan for a few minutes before removing onto a cooling rack (if muffins are extremely delicate and difficult to remove, you may need to bake them a minute longer — mine weren’t quite done enough. On the cooling rack, separate the donut muffins into 3 batches: the apple muffins, 1/2 of the plain muffins, and the other half of the plain muffins. These will be your three types of donuts.

For the Caramel Apple Donut Muffins: Melt the butter in the microwave and mix the cinnamon and sugar in a separate bowl. When the muffins are cool enough to handle, dunk the tops into the melted butter and then into the cinnamon-sugar mixture. Let dry/cool on cooling rack as you prepare caramel sauce (as directed in recipe below). Store caramel in fridge and drizzle on heated Apple Muffins right before serving.

For the Chocolate Donut muffins: When the muffins are cool enough to handle, dunk the tops into the melted chocolate. Add colorful sprinkles. You could fill these with pastry cream or whipped cream using a narrow pastry tip inserted into the bottom of the muffin if you wanted a cream-filled donut muffin.

For the Jam-Filled Powdered Sugar Donut Muffins: When the muffins are cool enough to handle, dunk the tops into the leftover melted butter and then into sifted powdered sugar. When donuts are cool, fill them with raspberry jam using a small pastry tip jabbed into the bottom of the muffin. Be careful not to overfill and burst your muffin (that should definitely be a more popular idiom than ‘burst your bubble,’ don’t you agree?) You may have to re-powder tops before serving if you keep these overnight, since some of the powdered sugar dissolves.

NOTE: Store all your muffins in an airtight container in the fridge.

Caramel Sauce Ingredients:
3/4 cups sugar
1/8 cup water
1/2 cup heavy cream
1/8 cup creme fraiche or sour cream
1/4 teaspoon pure vanilla extract
Pinch of coarse salt

Directions:
NOTE: This makes more caramel than you need, but I don’t reduce the recipe because it would make it difficult to use a candy thermometer, a tool that I believe is absolutely crucial in preparing caramel. I know you can find something else to spoon caramel sauce over — and this is truly delectable caramel.

Prepare a bowl set in an ice-water bath. Place sugar and water in a saucepan and heat over medium-high heat until it boils and the sugar is dissolved. Throughout this process, use a wet pastry brush to wash down the sides of your saucepan often to prevent crystal formation. Reduce the heat to medium and cook until the mixture reaches 345 degrees on a candy thermometer (begin swirling gently when you see hints of amber, so the sugar cooks evenly), about 5-7 minutes. Immediately remove from the heat and add cream carefully (the mixture will bubble up) while whisking constantly. Return mixture to medium heat until it boils and sugar melts.

Remove from heat, and pour into the bowl set in your ice-water bath. Let the caramel cool, whisking often, for 10 minutes before whisking in creme fraiche, vanilla, and salt. Cover and refrigerate at least 2 hours before serving over Caramel Apple Donut Muffins. Can store in the refrigerator for up to 5 days.

If you liked this post, please:
Subscribe to Willow Bird Baking
Follow Willow Bird Baking on Twitter
Follow Willow Bird Baking on Facebook
Give this post a thumbs up on StumbleUpon


ShareOther ways to share this post with friends!

Secret Garden Recipe: Pink Ice Petit Fours

Want to have a tea party?

We’re going to find a garden enclosed in cool, moss-covered stone walls. We’ll lay out delicate china on a wrought-iron table with ivy growing up each leg. Arrayed in sweet sundresses and sandals, we’ll carry in platefuls of hot buttered scones, pitchers of raspberry and strawberry lemonade, and pots of fragrant orange tea. Every sip will be accompanied by a staunch pinky point. Twilight will find us still laughing, unwilling to let the summer daylight slip away.

Oh, and of course there’ll be petit fours. The dainty, sweet little cake squares will be the jewels of the tea table.

What a fantasy. In actuality, I’ve just finished my first week of teacher meetings. The past few days have been filled with book shelving, furniture moving, copy making, curriculum planning, sweet student meeting, and lots of teacher giggling. I’ve left with a headache nearly every day, relieved that headache with a nap nearly every day, and even still . . . gotten a ton of work done nearly every day!

We can still have petit fours, though, right? Petit fours are sweet little tea time desserts that seem to specialize in being adorable. Any number of miniature desserts can be classified as petit fours (literally “small ovens” in French), but for my sister’s surprise garden party earlier this summer, I knew I wanted dense, fruity cake squares. Petit fours are sometimes filled with jams, and then are covered in poured fondant or chocolate.

Now, before I gush, these bite-sized cakes were not perfect. More specifically, the poured fondant was not perfect. In fact, instead of “poured,” let’s call it glopped fondant. Shall we?

The thing is, fondant is going to be super sweet. There’s a cavity-inducing amount of confectioner’s sugar in it, not to mention the corn syrup. The only hope of this stuff covering your petit fours and not ending up with a cloying mess is making sure the poured fondant is heated enough to be very thin, so only a thin layer sticks to the outside of the cake square. This proved to be impossible with the recipe I used. It was warmed in a double boiler for gentle heating, but as soon as I started to pour, I was only able to cover a couple of cake squares before it was glop. Even when it was fully heated, it never really got thin enough to cover the squares in a reasonable way. As a result, they were too sweet.

Oh, and that color? That was not the color I was going for. I had a pale, rose petal pink in mind. Um, that’s all I’ll say about that.

While the petit fours weren’t perfect, the taste itself (beyond the fondant) was so wonderful. The cake was deliciously moist, cool, and dense with a gorgeous buttery almond flavor. The raspberry jam covering was the perfect complement to the almond (one of my favorite flavor combinations!) and was simple to brush on, though it never dried completely. Really, if you use poured white chocolate or a different poured fondant recipe (how about trying this one, which looks great?), these would be fantastic (and they’d probably look a little less “gloppy” as well). Even in their overly sweet state, I ate a ton of them due to their brilliant flavorings.

This is also one of those recipes that ends up looking fancy despite being relatively easy to make — and you know I love those. A few key steps (like freezing the cake before cutting it up and making sure your fruit glaze is very thin) ensure that the process is relatively simple.

Go have a tea party!

Pink Ice Petit fours


Recipe by: Adapted from Diana’s Desserts
Yield: 60 1-inch petit fours, or about 16 2-inch petit fours

NOTE: This recipe does not include the poured fondant recipe or instructions due to the aforementioned difficulties. If you want to try poured fondant, I’d recommend looking at this post on Cakes and Cupboards, which looks promising. Nevertheless, poured fondant might still be too sweet for you. Another option is a poured chocolate. You’ll probably need two coats if you use white chocolate. If you want completely smooth petit fours, I recommend using a thin layer of rolled marzipan under your icing, or the buttercream procedure outlined on Cakes and Cupboards, above.

Cake Ingredients:
1/4 cup butter, melted
1/4 cup shortening
1 cup sugar
1 teaspoon vanilla extract
1 teaspoon almond extract
1-1/3 cups all-purpose flour
2 teaspoons baking powder
1/2 teaspoon salt
2/3 cup milk
3 egg whites

Fruit Glaze:
12 ounces raspberry preserves (or heated jelly)
3 tablespoons water

Directions:
Prepare the cake. Preheat oven to 350 degrees F. Grease and flour a 9-inch baking pan, or use Wilton’s Cake Release.

Cream butter, shortening, and sugar together in a large bowl. Beat in vanilla and almond extracts. In a separate bowl, combine flour, baking powder, and salt. Add dry ingredients to the creamed mixture alternately with the milk. In another bowl, beat egg whites to soft peaks. Gently fold the egg whites into the batter.

Pour the batter into the cake pan and bake for 20-25 minutes, or until a toothpick inserted in the center comes out clean. Remove from oven and let cool in pan for 10 minutes. Turn cake out onto a cooling rack. When cooled, chill cake in refrigerator for a bit before freezing it for at least 1 hour.

Right before removing the cake from the freezer, prepare fruit glaze. In a medium saucepan, heat preserves with the 3 tablespoons water on low heat. If using jelly, judge whether or not you need any of the water to make it a thin consistency.

Remove cake from freezer. Using a long, serrated knife, cut a thin slice off each side of chilled cake. Cut cake into squares of desired size (for me, about 1.5-inch squares). Place squares 1/2 inch apart on a cooling rack over a sheet pan. Use a pastry brush to spread a thin layer of heated preserves over tops and sides of petit fours before icing. Allow excess to drip off. Let dry (I put them in the fridge and let them set up a bit — they never really “dry”). Repeat if necessary to thoroughly coat squares.

Prepare your desired poured fondant or chocolate and pour over the petit fours. Decorate the tops with different frostings, chocolates, sprinkles, candy, sugar flowers, etc. as you wish. Refrigerate until ready to eat — eat within a day or two.

If you liked this post, please:
Subscribe to Willow Bird Baking
Follow Willow Bird Baking on Twitter
Follow Willow Bird Baking on Facebook
Give this post a thumbs up on StumbleUpon


ShareOther ways to share this post with friends!

1 3 4 5 6 7 8