Saying that I love to try new recipes and techniques is an understatement. Even when I’m making a tried and true dessert that I’ve made repeatedly, I always have a crazy urge to try a new decorating technique or another twist. It was a wonderful decision, therefore, to join The Daring Bakers.
Each month, one of the Daring Bakers is responsible for hosting a challenge that they issue to all of the others. Bakers complete the challenge and everyone posts their results on the 27th of the month. This is my first month in the group, and I can already tell I’m going to love it.
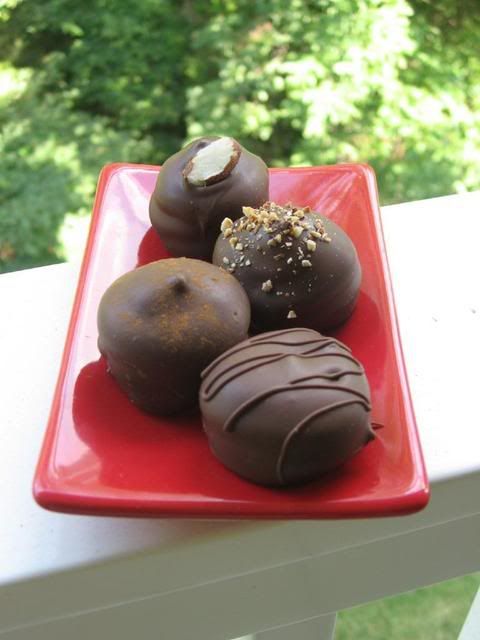
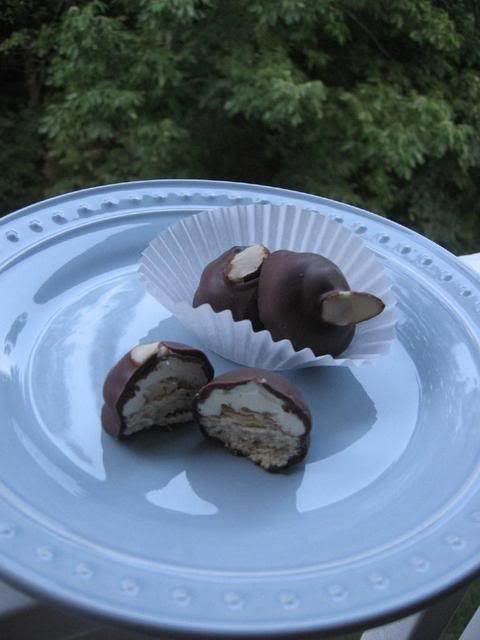
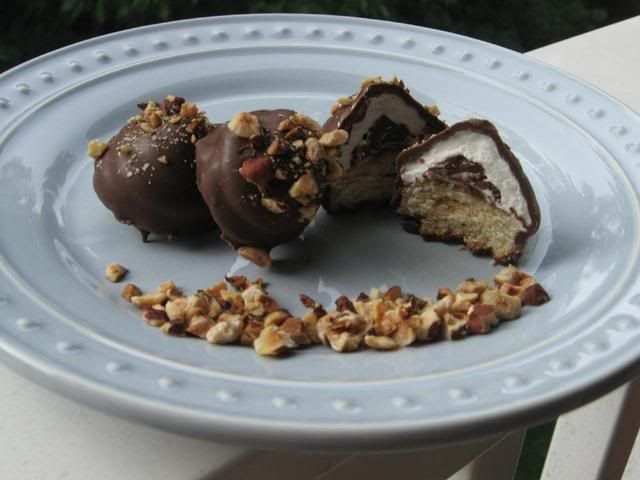
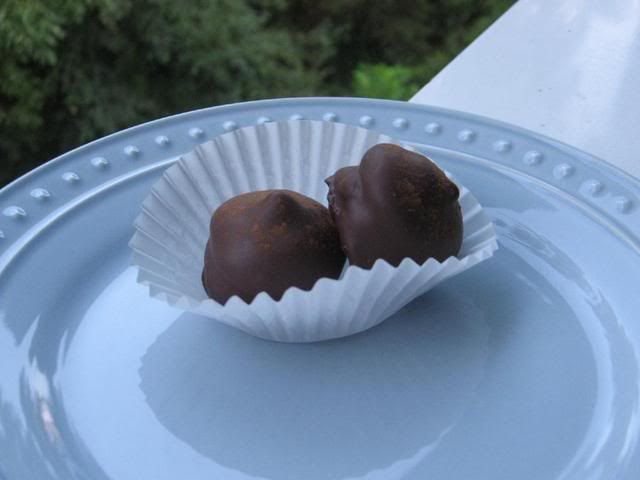
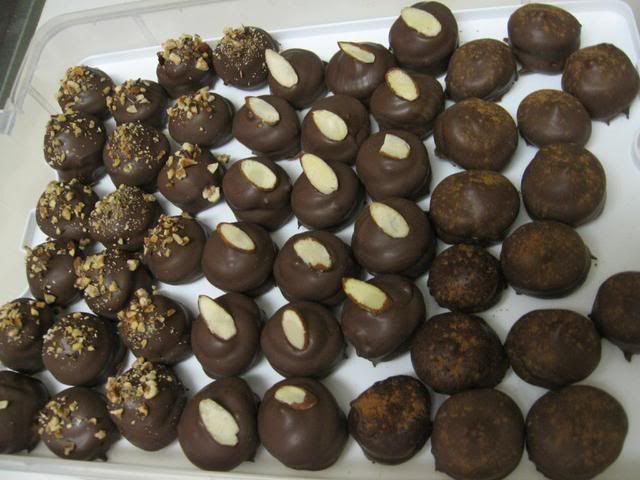
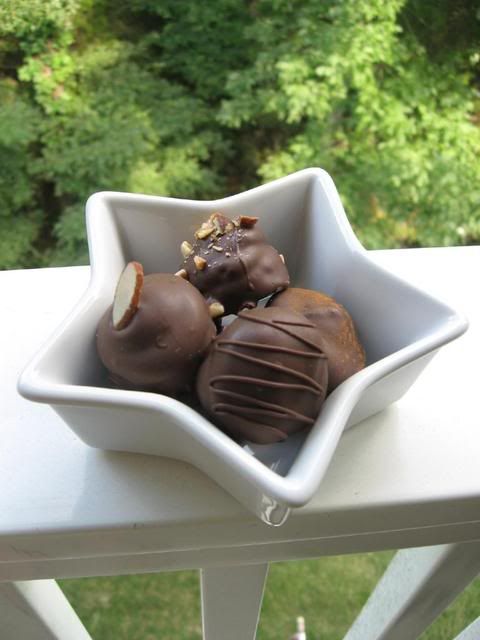
The July Daring Bakers’ challenge was hosted by Nicole at Sweet Tooth. She chose Chocolate Covered Marshmallow Cookies and Milan Cookies from pastry chef Gale Gand of the Food Network (to see my Mallows, go to this post).

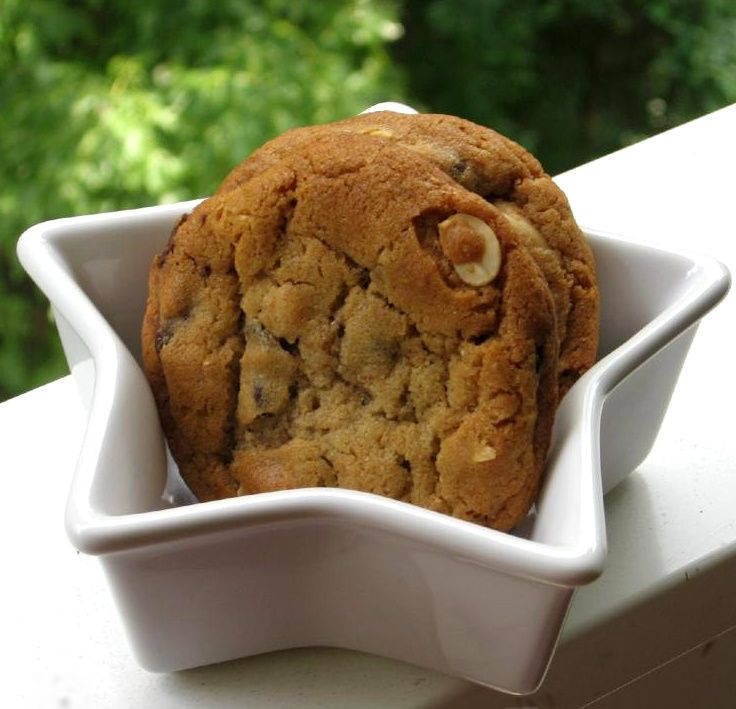
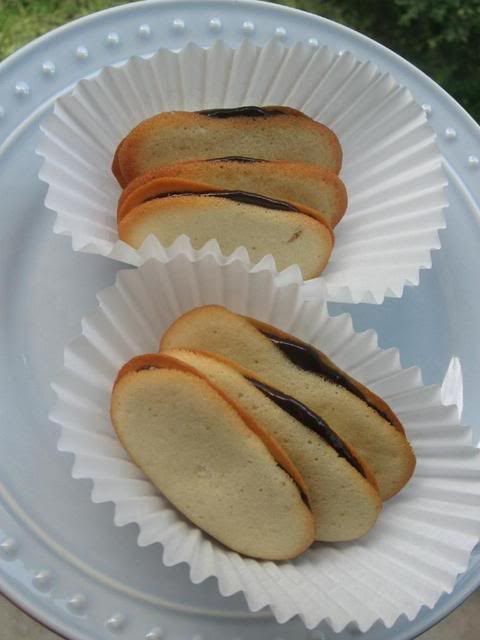
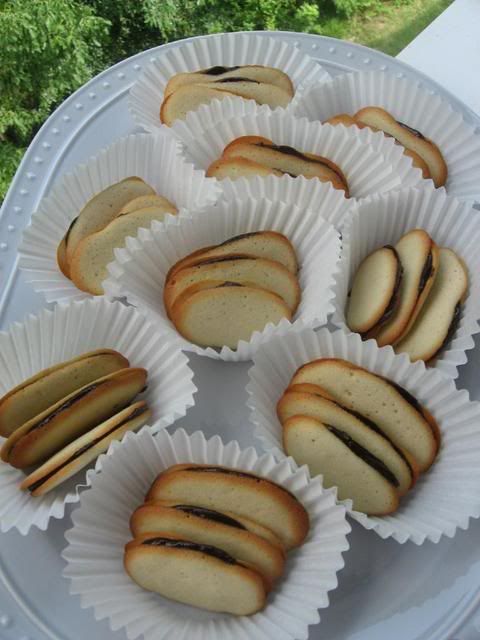
First and foremost, I think the Daring Bakers will encourage me to try recipes I might not otherwise consider. These Milan Cookies, for example, aren’t something I would have decided to try on my own, but they are delicious and sophisticated. I can picture them being served at tea; they’re so prim in their little paper bowls! The cookie filling is a thick ganache with a hint of orange zest that complements the slightly citrus flavor of the cookie itself. Everyone who tried these loved them!
Just a hint: I had some lemon curd frozen from my Lemon Burst Fairycakes, so I spread it on a cookie and gave it a taste. It was heavenly! You could even sandwich some lemon curd between two cookies and dip them in ganache! Clearly, these cookies have inspired me.
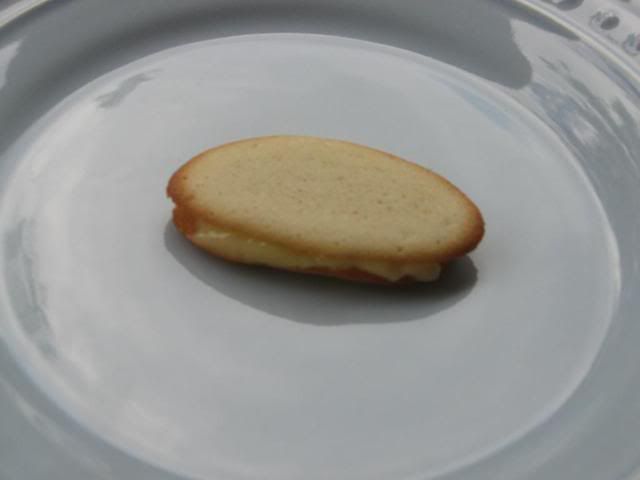
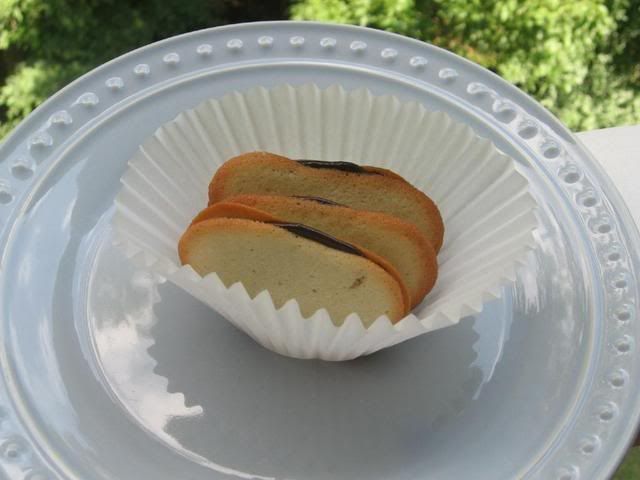
Milan Cookie with lemon curd filling in the place of ganache.
This recipe is from Gale Gand and Food Network, but of course, I tweaked some things. Changes to the recipe are marked in italics below. I hope you enjoy these cookies, and be sure to send me a photo and/or leave me a comment if you make them! I’d love to see your results!
Milan Cookies
Recipe By: Gale Gand (slightly tweaked — changes in italics)
Yields: about 50 sandwich cookies
Ingredients:
12 tablespoons butter, softened
2 1/2 cups powdered sugar
7/8 cup egg whites (from about 6 eggs)
2 tablespoons vanilla extract
2 tablespoons lemon extract
1 1/2 cups flour
Cookie filling, recipe follows
Cookie filling ingredients:
1/2 cup heavy cream
8 ounces semisweet chocolate, chopped
1 orange, zested
Directions:
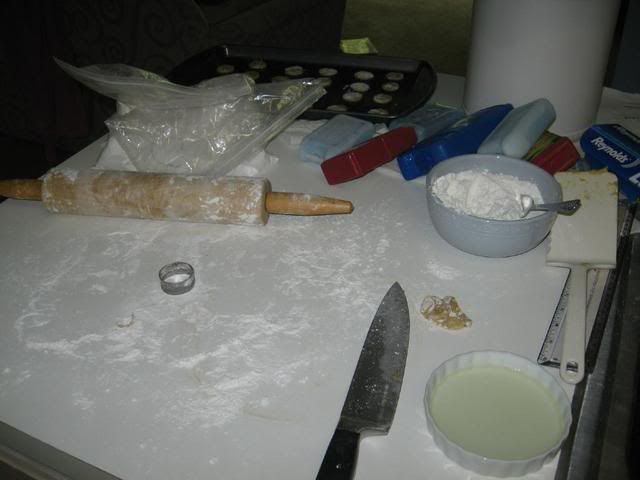
Cream the butter with a paddle attachment then mix in the sugar. Add the egg whites gradually and then mix in the vanilla and lemon extracts. Add the flour and mix until just incorporated. With a small (1/4-inch) plain tip, pipe thick 2-inch sections of batter onto a parchment-lined sheet pan (note: it’s easier to pipe onto parchment if you “glue” it to the pan using some nonstick cooking spray), spacing them 2 inches apart as they spread. Bake in a preheated 350 degree oven for 7-8 minutes or until light golden brown around the edges. Let cool on the pan.
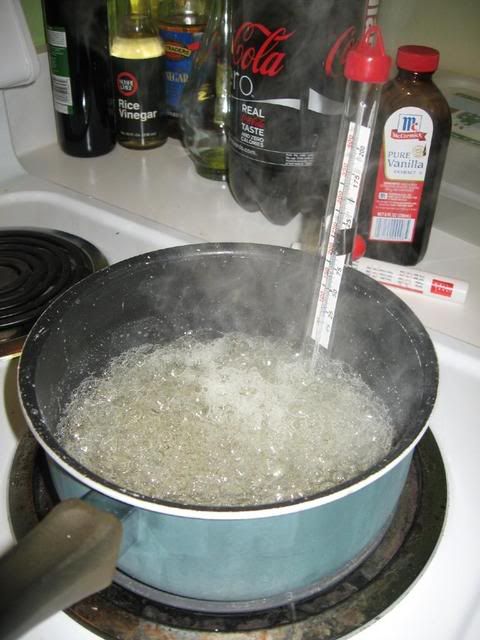
Cookie Filling: In a small saucepan over medium flame, scald cream. Pour hot cream over chocolate in a bowl. Whisk to melt chocolate, add zest and blend well. Set aside to cool (the mixture will thicken as it cools). Spread a thin amount of the filling onto the flat side of a cookie while the filling is still soft and press the flat side of a second cookie on top. Repeat with the remainder of the cookies.
NOTES on storage from Audax Artifex: Let cookies cool completely before storing them, or the residual heat will produce steam that will soften the cookies and accelerate spoilage. Separate layers of cookie with wax paper or foil.
In a dry climate, keep unfilled cookies crisp by storing them in a loosely covered container, such as a cookie jar without a snug lid. In a damp, humid climate, store in a tightly covered container.
Also keeping the unfilled cookies in an air tight container with a muslin bag of salt or bicarbonate of soda – this will absorb the dampness keeping your cookies crisp.
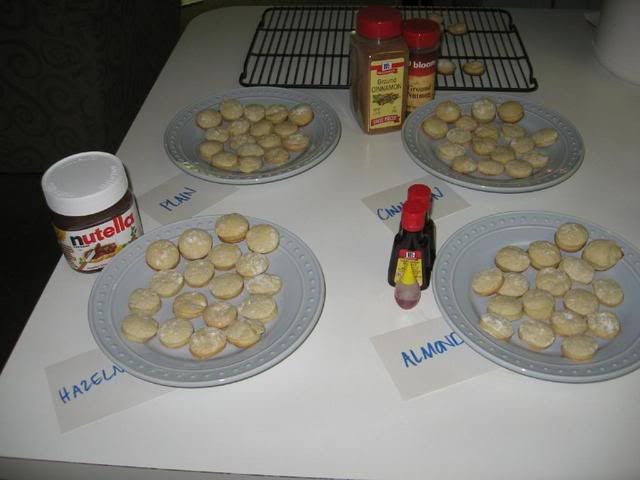
All of that said, I will tell you, my cookies got soft. We actually enjoyed them that way, so don’t fret if yours aren’t as crisp on day 2. Many of the Daring Bakers also tried fun combinations — chocolate Milan cookies with chocolate mint ganache, plain Milan cookies with no citrus, etc. So do some experimenting!
Process Photos:
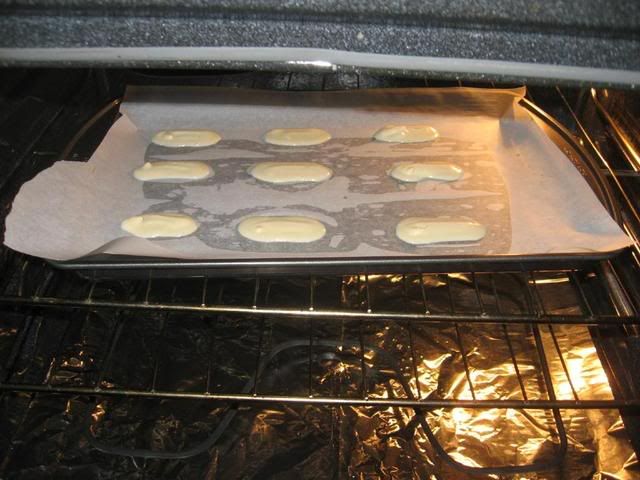
Baking in the oven.
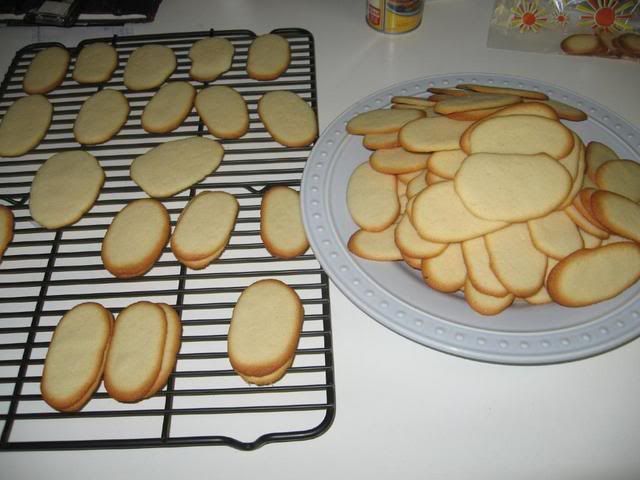
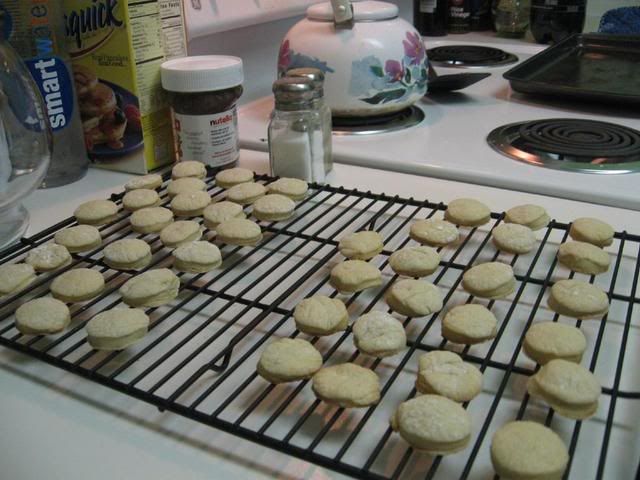
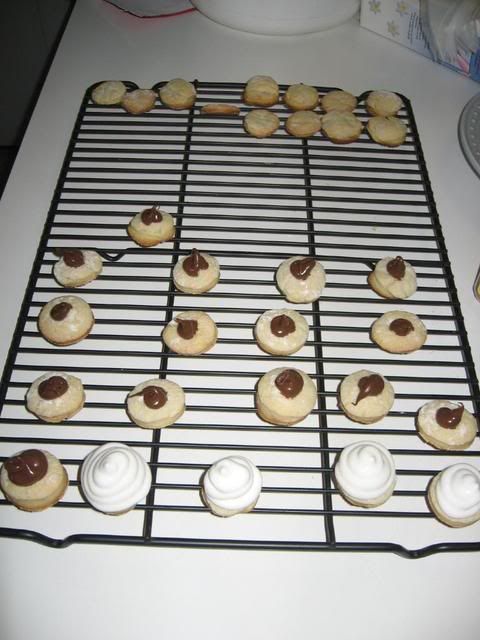
Cooling off (here you can see that a few were quite
wonky! To reduce the number of crooked cookies,
quickly and confidently pipe a thick, straight line.)
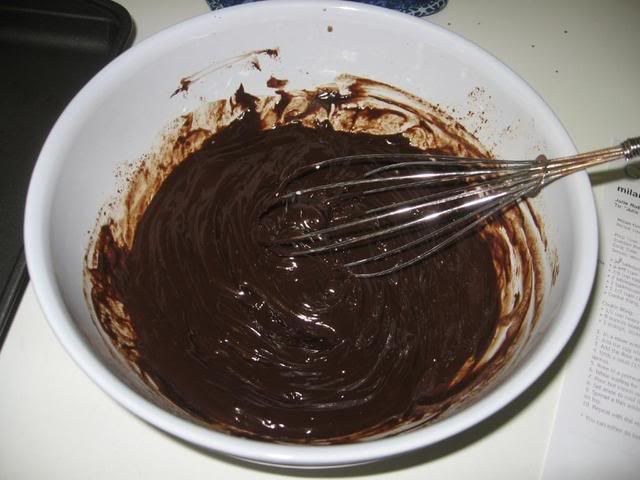
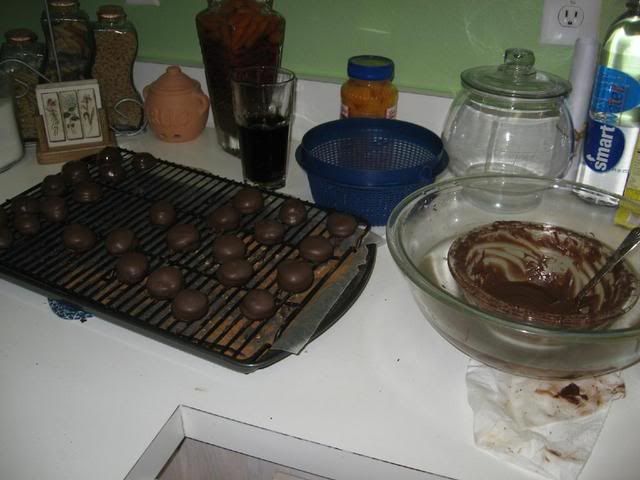
Mixing cookie filling.
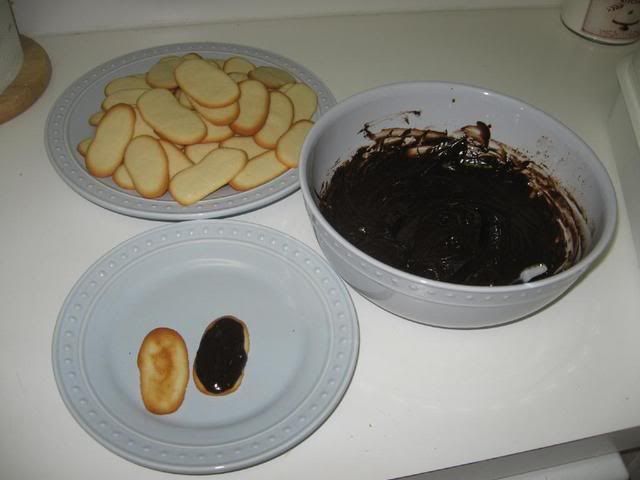
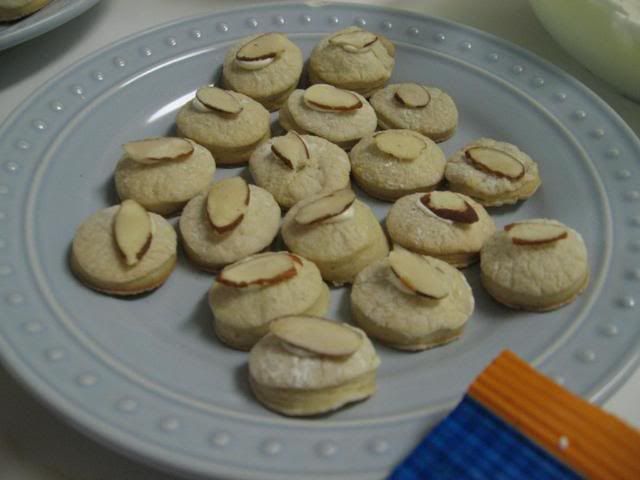
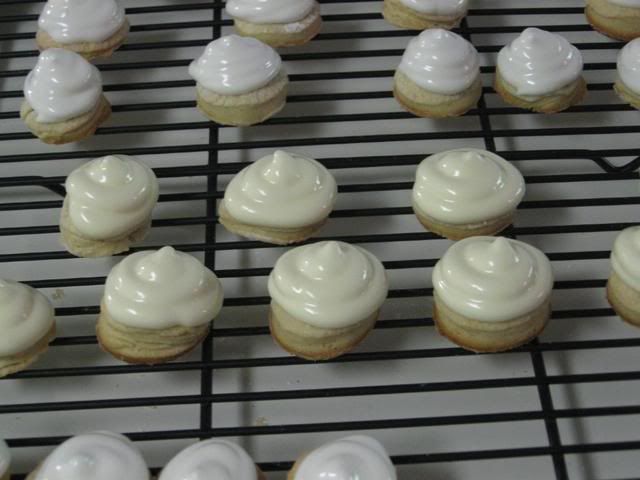
The sandwich construction station!
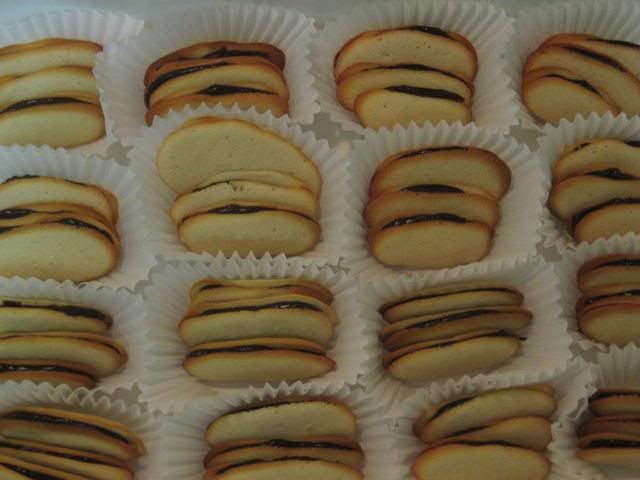
LOTS of cookies!
Enjoy!
Visit the Daring Bakers (temporary) Blogroll to see more of these treats from amazing bakers!
Since I mentioned challenges, what’s the most challenging recipe you’ve tried?