Every now and then, I’ll stumble upon an opportunity to walk down a silent gravel road or drive through seemingly endless farmland. My heart always feels simultaneously full and a little desperate during these bits of quiet countryside — desperate for what, I’m not sure. Maybe just to spread out a blanket and stay awhile? To escape the scatter and pace of the indoor internet version of life? To hug as many fat farm animals as possible?
I’m pretty sure it’s all of those things rolled into one. My desires seem to be whispering to me: sloooooowww dowwwnnn. Every now and then I’ll whine a bit to Mike about wanting to live on a farm, and he’ll start in about how much work it is, how financially unstable it can be — but I still can’t help running through (tickless, snakeless) fields in my mind.
That’s what farmers do, right? Run through fields? Ah, well, anyway . . .
Another experience recently evoked that desperate/full heart feeling: the rustic, yeasty, floury, humbling, satisfying process of baking fresh bread. I don’t mean a quick-mix bread, though I love those as well; I mean honest-to-goodness yeast fermentation, mixing and kneading with ardor, proofing, baking, tearing, sopping, devouring bread. Cheese bread, to be exact.
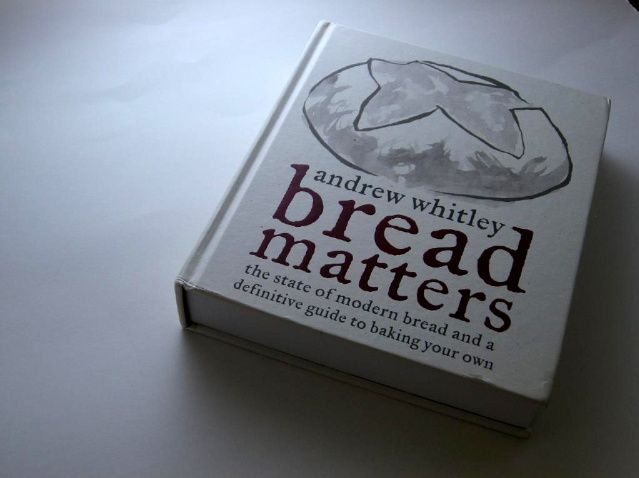
My bread fanaticism began when publishers sent me a copy of Andrew Whitley’s new book, Bread Matters: The State of Modern Bread and a Definitive Guide to Baking Your Own. To be perfectly honest, I waffled for awhile about this book. Did the busy modern cook have time to pour over the 138 pages that precede the first recipe? At one point as I was reading, though, a thought struck me: perhaps I was viewing all of this with my fast-paced lens. Maybe ignoring that urge to slow down and — in this case — enjoy the process of crafting a loaf of bread was compounding the problem. Maybe the busy modern cook would feel a little less like the energizer bunny if he or she watched yeast ferment on the counter for a couple of days. Who knows?
It also became clear that bread is Andrew Whitley’s passion, and here I was, reading through a whole-hearted, sometimes playful, sometimes vehement opus! Within the pages, bread became political capital — something to fight for — as well as a connection to the past and a work of art. This wasn’t just a cookbook; it was a masterpiece of bread!
Politically speaking, Bread Matters is the namesake of Whitley’s organization, which is devoted to changing people’s mindset about bread. It’s a noble mission, considering the dirty economic battle being fought for our allegiance. Society is saturated with advertising offering more more more faster faster faster, as a stroll through any grocery store will confirm. Frozen meals, baking mixes, and preserved foods abound, and healthful foods are only offered insofar as they’re profitable and trendy. While I’m vehemently not a food snob and don’t mind a baking mix here and there, I am incensed by the idea that the food industry is pumping products full of corn and chemicals in order to turn a profit. Conscience has been consumed in capitalist lust. Whitley charges that you should be angry, too, and that, “One way of fighting back is to refuse to buy foods produced in ways we find unacceptable.”
Beyond the political, though, Whitley connected with some powerful inner urge of mine in a section entitled, “The simple life”:
[Artisans] gain satisfaction from intimate contact with the materials of their trade and from direct involvement in the whole process from flour to baked loaf. The feel of soft, warm dough under the hands, the sight of an oven well set with loaves, the beguiling smell of baking bread, the satisfying sound of crackling crusts — all these can be yours when you make your own bread.
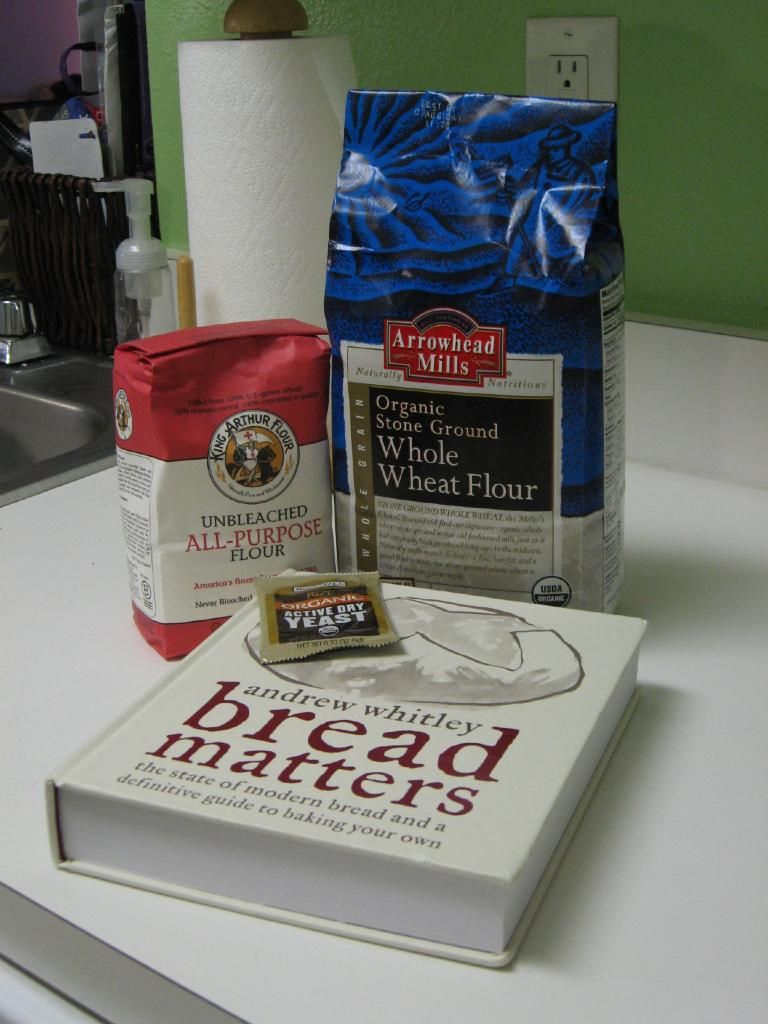
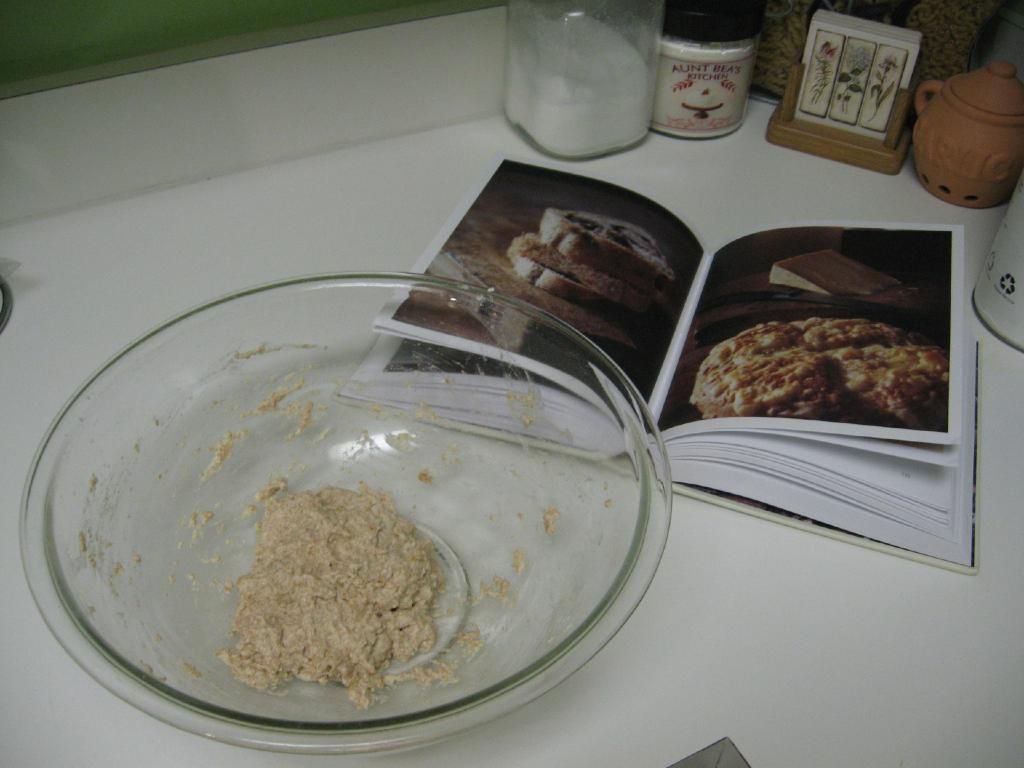
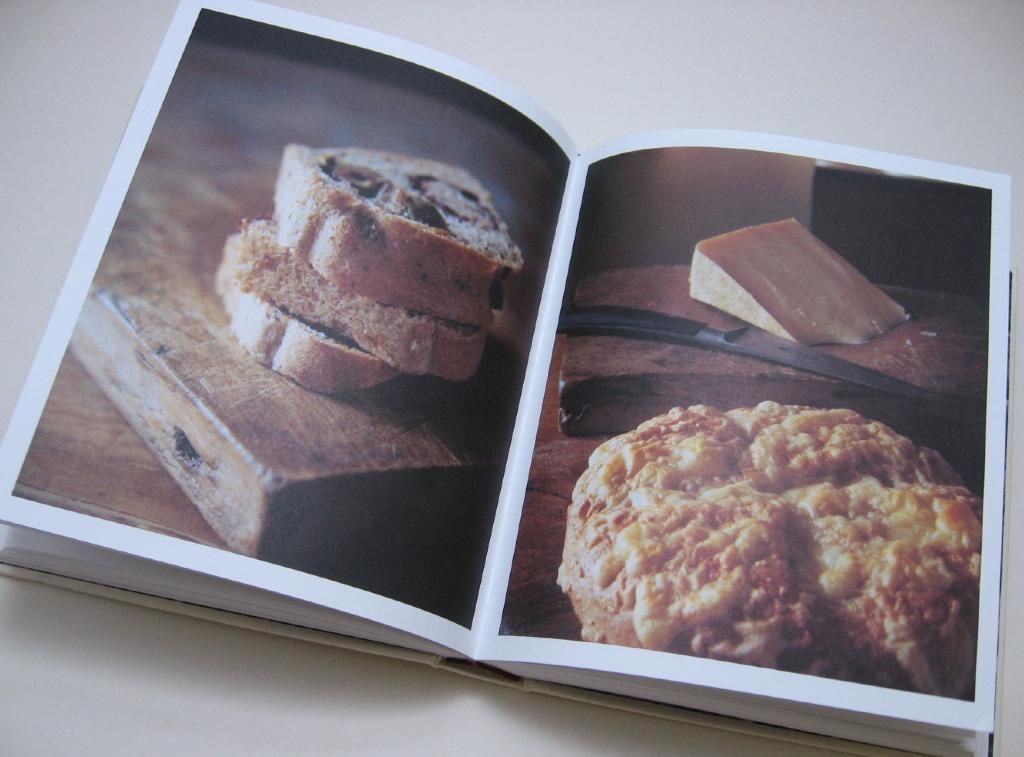
While I may not be able to own a farm, I can pick up some pure, natural ingredients and set out to make freshly baked-from-scratch bread. I can be literally in touch with my product from start to finish, control every addition, and enjoy the fruits of my own labor. With this compelling inspiration, I grabbed up Bread Matters to search for my first recipe. The book is physically lovely and almost like a loaf itself, with a smooth cream cover and some heft to it. Two sections of plates show rustic images of various breads. I chose a savory, tangy bread to try first: Cheese Bread.
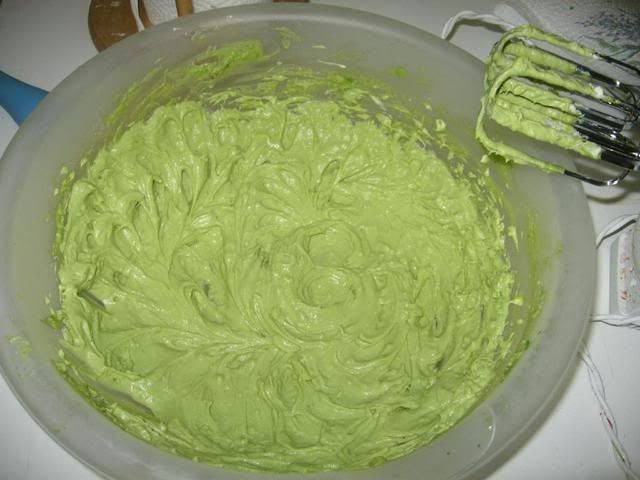
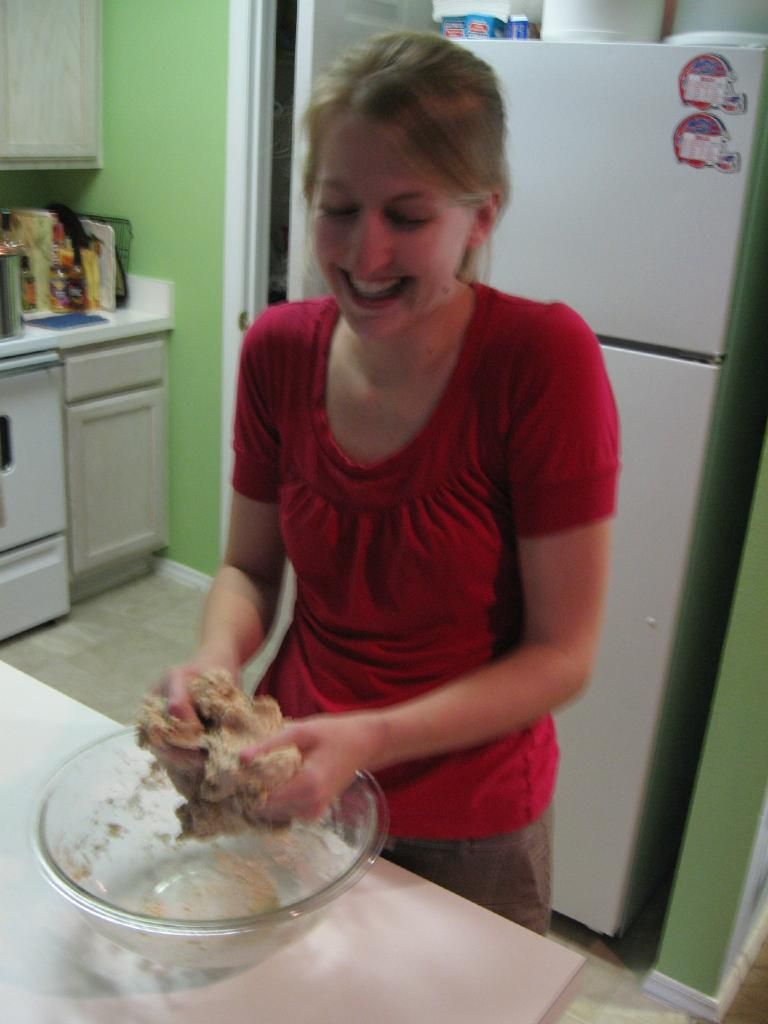
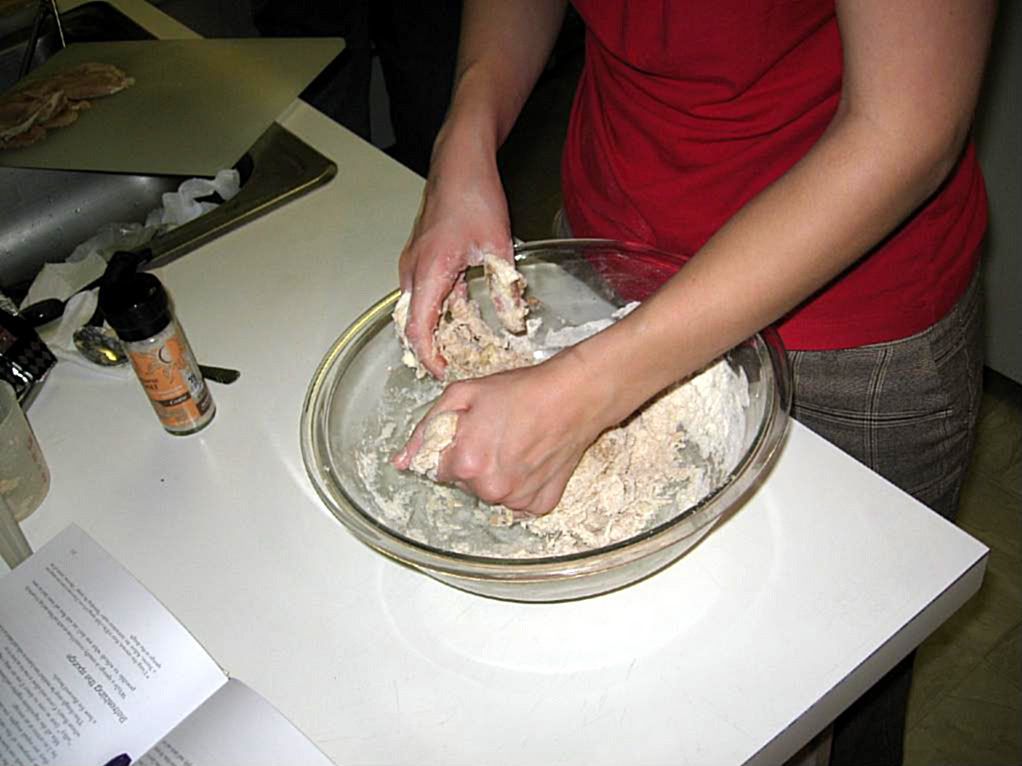
The process was just as Whitley described: a few minutes of work here and there (he calculates around 30-40 total) punctuated by periods of waiting. In this particular bread, I prepared a sponge that fermented for a couple of days, and then worked that sponge into a basic bread dough. This dough rested a couple of hours before the extra goodies were added to it and it was shaped. After a final proof for the better part of an hour, it was into the oven and out in a flash. I was frustrated at a few points by Whitley’s apparent vagueness (“Proof until well-risen”), and at other points by his apparent nit-pickiness (“bring the final dough to […] around 81°F”), but in the end, everything worked out perfectly. Incidentally, who knew kneading could be so much fun?! Mike snapped this blurry shot of me mid-laugh:
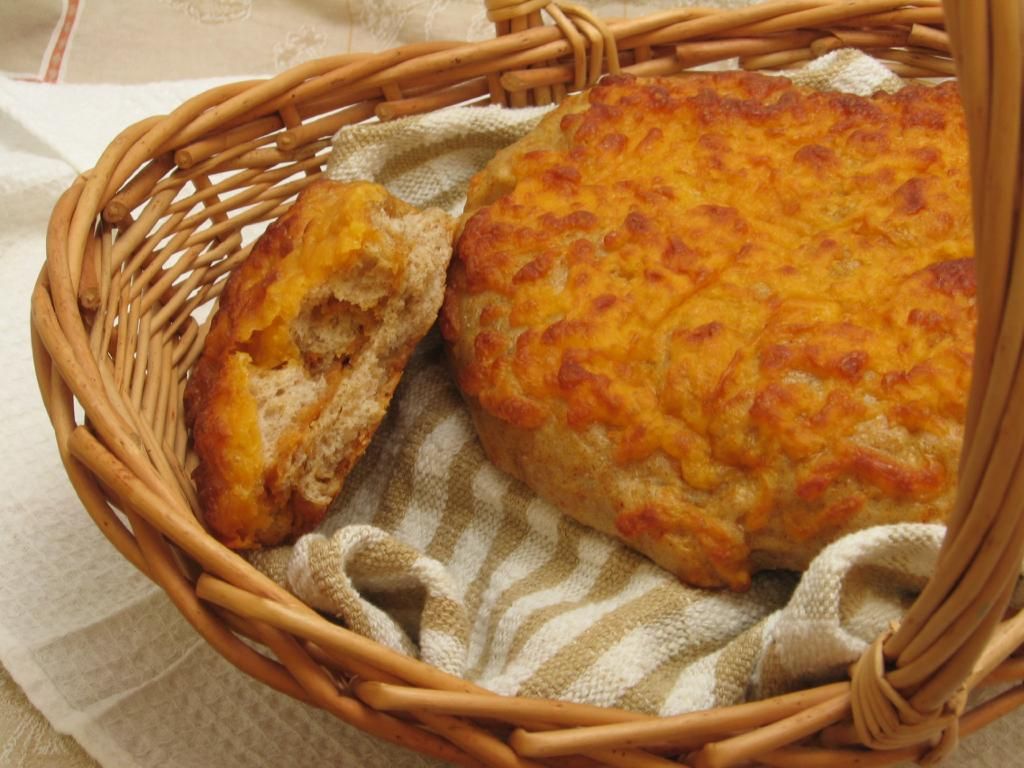
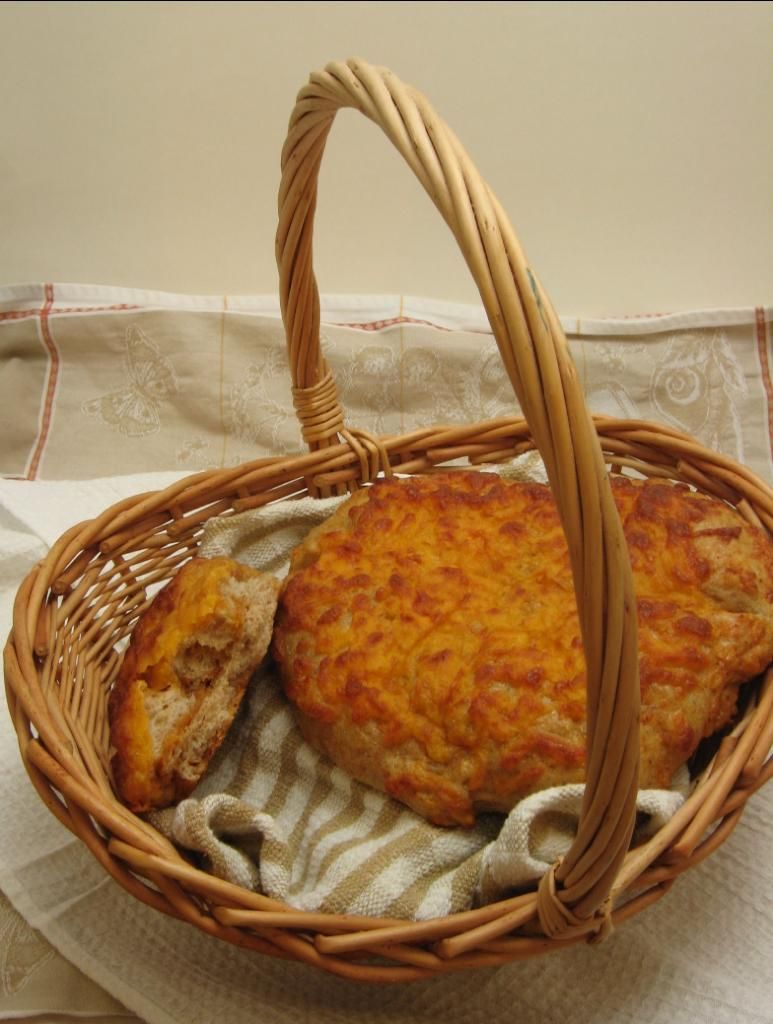
My freshly baked cheese bread was thick and hearty, with the subtle tang of fermentation and the warmth of chili powder and cumin. Mike and I enjoyed it with a pot of steaming chicken and dumplings (which, okay, turned out too salty due to over-reducing the broth — nothing some bread sopping can’t fix!)
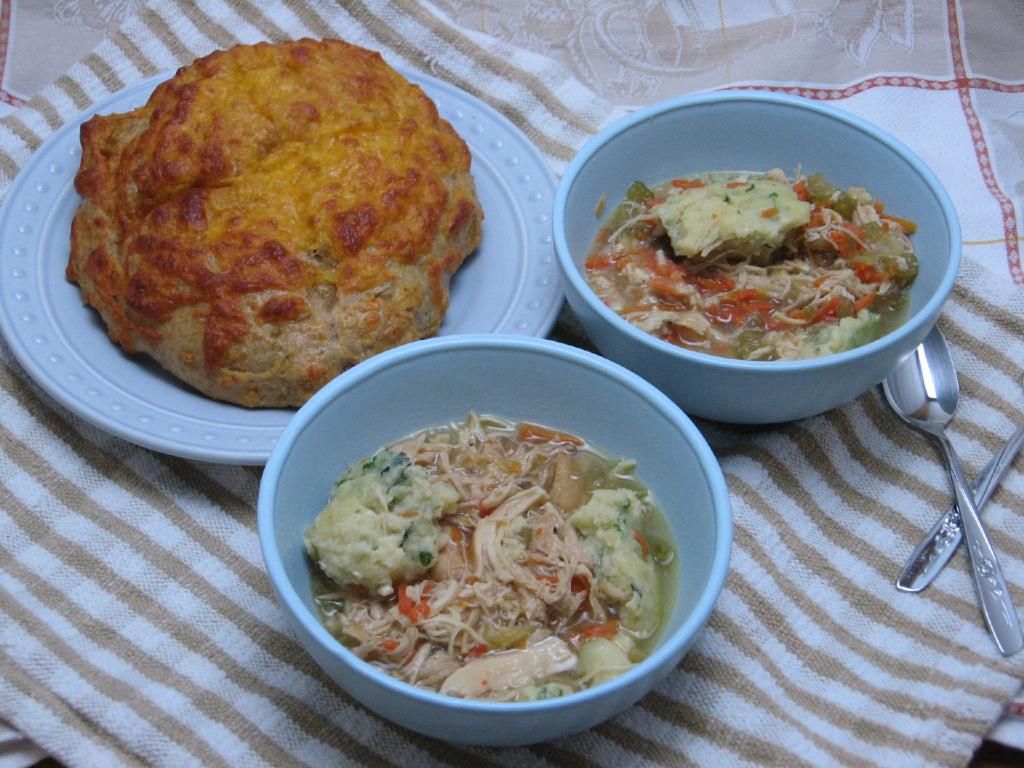
Freshly baked cheese bread and steamy chicken and dumplings.
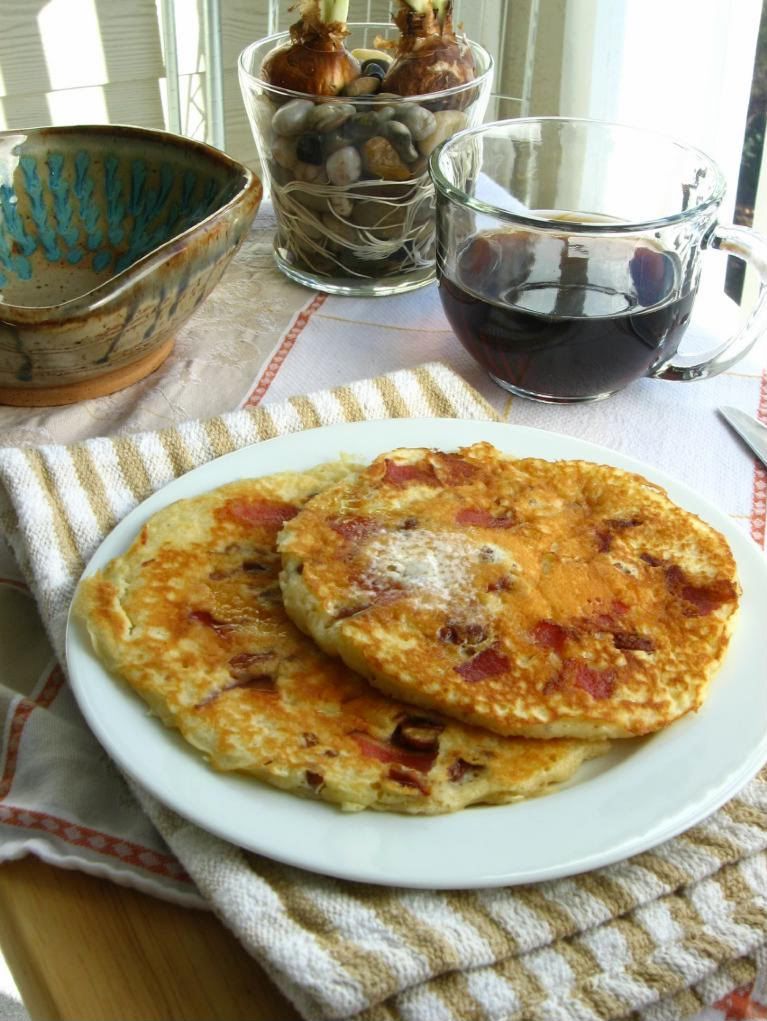
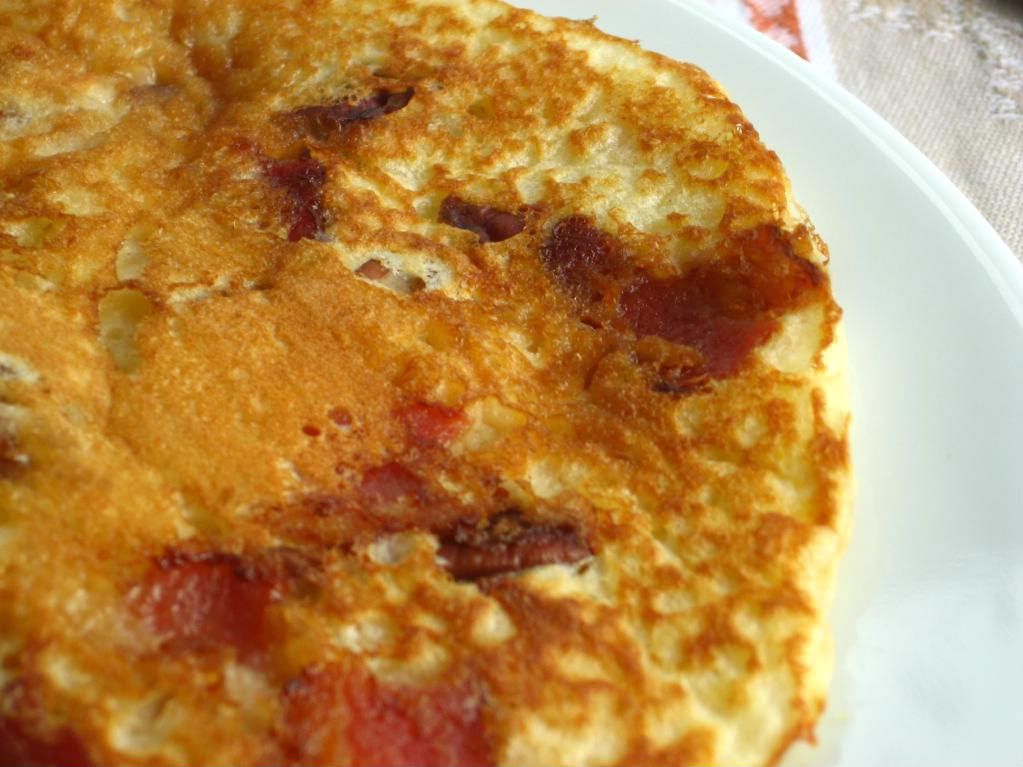
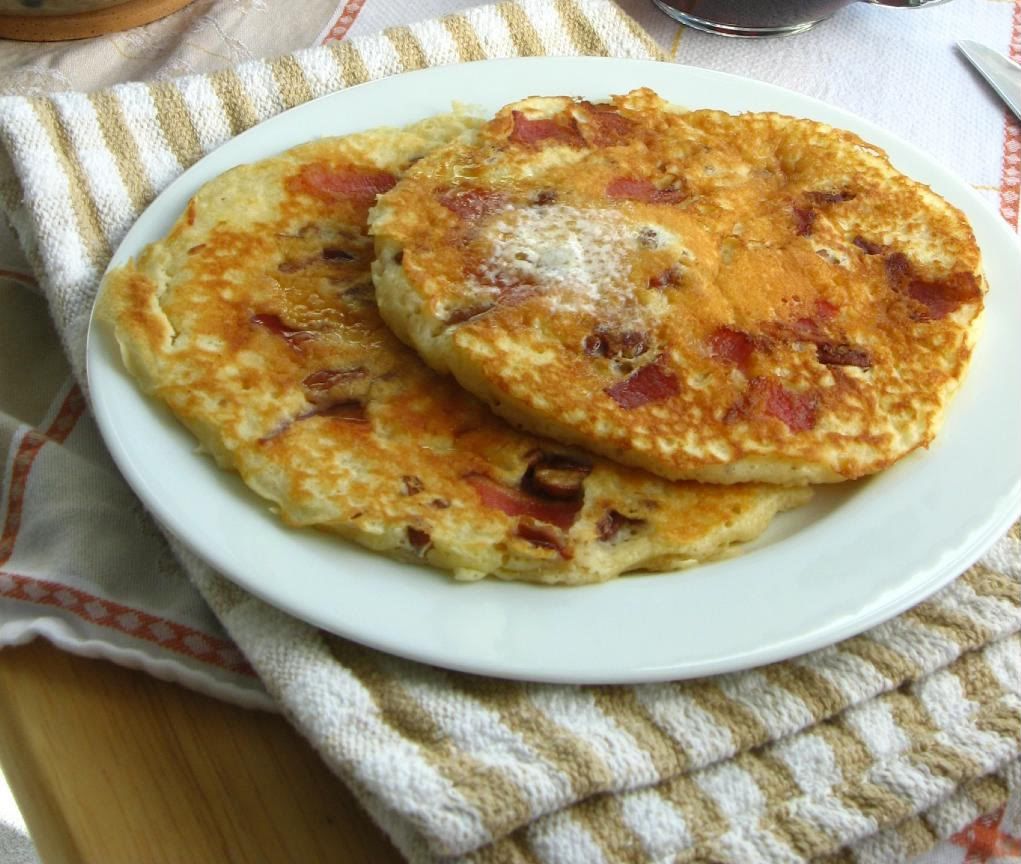
We devoured two entire loaves with dinner, but still had one loaf left over. What did I do with that last loaf after being so charmingly domestic and wholesome throughout the breadmaking process? That’s right, I sliced that baby down the middle, toasted it in some butter, and filled it up with eggs, cheddar cheese, bacon, and some fresh chopped parsley (see? healthy!) Breakfast of champions! No matter what you’re, ahem, planning on doing with your delicious cheese bread, I do hope you’ll give this freshly baked bread a try.


A less wholesome use for baked-from-scratch cheese bread!
Now for the task of summarizing my review of Bread Matters. I wouldn’t have purchased this book had I seen it sitting on a shelf. I’ve never thought of myself as a “bread person,” and thus the subject wouldn’t have caught my eye. There are also only two small selections of plates in the book — a drawback for me, since I love cookbooks with tons of images. That being said, I’m so glad publishers sent it to me for free — so I could review it and tell you that I would’ve been missing out. It’s certainly worth the $23 it’s currently selling for on Amazon, since it’s done much more than provide me with a few bread recipes. It’s really changed my mindset and been a lovely introduction into the bread craft. Because of the thoughtfulness and care with which the book was written, and because of the connection I feel with Whitley’s perspective on baking, I do wholeheartedly recommend Bread Matters.
Book Stats: 373 pages, $34 list price ($23 on Amazon), indexed.
Accessibility: Enough information for a beginning baker; includes sections describing materials required for breadmaking, techniques used in breadmaking, etc.
Examples of Recipes: Olive and Pumpkin Seed Bread, brioche, pains au chocolat, various European festival breads, sourdoughs, ciabatta, crumpets, etc.
Overall Impression: Very thorough and provocative, but I would’ve preferred more photos.
Overall Rating: 4 out of 5 stars
Other Notes: Whitley has a sweet and rather quirky conversational tone, sometimes winding through his recipes with a few tangents here and there (see the recipe below). Throughout the whole book, he passionately demonstrates the depth of knowledge he’s gained in his 25 year breadmaking career.
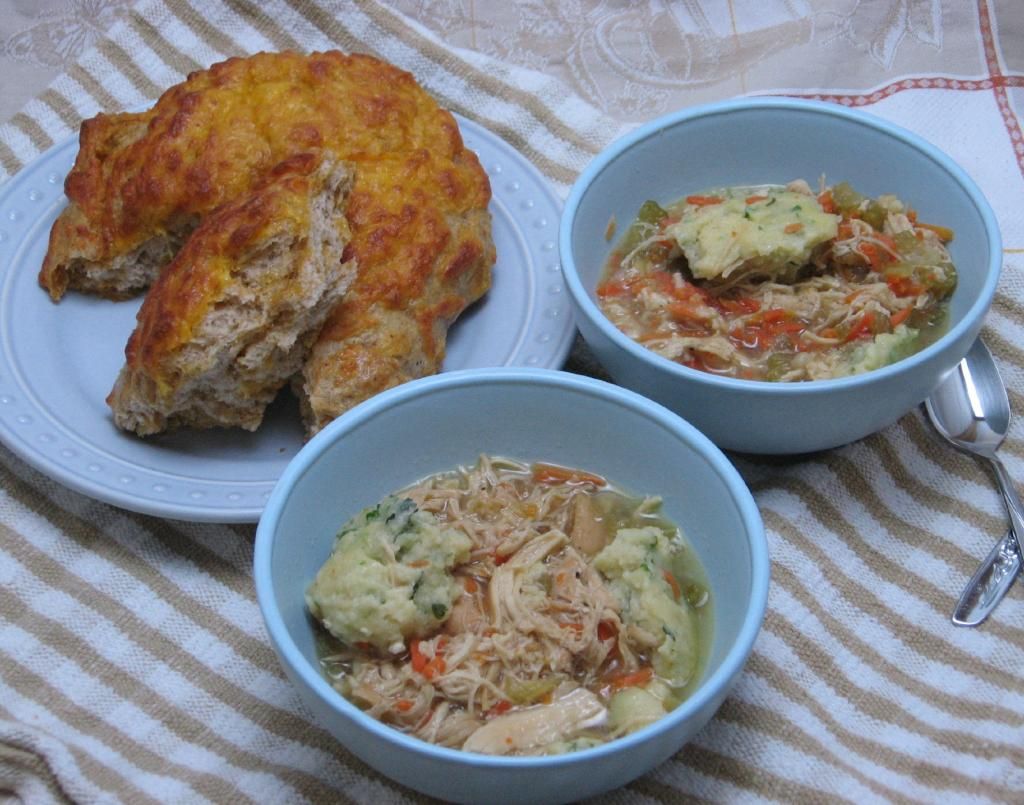
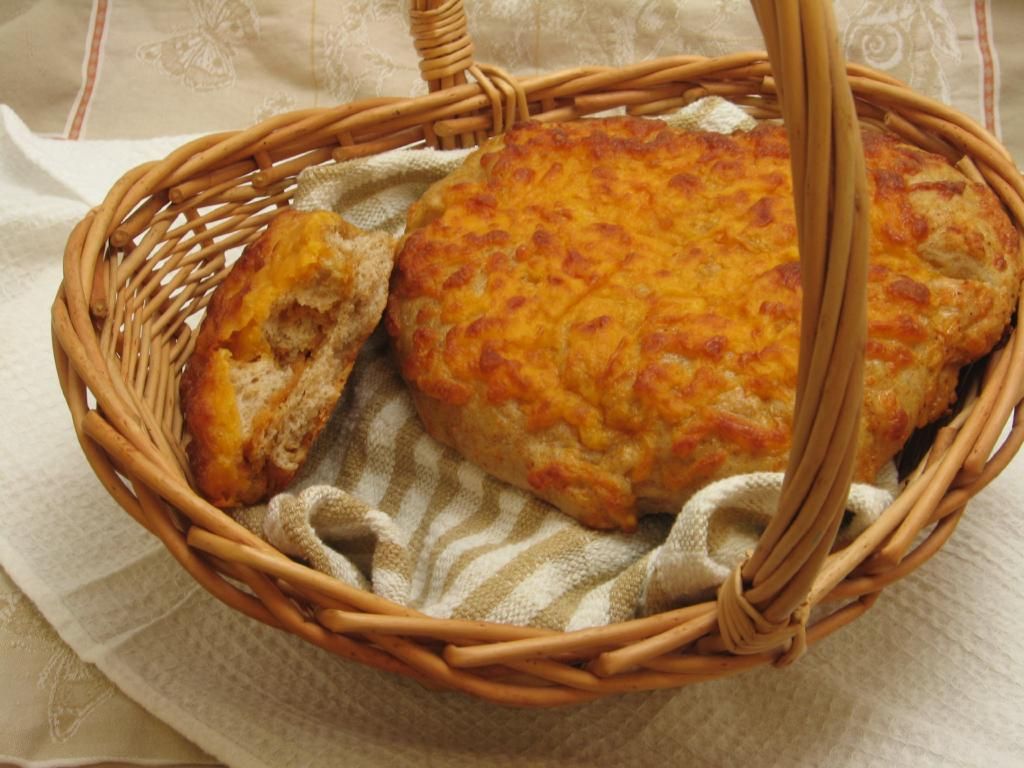
Same as above, but with the bread torn open so you can see its lovely innards.
Cheese Bread
Recipe from: Bread Matters: The State of Modern Bread and a Definitive Guide to Baking Your Own
Yields: 3 medium rounds of cheese bread (about 12 servings)
Sponge Ingredients:
1/4 teaspoon active dry yeast*
2/3 cup water (around 68°)
1/2 cup plus 1 tablespoon unbleached all-purpose flour
1/2 cup plus 1 tablespoon stoneground breadmaking whole-wheat or graham flour
*Note: book also includes measurements for fresh yeast.
Basic Bread Dough Ingredients:
1 cup sponge (from above)
1 cup plus 2.5 tablespoons unbleached all-purpose flour
1/2 cup plus 1 tablespoon stoneground breadmaking whole-wheat or graham flour
3/4 teaspoon sea salt
1 tablespoon olive oil
scant 1.2 cup water
Cheese Bread Additions:
1/2 teaspoon chili powder
1/2 teaspoon ground cumin
1 cup shredded cheese
2.5 cups basic savory bread dough (from above)
beaten egg, to glaze
2/3 grated cheese for topping
Directions:
To make the sponge: Dissolve the yeast in the water. Add the flours and mix to a soft sponge. There is no need to mix this vigorously: gluten development by physical means is irrelevant in dough that is allowed such a long time to ferment because naturally occurring enzymes and acids transform it anyway.
Put the sponge in a bowl with plenty of room for expansion (up to 2 times its volume) and cover with a lid or plastic bag to conserve moisture. Leave it at room temperature to ferment for 16-48 hours. During this time, the sponge will rise up and collapse. The yeast cells will multiply and lactic and acetic acids will begin to develop.
To make basic bread dough from sponge: If the sponge has been in a cool place, you will need to use fairly warm water to bring the final dough to a reasonable temperature of around 81°F (27°C). To work out how hot the water should be, follow the formula on page 68 [of Bread Matters]. For the purposes of this calculation, treat the sponge as part of the flour. Since they are equal weights, you can add their temperatures together and divide by 2 to arrive at an average. NOTE: I thought this would be the undoing of my bread, because all of this temperature business sounds so complicated. I estimated my sponge’s temperature based on room temperature, and estimated the temperature of the water (a little warmer than lukewarm). It worked out fine.
Mix all ingredients together and knead until the dough is stretchy and “silky” (not so easy to detect if you are using a high proportion of whole-wheat flour). Cover and allow to rise for an hour or so.
To make basic bread dough into cheese bread: Stir the spices into the grated cheese and add this to the prepared Basic Savory Bread Dough. Fold the cheese through the dough until it is fairly evenly distributed. You may need to add water if the dough shows signs of tightening. NOTE: I did add a bit.
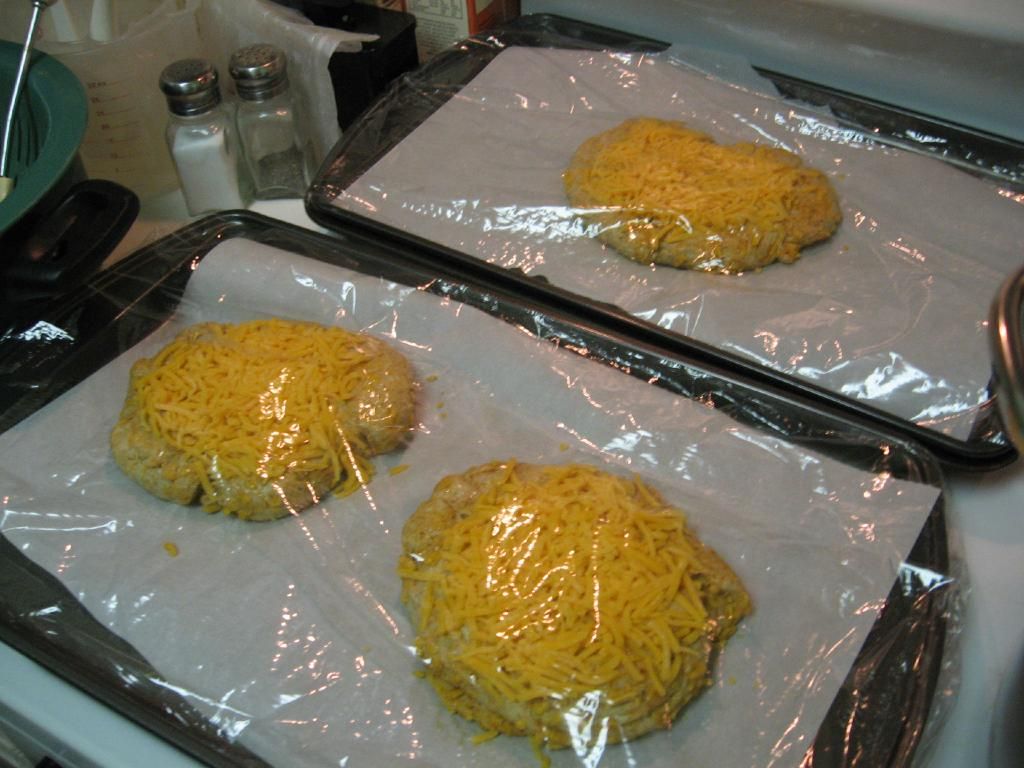
Divide the dough into 2 equal pieces and mold them into round balls. Give them a minute or two to relax and then, with the palm of your hand, press them down so that they roughly double in diameter. Put these flat disks on a baking sheet lined with nonstick baking parchment, placing them far enough apart so that they will not touch.
With a plastic scraper or the back of a knife, mark the cheese breads with 2 cuts at right angles to make a cross. Simply press down on the dough aiming to cut through almost to the baking sheet but not quite. (If you press too hard and the dough breaks in 2 [or 4], do not worry: it will probably join up again during proofing or baking.)
Brush the visible surface of each bread with a little beaten egg. Divide the remaining shredded cheese and place it as evenly as possible on top of each bread, but do not put it too near the edge. The cheese will partially obscure the cuts made by the scraper, but this does not matter. As the dough proofs, it will spread the cheese out a little.
Proof until well-risen, then bake in a moderate oven (375°F [190°C]) for 15-20 minutes. These breads are small and flat, so the heat will penetrate fairly quickly to the center of the dough. Take care not to let the cheese topping get overcooked; it can change from softly melted to dried and “foxy” in a few minutes.
The deep cross you pressed into the dough should be just visible after baking and the cheese breads should break easily into 4 wedges, which make good soup rolls. NOTE: I’ll say! If you plan to fill a cheese bread, it is best to keep it as one, divide it horizontally, insert the filling and then cut the whole thing into halves or quarters.
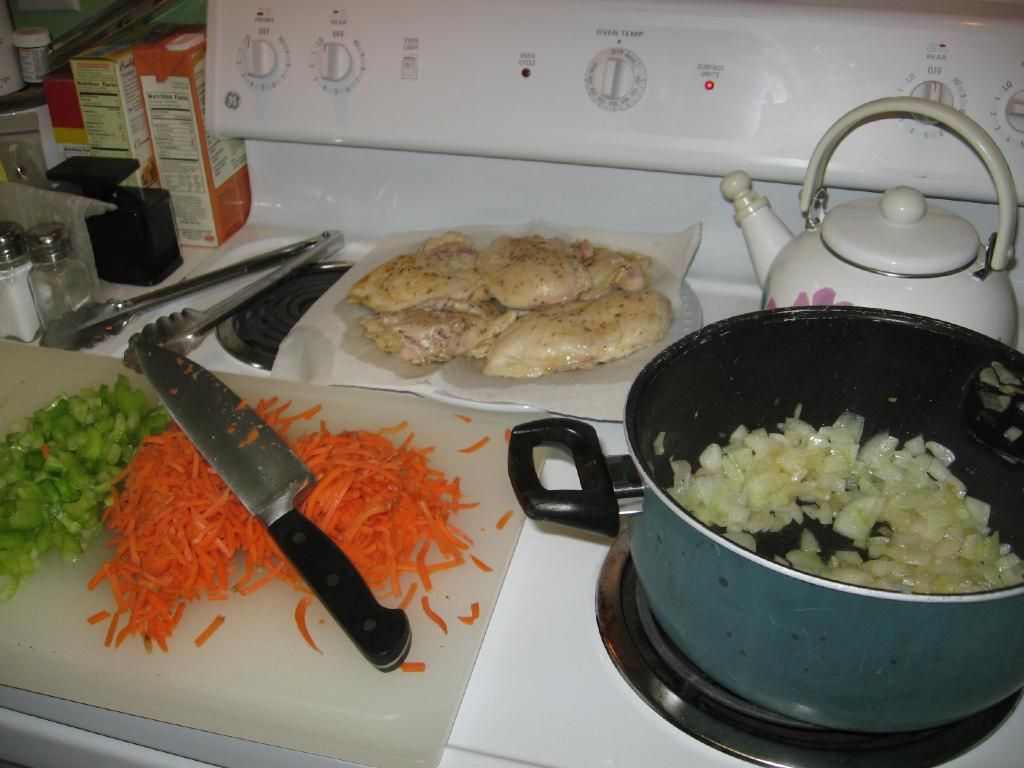
Chicken and Dumplings on the stove and bread kneading!
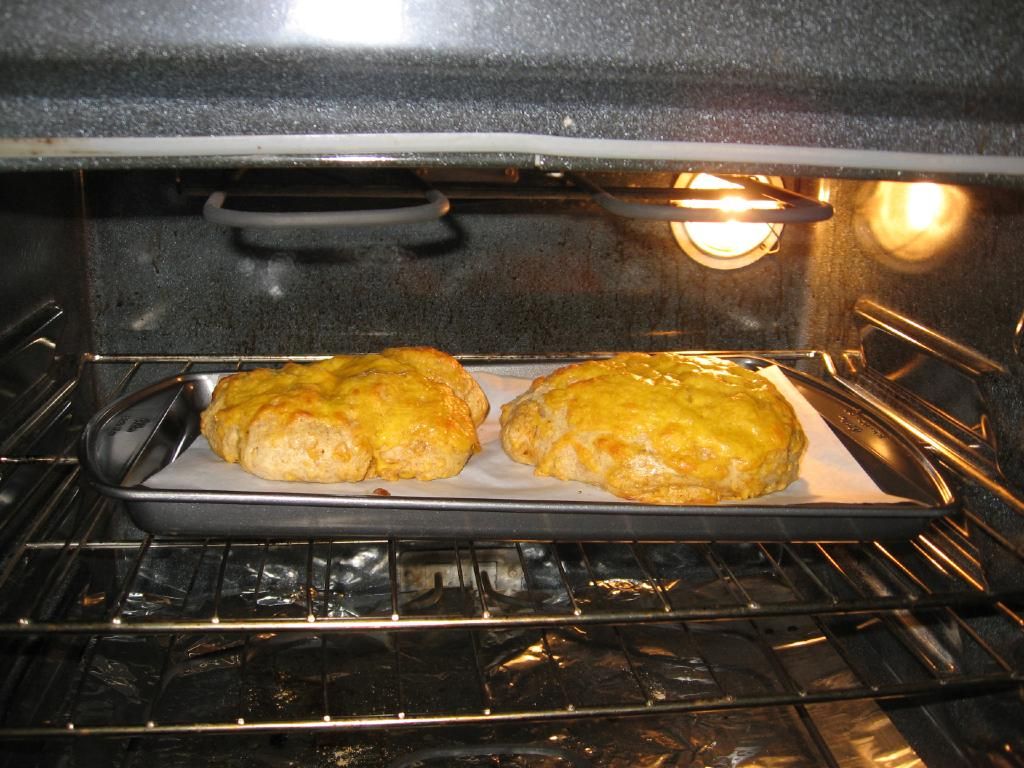
Bread proofing and then baking.

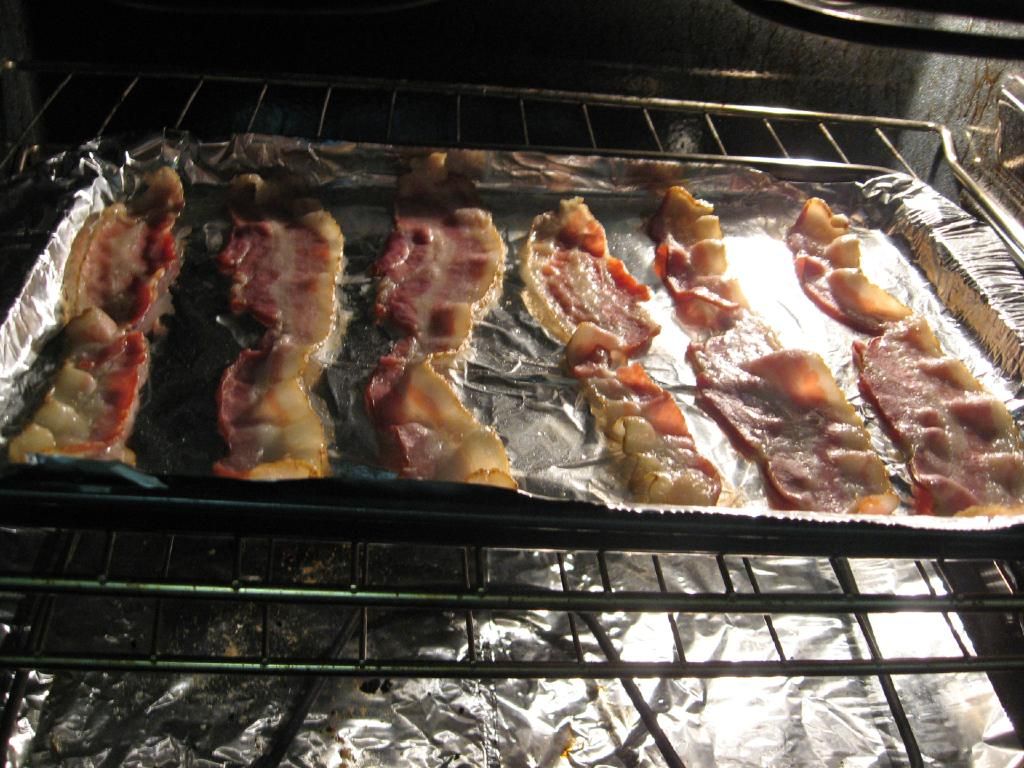
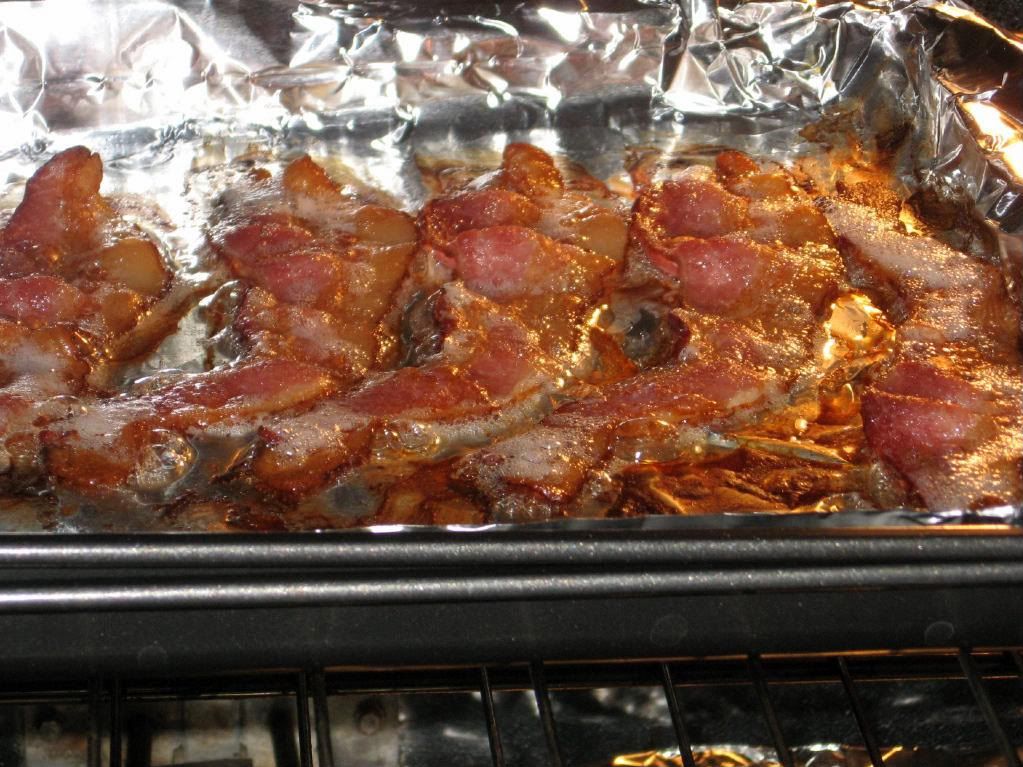
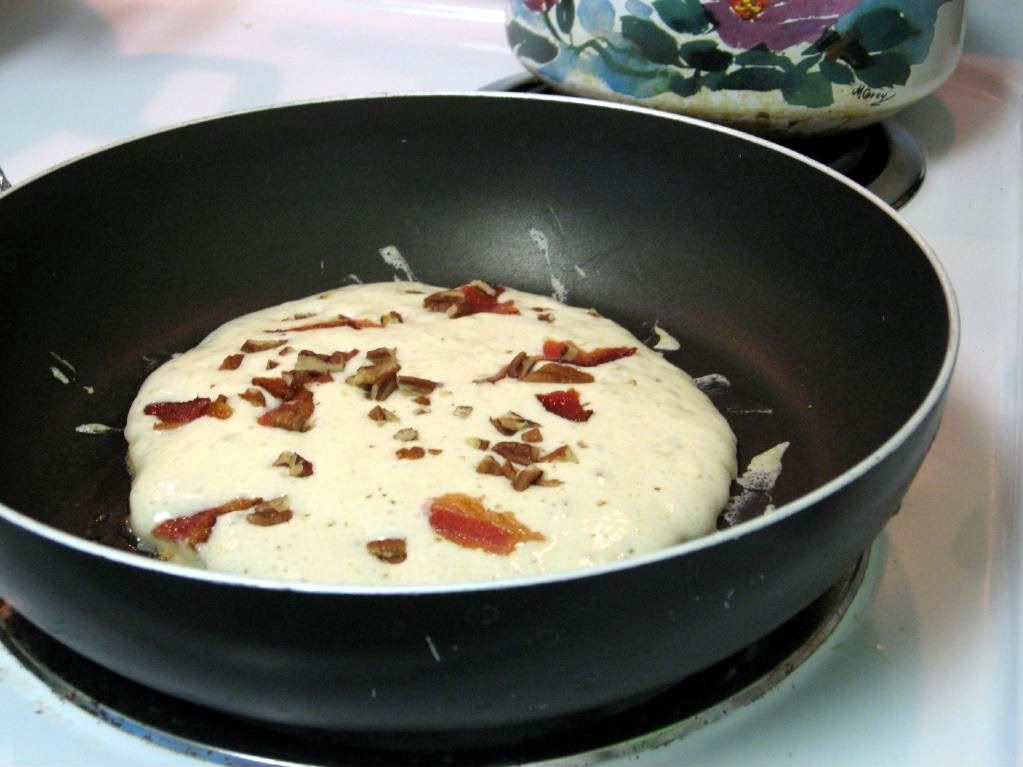
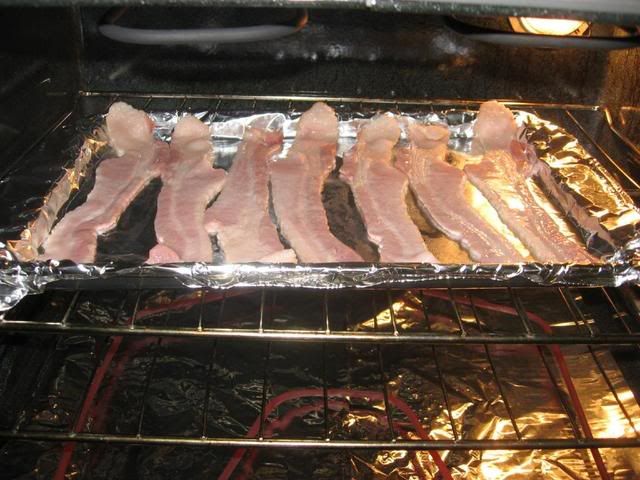
Leftover cheese bread toasting and bacon sizzling in preparation for the breakfast sandwich of all time.
Bake bread! This loaf is getting submitted to YeastSpotting!
 Share this post with friends!