apple

Apple, Brie, and Toasted Pecan Panini (& Voting Now Open in Project Food Blog Round 4!)

Willow Bird Baking is a contestant in Project Food Blog, a contest comprised of a series of 10 challenges to find the next food blog star. Voting for Challenge #4 is now open! To vote for my Croissant Tutorial to win this round, register for a Foodbuzz account. Once you’re registered, sign in and go to my Croissant Tutorial entry here. To vote, click the heart next to the words “Vote for this Entry.” I am so grateful for your support!

A few of years ago, back when I was still working in a developmental neuroscience lab (sounds fancy, but you can think of it as “playing with tadpole neurons”), I was given a travel stipend to head to San Diego for a conference. To put this trip in perspective for those of you who are jet-setters, I had never in my life been west of Missouri. Even that 12-hour Missouri trip had always been taken by car; I had only been on a plane once when I was 8 years old. I was also 22 years old and poor, so the last thing I expected was to suddenly be able to fly off to beautiful California for a visit.

Apart from being terrified of the plane, I was over the moon about traveling 2,500 miles away from everything familiar. I traced the distance on maps and looked through photos of the city, trying to get a grasp on the journey I was about to embark upon. My awesome sister, Sarah, volunteered to fly out and show me around, since she loves the city.

Every part of that trip was incredible: walking into the raspberry scented hotel lobby each night and seeing the lights of downtown all around my window, walking past flowers that seemed overwhelmed by their own huge blooms, eating pastries above the surf in La Jolla — and the HILLS! Hills like I’d never seen, rolling all around with houses creeping stealthily up their sides and staring off into the Pacific Ocean.

My sister rented a convertible and even though it was November, we drove with the top down to Coronado Island. We stopped into a little restaurant, Cafe 1134, for lunch. We weren’t expecting much, but ordered some panini. As we each took our first bites, our eyes met, and we realized we had just walked into something special. These were no ordinary panini. These were extraordinary panini: warm, melty, amazing! Even after a fancy seafood dinner, pasta in Little Italy, breakfast by the shore, and an Indian feast in La Jolla, we both still think of those panini as one of the best meals we ate in San Diego.

They’re just sandwiches, right? Wrong! They can be transcendental.

What perfect, amazing timing for this post. I’m so excited to share with you that I’m about to embark upon my second journey to the West Coast. I’ve just been chosen as the Nature’s Pride Bread Ambassador and awarded a trip to San Francisco.

How fitting is it that, just as I’ve discovered I’ll be returning to California, I’ve also found another transcendental panini — this time from my own kitchen, with my own homemade croissants! My sister Sarah isn’t going to believe me when I say that these are as good (if not better) than the panini at Cafe 1134, but perhaps I’ll make her a believer with a bite!

Everything about this panini is incredible. The buttery, fresh croissants embrace crisp apples, creamy brie, toasted pecans, bright rosemary, and a drizzle of sweet honey. The flavors melt and meld into a gorgeous medley of sweet and savory. I swooned. I devoured. I wished I hadn’t frozen the rest of the croissants.

Have you made your croissants yet? I’ll let you in on a little secret: I tried “handmade” croissants from a Charlotte bakery, and scout’s honor, homemade was about a billion times better. That being said, making these panini is an urgent matter. Even if you have to pick up some croissants from your local bakery to try this, you should do so as soon as possible!

What are your special travel memories? What food reminds you of your trip?

Apple, Brie, and Toasted Pecan Panini


Recipe by: Willow Bird Baking
Yield: 3 panini

Ingredients:
3 big croissants (preferably homemade!)
1 large apple (I use Gala), cored and sliced relatively thin
2 teaspoons chopped rosemary
1 8-ounce round of brie, sliced
1/2 cup pecans, chopped
honey for drizzling

Directions:
Toast the pecans: Place nuts in a dry skillet over medium-high heat and stir constantly. Once they begin to toast (when you start to smell them), shake pan to ensure all sides of the nuts are toasted evenly and none of them burn. Pour out onto a plate to cool while you assemble the sandwiches.

Preheat panini press to medium and spray with cooking spray. Slice croissants open and layer brie slices, apple slices, a small handful of nuts, a generous pinch of the chopped rosemary, and one more slice of brie on top. Drizzle with honey and replace the top of the croissant. Grill on panini press for a few minutes, checking periodically, until cheese is starting to melt and croissant is toasted. I finish mine in the microwave for about 15 seconds to get the cheesy nice and melty. Serve warm.

If you liked this post, please:
Subscribe to Willow Bird Baking
Follow Willow Bird Baking on Twitter
Follow Willow Bird Baking on Facebook
Give this post a thumbs up on StumbleUpon


ShareOther ways to share this post with friends!

Assorted Donut Muffins and Project Food Blog: Vote Now!

Willow Bird Baking is a contestant in Project Food Blog, a contest comprised of a series of challenges to find the next food blog star. If you missed it, my first challenge post explains why I blog, and what makes WBB special. Voting for Challenge #1 is now open! To vote, register for a Foodbuzz account. Once you’re registered, sign in and go here. To vote, click the heart next to the words “Vote for this Entry.” I am so grateful for your support!


At this point, just about all of us have either made Donut Muffins, eaten Donut Muffins from a generous friend, bookmarked a recipe for Donut Muffins, drooled over photos of Donut Muffins, or cursed the day Donut Muffins were invented as we kicked our scales across the bathroom.

I was in the “bookmarked the recipe” category for way too long. Every time I’d see another Donut Muffin post pop up in my Google Reader, I’d admonish myself for not having made them yet. They’re billed as warm, pluffy cake-donut-like muffins that have soaked up butter before being coated in cinnamon and sugar. It’s basically criminal that I hadn’t made them until this past weekend. But don’t worry — I made up for lost time.

What’s the fun of donuts? The taste, definitely — but also the puff of powdered sugar, the jam centers, the colorful sprinkles, the melty chocolate, the sticky glaze. A major component of what makes donuts so fun is the assortment. Even though I have a favorite donut, I always buy a few kinds so that I can pick through the box excitedly, tasting different combinations and flavors. So why make just one sort of Donut Muffin? Especially when it’s so easy to make a few kinds?

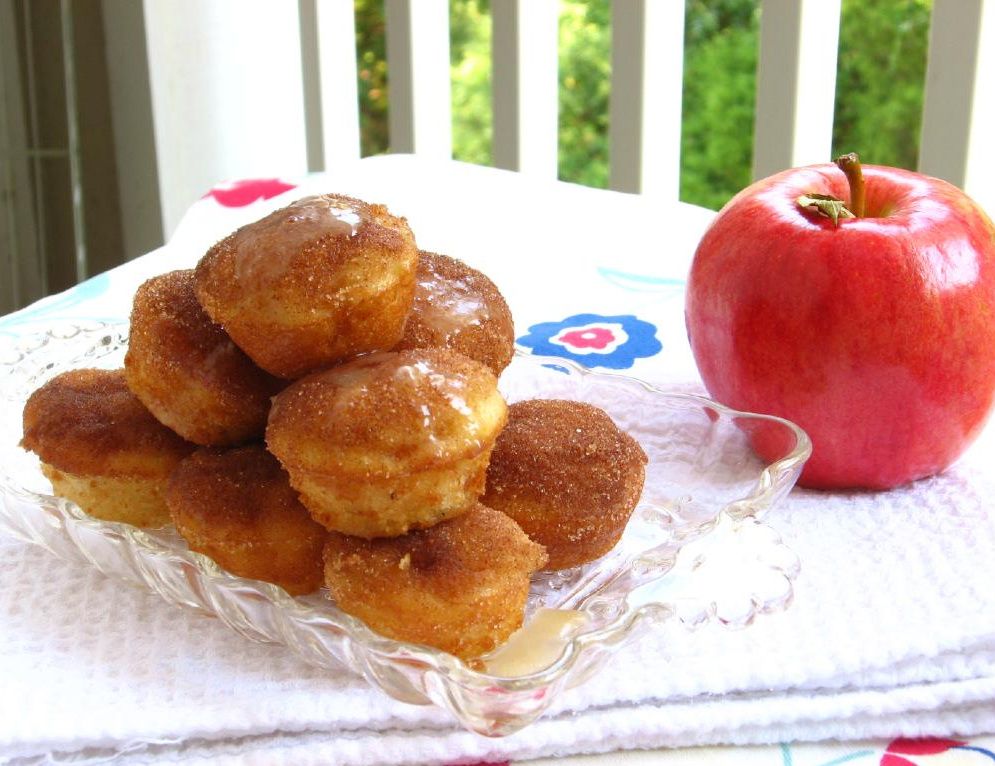
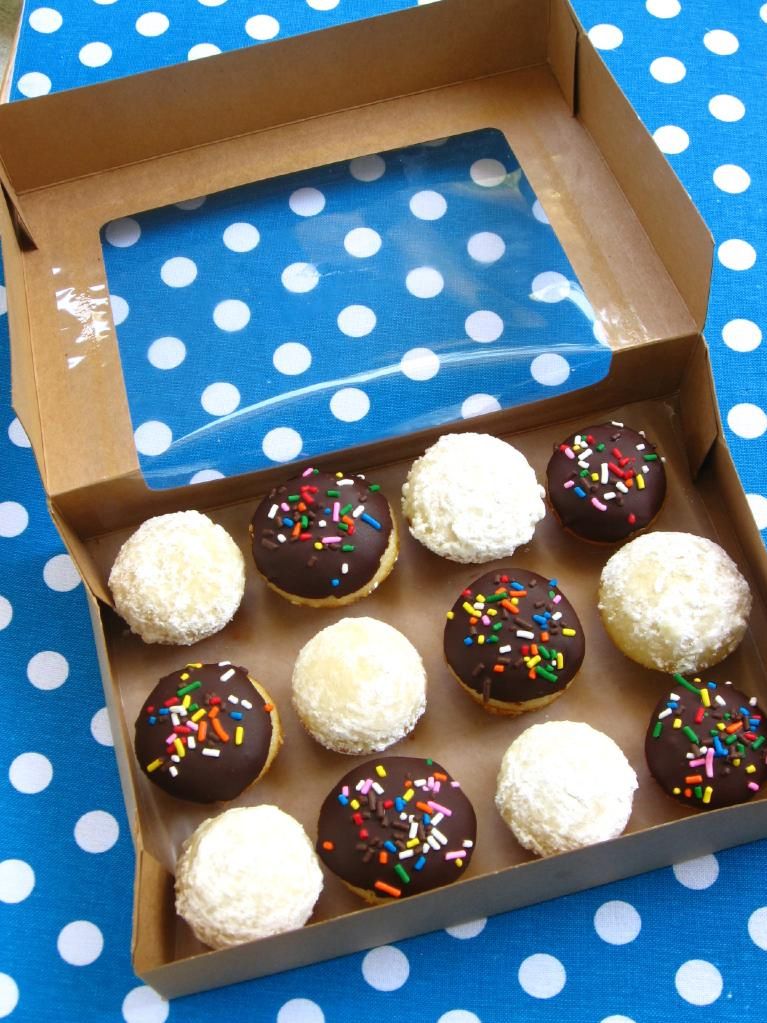
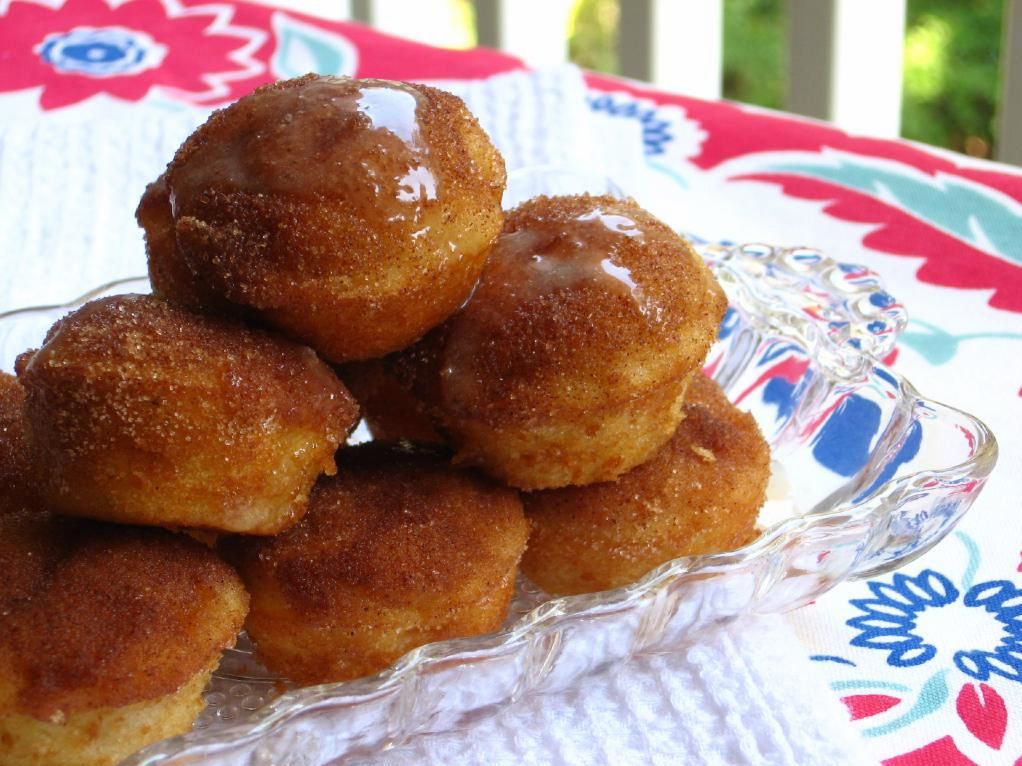
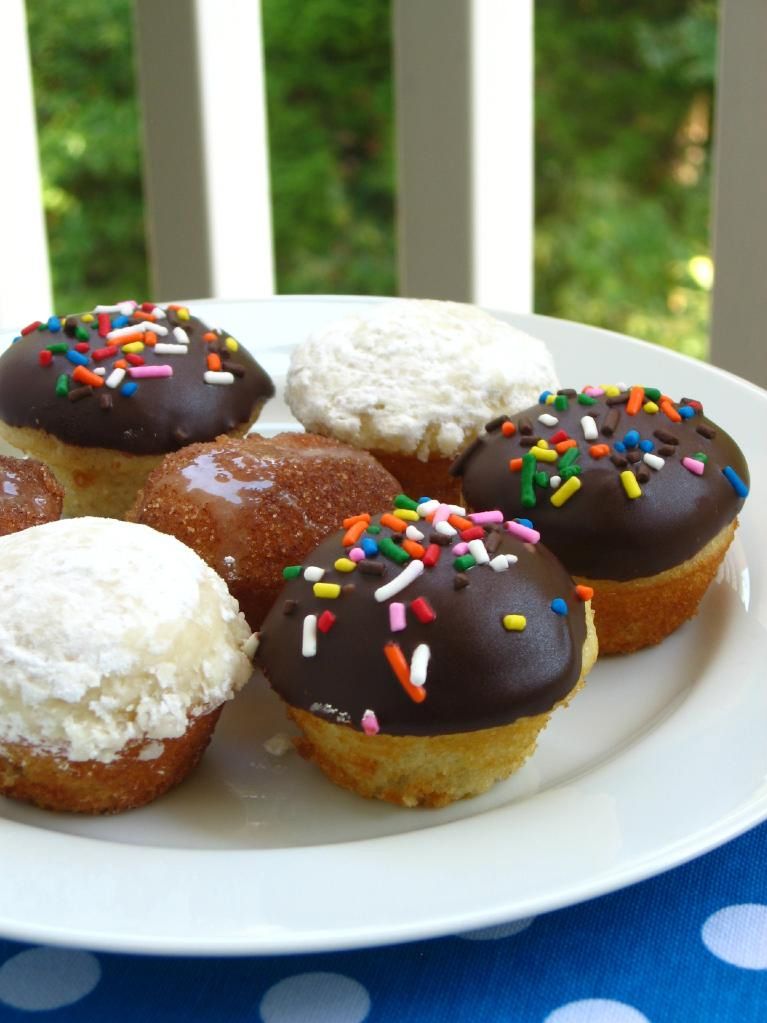
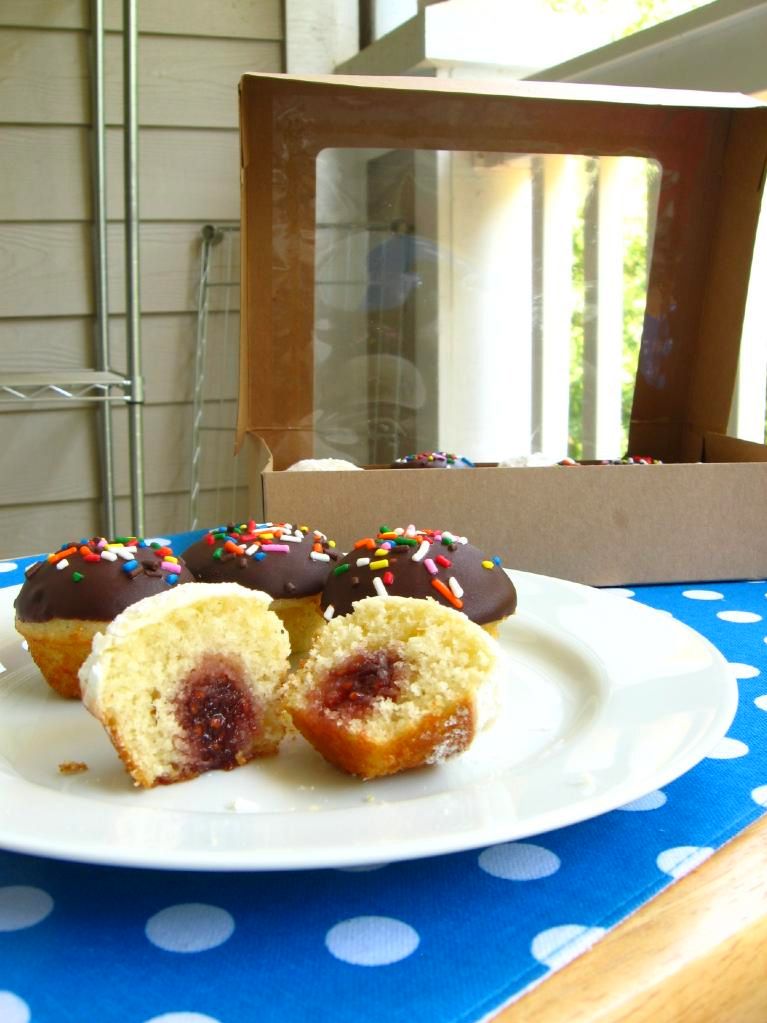
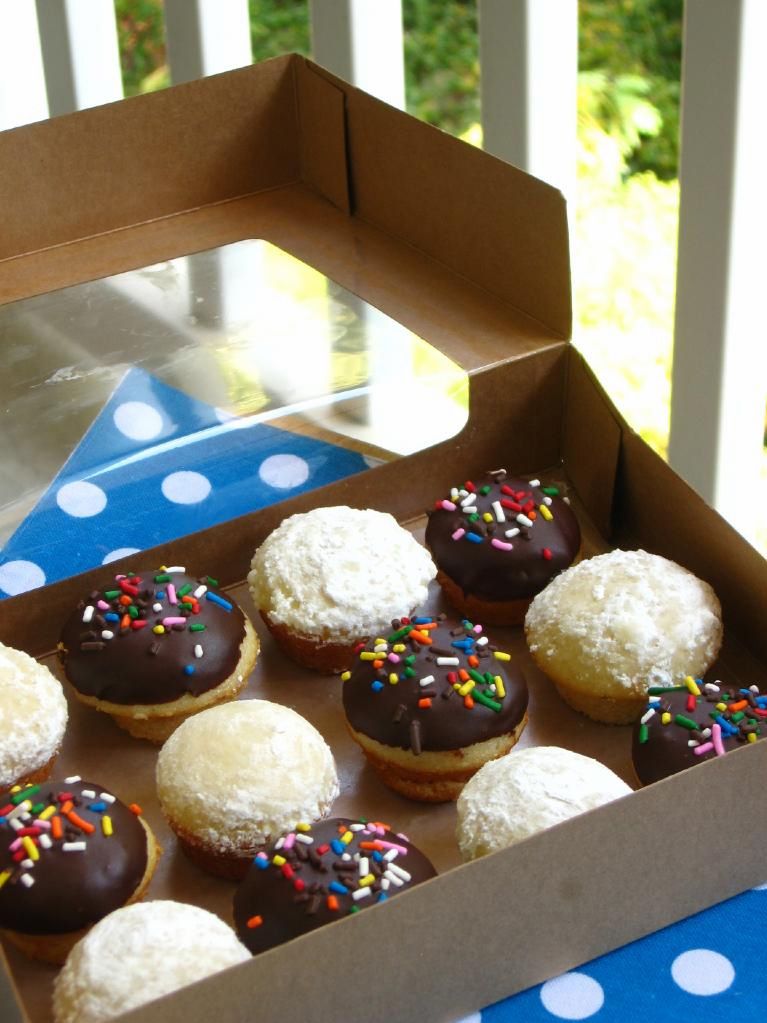
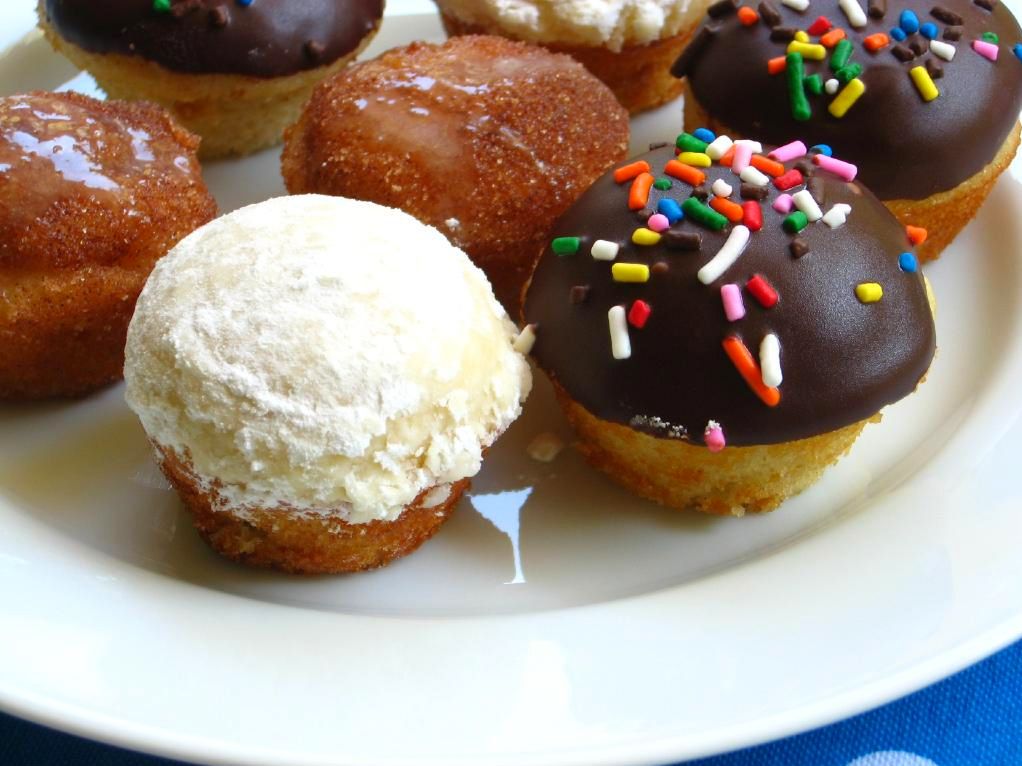
In my Donut Muffin assortment: Caramel Apple Donut Muffins, Jam-Filled Powdered Sugar Donut Muffins, and of course, Chocolate Sprinkle Donut Muffins.

You start out by making the batter like normal, but then separate a third of it to add diced apples to. After baking all the muffins up, the apple donut muffins get coated in cinnamon, sugar, and a caramel glaze. Another 1/3 of the batch gets coated with powdered sugar and filled with raspberry jam. The final 1/3 gets a bath in melted chocolate and some sprinkles. I bought a box of bakery cookies just to have a cute little “donut box” to put them in (no clue what I’m going to do with those cookies)!

The Chocolate Sprinkle Donut Muffins were good — but next time I’ll fill them with whipped cream or pastry cream for more donuttiness (that is a Merriam-Webster-certified real word, y’all. Okay, it’s not. Not even close). The Jam-Filled Powdered Sugar Donut Muffins were delicious little jammy bites. But the Caramel Apple Donut Muffins . . . they were OUT OF THIS WORLD. Like, OUT OF THIS GALAXY. Like, OH MY GOODNESS. My roommate had to sit down when she took her first bite, and she insists they’re the best thing I’ve ever made. Are you dicing apples yet? Good.

When they’re warmed up slightly, full of apply, buttery, cinnamon-sugary goodness, and coated with the buttery caramel glaze, these fluffy Caramel Apple Donut Muffins are analogous to the donuts you’d drive across town for. Sure, you want the assortment — and I ate plenty of the other two tasty flavors — but these are the ones you’d keep coming back for.

By the way, are you afraid of caramel? That’s probably because you’ve been using recipes with directions that say things like “look for an amber color,” or, even better, a “dark amber color.” I don’t know about you, but I think “amber” is pretty subjective. What gives? We stopped using terms like “low oven” and “slow oven” in recipes long ago in favor of fancy little things called oven temperatures. It’s time we switched over our sugar recipes to include temperatures as well. Caramel is nowhere near as frightening with a candy thermometer, y’all. You’ll be glad to see I’ve provided temperatures for your caramel sauce below, since I’m not feeling prehistoric.

What’s your favorite kind of donut? I think mine changed with my first bite o’ Donut Muffins! The recipe below shows you how to make all 3 kinds at once, but feel free to make just one sort if you’re feeling decisive.

Assorted Donut Muffins


Recipe by: Willow Bird Baking, adapted from the base recipe by Buns In My Oven. Caramel sauce by Martha Stewart.
Yield: 36 mini-muffins or 18 regular muffins

Batter Ingredients:
3/4 cup sugar
1 large egg
1 1/2 cups all purpose flour
2 tsp baking power
1/4 tsp salt
1/4 tsp ground nutmeg
1/4 cup vegetable oil
3/4 cup milk (low fat is fine)
1 tsp vanilla extract

Extras for Chocolate Sprinkle Donut Muffins:
melted chocolate
sprinkles
whipped cream (if desired, for filling)

Extras for Caramel Apple Donut Muffins:
2 tablespoons melted butter, for dipping
1/4 cup sugar mixed with 1 1/2 teaspoons cinnamon
1/4 apple, peeled and diced (I used a Gala apple)
caramel sauce (recipe below)

Extras for Jam-Filled Powdered Sugar Donut Muffins:
raspberry jam (or flavor of your choice)
about 3/4 cup powdered sugar, sifted
melted butter leftover from Caramel Apple Donut Muffins

Directions:
Prepare two mini-muffin pans by spraying with cooking spray. Preheat the oven to 350 degrees F. Beat sugar and egg together in a large bowl until fluffy. In a smaller bowl, whisk together flour, baking powder, salt, and nutmeg. Pour dry ingredients into wet ingredients and stir until combined. Add vegetable oil, milk, and vanilla extract and mix. Separate 1/3 of mixture into separate bowl and fold in diced apples (these will be the Caramel Apple Donut Muffins). Pour all batter into prepared muffin tins, filling each about 3/4 full. Bake for 13-15 minutes until tester comes out clean.

Let cool in the pan for a few minutes before removing onto a cooling rack (if muffins are extremely delicate and difficult to remove, you may need to bake them a minute longer — mine weren’t quite done enough. On the cooling rack, separate the donut muffins into 3 batches: the apple muffins, 1/2 of the plain muffins, and the other half of the plain muffins. These will be your three types of donuts.

For the Caramel Apple Donut Muffins: Melt the butter in the microwave and mix the cinnamon and sugar in a separate bowl. When the muffins are cool enough to handle, dunk the tops into the melted butter and then into the cinnamon-sugar mixture. Let dry/cool on cooling rack as you prepare caramel sauce (as directed in recipe below). Store caramel in fridge and drizzle on heated Apple Muffins right before serving.

For the Chocolate Donut muffins: When the muffins are cool enough to handle, dunk the tops into the melted chocolate. Add colorful sprinkles. You could fill these with pastry cream or whipped cream using a narrow pastry tip inserted into the bottom of the muffin if you wanted a cream-filled donut muffin.

For the Jam-Filled Powdered Sugar Donut Muffins: When the muffins are cool enough to handle, dunk the tops into the leftover melted butter and then into sifted powdered sugar. When donuts are cool, fill them with raspberry jam using a small pastry tip jabbed into the bottom of the muffin. Be careful not to overfill and burst your muffin (that should definitely be a more popular idiom than ‘burst your bubble,’ don’t you agree?) You may have to re-powder tops before serving if you keep these overnight, since some of the powdered sugar dissolves.

NOTE: Store all your muffins in an airtight container in the fridge.

Caramel Sauce Ingredients:
3/4 cups sugar
1/8 cup water
1/2 cup heavy cream
1/8 cup creme fraiche or sour cream
1/4 teaspoon pure vanilla extract
Pinch of coarse salt

Directions:
NOTE: This makes more caramel than you need, but I don’t reduce the recipe because it would make it difficult to use a candy thermometer, a tool that I believe is absolutely crucial in preparing caramel. I know you can find something else to spoon caramel sauce over — and this is truly delectable caramel.

Prepare a bowl set in an ice-water bath. Place sugar and water in a saucepan and heat over medium-high heat until it boils and the sugar is dissolved. Throughout this process, use a wet pastry brush to wash down the sides of your saucepan often to prevent crystal formation. Reduce the heat to medium and cook until the mixture reaches 345 degrees on a candy thermometer (begin swirling gently when you see hints of amber, so the sugar cooks evenly), about 5-7 minutes. Immediately remove from the heat and add cream carefully (the mixture will bubble up) while whisking constantly. Return mixture to medium heat until it boils and sugar melts.

Remove from heat, and pour into the bowl set in your ice-water bath. Let the caramel cool, whisking often, for 10 minutes before whisking in creme fraiche, vanilla, and salt. Cover and refrigerate at least 2 hours before serving over Caramel Apple Donut Muffins. Can store in the refrigerator for up to 5 days.

If you liked this post, please:
Subscribe to Willow Bird Baking
Follow Willow Bird Baking on Twitter
Follow Willow Bird Baking on Facebook
Give this post a thumbs up on StumbleUpon

ShareOther ways to share this post with friends!

3.14159265358979323846…

Happy Pi Day! My math geek boyfriend had never heard of it, so go figure.

Here are my favorite pie recipes (and okay, some tarts for good measure). Whether you’re a math nerd or just want another excuse to eat pie, you have my blessing.


Fresh Blueberry Pie


Red Berry Pie


Mini-Pies! Pumpkin, Sour Cream Apple, Peach Crisp


Raspberry Cream Cheese Tart


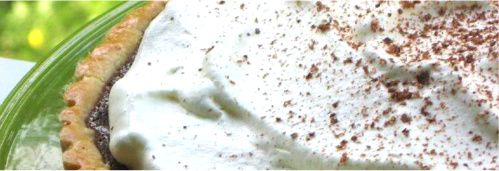
Chocolate Tart


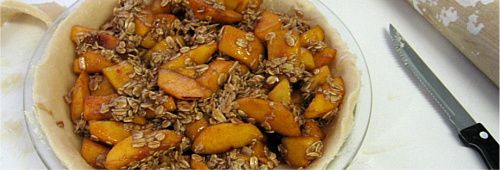
Peach Crisp Pie

Apparently there’s also a Pie — er, I mean Pi — Approximation Day in July?! Score!


Share Share this post with friends!

Red Berry Pie — Version 2.0

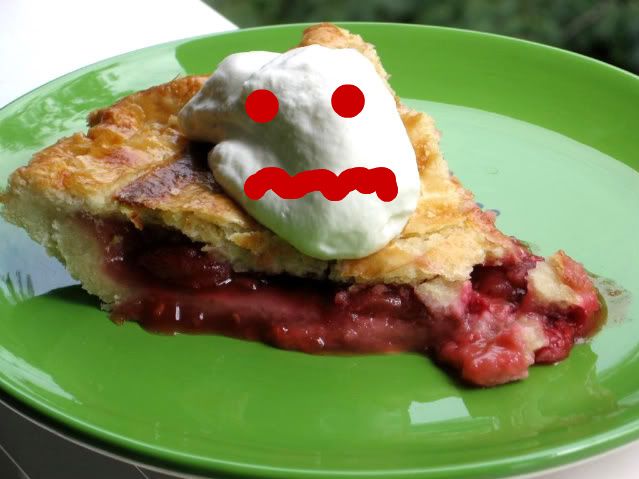
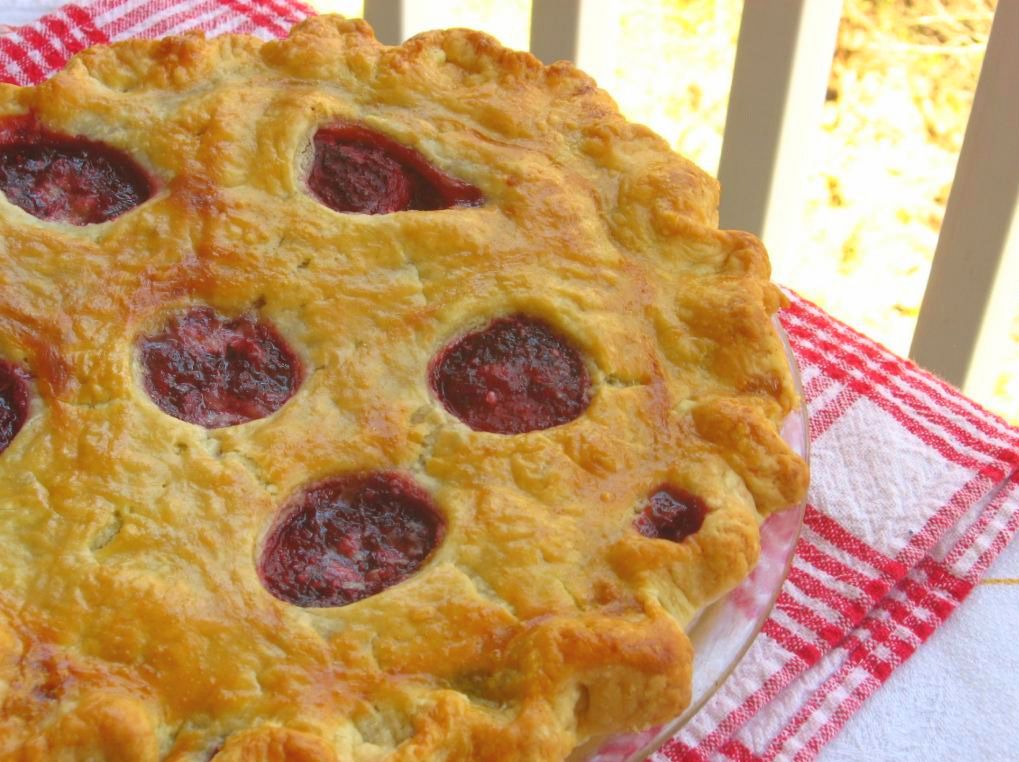
Once upon a time, there was lovely confection by the name of Little Red Berry Pie. Little Red Berry Pie was tasty and appeared beautiful on the outside, but carried a dark, depressing secret within her shell. You see, in her fruity little pie heart, she was weepy and sad.

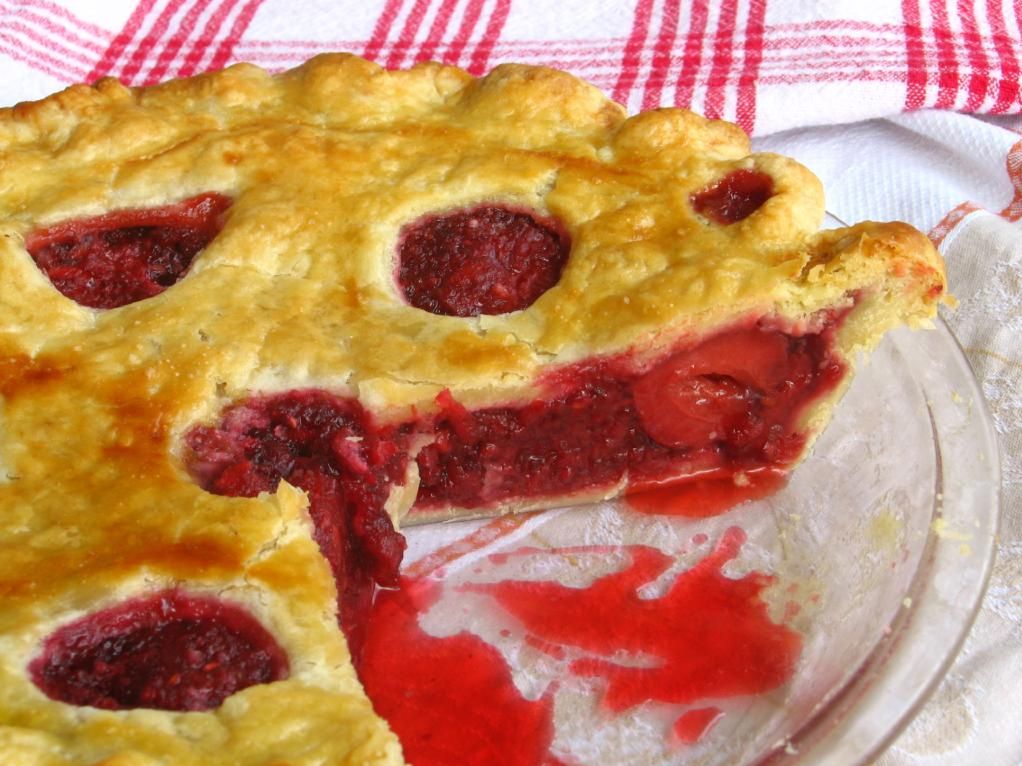
Very weepy. Like, soggy. Sort of like a puddle o’ fruit, actually.

She hadn’t been made with the best thickener, hadn’t been stuffed with enough berries, hadn’t cooled before being sliced, and was just an all-around mess. One fateful day, though . . . her prince arrived. No white horse was required, and no sword to slay her enemies — in fact, all she needed was him. His name? Err, well. We’ll call him Granny Smith. What?! Never met a prince named Granny?

Boy, that bright green prince was a harbinger of happiness! Little Red Berry Pie was reborn — a better version of herself!


Version 2.0

This Sweetie Pie followed the grand tradition of all fairy tales and definitely lived happily ever after. Until she was digested by gastric juices, that is. Oh, don’t look so surprised. Fairy tales are full of kidnapping, cannibalism, and violence!

You’ll have to forgive me. I spent weeks reading fairy tales to my adorable sixth grade students and discussing the elements of fiction — characters, plot, setting, theme, point of view. We marveled together that these “child-friendly” tales contained the kid-eating witch; the parents who left their kids in the middle of the woods; the multiple attempts to curse, poison, or slay enemies. And that’s not even considering the clueless, helpless, victimized princesses just waiting for a Man-with-a-capital-M to save their beautiful bustles. But I digress! I think we all agree pie is more pressing than fairy tales at the moment.

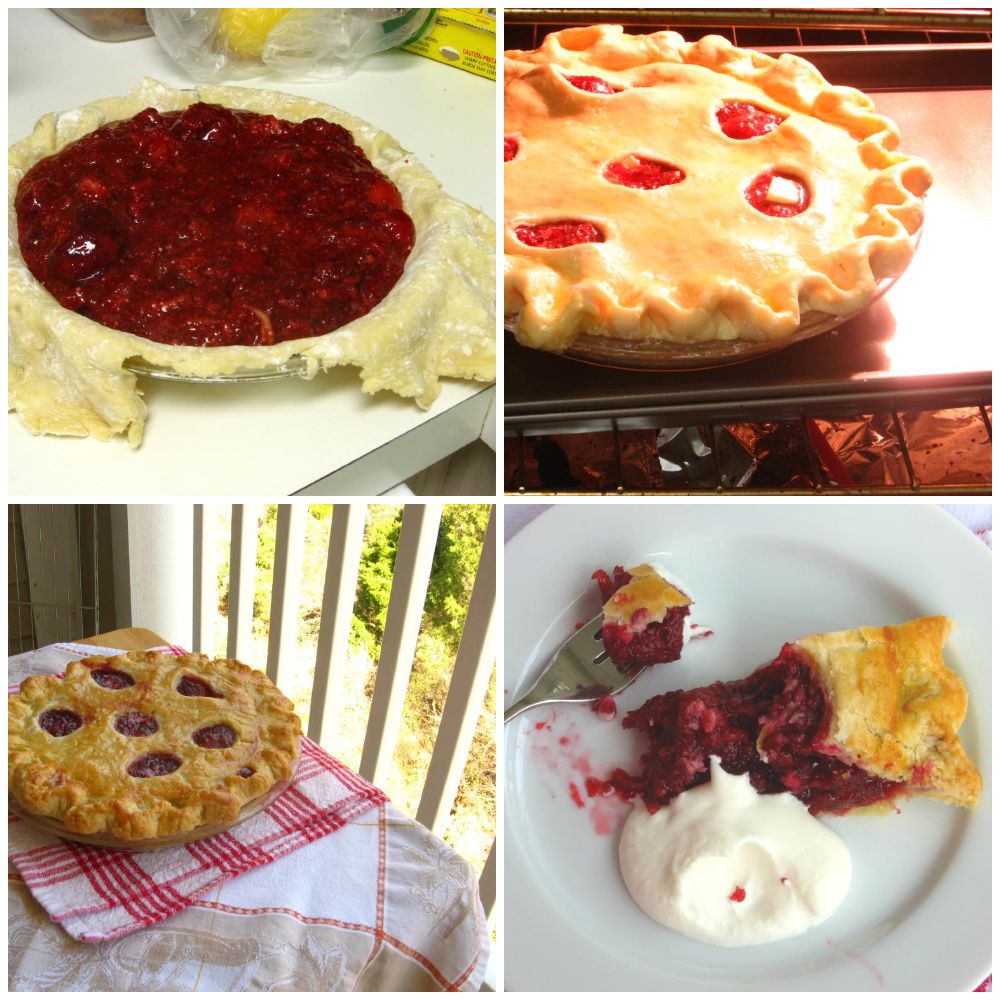
. . . But biting into this pie did feel a bit like living happily ever after. Let’s just say I’ve finally perfected my Red Berry Pie recipe with a little help from America’s Test Kitchen. In their blueberry pie, they use a brilliant thickening agent: tapioca plus a big ol’ grated Granny Smith apple, which releases its natural pectin while baking. It worked so well for the blueberry, I decided to use it to tweak my previously flawed Red Berry filling.

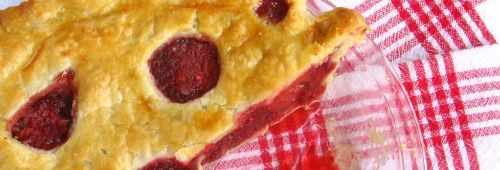
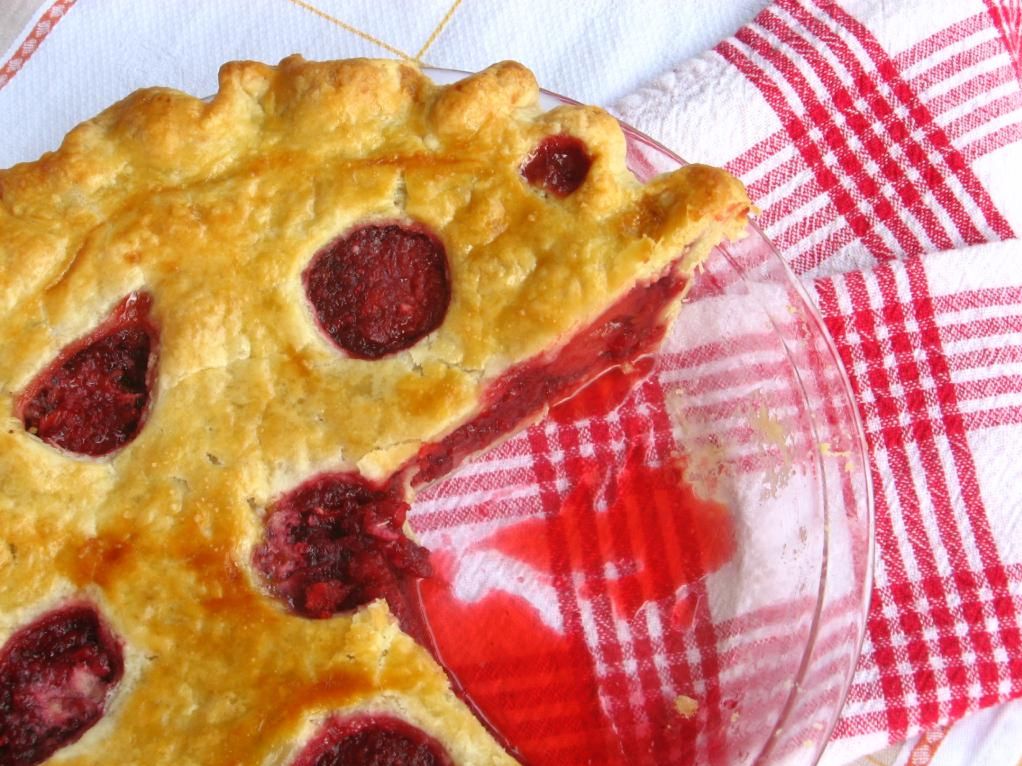
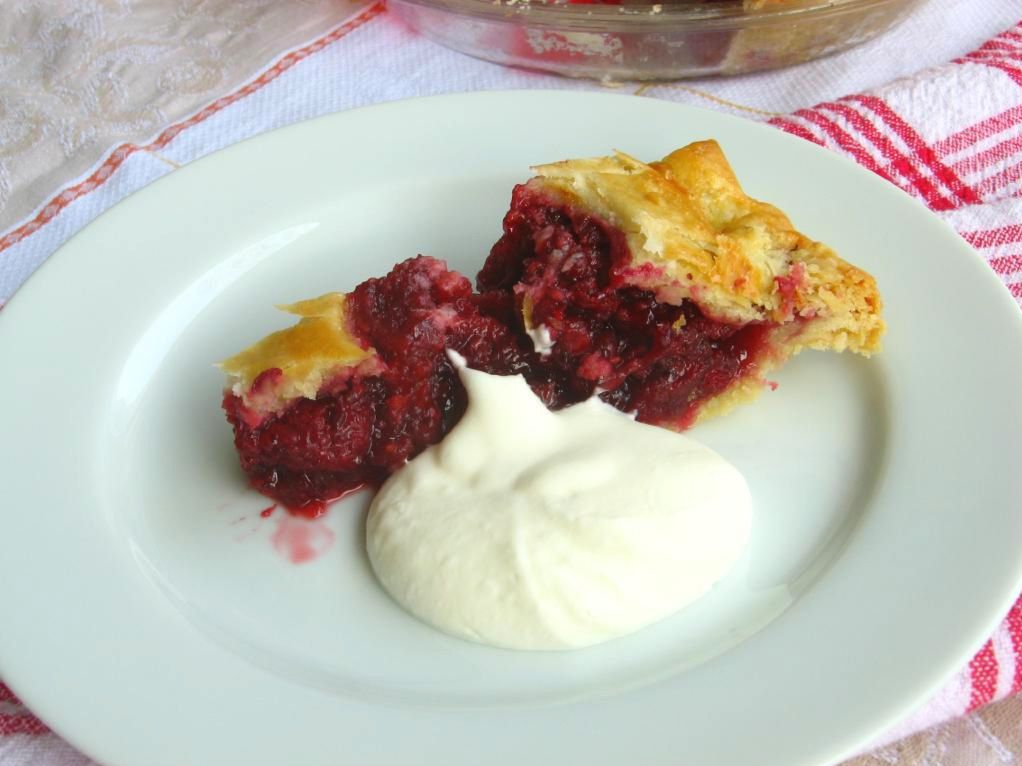
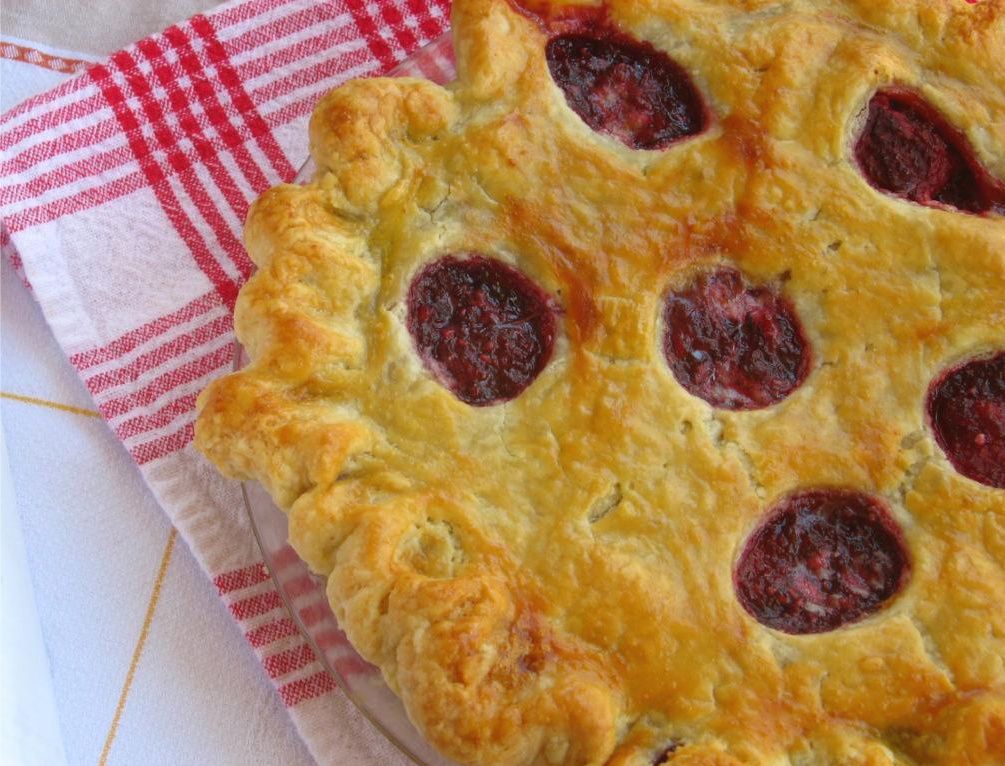
To say it worked perfectly is an understatement. This is the best pie I’ve ever had! The best pie I’ve ever eaten, y’all! Are you listening?! That’s saying a lot — I’ve eaten and swooned over some amazing pies (Peach Crisp Pie, for instance). The proportion of strawberries to raspberries was ideal: the raspberries lent their rich, deep fruity flavor to the brightness of the strawberries. The filling was thick, juicy, and hearty. The crust . . . well, okay, it was still difficult to work with, but practice must make perfect, because it was a little simpler than last time (hence the not-as-hideous pie, perhaps?) And of course it was tender and flaky.

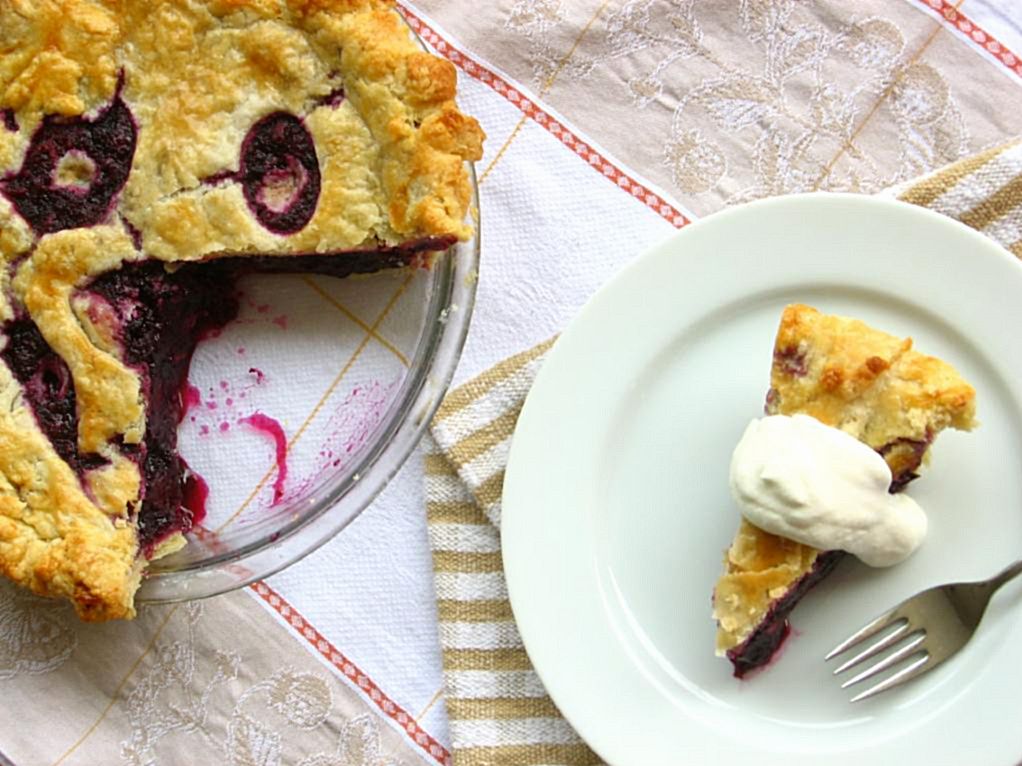
Serve each piece with a dollop of freshly whipped, lightly sweetened cream for a true fairy tale dessert — minus the cannibalism. Or grab the vanilla bean ice cream, if that’s your style! Regardless of the accompaniments, make this pie.


Mmm, hello, big ol’ juicy berry!!

Red Berry Pie


Recipe by: Adapted from America’s Test Kitchen‘s Blueberry Pie
Yields: one 9-in, double-crust pie

Crust Ingredients:
2 1/2 cups unbleached all-purpose flour (12 1/2 ounces)
1 teaspoon table salt
2 tablespoons sugar
12 tablespoons cold unsalted butter (1 1/2 sticks), cut into 1/4-inch slices
1/2 cup chilled solid vegetable shortening, cut into 4 pieces (I use butter flavor)
1/4 cup vodka, cold
1/4 cup cold water
1 large egg, lightly beaten with 1 teaspoon water

Red Berry Filling Ingredients:
3 cups frozen raspberries*
3 cups frozen whole strawberries*
1 Granny Smith apple, peeled and grated on large holes of box grater
2 teaspoons juice from 1 lemon
3/4 cup sugar (5 1/4 ounces)
2 tablespoons quick-cooking tapioca, ground*
Pinch table salt
2 tablespoons unsalted butter, cut into 1/4-inch pieces

Directions:
1. For The Pie Dough: Process 1 1/2 cups flour, salt, and sugar in food processor until combined, about two 1-second pulses. Add butter and shortening and process until homogenous dough just starts to collect in uneven clumps, about 15 seconds; dough will resemble cottage cheese curds and there should be no uncoated flour. Scrape bowl with rubber spatula and redistribute dough evenly around processor blade. Add remaining cup flour and pulse until mixture is evenly distributed around bowl and mass of dough has been broken up, 4 to 6 quick pulses. Empty mixture into medium bowl.

2. Sprinkle vodka and water over mixture. With rubber spatula, use folding motion to mix, pressing down on dough until dough is slightly tacky and sticks together. Divide dough into 2 even balls and flatten each into 4-inch disk. Wrap each in plastic wrap and refrigerate at least 45 minutes or up to 2 days.

3. Remove 1 disk of dough from refrigerator and roll out on generously floured (up to 1/4 cup) work surface to 12-inch circle, about 1/8 inch thick. Roll dough loosely around rolling pin and unroll into pie plate, leaving at least 1-inch overhang on each side. Working around circumference, ease dough into plate by gently lifting edge of dough with one hand while pressing into plate bottom with other hand. Leave dough that overhangs plate in place; refrigerate while preparing filling until dough is firm, about 30 minutes.

4. For The Filling: Adjust oven rack to lowest position, place rimmed baking sheet on oven rack, and heat oven to 400 degrees. Place 2 cups frozen whole strawberries and about 1 cup frozen raspberries in medium saucepan and set over medium heat. Cook, stirring frequently, until many of the raspberries have broken down and mixture is thickened and reduced to 1 1/2 cups, about 12-15 minutes. Let cool slightly.

5. Place grated apple in clean kitchen towel and wring dry. Transfer apple to large bowl. Add cooked berries, remaining 3 cups uncooked berries, lemon zest, juice, sugar, tapioca, and salt; toss to combine. Transfer mixture to dough-lined pie plate and scatter butter pieces over filling.

6. Roll out second disk of dough on generously floured (up to 1/4 cup) work surface to 11-inch circle, about 1/8 inch thick. Using 1 1/4-inch round biscuit cutter, cut round from center of dough. Cut another 6 rounds from dough, 1 1/2 inches from edge of center hole and equally spaced around center hole. Roll dough loosely around rolling pin and unroll over pie, leaving at least 1/2-inch overhang on each side.

7. Using kitchen shears, trim bottom layer of overhanging dough, leaving 1/2-inch overhang. Fold dough under itself so that edge of fold is flush with outer rim of pie plate. Flute edges using thumb and forefinger or press with tines of fork to seal. Brush top and edges of pie with egg mixture. If dough is very soft, chill in freezer for 10 minutes.

8. Place pie on heated baking sheet and bake 30 minutes. Reduce oven temperature to 350 degrees and continue to bake until juices bubble and crust is deep golden brown, 30 to 40 minutes longer. Transfer pie to wire rack; cool to room temperature, at least 4 hours. Cut into wedges and serve.

*I made this recipe using unthawed frozen berries, but fresh would probably work as well if the berries in step 4 were mashed and cooked only for 8 minutes. I used whole strawberries which made the pie so succulent! Grind the tapioca to a powder in a spice grinder or mini food processor. If using pearl tapioca, reduce the amount to 5 teaspoons. Vodka is essential to the texture of the crust and imparts no flavor; do not substitute.


Best wishes for your happily ever after!


Share Share this post with friends!

Fresh Blueberry Pie

…with a surprising crust. No, the surprise is not the vodka — y’all have all heard about the vodka crust trick by now.

Adding too much water to pie dough makes it tough, whereas adding too little results in a dry, crumbly mess (that was supposed to be a pie pocket. Ahem). Adding vodka and water to your pie dough instead of just water allows you to incorporate more liquid, making your dough workable without making it tough. The alcohol vaporizes while cooking so the final pie doesn’t taste like vodka. This was my first trial of this nice little trick, but it’s old news for many of you.

This was also, incidentally, the first time I’d ever encountered vodka first hand (being a teetotaler). I just want to know why someone would drink something that smells exactly like rubbing alcohol? I guess taste is really not the point? Please fill me in.

Anyway, vodka’s not the surprise. The surprise is how seriously I debated throwing this pie over my balcony, pie plate and all. It’s not because the pie wasn’t delicious . . . because WOW, it was! It’s a gorgeous flaky, tender crust with a thick filling full of plump, juicy berries. In fact, it’s not because of the finished pie at all. It’s because of what America’s Test Kitchen ironically calls their foolproof pie dough.

Ohhh this dough was a sticky, frustrating mess until I finally got it shoved into the oven with a huff! Despite the utter gobs of flour strewn all over my counter, my cute apron, my cute dog, and my cute boyfriend, the dough stuck to everything it could get its doughy little tentacles on. Even more fun, it tore apart rebelliously whenever moved. If you’re wondering why this pie looks like it got in a fight with an unruly pastry cutter . . . that’s why.

My attempts to crimp the edges resulted in dough-covered fingers and one ragged pie. Let’s just say this kitchen disaster was not weathered gracefully. There may have been some apron throwing. At least I didn’t chuck the pie into the woods behind my apartment after struggling for the umpteenth time trying to roll out the dough, right? Honestly, if it hadn’t been Mike’s mom’s pie plate . . . who knows what could’ve happened!

After eyeing the evil pie dough and the trash can a few times, I finally decided to buckle down and see my recipe through to the end. I rechilled, refloured, griped about America’s Test Kitchen, rechilled again, cried, switched to rolling on parchment, yelled a little, switched back to flour . . . and held my breath every time I moved that pie dough anywhere.

I’m glad I stuck it out. The crust, as I mentioned, is delicious and the perfect texture. I may switch back to my standard lard/butter vodkaless crust next time to avoid a kitchenpocalypse and protect my typically reasonable blood pressure, but it was very good. And let me tell you about these BLUEBERRIES!!

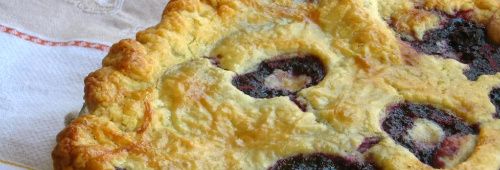
One of the reasons this pie is beautiful to me despite its decidedly Quasimodo-esque appearance is because it has the perfect consistency, bright flavor, and is full of plump, rich berries! ATK, redeeming themselves for now, formulated a recipe for blueberry pie filling thickened with tapioca and a grated apple, which releases its pectin upon being cooked. No runny filling or smushed berries here — just the perfect blueberry pie. It even has a tangy complexity to the blueberry flavor imparted by Ms. Granny Smith. I was such a fan of every bite I took.

So perfect, in fact, that I tried the same nifty apple trick with another sort of pie. A pie that actually turned out pretty and even tastier than this one — but you’ll have to wait until the next post to hear more! For now, here are some tips on managing this beastly dough (that, in all fairness, many cooks on the interwebs apparently loved working with. Go figure):

-Let it chill for a long time. At least overnight, but two days might be even better.
-Don’t be timid about flouring your surface and rolling pins generously. That’s the point of having a wet dough, and you’re gonna need it.
-Rechill any time you (or your dough) are losing your cool.
-Imagine the final product. While struggling with my dough, I was already drafting a post in my head telling you about how the final pie wasn’t worth the trouble, but truthfully . . . it was.

What’s your favorite pie crust trick? Anyone ever actually chucked their dough into the garbage? Tell me your pie secrets!

Best Blueberry Pie with Foolproof Pie Dough


Recipe by: America’s Test Kitchen
Yields: one 9-in, double-crust pie

Crust Ingredients:
2 1/2 cups unbleached all-purpose flour (12 1/2 ounces)
1 teaspoon table salt
2 tablespoons sugar
12 tablespoons cold unsalted butter (1 1/2 sticks), cut into 1/4-inch slices
1/2 cup chilled solid vegetable shortening, cut into 4 pieces (I use butter flavor)
1/4 cup vodka, cold
1/4 cup cold water
1 large egg, lightly beaten with 1 teaspoon water

Blueberry Filling Ingredients:
6 cups fresh blueberries (about 30 ounces)*
1 Granny Smith apple, peeled and grated on large holes of box grater
2 teaspoons grated zest and 2 teaspoons juice from 1 lemon
3/4 cup sugar (5 1/4 ounces)
2 tablespoons quick-cooking tapioca, ground*
Pinch table salt
2 tablespoons unsalted butter, cut into 1/4-inch pieces

Directions:
1. For The Pie Dough: Process 1 1/2 cups flour, salt, and sugar in food processor until combined, about two 1-second pulses. Add butter and shortening and process until homogenous dough just starts to collect in uneven clumps, about 15 seconds; dough will resemble cottage cheese curds and there should be no uncoated flour. Scrape bowl with rubber spatula and redistribute dough evenly around processor blade. Add remaining cup flour and pulse until mixture is evenly distributed around bowl and mass of dough has been broken up, 4 to 6 quick pulses. Empty mixture into medium bowl.

2. Sprinkle vodka and water over mixture. With rubber spatula, use folding motion to mix, pressing down on dough until dough is slightly tacky and sticks together. Divide dough into 2 even balls and flatten each into 4-inch disk. Wrap each in plastic wrap and refrigerate at least 45 minutes or up to 2 days.

3. Remove 1 disk of dough from refrigerator and roll out on generously floured (up to 1/4 cup) work surface to 12-inch circle, about 1/8 inch thick. Roll dough loosely around rolling pin and unroll into pie plate, leaving at least 1-inch overhang on each side. Working around circumference, ease dough into plate by gently lifting edge of dough with one hand while pressing into plate bottom with other hand. Leave dough that overhangs plate in place; refrigerate while preparing filling until dough is firm, about 30 minutes.

4. For The Filling: Adjust oven rack to lowest position, place rimmed baking sheet on oven rack, and heat oven to 400 degrees. Place 3 cups berries in medium saucepan and set over medium heat. Using potato masher, mash berries several times to release juices. Continue to cook, stirring frequently and mashing occasionally, until about half of berries have broken down and mixture is thickened and reduced to 1 1/2 cups, about 8 minutes. Let cool slightly.

5. Place grated apple in clean kitchen towel and wring dry. Transfer apple to large bowl. Add cooked berries, remaining 3 cups uncooked berries, lemon zest, juice, sugar, tapioca, and salt; toss to combine. Transfer mixture to dough-lined pie plate and scatter butter pieces over filling.

6. Roll out second disk of dough on generously floured (up to 1/4 cup) work surface to 11-inch circle, about 1/8 inch thick. Using 1 1/4-inch round biscuit cutter, cut round from center of dough. Cut another 6 rounds from dough, 1 1/2 inches from edge of center hole and equally spaced around center hole. Roll dough loosely around rolling pin and unroll over pie, leaving at least 1/2-inch overhang on each side.

7. Using kitchen shears, trim bottom layer of overhanging dough, leaving 1/2-inch overhang. Fold dough under itself so that edge of fold is flush with outer rim of pie plate. Flute edges using thumb and forefinger or press with tines of fork to seal. Brush top and edges of pie with egg mixture. If dough is very soft, chill in freezer for 10 minutes.

8. Place pie on heated baking sheet and bake 30 minutes. Reduce oven temperature to 350 degrees and continue to bake until juices bubble and crust is deep golden brown, 30 to 40 minutes longer. Transfer pie to wire rack; cool to room temperature, at least 4 hours. Cut into wedges and serve.

*This recipe was developed using fresh blueberries, but unthawed frozen blueberries (our favorite brands are Wyman’s and Cascadian Farm) will work as well. In step 4, cook half the frozen berries over medium-high heat, without mashing, until reduced to 1 1/4 cups, 12 to 15 minutes. Grind the tapioca to a powder in a spice grinder or mini food processor. If using pearl tapioca, reduce the amount to 5 teaspoons. Vodka is essential to the texture of the crust and imparts no flavor; do not substitute.


Want a slice?


Share Share this post with friends!

1 2 3 4