A few weeks ago, clementines flooded the grocery stores here, much to Mike’s delight. I’m surprised he isn’t sporting an orange tint after eating pounds of the little cuties. While it’s quite common to hear me raving about food, when I noticed him gushing about his clementines on an almost daily basis, I knew he had developed a thing.
I regularly develop a thing. For months I’ll have a thing for sweet potatoes, or a thing for cream cheese. Currently, I have a thing for olives. Mike is typically immune to these cravings, so I assumed they were just a girl thing . . . but he definitely has a thing for clementines. His favorite part is what I affectionately call the splush: when all the fresh, cold juice bursts into your mouth from each little segment.

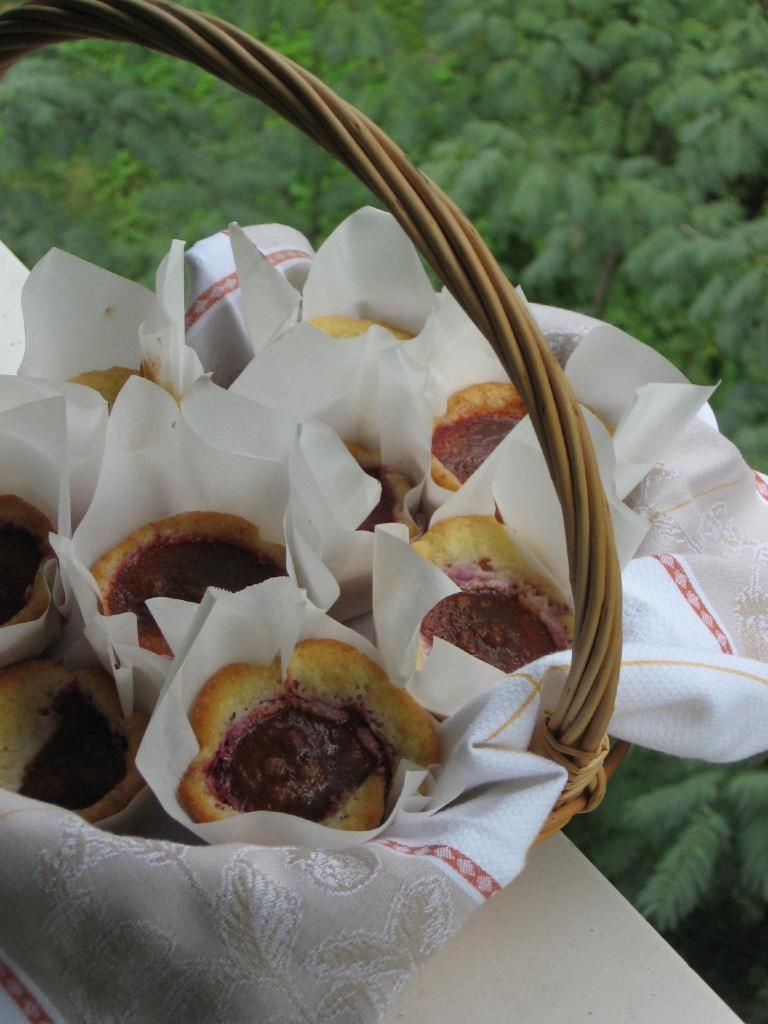
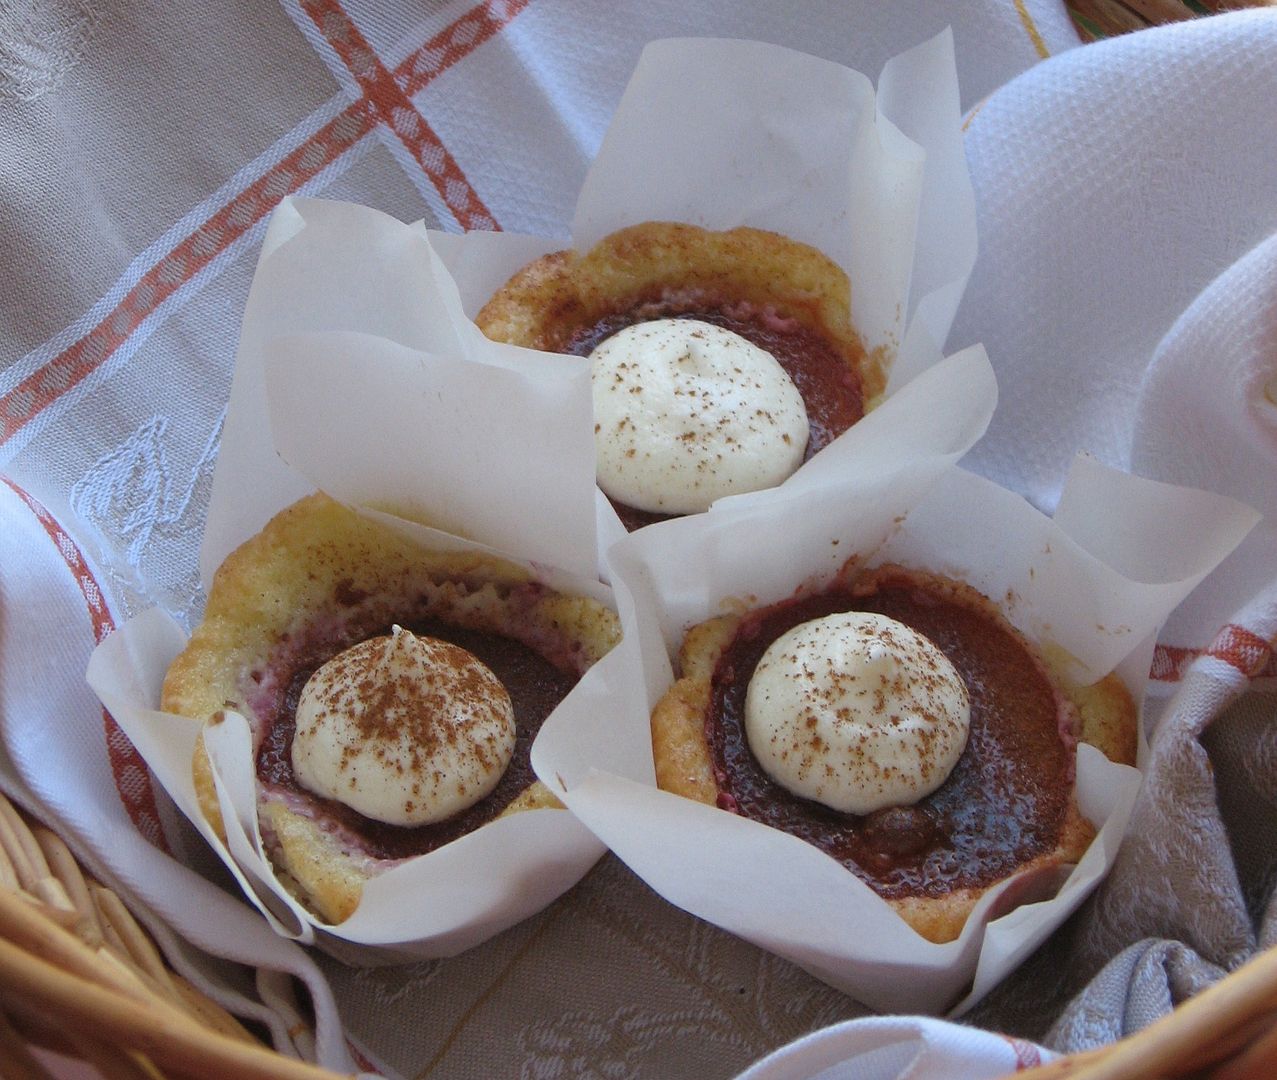
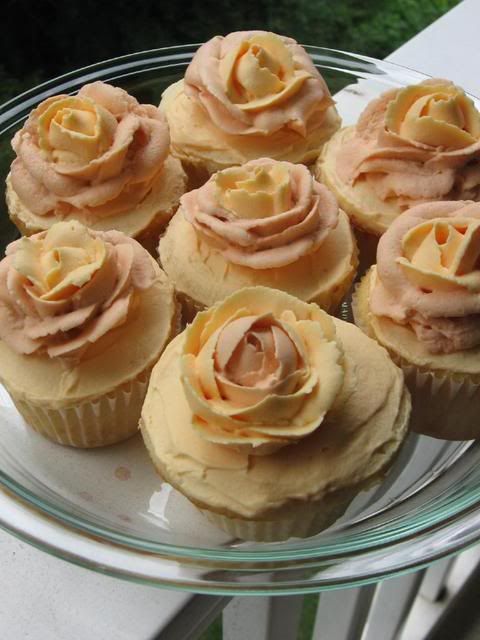
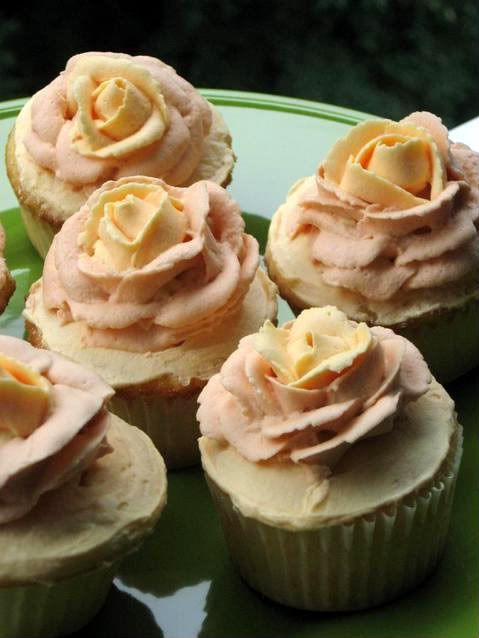
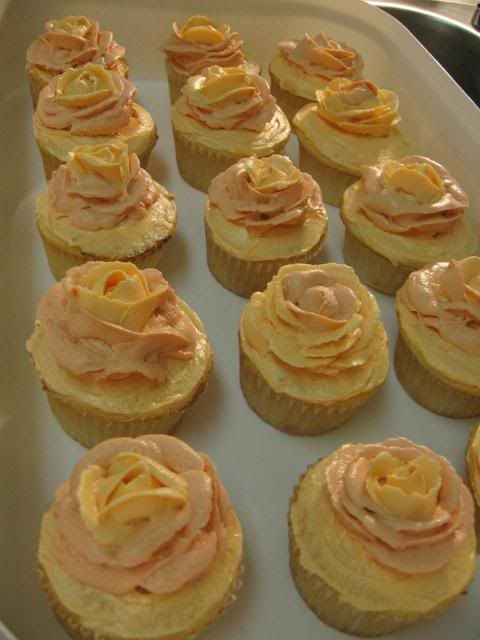
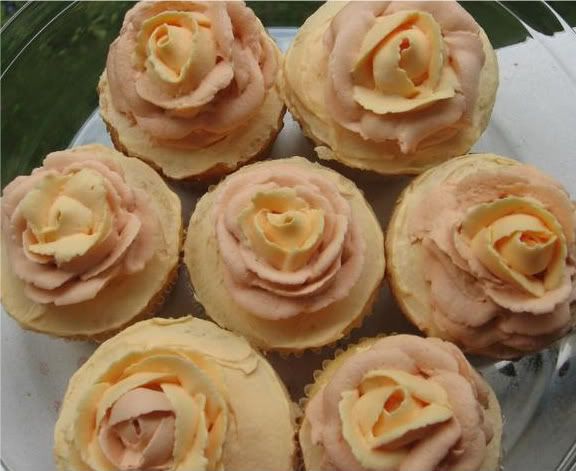
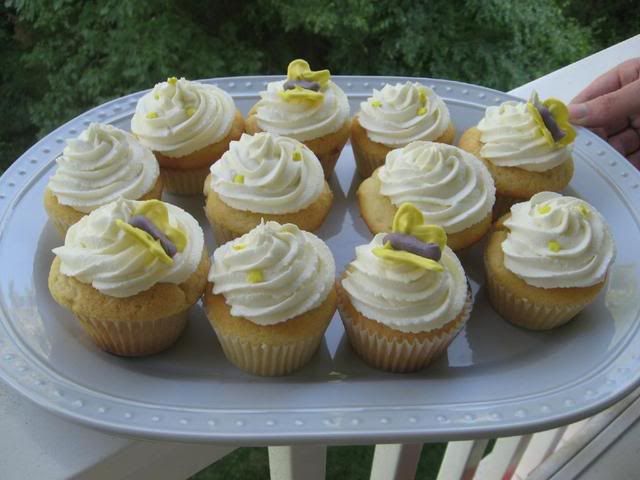
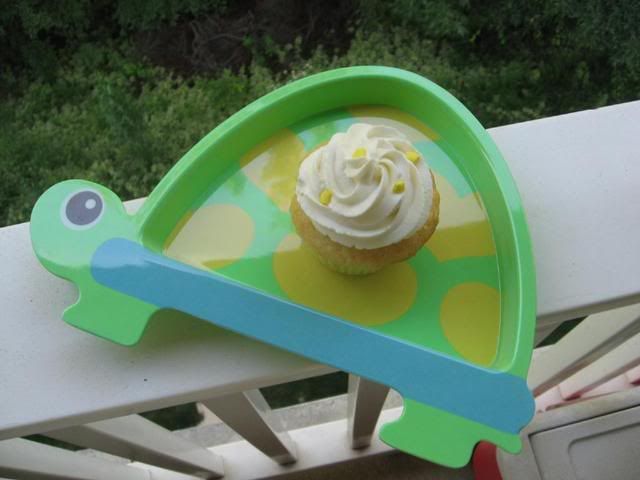
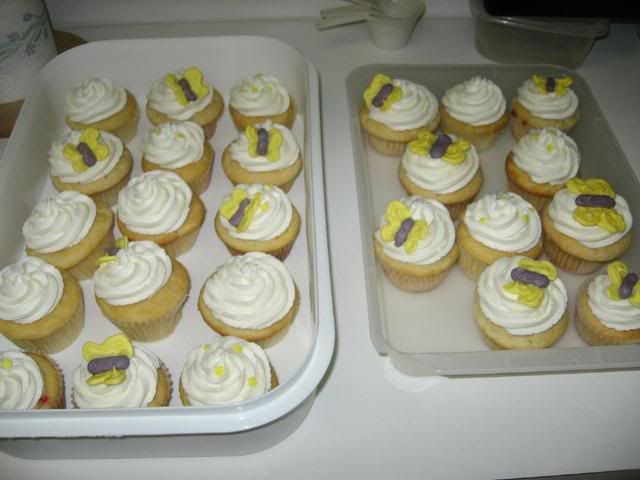
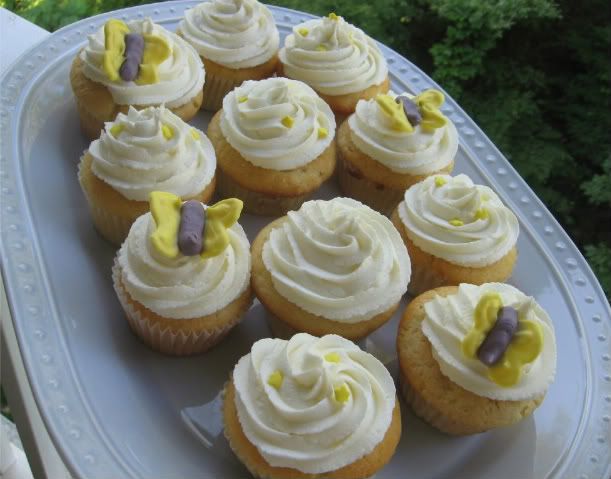
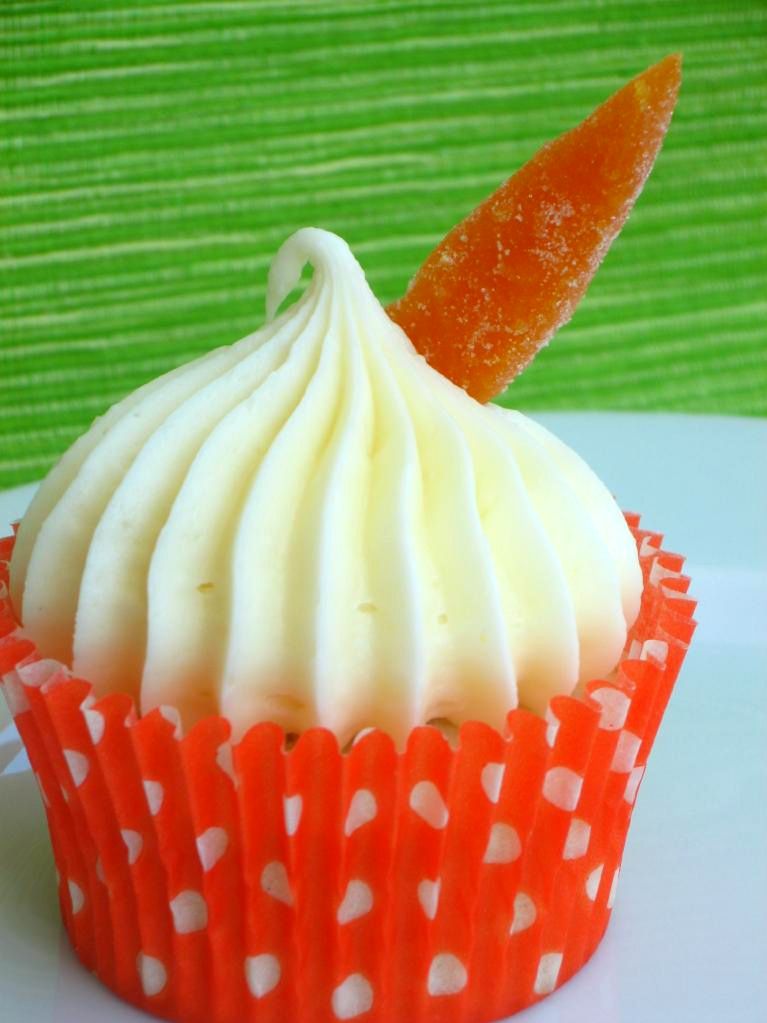
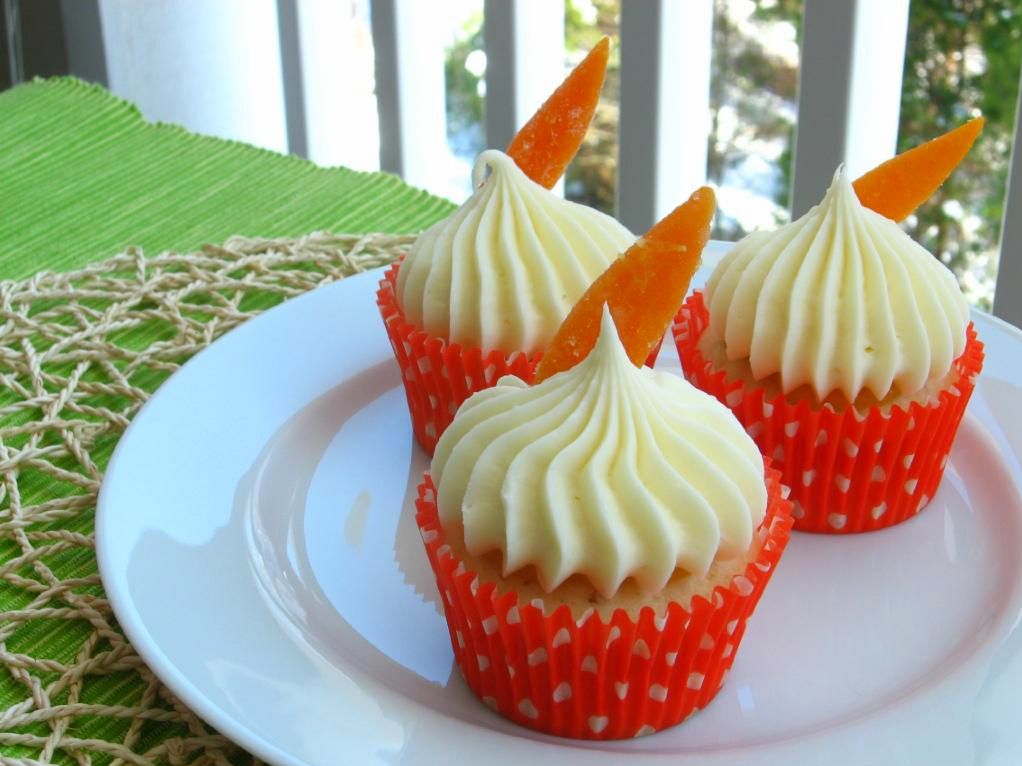
When pondering his Valentine’s feast, I knew I had to incorporate some clementine. I recently stumbled on a fantastic recipe for clementine curd (I know! swoon!) and what better use is there for a great curd than cupcake stuffin’? Thus the Clementine Burst Cupcakes were born: fluffy, moist, citrus-scented white cake stuffed to the brim with clementine curd, topped with smooth cream cheese frosting, and adorned with a shimmering slice of candied clementine peel.
I’ll introduce you to each component of these fancy pants cupcakes individually. First up is the star of the show, the clementine curd. Curds are one of my favorite things. Perfect for slathering on toast or even eating with a spoon straight from the freezer (not that I would know). They combine the bright flavor of citrus with a buttery, smooth texture. This curd took longer to make than lemon curd (I was stirring for a good 30 minutes), but was definitely worth the wait.
Clementine Curd
Recipe by: Jaime Oliver via Butterflyfood, adapted to use Fine Cooking’s method
Yields: about 850 grams of curdIngredients:
6 clementines, juiced
2 lemons, juiced (or about 4 tablespoons lemon juice)
350 g caster sugar (about 1 1/2 cups)
4 eggs, beaten
2 egg yolks, beaten
100 g unsalted butter (about 7 tablespoons)Directions:
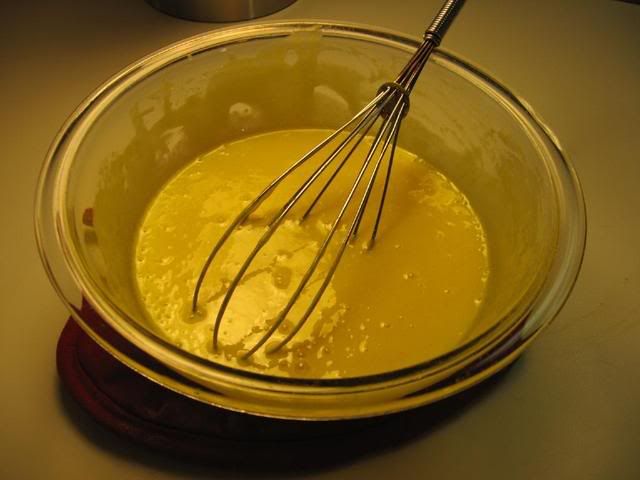
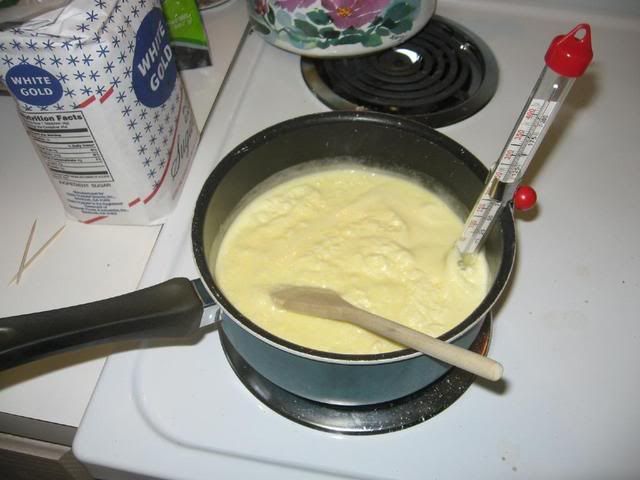
In a large bowl, beat the butter and sugar with an electric mixer, about 2 minutes. Slowly add the eggs and yolks. Beat for 1 minute. Mix in the clementine juice and lemon juice. The mixture will look curdled, but it will smooth out as it cooks.Place over medium heat. Cook, constantly stirring, until the curd is thick and coats the back of the spoon (this took a long time for me — about 20-30 minutes). Remove from heat. Stir in zest of fruits. Transfer the curd to a bowl. Press plastic wrap on the surface of the lemon curd to keep a skin from forming and chill the curd in the refrigerator. The curd will thicken further as it cools. Covered tightly, it will keep in the refrigerator for a week and in the freezer for 2 months.

The candied clementine peel was gorgeous: jeweled bright orange wedges standing in contrast to the creamy white frosting. They were also fun; they reminded me of the hurt-cheeked grinning of childhood, when mouthfuls of candy were preferable to any fancy dessert. Now we can have our candy and eat our cake too! While the candied peels take awhile to make, they’re content to simmer by themselves on the stove while you work on other food prep.
Candied Clementine Peel
Recipe by: Gourmet
Yields: More candied clementine peel than you can actually eat!Ingredients:
1 pound clementines (4 to 7)
1 teaspoon salt
2 cups regular granulated sugar
1 1/2 cups water
Vegetable oil for greasing rack
1 cup superfine granulated sugarDirections:
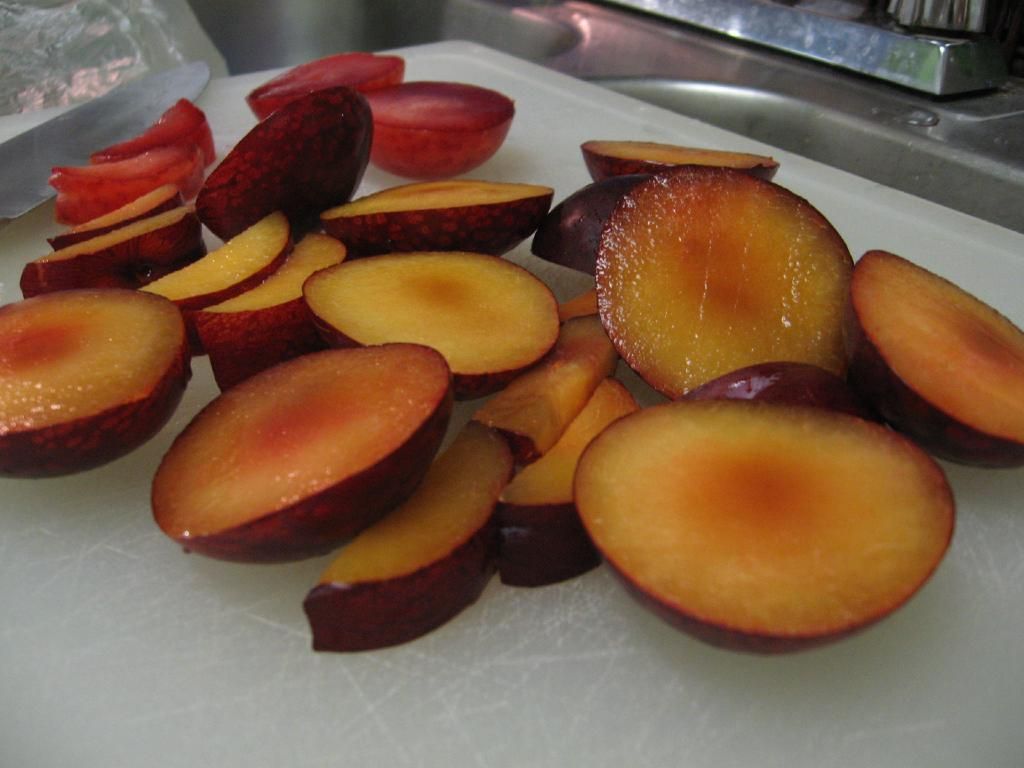
Halve clementines crosswise and juice them with a citrus juicer, reserving juice for clementine curd or other use. Discard any membranes still attached to peel, then cut each half into eighths.Bring peel to a boil in a 3-quart saucepan three-fourths full of cold water with 1/2 teaspoon salt and boil, uncovered, 10 minutes, then drain and rinse peel. Repeat procedure with more water and salt, draining and rinsing peel again.
Bring regular sugar and 1 1/2 cups water to a boil in a 2- to 3-quart heavy saucepan, stirring until sugar is dissolved, then reduce heat and simmer 5 minutes. Add peel and gently simmer, uncovered, until tender and translucent and syrup is thickened, about 1 hour (this took 45 minutes for me). Transfer candied peel with a slotted spoon to a lightly oiled rack set in a shallow baking pan, spreading it out so pieces don’t touch, and let drain 30 minutes.
Put superfine sugar in a small bowl and toss peel, a few pieces at a time, in sugar to coat, then transfer with a dry slotted spoon to a sheet of wax paper to dry slightly, about 1 hour.
Candied peel can be left in syrup and cooled, then chilled, covered, 2 weeks. Candied peel tossed with sugar keeps, uncovered, at room temperature 1 day or, chilled between sheets of wax paper in an airtight container, 1 month (you may need to recoat with sugar).
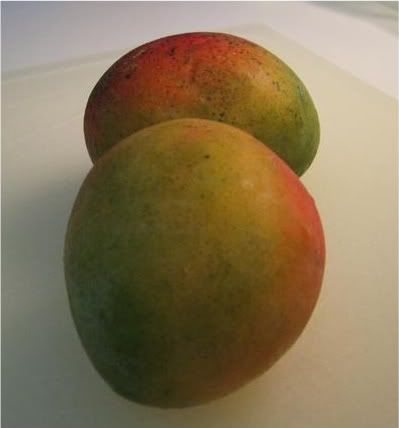
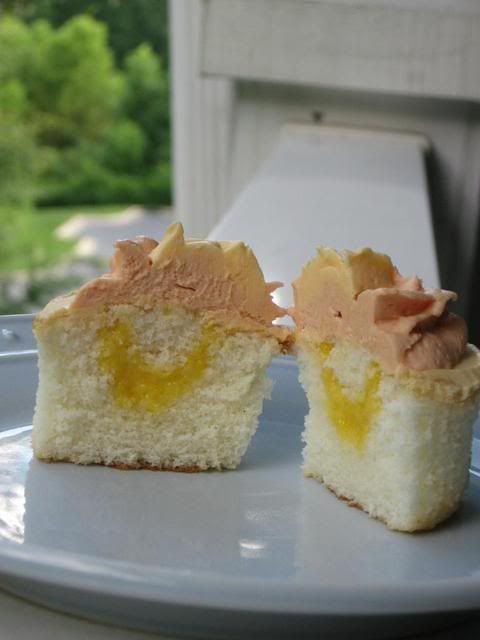
Overall, the components of these cupcakes work together beautifully. The cold curd center of the soft, citrusy cake mimics the splush of a real clementine, and the cream cheese frosting cuts some of the sweetness. I will change the cake I use next time around: I used the Ugly as Sin Coconut Cake and, despite being delicious in cake form, and it simply didn’t translate well to cupcakes. I’ve altered the recipe below to use the perfect, amazing white cake recipe that worked so beautifully with my Mango Raspberry Rosecakes. With this slight change, voila — Mike’s favorite fruit, now available in cupcake form! It’s a little splash of summer on this colllld Valentine’s Day.

Clementine Burst Cupcakes
Recipe by: The Way the Cookie Crumbles (white cake, adapted to cupcakes), Paula Deen (frosting)
Yields: about 19 cupcakes
Cupcake Ingredients:
2 1/4 cups cake flour (9 ounces)
1 cup + 2 tablespoons whole milk, at room temperature (can replace some of this with coconut milk for a nice flavor)
6 large egg whites (3/4 cup), at room temperature
2 teaspoons almond extract
1 teaspoon vanilla extract (or 1 inch vanilla bean seeds)
1½ cups + 2 tablespoons granulated sugar (11.35 ounces)
4 teaspoons baking powder
1 teaspoon salt
12 tablespoons unsalted butter (1½ sticks), softened but still cool
zest of one clementine
Clementine curd (see recipe above)
Candied clementine peel (see recipe above)
Cream Cheese Frosting:
1 pound cream cheese, softened
2 sticks butter, softened
1 teaspoon vanilla extract
4 cups sifted confectioners’ sugar
Directions:
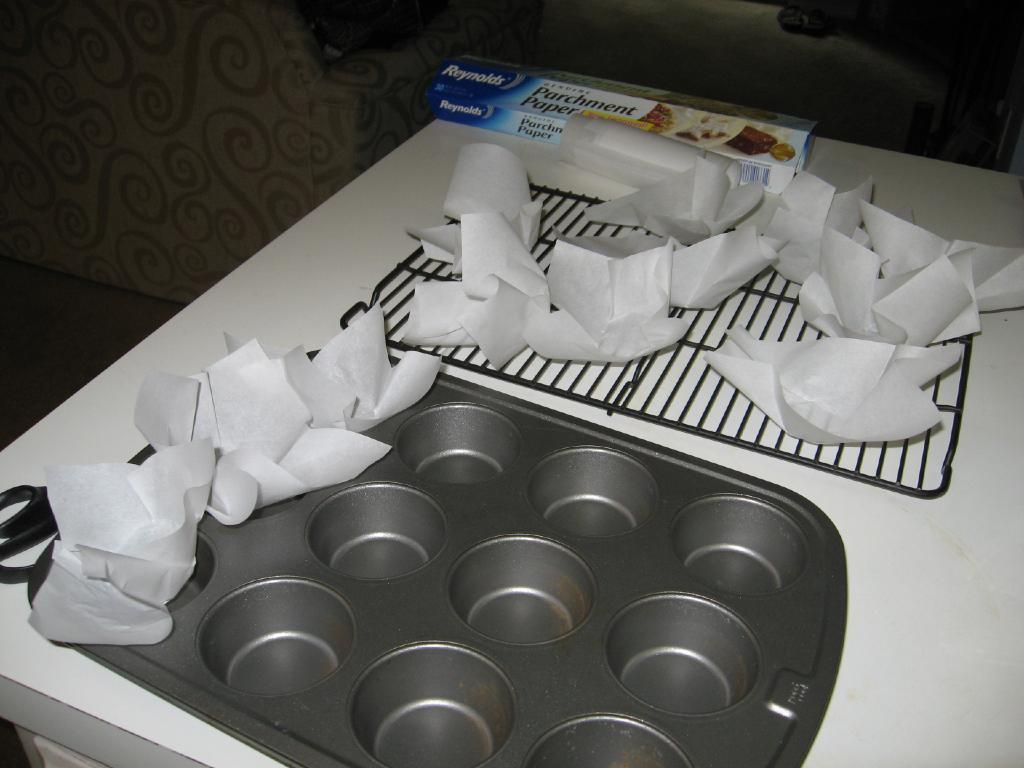
Set oven rack in middle position. Heat oven to 350 degrees F. Spray cupcake pans with nonstick cooking spray or line with cupcake papers.
Pour milk, egg whites, and extracts into 2-cup glass measure, and mix with fork until blended.
Mix cake flour, sugar, baking powder, and salt in bowl of electric mixer at slow speed. Add butter; continue beating at slow speed until mixture resembles moist crumbs, with no powdery streaks remaining.
Add all but 1/2 cup of milk mixture to crumbs and beat at medium speed (or high speed if using handheld mixer) for 1 1/2 minutes. Add remaining 1/2 cup of milk mixture and beat 30 seconds more. Stop mixer and scrape sides of bowl. Return mixer to medium (or high) speed and beat 20 seconds longer.
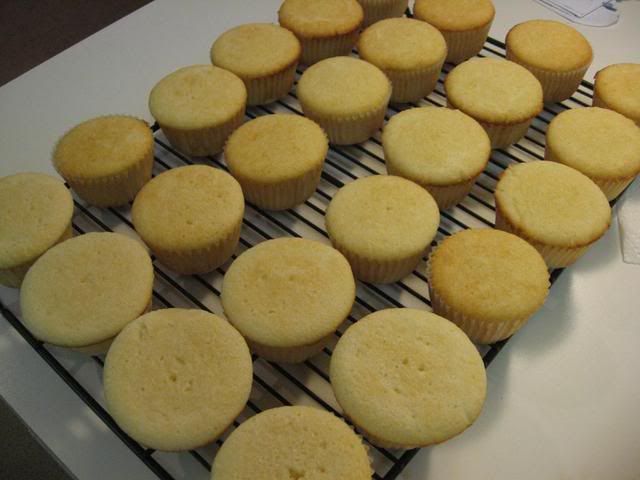
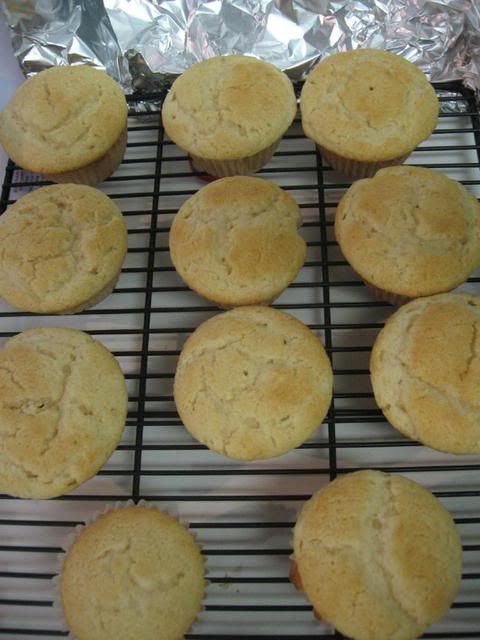
Divide batter evenly in cupcake pans and smooth tops of cupcakes. Arrange pans at least 3 inches from the oven walls and 3 inches apart. (If oven is small, place pans on separate racks in staggered fashion to allow for air circulation.) Bake until thin skewer or toothpick inserted in the center comes out clean, about 15-16 minutes.
Let cakes rest in pans for 3 minutes. Transfer to wire rack for cooling completely, about 1 1/2 hours.
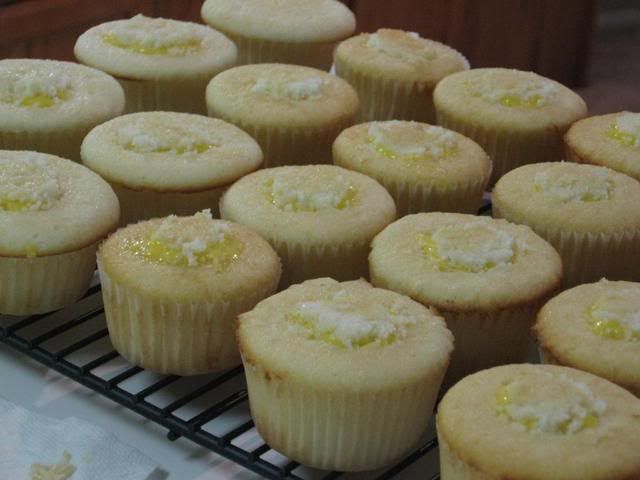
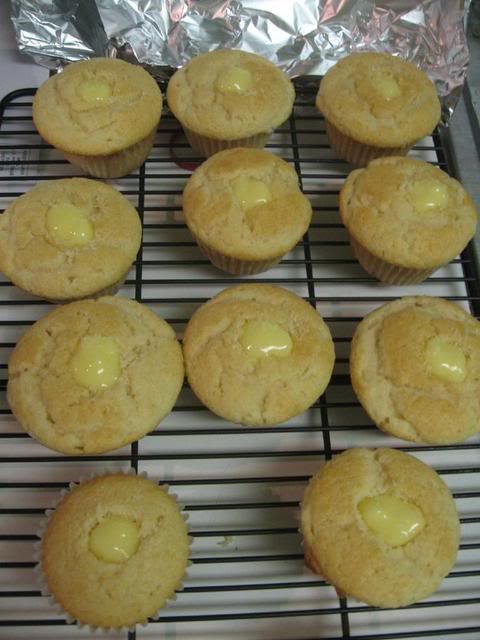
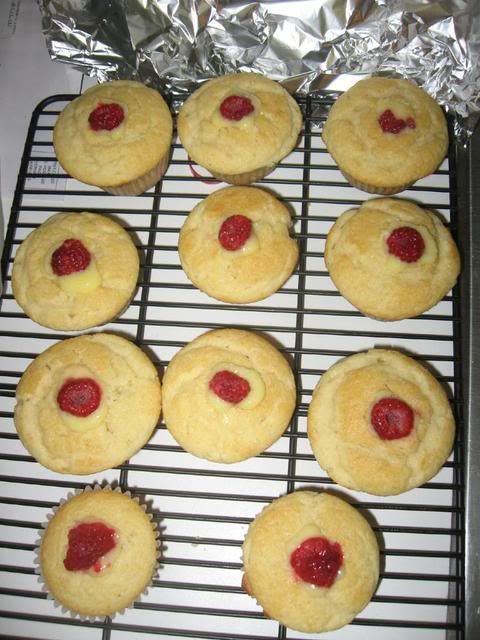
When cool, fill with clementine curd. Core the middle of the cupcake using something like the cone method (not easy with such a moist cake, but no worries — your frosting will cover any mess you make). Pipe or spoon in as much mango curd as you can fit. Replace your cupcake “cone” and frost.
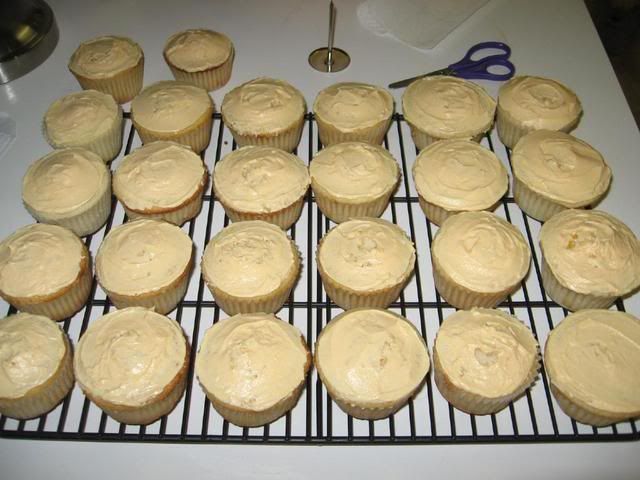
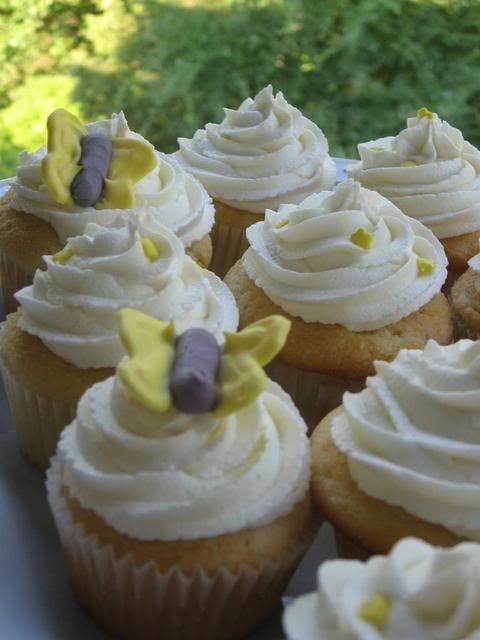
To make frosting: In a large mixing bowl, beat the cream cheese, butter and vanilla together until smooth. Add the sugar and on low speed, beat until incorporated. Increase the speed to high and mix until very light and fluffy. Pipe on with a large star tip, and garnish with candied clementine peel.


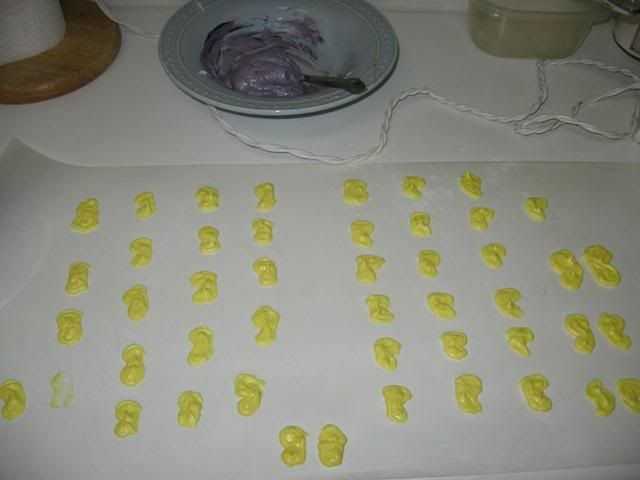
Making the candied clementine peel.

Making the candied clementine peel.

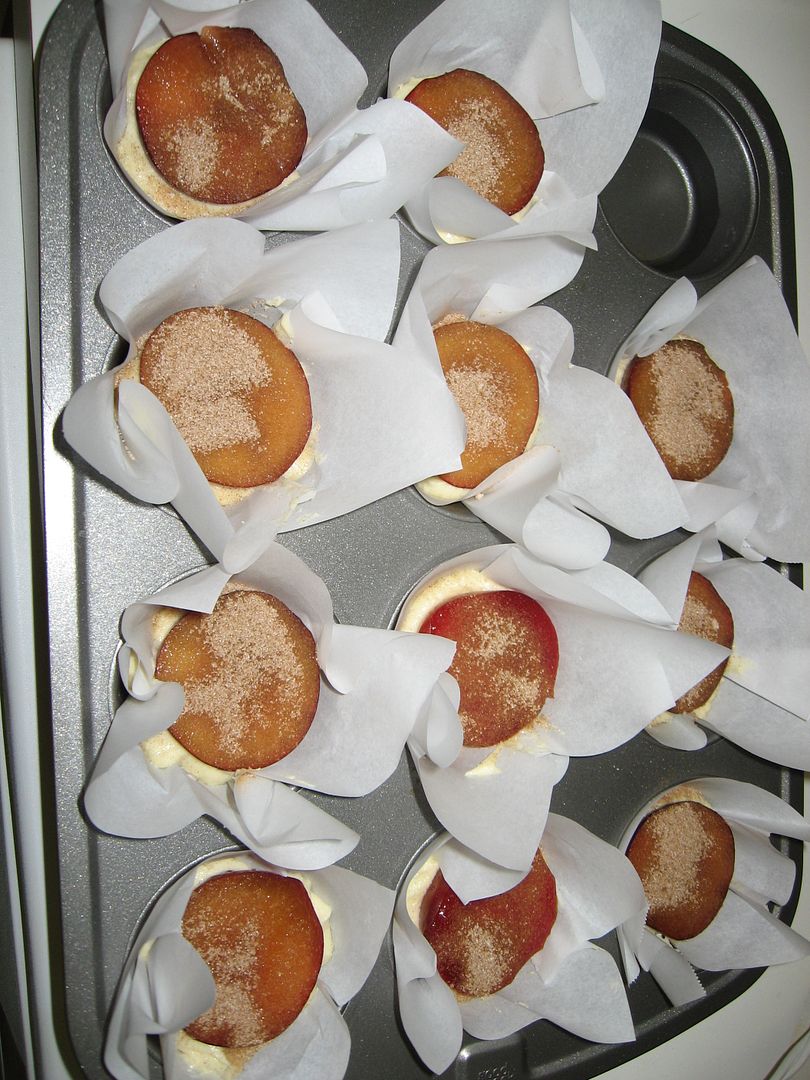
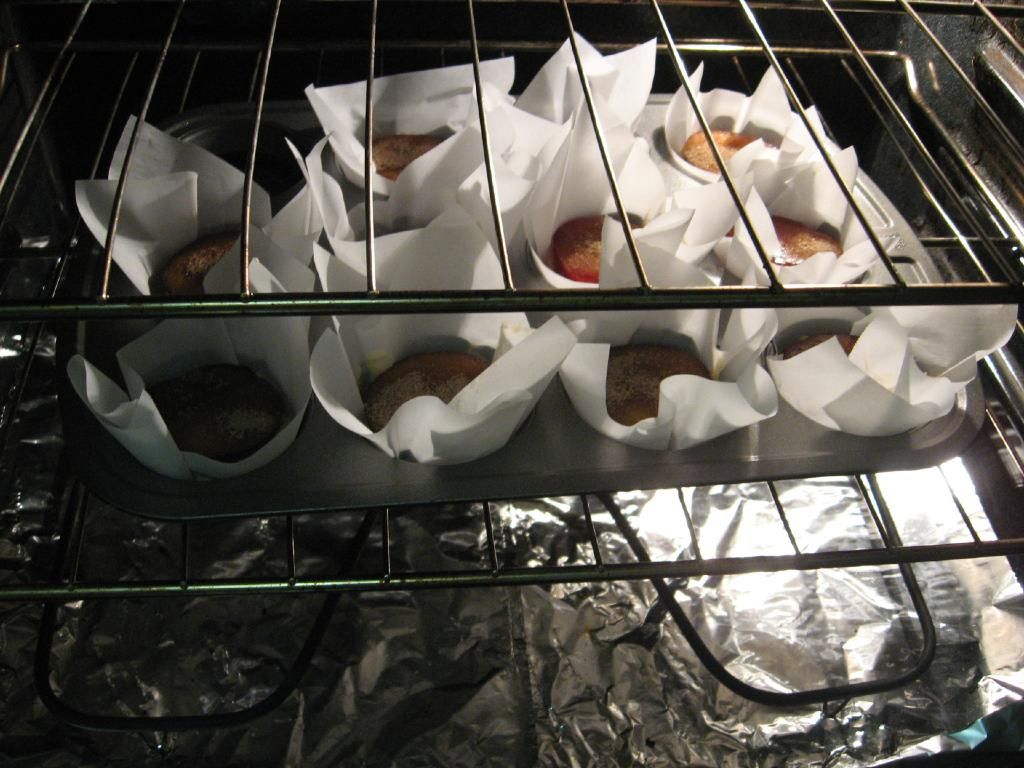
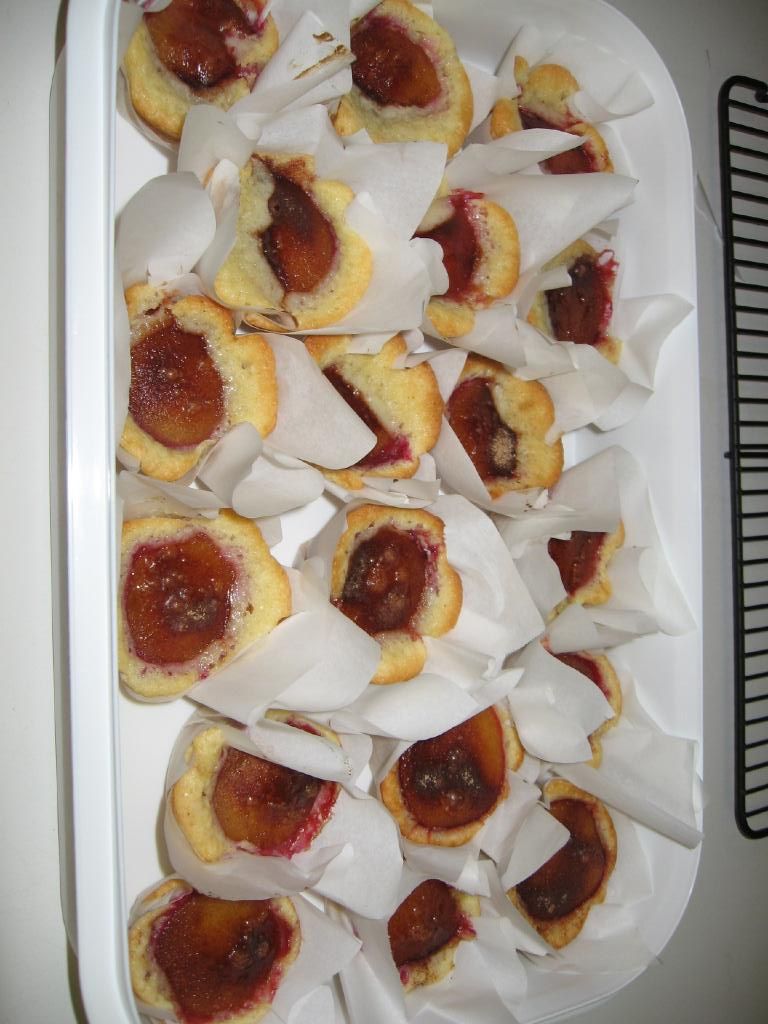
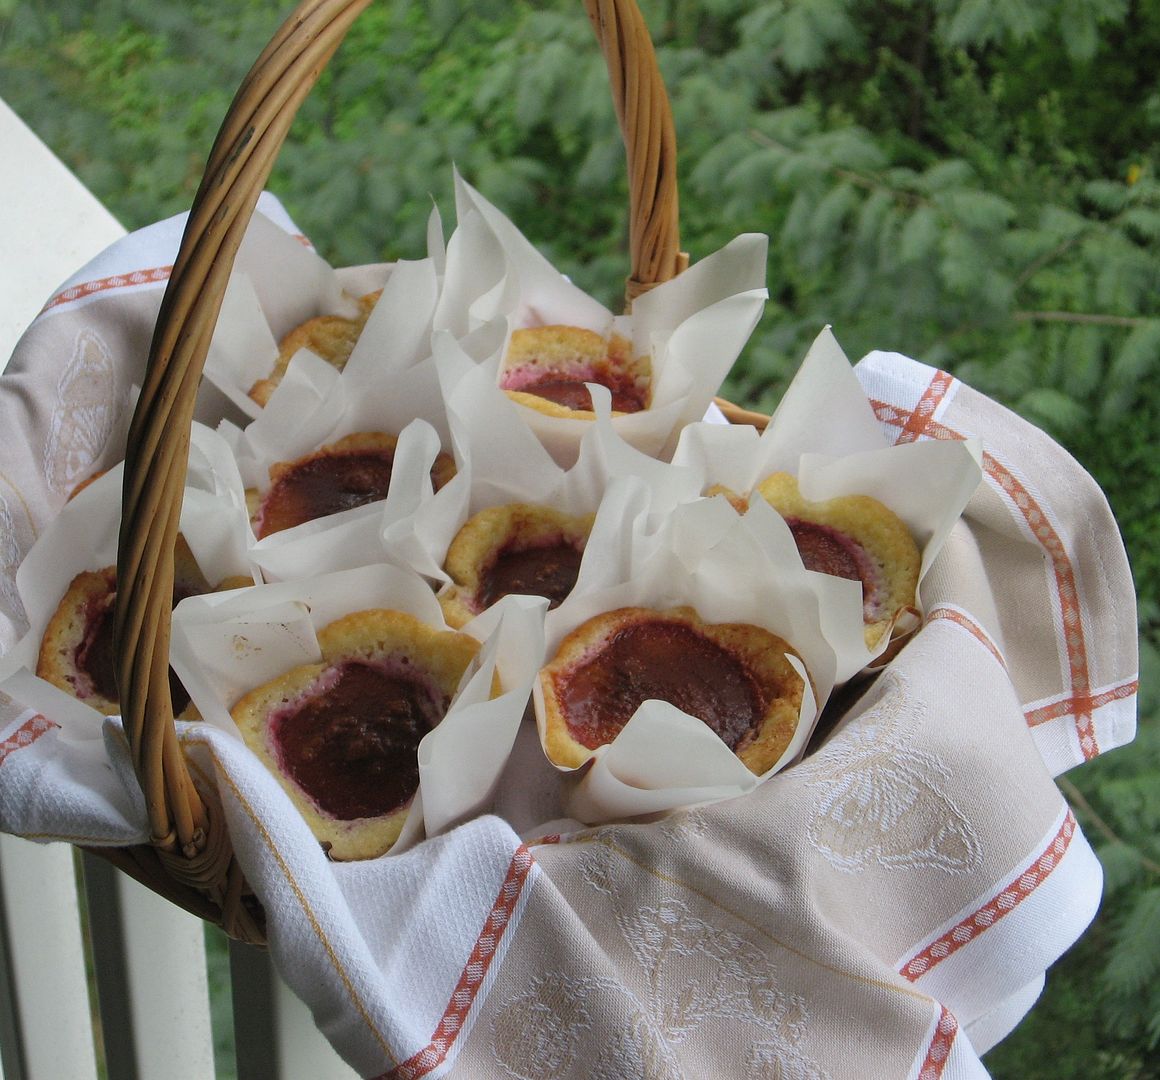
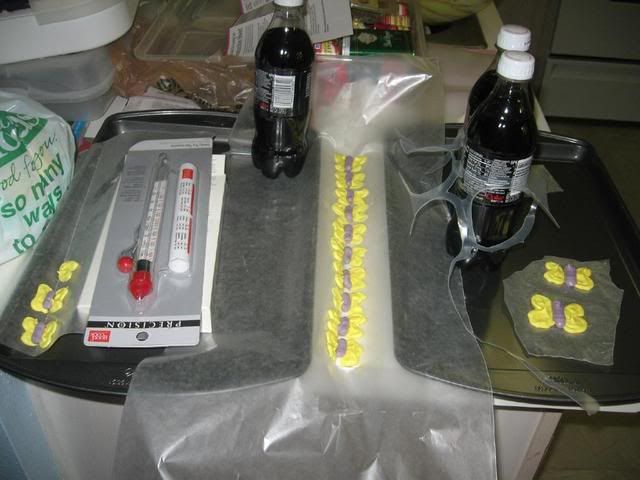
Baking and assembling cupcakes.

Baking and assembling cupcakes.

Want to see what I made for Mike’s Valentine’s dinner to go along with his Clementine Burst Cupcakes? Click here for some sweetheart ravioli!