I don’t love coffee. If I wanted something scalding, bitter, and hard to swallow, I’d google the Carolina Panthers’ season record. Ha ha.
Yeah, that’s one of those jokes that’s kind of more sad than funny. Oh well.
My mother (yes, of cross stitching birthday party fame) used to feel certain that I would acquire an affinity for coffee as I got older. Periodically she would test this hypothesis, urging me to take a sip from her cup or buying me something frothy and caramely at Starbucks, only to find that things weren’t unfolding as she anticipated.
What can I say? Coffee is gross.
I could load it up with sugar and cream (and donuts — can you do that?) and probably choke it down, but if I’m going to ingest that many calories, I’d rather just have some dessert.


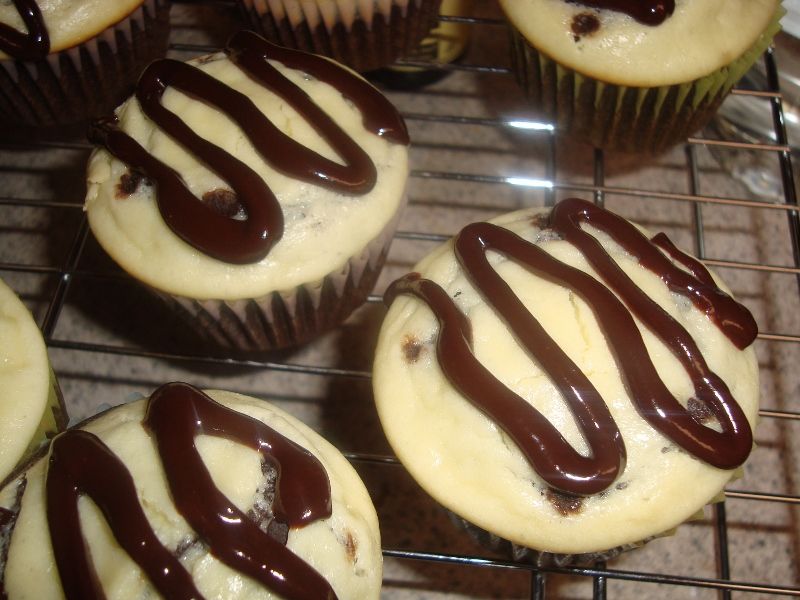
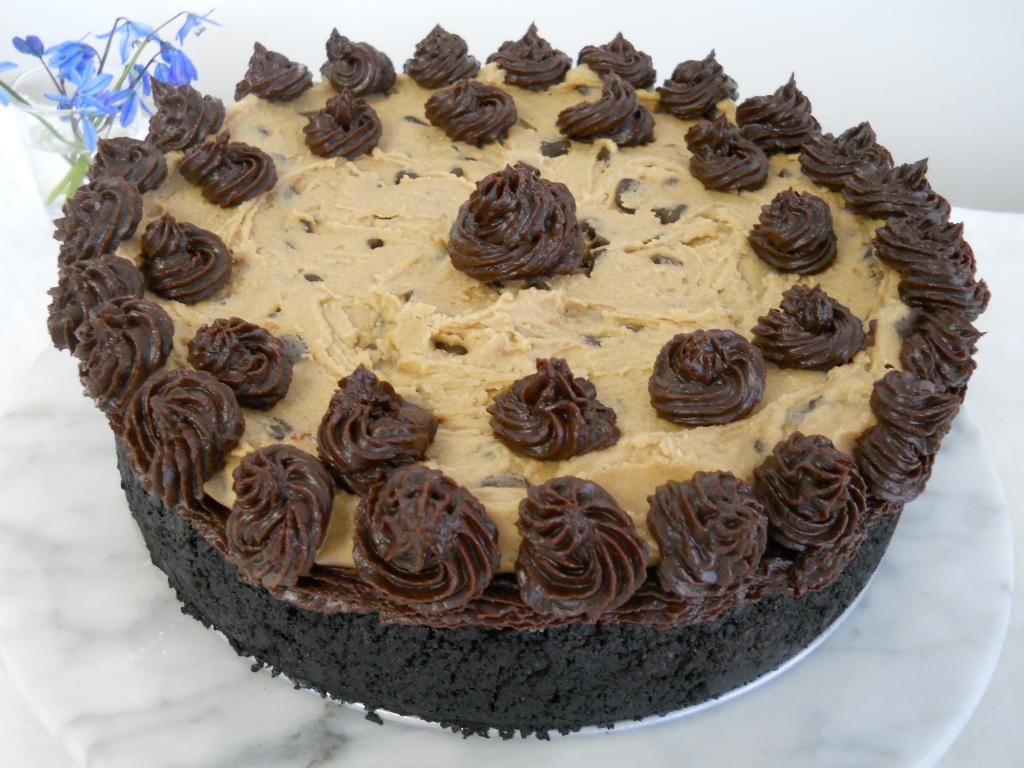
Paradoxically, despite my antipathy towards coffee in its beverage form, I’ve always loved coffee-flavored confections. Coffee ice cream was my absolute favorite treat as a little girl, for instance. Coffee also plays an Oscar-worthy supporting role in Coffee Cookie Dough Fudge Cheesecake, one of my current faves. I adore the coffee-brownie combination in my Ice Cream Cupcakes. You get the idea.
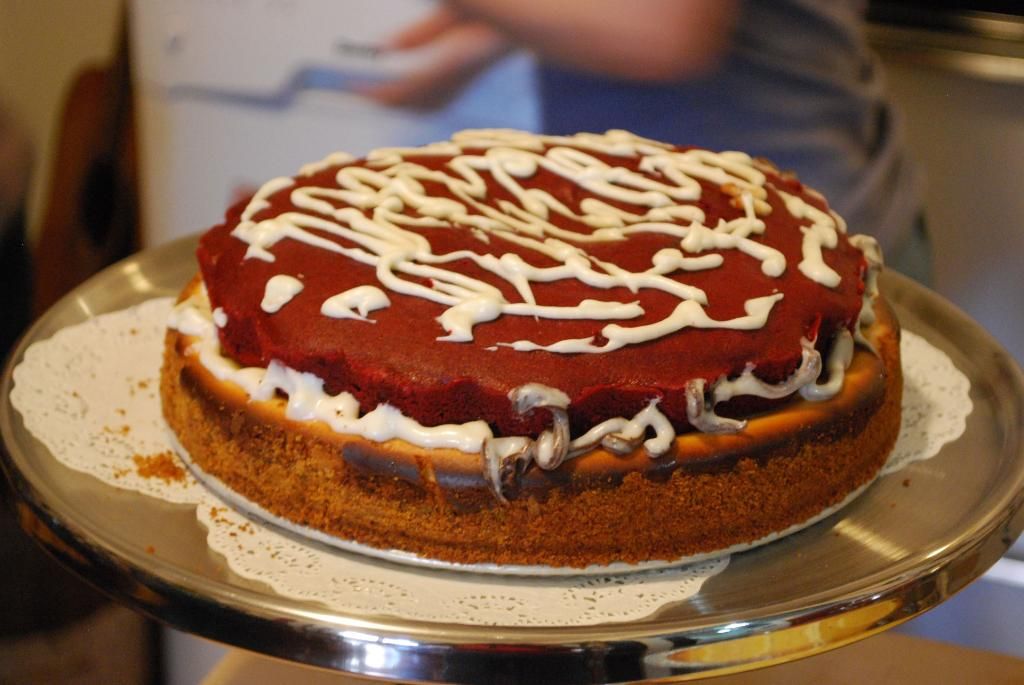
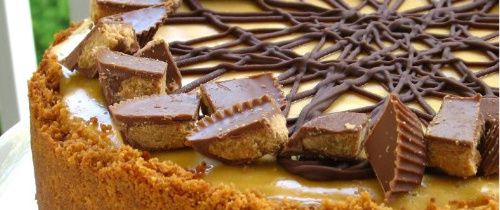
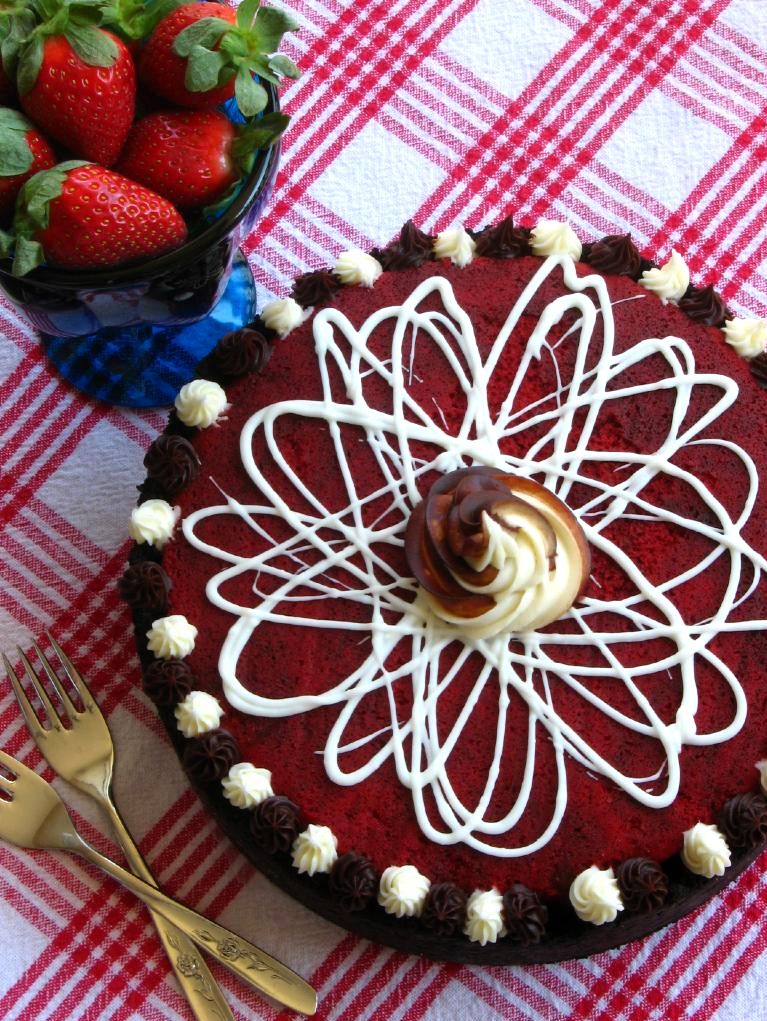
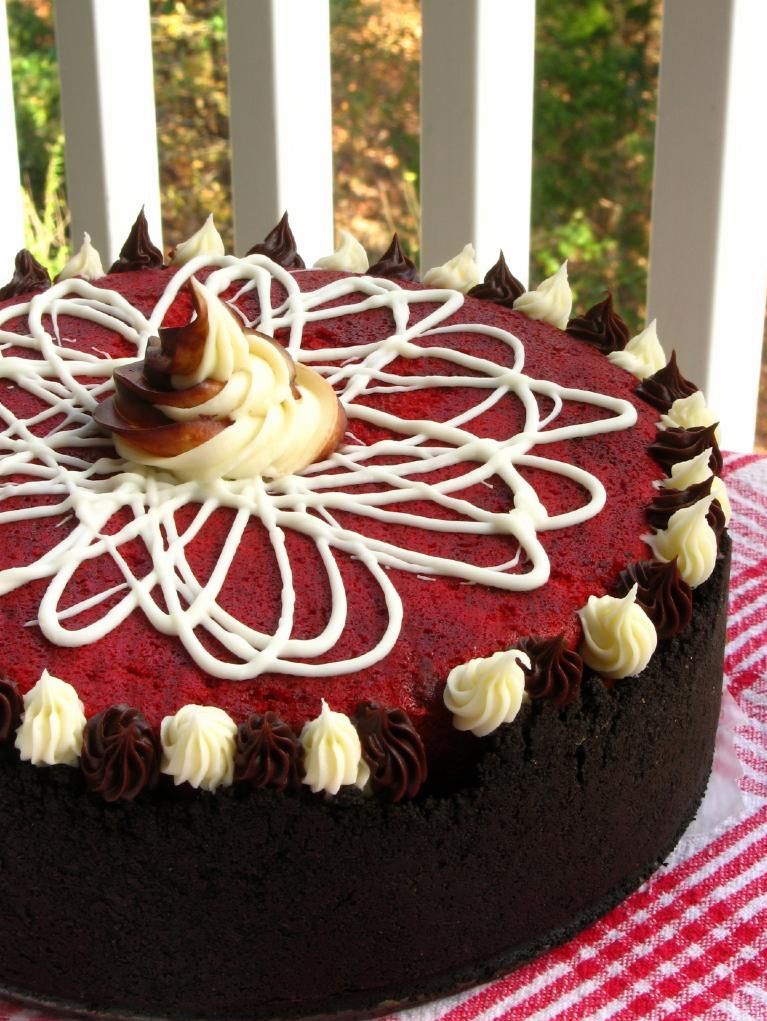
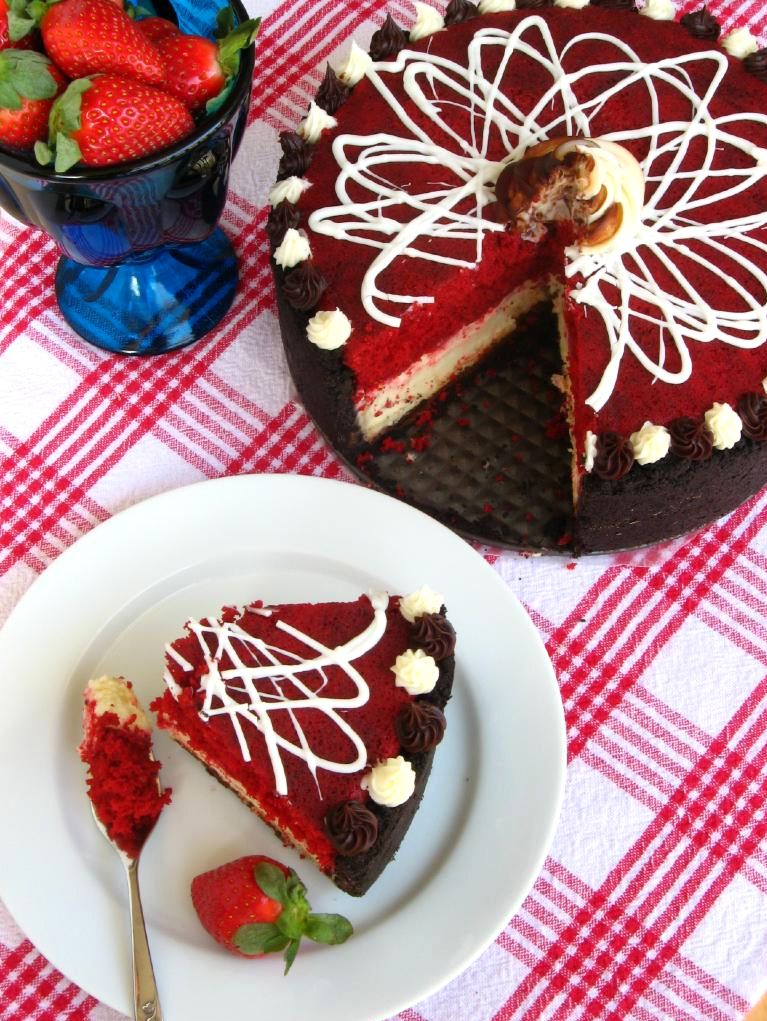
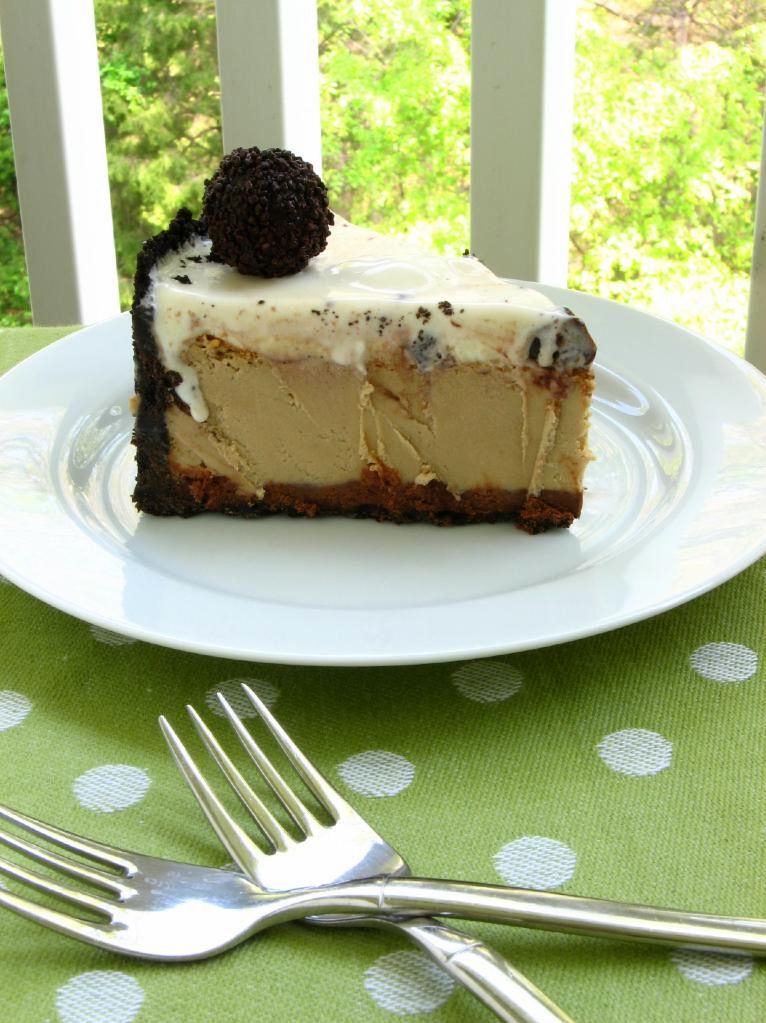
And besides all those things, I’m in love with this cheesecake. IN LOVE. Like, buy it a ring, get down on one knee, drag it to the altar kind of love. It might be one of the best cheesecakes I’ve ever made. Basically: swoon.
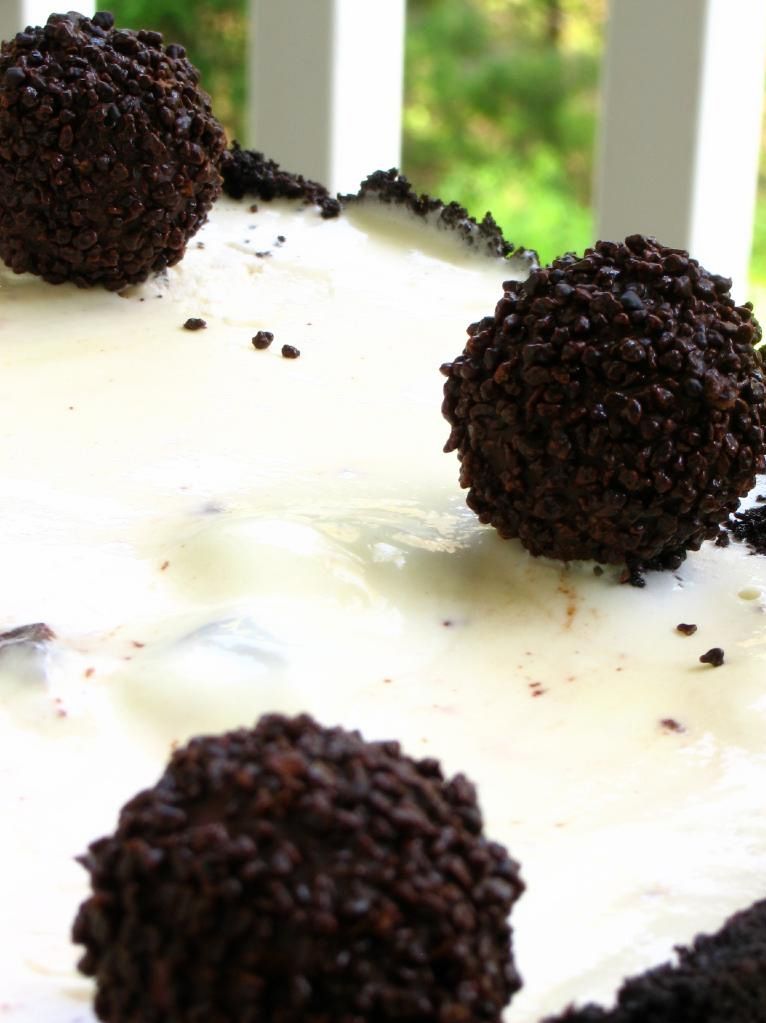
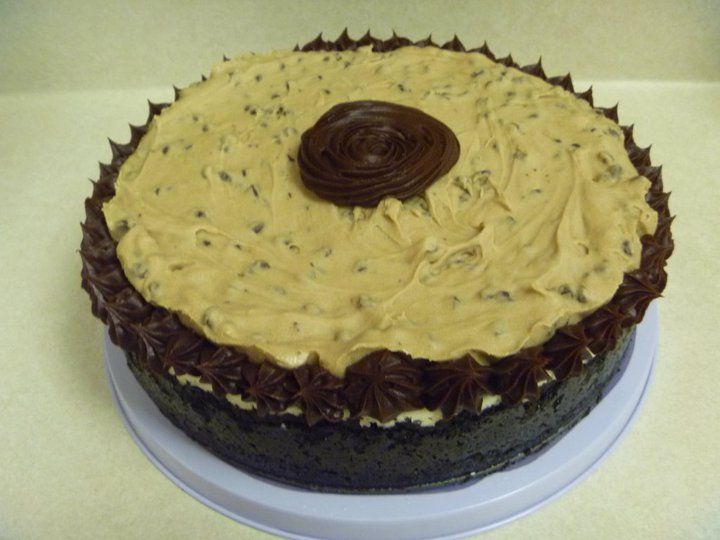
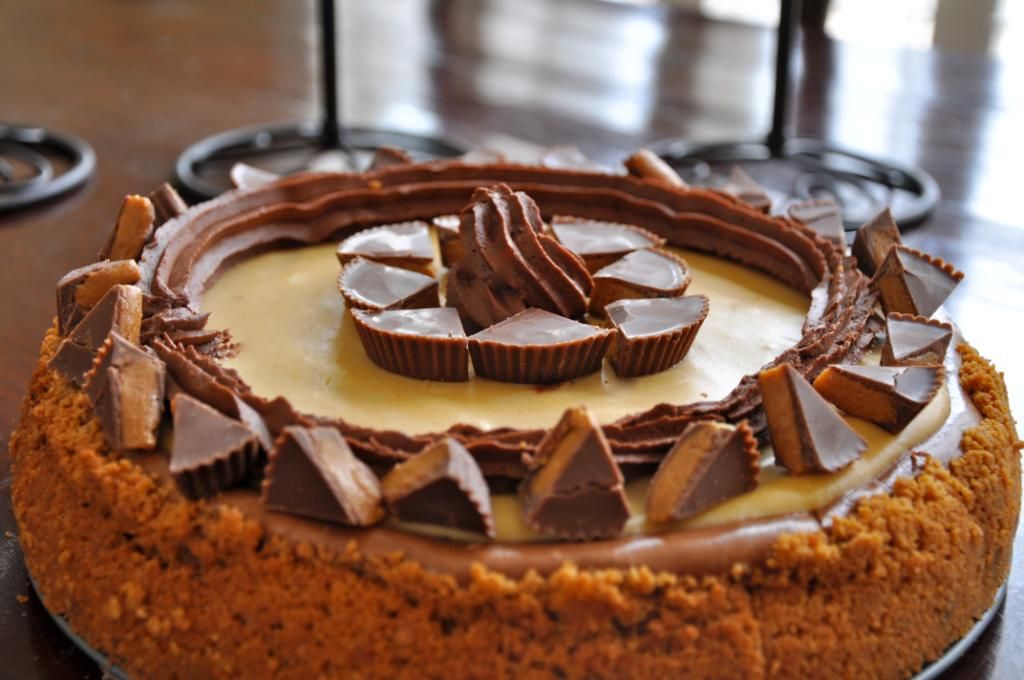
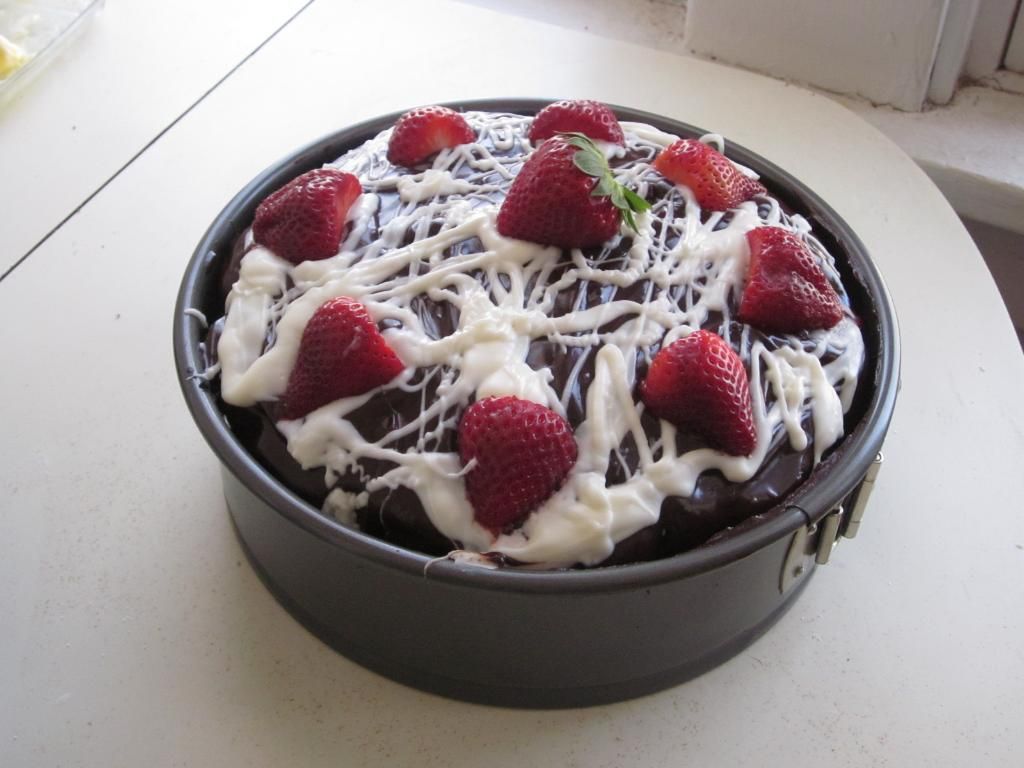
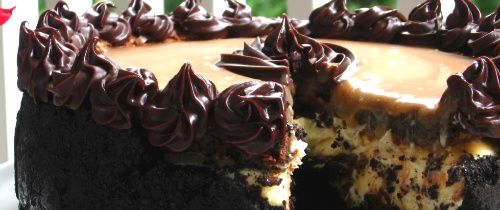
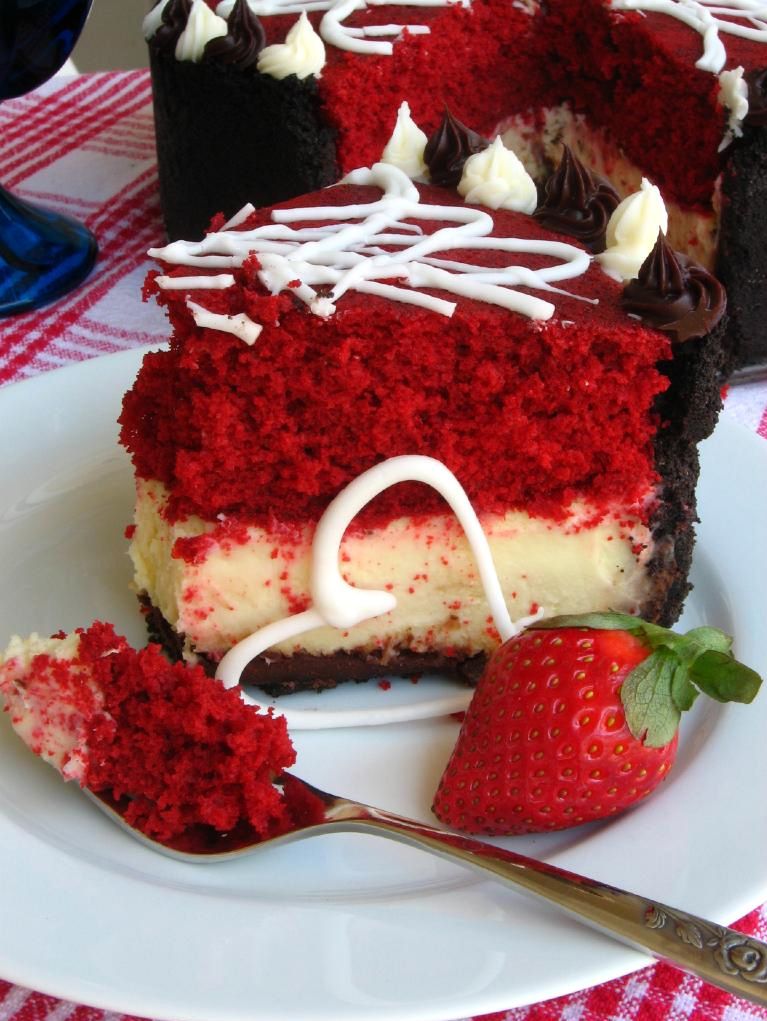
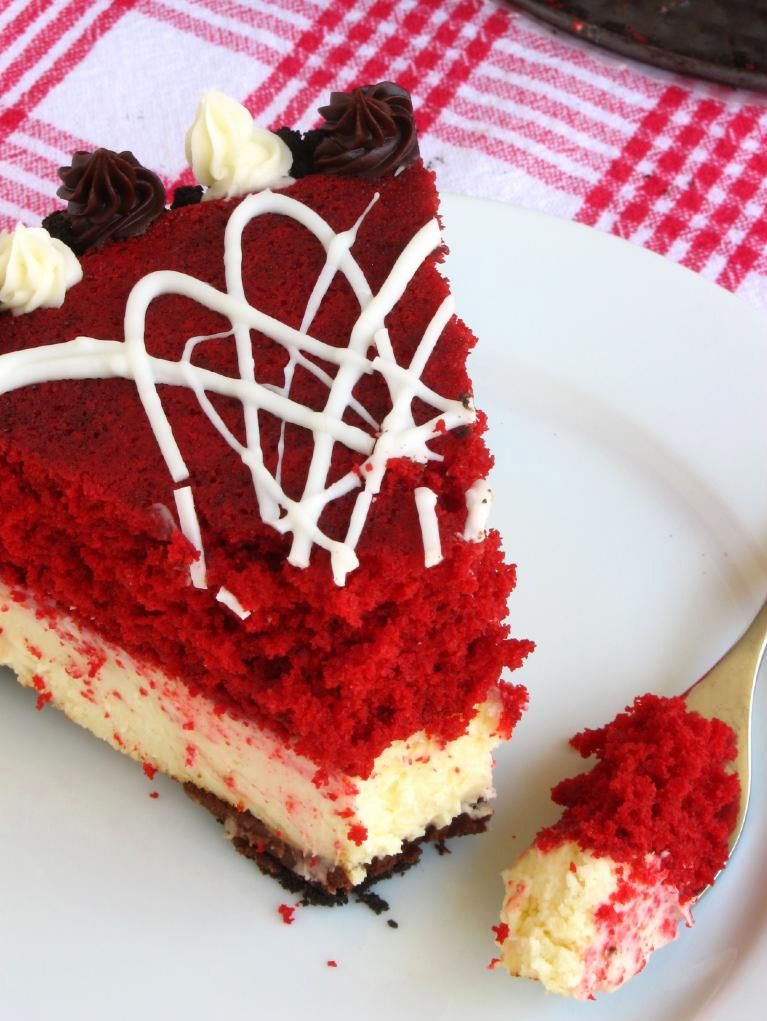
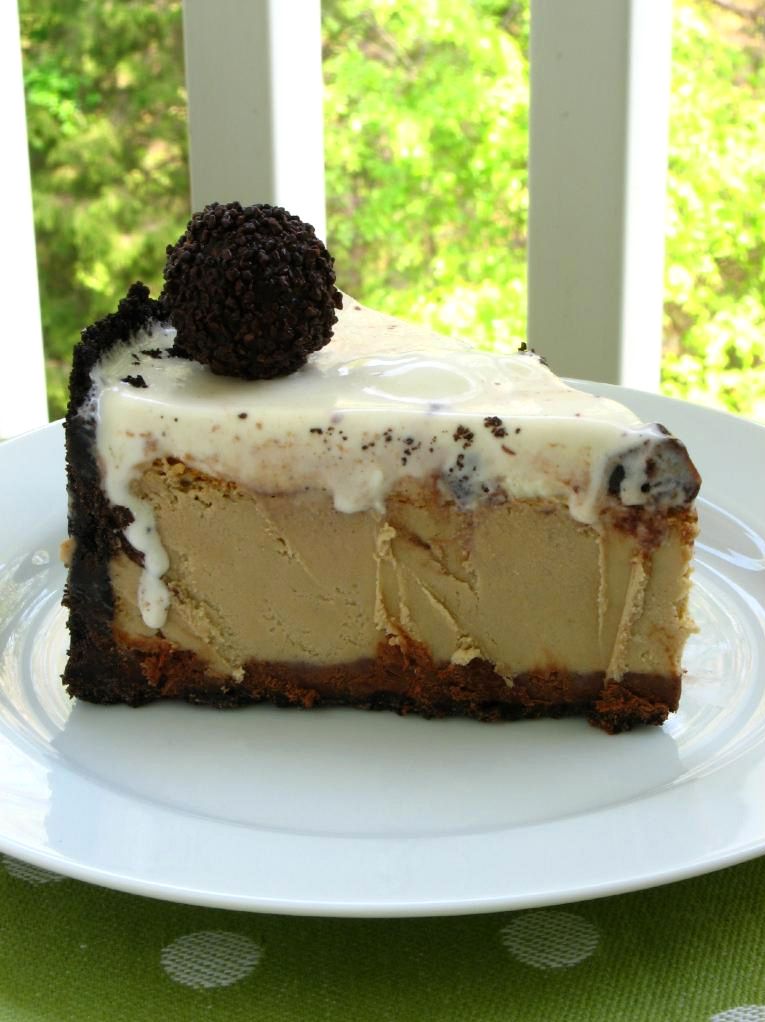
For one thing, it has the perfect ratio of rich coffee cheesecake to cold ice cream (oh, and did I mention the layer of fudgy ganache in there as well?). For another thing, the ice cream flavor I chose rocked the Casbah.
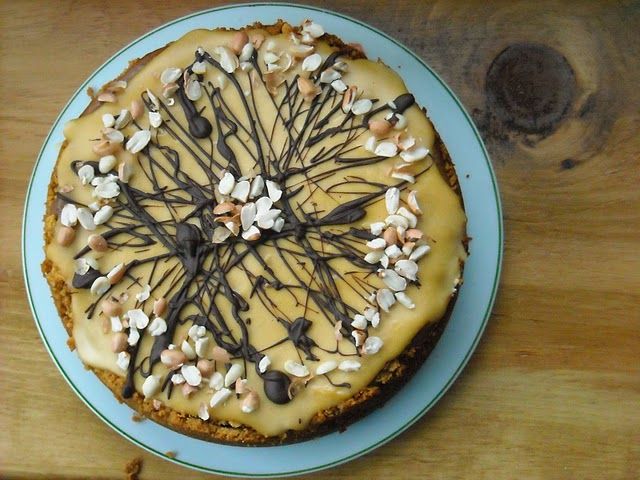
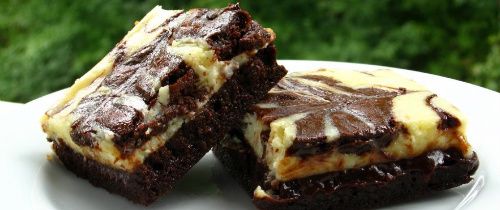
I considered coffee or chocolate ice cream, but decided that might be too rich. I also knew I wanted brownie chunks. Ben & Jerry’s makes a Cheesecake Brownie ice cream that fit the bill (how perfect is that, seriously?)
Apart from inspiring a matrimonial sort of adoration in me, this cheesecake is one of the easiest I’ve ever put together. It’s as simple as baking and cooling your cheesecake, softening up your favorite ice cream, and spreading it on top. Freeze the whole thing until it’s firm, cut it with a hot knife, and then call up the preacher. That’s about how it goes.
What ice cream flavor would you like to spread all over your coffee cheesecake?
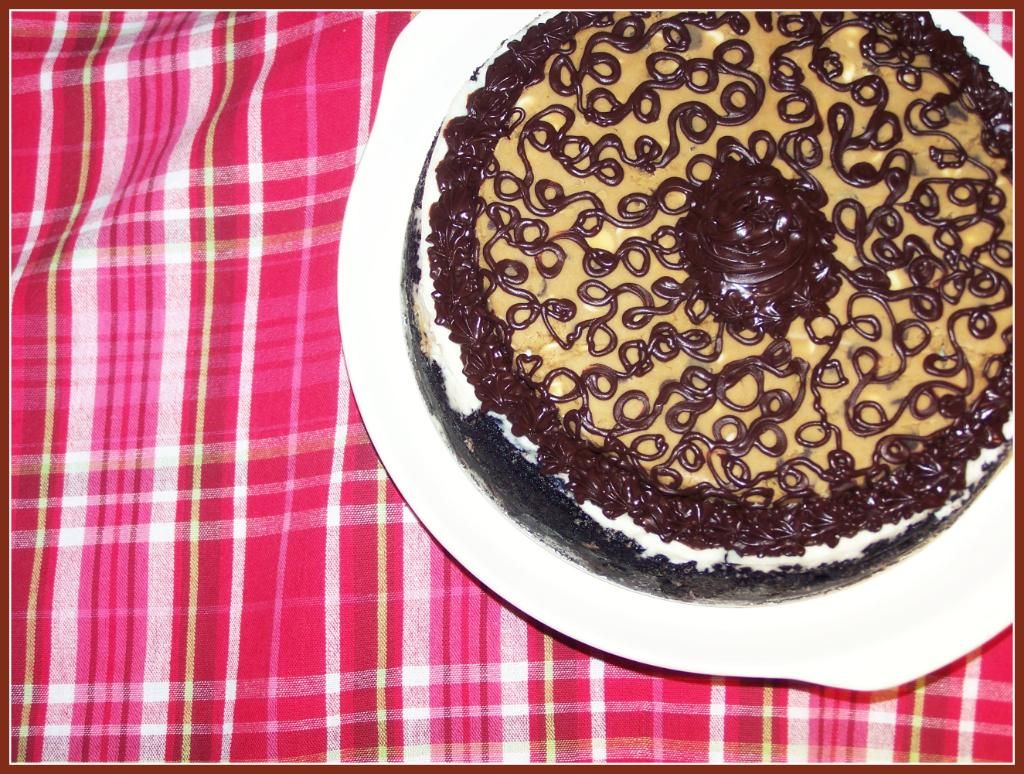
Rich Ice Cream and Coffee Cheesecake
Recipe by: Willow Bird Baking
Yields: 15 servings
Crust Ingredients:
37 chocolate sandwich cookies, finely processed into crumbs
6 tablespoons unsalted butter, melted and cooled
Small pinch of salt
Ganache Ingredients:
3/4 cups heavy cream
10 oz. bittersweet or semisweet chocolate, finely chopped (I combined both)
Filling Ingredients:
3 (8 oz.) packages cream cheese, at room temperature
1 cup sugar
1½ tablespoons all-purpose flour
1 tablespoons instant coffee granules
2 teaspoons vanilla extract
1½ teaspoons mild-flavored (light) molasses
3 large eggs
Topping:
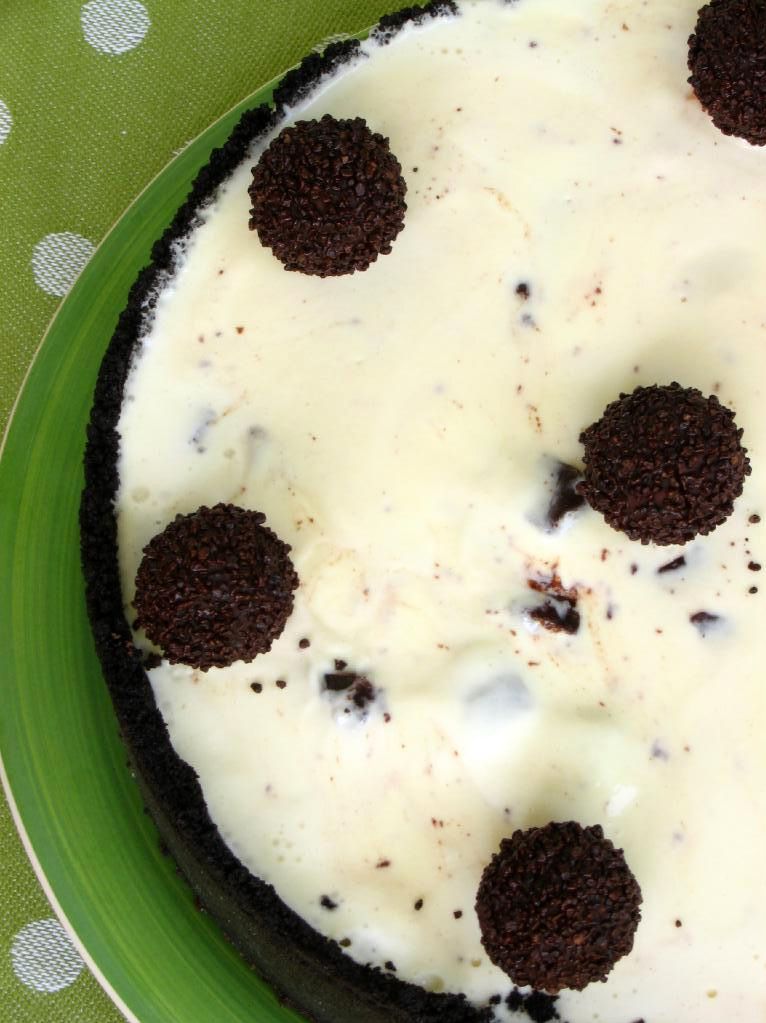
Ice cream of your choice (I used Ben & Jerry’s Cheesecake Brownie ice cream)
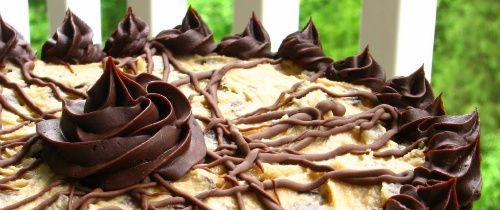
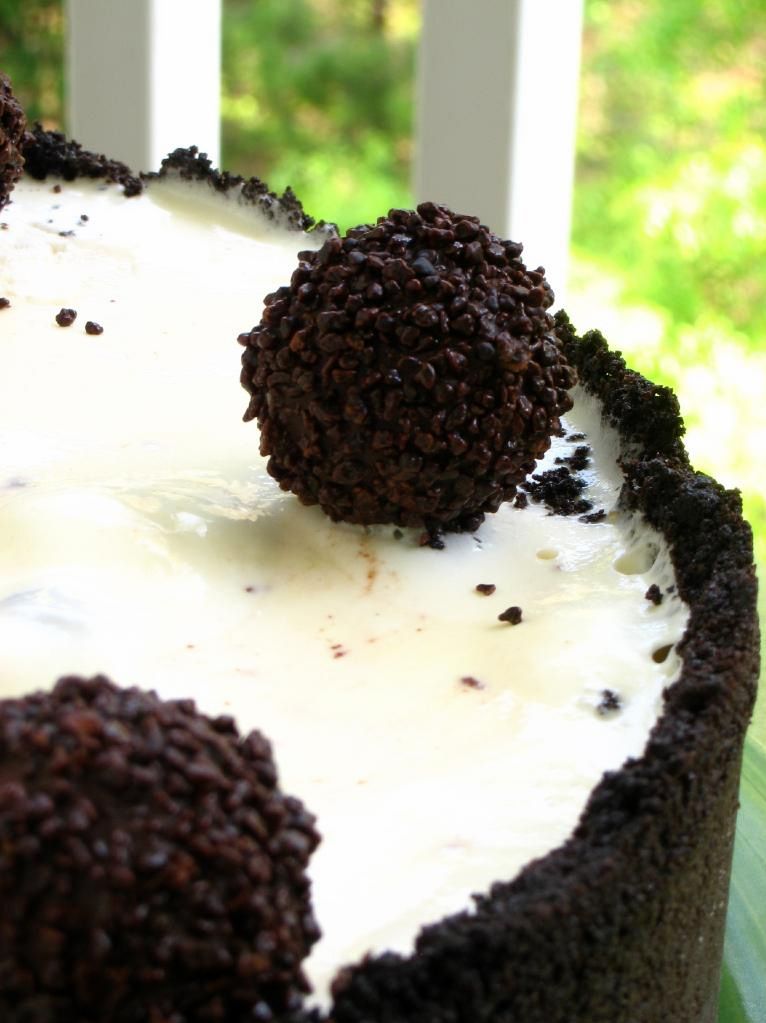
dark chocolate candies of your choice for decorating (I used Ferrero Rondnoir)
Directions:
To make the crust, butter a 9-inch springform pan. Combine the chocolate cookie crumbs, melted butter and salt in a small bowl. Toss with a fork to moisten all of the crumbs. Press into a thin layer covering the bottom and sides of the springform pan (at least 3 inches up the sides). I did this using a smooth glass to press crumbs into place.
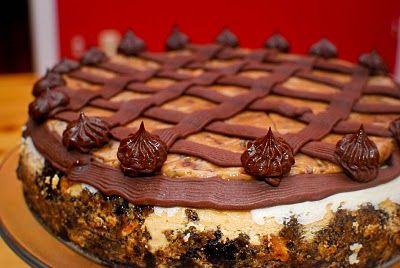
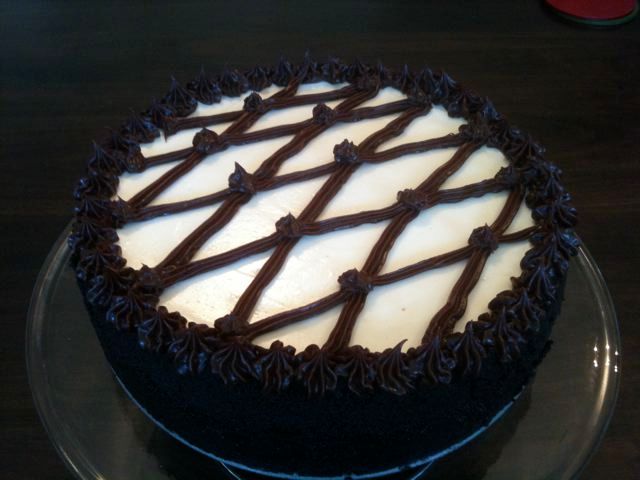
Bring the cream to a simmer in a medium saucepan. Place the chocolate in a medium bowl. Once the cream reaches a simmer, pour the cream over the chocolate and let stand 1-2 minutes. Whisk in small circles until a smooth ganache has formed. Pour 1.5-2 cups of the ganache over the bottom of the crust (if you have leftover, save it for eating or decorating with later). Freeze until the ganache layer is firm, about 30 minutes.
Preheat the oven to 350˚ F and position a rack in the middle of the oven. In the bowl of an electric mixer fitted with the paddle attachment, beat the cream cheese and sugar on medium-high speed until well blended. Beat in the flour. In a small bowl, combine the coffee granules, vanilla and molasses, stirring until the coffee dissolves. Add to the cream cheese mixture and beat until well incorporated, scraping down the sides of the bowl as needed. Beat in the eggs one at a time, scraping down the bowl between each addition.
Pour the filling over the cold ganache in the crust. Enclose the bottom of the springform pan in tightly wrapped foil and place it in a baking dish. Fill the baking dish with hot water about halfway up the cheesecake pan, careful not to let the moisture touch the cheesecake. Bake until the top is lightly browned, puffed and cracked at the edges, and the center moves only very slightly when the pan is lightly shaken, about 1 hour. Transfer to a wire cooling rack. Let cool at room temperature for at least 30 minutes. Transfer to the refrigerator and let cool at least 3 hours, until completely chilled and set.
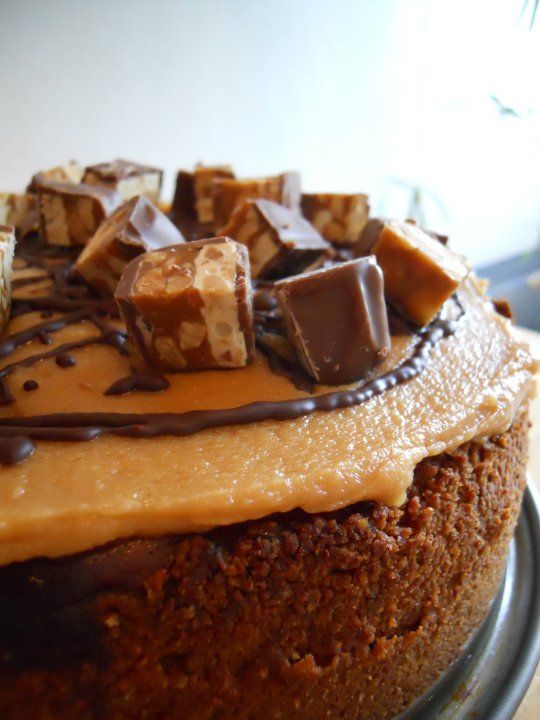
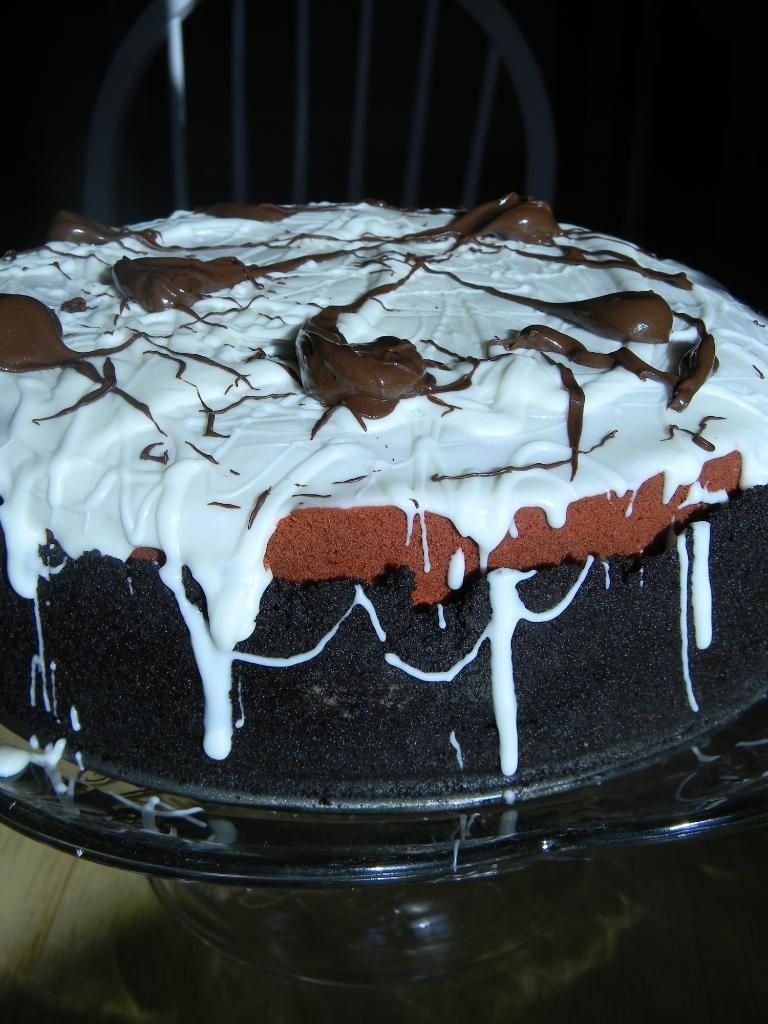
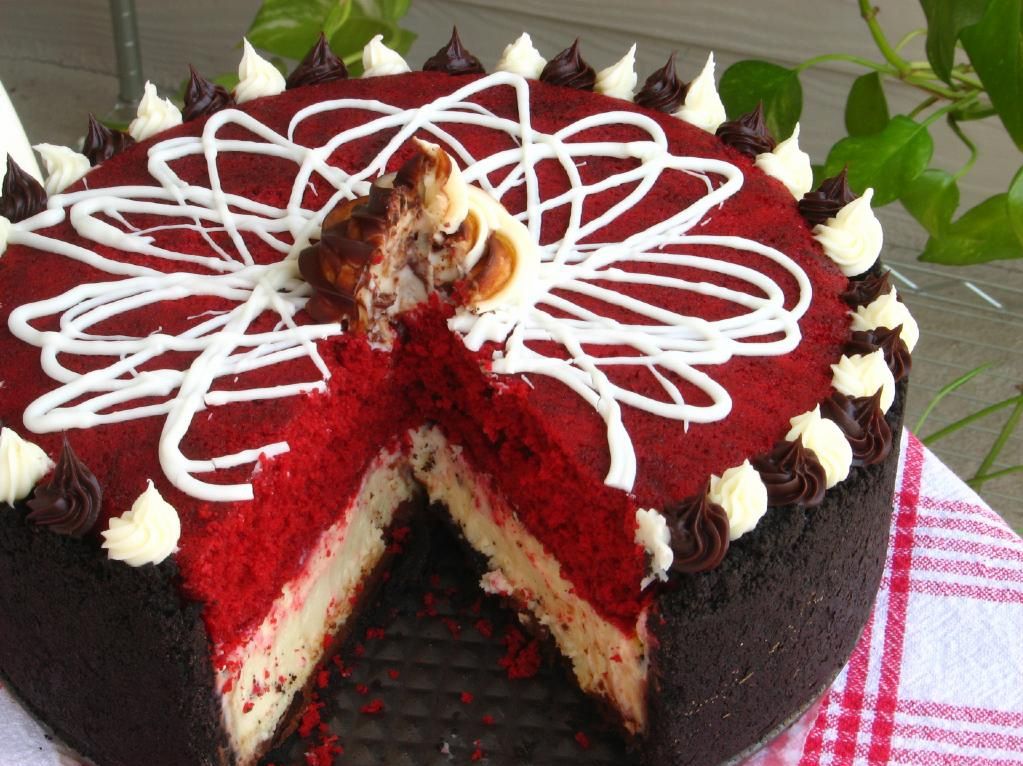
Soften ice cream of your choice (I used Ben & Jerry’s Cheesecake Brownie ice cream) for 10-15 minutes or until soft enough to spread. Scoop out a few big scoops onto the top of your cheesecake and spread with an offset spatula or the back of a spoon. Add more ice cream until it’s flush with the top of your crust. Freeze cake until solid (overnight is best). Decorate with dark chocolate candies of your choice (I used Ferrero Rondnoir). Slice with a knife held under hot water to serve. Keep in freezer when not serving — it melts quickly.
If you liked this post, please:
–Subscribe to Willow Bird Baking
–Follow Willow Bird Baking on Twitter
–Follow Willow Bird Baking on Facebook
–Give this post a thumbs up on StumbleUpon