i sat watching a flower as it was withering;
i was embarrassed by its honesty.
-bright eyes
This is not a diary. I can’t smudge ugly, unfiltered thoughts into this blog and tuck it deep under a virtual mattress. This is a place for tidy stories that have fully played out in my life — or at least enough to have lost the raw, unfinished edge of uncertainty.
Otherwise, things just get sloppy.
But I’m going to get a little sloppy here for a bit: this has been the hardest year of my life.
I feel embarrassed saying that, because I know some of you are dealing with things that are so much harder, things that make my year look like a fairy tale. There are people right now losing their homes and carefully rationing their cash to afford the week’s groceries. So I hope you’ll forgive me my lesser struggle — that we can have the grace of being in different places and loving each other where we are.
For me, this year has been a mountain to climb — the air is thinning, and I’m not sure I ever wanted to reach the top in the first place.
Last November, as you may remember, I broke up with Mike, my boyfriend of almost 12 years. It took me two months to get up the gumption to write to you about it, but the struggle wasn’t over.
Month after month went by and I found I couldn’t get used to my new world, which had turned inside out and taken on a pallor. Daily life felt like stumbling through a thick wall of cotton. My grief became a dressing room in which I tried on all different Julies, searching for who I was without Mike. Everything I put on was too tight, too abrasive, too loose, too heavy.
Recently, though, a couple of you noticed and commented that I’ve been mentioning Mike here and there. It’s true — we’re slowly, carefully spending time together again. Feeling out the next steps. There’s just not time to waste when you love someone, and it feels like we’ve already wasted so much.
So there it is. This isn’t exactly a great time to tell you what’s up. This is not a diary, like I said, and I’m hesitant to share such a new, uncertain development. But first off, I know I’m among friends. Second off, Foodbuzz issued a 24×24 challenge this month that I knew I wanted to dedicate to Mike.
The 24×24 is usually an opportunity to showcase 24 fun dinner party ideas, but this month, Foodbuzz challenged us to create a meal using only pantry staples. Scraping together something passable from the pantry wouldn’t have been too hard; people do it every day for their families. But as I thought about what I usually have available — some ground meat, cheese, salsa, baking supplies — I realized I wanted to create something truly special.
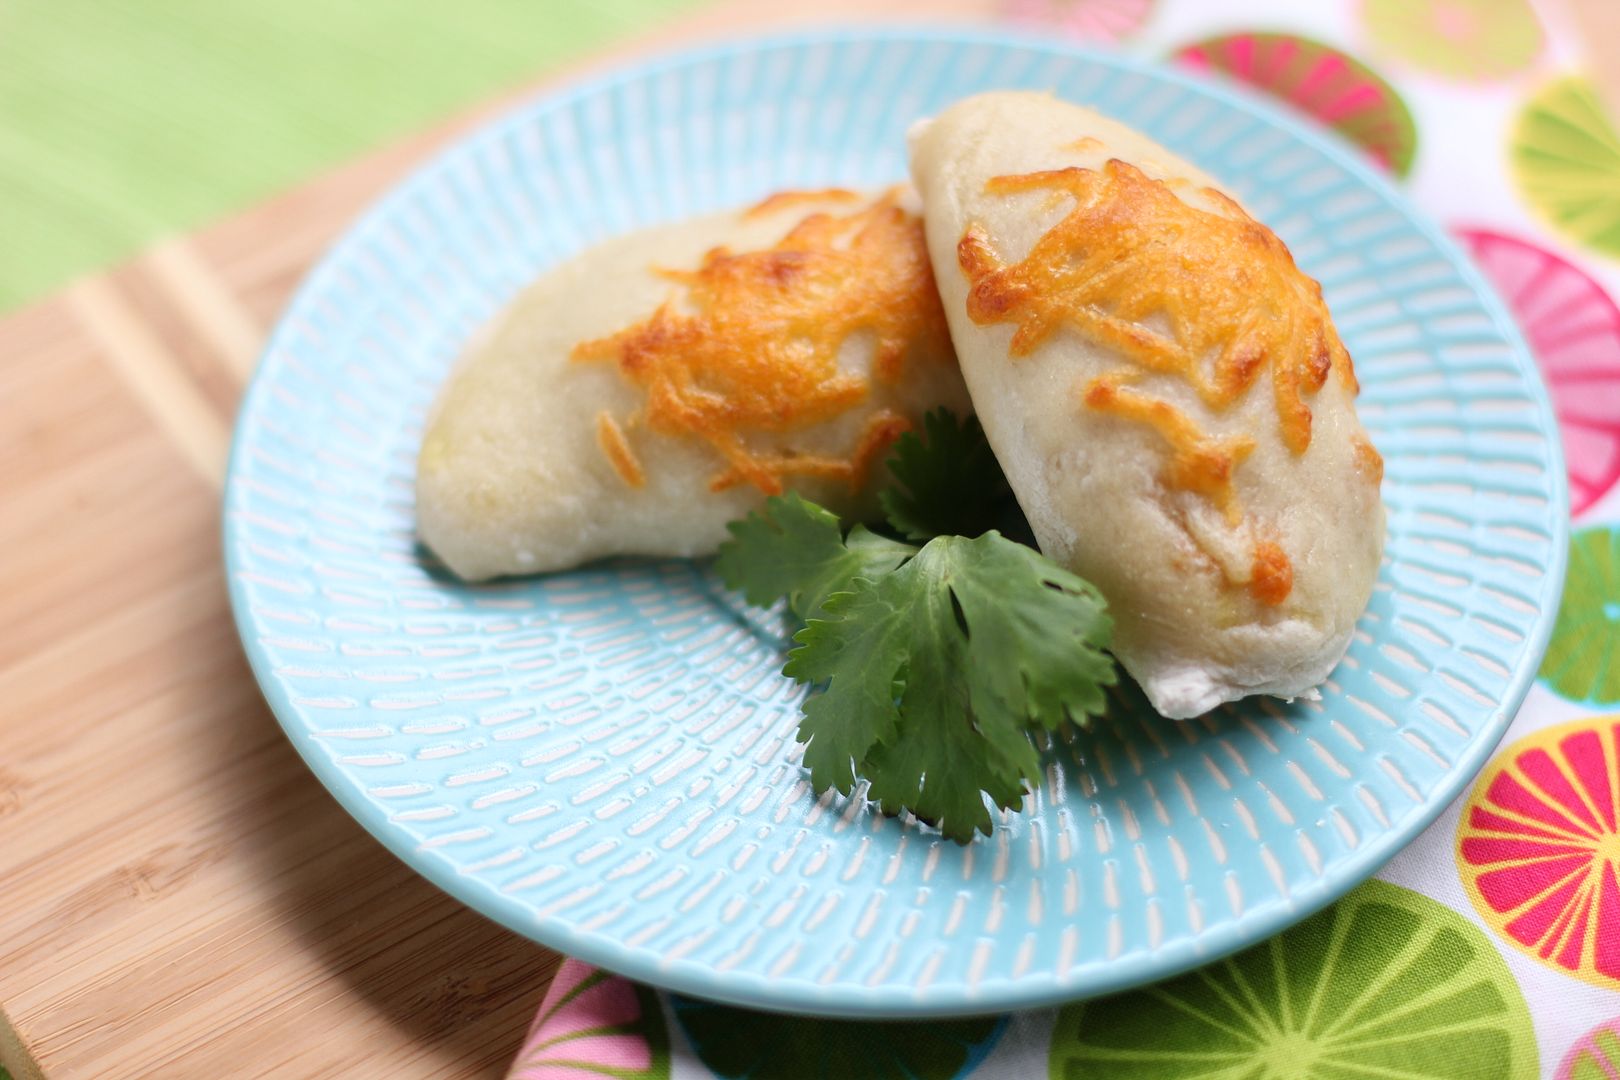
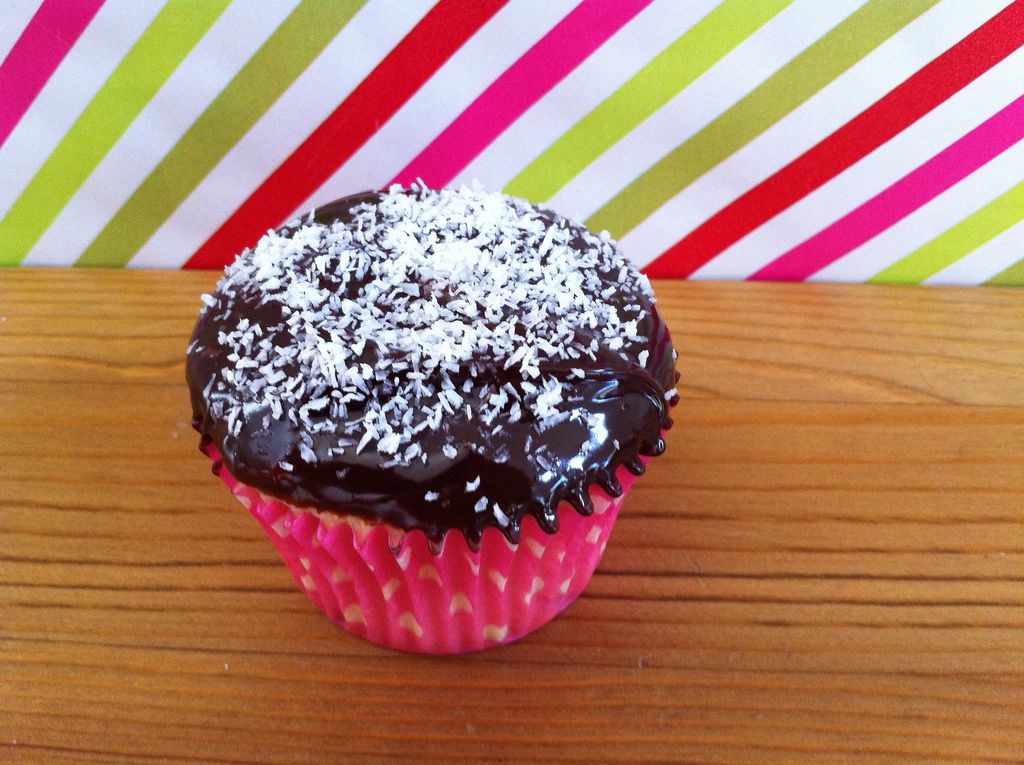
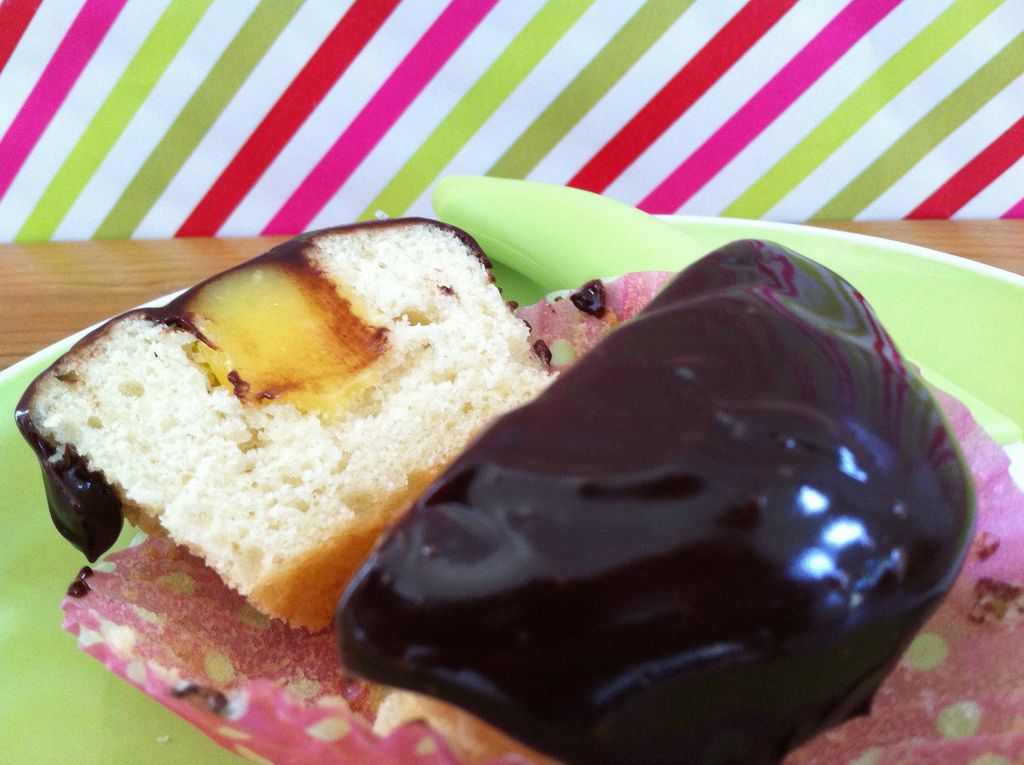
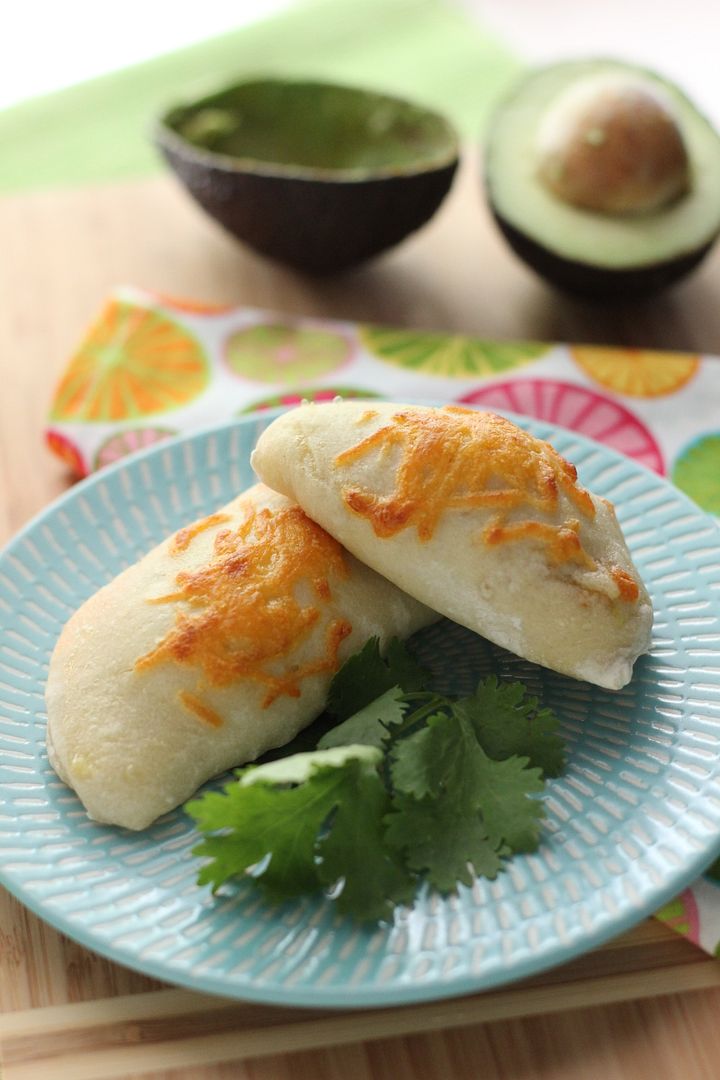
One of Mike’s favorite dishes during our time together was a silly convenience meal. These Taco-Stuffed Crescent Rolls are delicious, but also based on a can of crescent rolls, for goodness’ sake. Nevertheless, I made them for him throughout our relationship as a quick way of saying, “I love you (and I want some carbs.)”
For the Foodbuzz 24×24, I invited Mike over and recreated this meal — this time with a homemade yeast dough. I wanted to turn my quick I love you into an earnest I love you. The things I took for granted, I can’t take for granted anymore, and I think he feels the same. What we’re working on between us is worth more than a can of crescent rolls. It’s worth adding flour bit by bit. It’s worth waiting the hour for the dough to breathe and rise. It’s worth the messy counter, the sticky shaping, the extra step of egg washing. I would slice avocados for years. I would clean my dough hook a million times over.

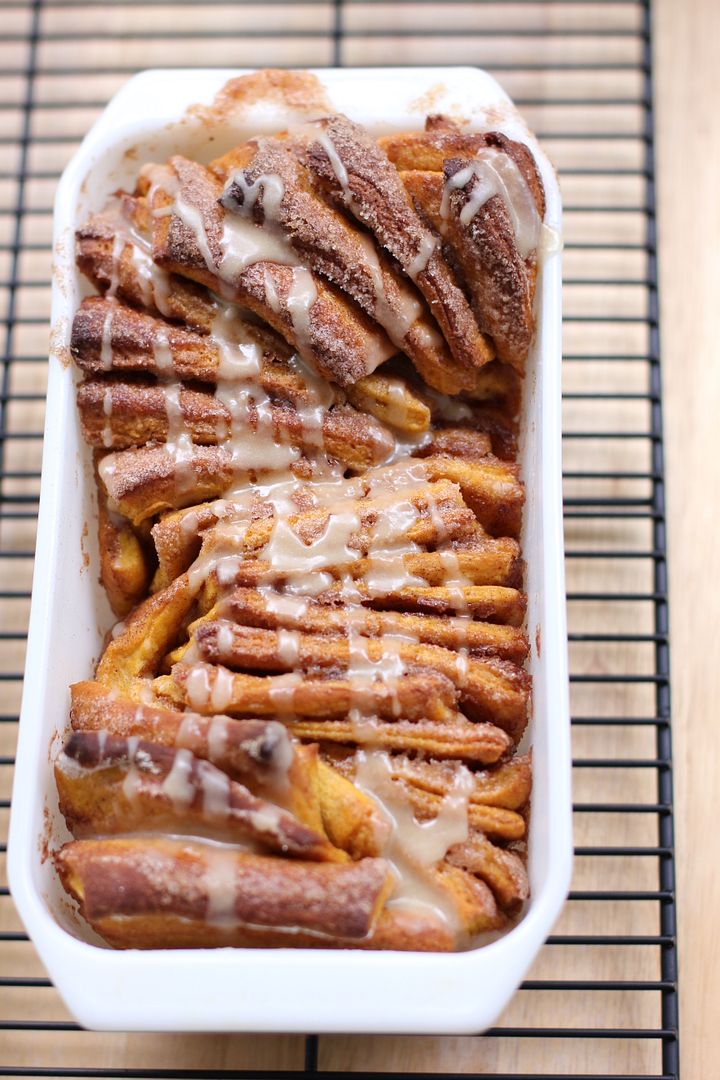
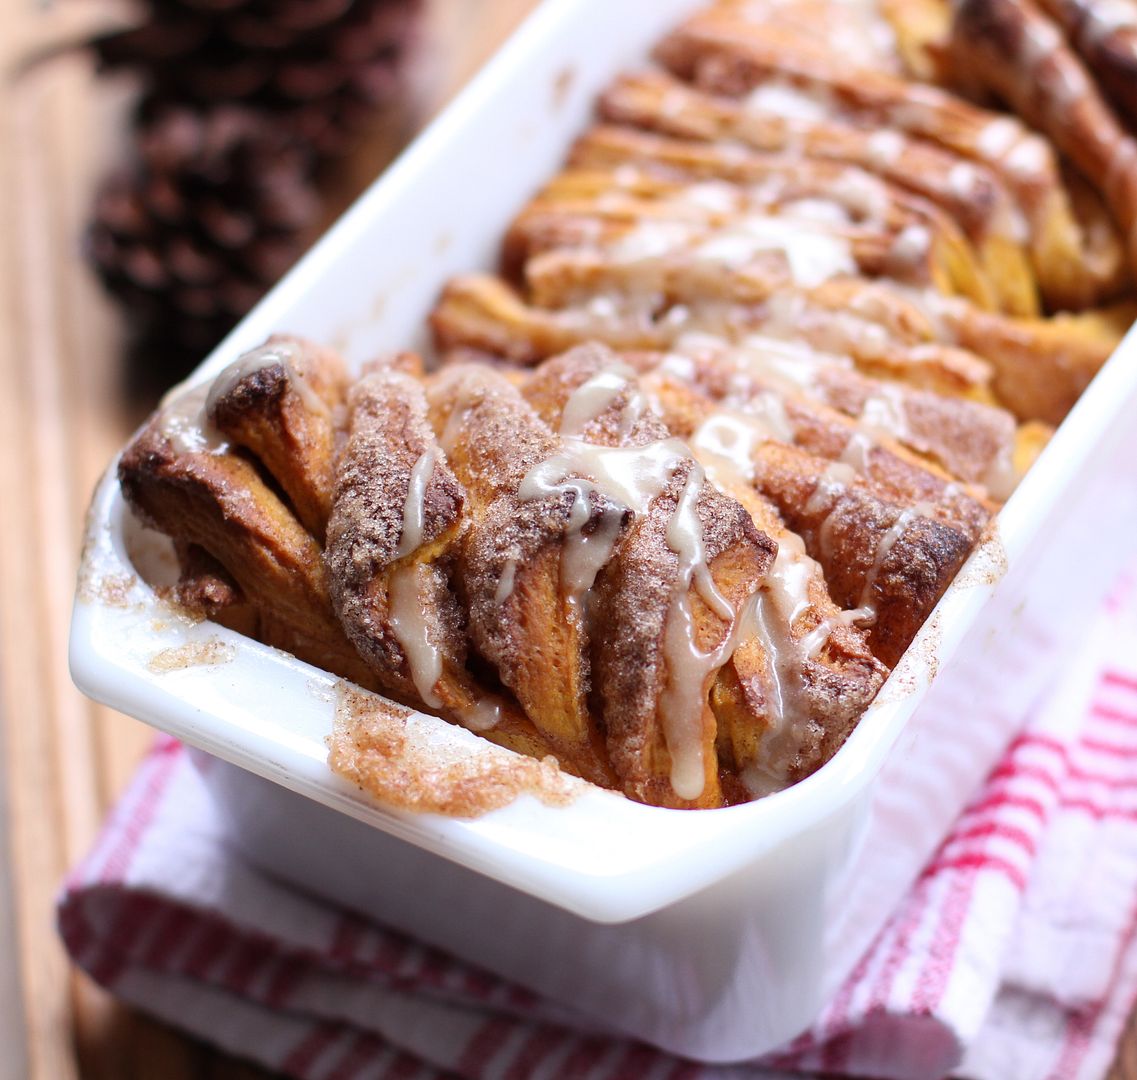
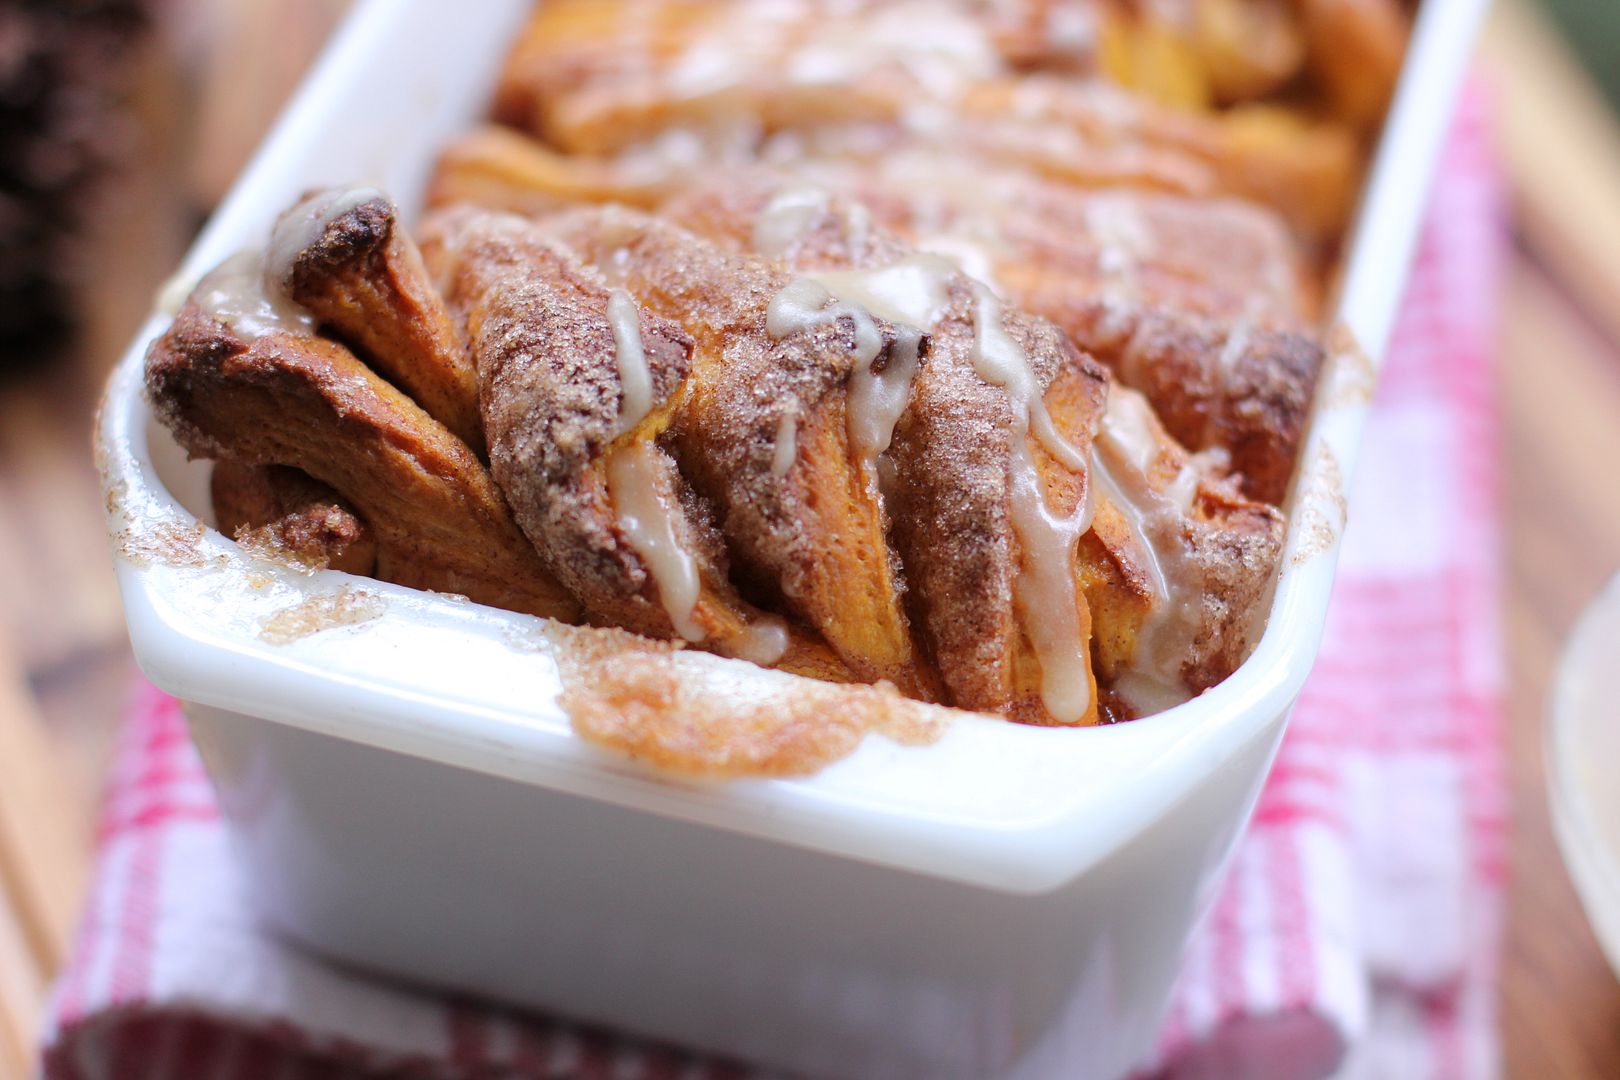
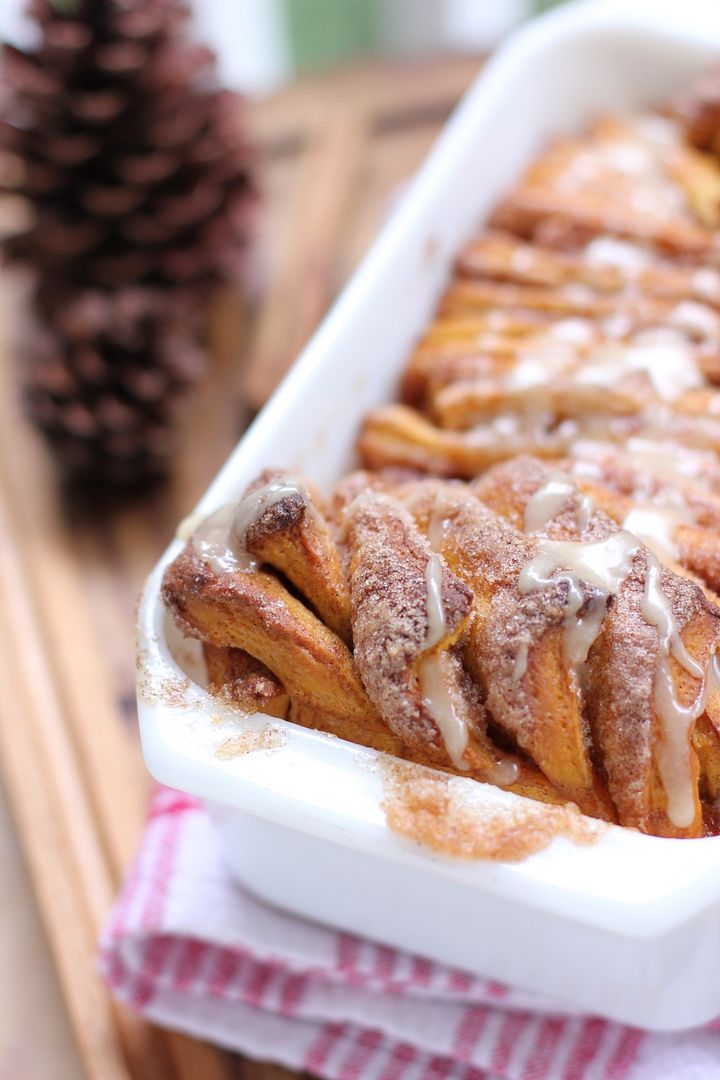
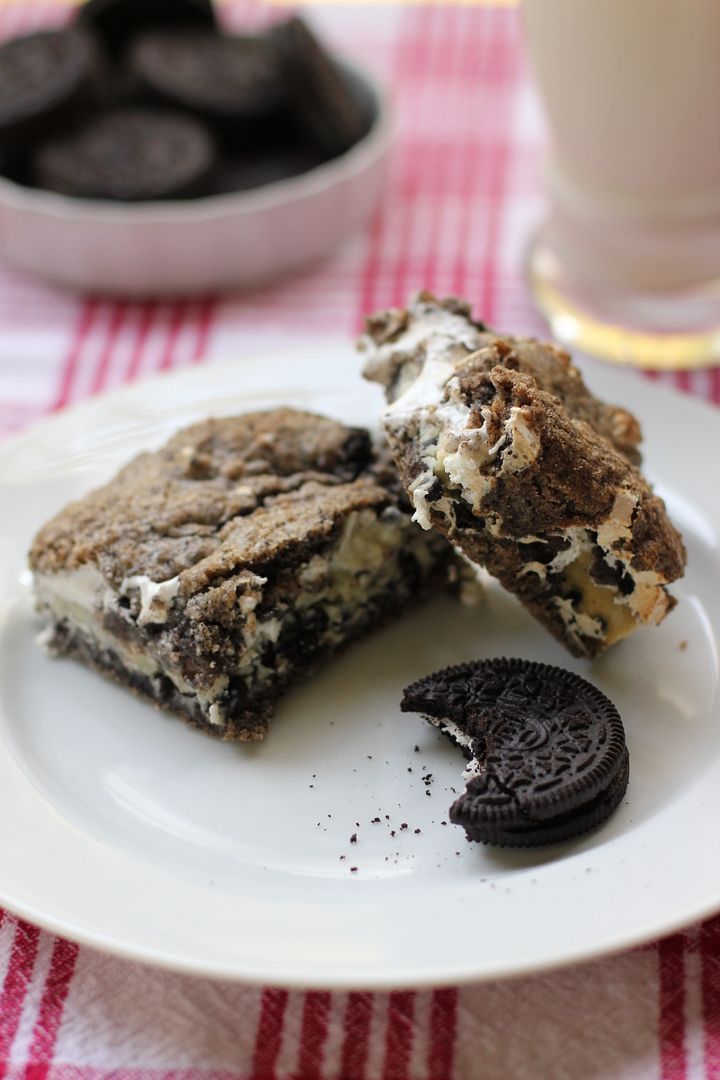
The beauty of this meal is that it’s homemade from scratch, but still simple and convenient. The recipe made plenty of dough for taco pockets with enough leftover to dress up as Apple Cinnamon Monkey Bread Sundaes (I’ll share how I did this in an upcoming post). Also, since you can prepare both dishes a day in advance, you have enough time to floof your hair and vacuum the apartment the day your long-lost boyfriend is coming over. Nice.
Oh, by the way, your fear of yeast called and told me to tell you it’s not working out. You’re just going to have to get over him. I’m stocking you up with simple yeast dough recipes so you’ll have a good place to start.

Speaking of good places to start, for me and Mike, this is as good a place as any. I don’t know how things will go, but no one ever does. I’m just going to hitch up my skirts and petticoats and keep on climbing.
I told you my secrets, now tell me yours. What new developments are coming your way these days?
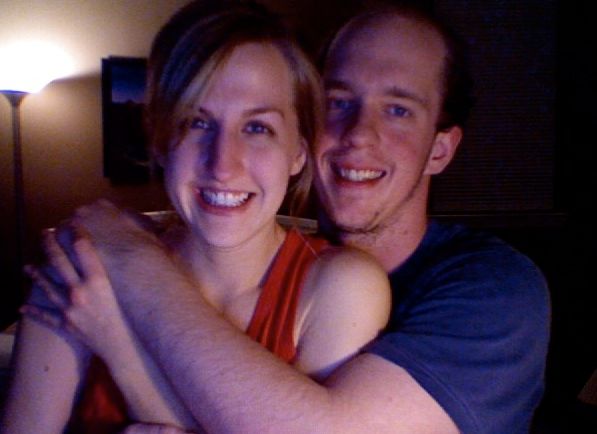
Me and Mike via photobooth, a couple of years ago.
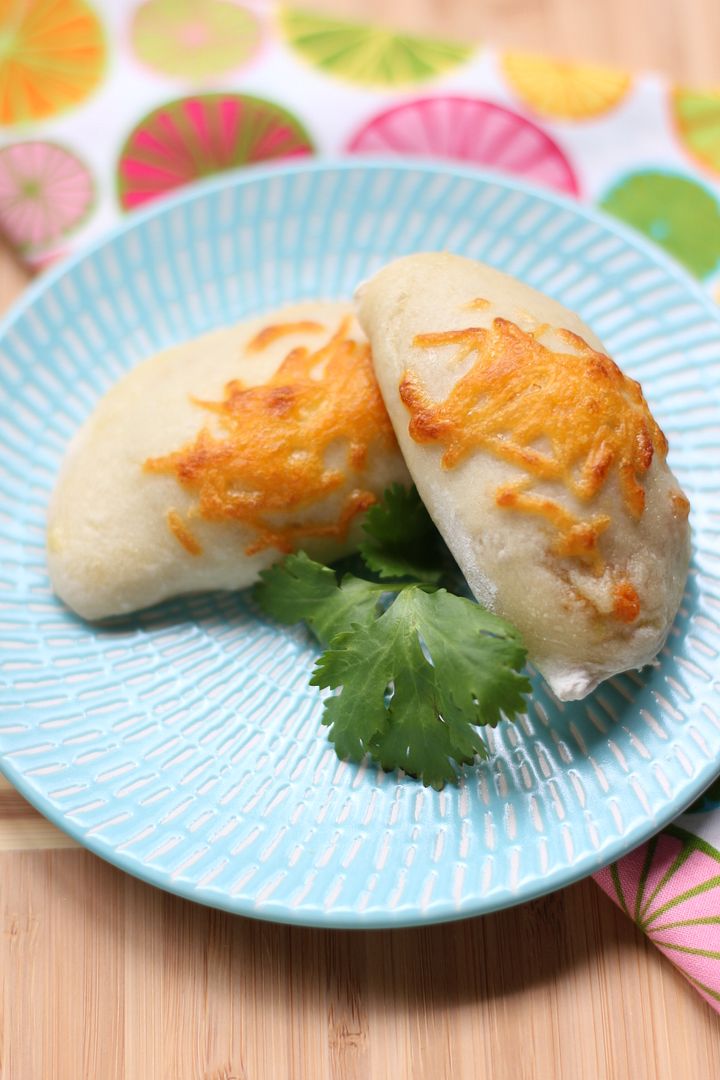
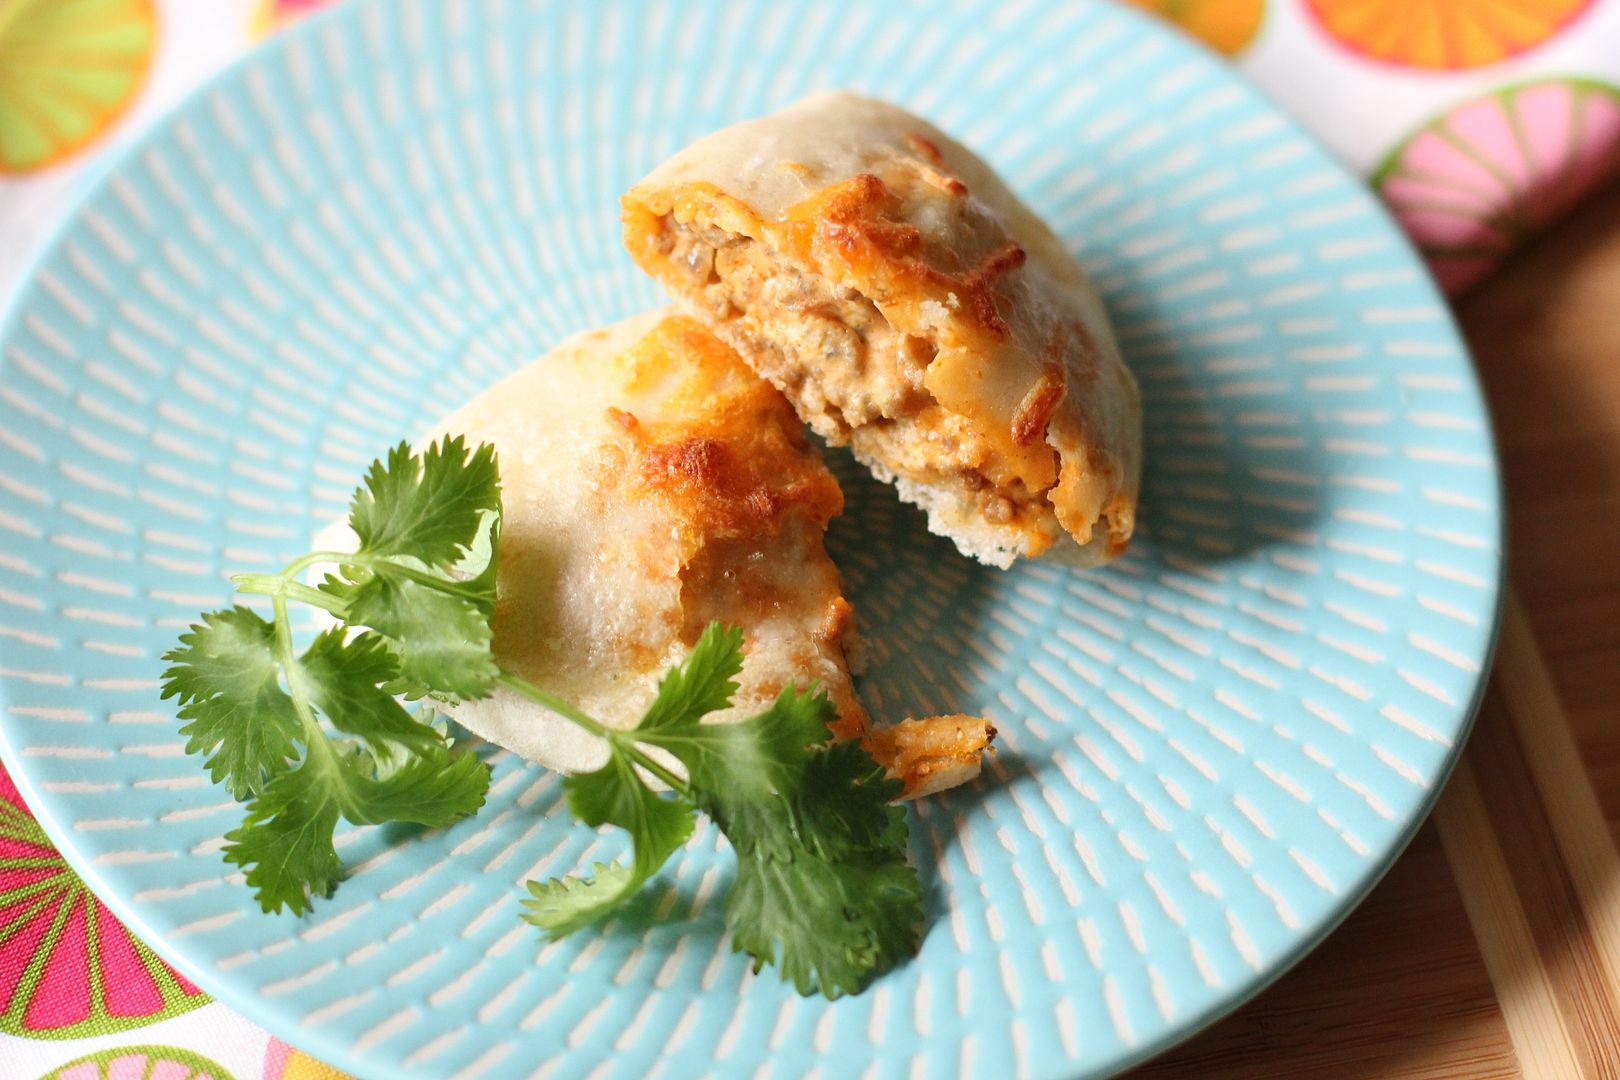
Cheap and Simple Taco Pockets
Recipe by: Willow Bird Baking (yeast dough recipe from Our Best Bites)
Yield: about 26 3-inch long crescent pockets, or 5-6 servings (or you can use half for pockets and half for making monkey bread!)
These Taco Pockets are pillowy yeast rolls filled with a creamy, cheesy, spicy Tex-Mex filling. I like to serve them with an array of accoutrements — sour cream, guacamole, salsa, and fresh cilantro. As a time-saver, you can wrap this cheesy filling in premade crescent rolls and bake per the package instructions, but don’t do it just because you’re afraid of yeast! This is a simple yeast dough that’ll help you conquer your fears. If you’d like, make taco pockets with half the dough and use the rest to make simple Monkey Bread Sundaes for dessert — two dishes for the price of one!
Dough Ingredients:
1 1/2 cups warm water (105-115 degrees – use a candy thermometer to check)
1 tablespoon sugar
1 tablespoon yeast
1/2 teaspoons salt
3-4 1/2 cups flour
1 egg and a splash of water (for egg wash)
Filling Ingredients:
1 pound ground beef
1 packet McCormick’s cheesy taco seasoning (or taco seasoning of your choice)
6 ounces cream cheese, softened
2-3 heaping tablespoons salsa
1/4 cup shredded cheddar cheese
sprinkle of cheddar cheese for the top of pockets
Directions:
Notes on making this in advance: There are two points at which you can stop this recipe and refrigerate it overnight. The first is just before the first proof. Instead of letting the dough proof, cover the bowl with plastic wrap and then a clean, damp cloth. Place it in the refrigerator for 1-5 days, keeping the cloth damp. When ready to roll, let it sit out until it comes to room temperature and doubles (about 2 hours). Another point at which you can leave the recipe overnight is after the pockets are filled and shaped. Instead of allowing them to rise another 30 minutes, cover them and refrigerate them overnight. In the morning, allow them to come to room temperature and rise (about 2 hours) before egg washing and baking.
Make dough: Mix the warm water, sugar, and yeast in a large bowl (such as in the bowl of your stand mixer, if you have one) and let it sit for 5-10 minutes until it foams. Add the salt and 1.5 cups of flour and mix. While kneading on a low speed, gradually add more flour (I added about 1 1/2 more cups) until the dough is pulling away from the sides of the bowl and barely sticks to your finger.
Spray a large bowl with cooking spray and place dough in the bowl for the first proof. Cover and place the dough in a draft-free place (many use the inside of a turned-off oven) to rise for 45 minutes or until doubled in bulk.
Make filling: While dough rises, brown ground beef, drain, and return to pan. Add packet of taco seasoning with a bit of water and cook until combined. In a separate bowl, combine cream cheese, salsa, and cheddar cheese. Add ground beef mixture to the bowl (which will melt the mixture a bit) and stir to combine.
Shape and Bake: Spray a cookie sheet with cooking spray or line it with parchment paper. Remove dough from bowl and place on a lightly-floured surface. I placed a damp, clean cloth over some of the dough while I tore off pieces to work with. Tear off golf ball sized portions (or maybe a little larger) and roll each portion out to about 1/4-inch thick (moving it around as you roll to ensure it’s not sticking, and reflouring your surface as needed). Use a large round cookie cutter (or a knife) to cut out circles about 3 or 4 inches in diameter. Spoon about 1-2 tablespoons of ground beef mixture onto each circle. Fold the circle over on itself, wetting and pressing the edges to seal. Poke each pocket with a knife to give it a steam vent, dust the excess flour off of it with a dry pastry brush, and place it on the prepared baking sheet.
Once all pockets are shaped, cover them with a clean dish towel and let them rise for another 30 minutes. When you have about 20 minutes left, preheat oven to 350 degrees F. Whisk egg and water together and brush over pockets just before baking. Sprinkle each pocket with a bit of shredded cheddar cheese. Bake pockets for 15-20 minutes or until golden. Let cool on sheet pan for a few minutes and serve warm.
Note: I received a stipend from Foodbuzz for creating this meal.
If you liked this post, please:
–Subscribe to Willow Bird Baking
–Follow Willow Bird Baking on Twitter
–Follow Willow Bird Baking on Facebook
–Give this post a thumbs up on StumbleUpon