When Mike and I went to the North Carolina State Fair last year, I had two goals: pet as many dirty, adorable barnyard animals as possible, and eat as much ridiculous, unhealthy food as possible. High on my list was the Krispy Kreme burger, an admittedly gimmicky new sandwich being marketed (and mocked) across the country. The burger was just like any other burger, except that it was served on two Krispy Kreme doughnuts in the place of a bun. I was sure I was going to absolutely love every bite.
YES.
My first goal was readily accomplished. Mike and I stumbled around until we spotted the closest pettable livestock, whereupon we bought a bag of carrots and subjected our fingers to great peril. We fed goats, sheep, llamas, and even a camel or two. Is it weird that I think there may have been a buffalo in there? I might’ve made that part up.
Anyway, the animals pranced around, joyously accepting our scritches until we ran out of carrots. During this fiasco, I may or may not have illicitly scaled a fence to feed a goat that had been head-butted out of the way by his siblings. Put it this way: I didn’t get caught. Or head-butted.

My second goal turned out to be more complicated. We nibbled around the fair — corn dogs, cheesesteaks — until we finally found the vendor selling the notorious Krispy Kreme Burger. We slipped in line and waited our turn for greatness. When I got up to the booth, the cashier asked me what I’d like on the burger. That was the first sign of trouble.
I hate being asked what I want on my sandwich. Before you decide I’m one of those insufferably picky diners (okay, you might decide that anyway), let me explain. I go to a restaurant to taste a dish someone else has conceived of and prepared. I want the creator of a sandwich to decide what ingredients should be on it to create the right overall flavor. I don’t know what to put on my sandwich to make it taste like the dish they envisioned! And if I wanted to taste my own vision — to create my own sandwich — by golly, I wouldn’t have bothered coming to a restaurant to do it! (Side note: This is why I never go to Subway anymore.) (Side note #2: I think italics make people sound snootier. Don’t you agree?)

So when the cashier asked me to construct my own version of the Krispy Kreme Burger, I was understandably nervous. Would it taste okay with lettuce and tomato? Would mayonnaise be appropriate on it? Mustard? How about cheese? I was stumped and a little miffed, but I ordered the burger with lettuce, tomato, and mayonnaise. Mike and I fought the crowds and found a seat by a kiddie ride to enjoy our culinary adventure.
Mike lasted two bites before he handed me the sandwich. I thought he was just giving me a turn, but it turns out he was down for the count. “I don’t like it,” he declared, wiping doughnut glaze off his fingers with an air of finality.
Really? After hours of waiting and pushing through sweaty throngs of people, you give the sandwich two bites’ worth of a chance? I wasn’t going to be discouraged so easily. I grabbed that sandwich, took a giant bite, and–
It was okay.
The pulsing carnival music from the ride in front of us suddenly seemed a little louder, a little more grating. After hours of waiting and pushing through sweaty throngs of people, the Krispy Kreme Burger was just OKAY?!
I debated in my head: would it have been better without the lettuce and tomato? Was it the mayo that made it so-so? I polished the sandwich off pensively, still disappointed with its mediocrity. Mike and I headed off defeated, in search of better treats (don’t worry, some deep-fried cheesecake later cheered us up).

The other day, though, I had a stroke of inspiration. I was planning on creating a fancy breakfast for Mike and I’d been craving a delicious Southern staple: fried bologna biscuits. Before you start in about how you don’t like bologna: I don’t like bologna either. But fried bologna is an entirely different experience (particularly with little cheese, some yellow mustard, and for breakfast, a fried egg). I knew I didn’t have time to squeeze biscuit making into my schedule, though.
Like a flash of brilliance straight from the heavens, I realized that these flavors — fried bologna with cheese and a gooey fried egg — were the exact sort of flavors that would’ve rocked that Krispy Kreme bun. Instead of the muddy, inexact flavor profile of the State Fair burger, this sandwich would have a bold salty and sweet combination in addition to the gooey, mild saucing of the egg. Far from a gimmicky novelty item you might dare your friends to eat, this sandwich was gonna be delicious.

And it was. In fact, unlike its burger cousin, it was more delicious in real life than it was in my imagination. I’d wait in line behind a thousand other sweaty fair-goers for this baby. Thankfully, though, I don’t have to. It takes about 5 ingredients and maybe 15 minutes to make your own in the comfort of your kitchen.
So listen, JUST TRUST ME! I know it sounds a little weird. I know it packs a caloric-punch. But I promise it’s an incredible breakfast treat. Pick a special weekend, scope out the “Hot Doughnuts Now” sign at your local Krispy Kreme, and try it for yourself.
What’s your favorite weird indulgence?
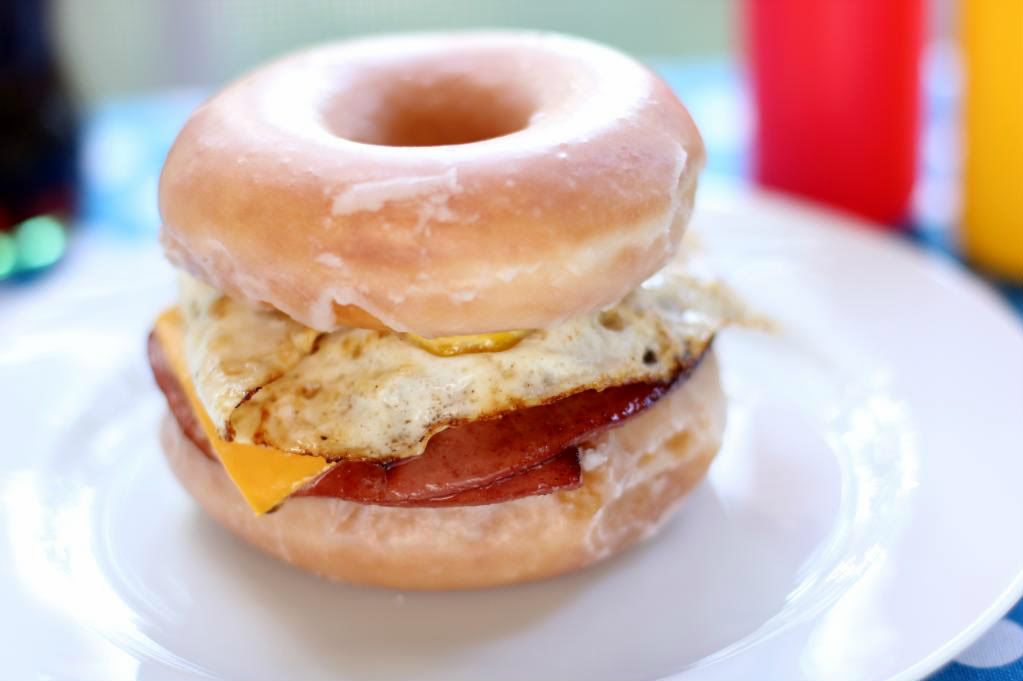
The “Just Trust Me” Fried Bologna Breakfast Doughnutwich
Recipe by: Willow Bird Baking
Yields: 2 doughnutwiches
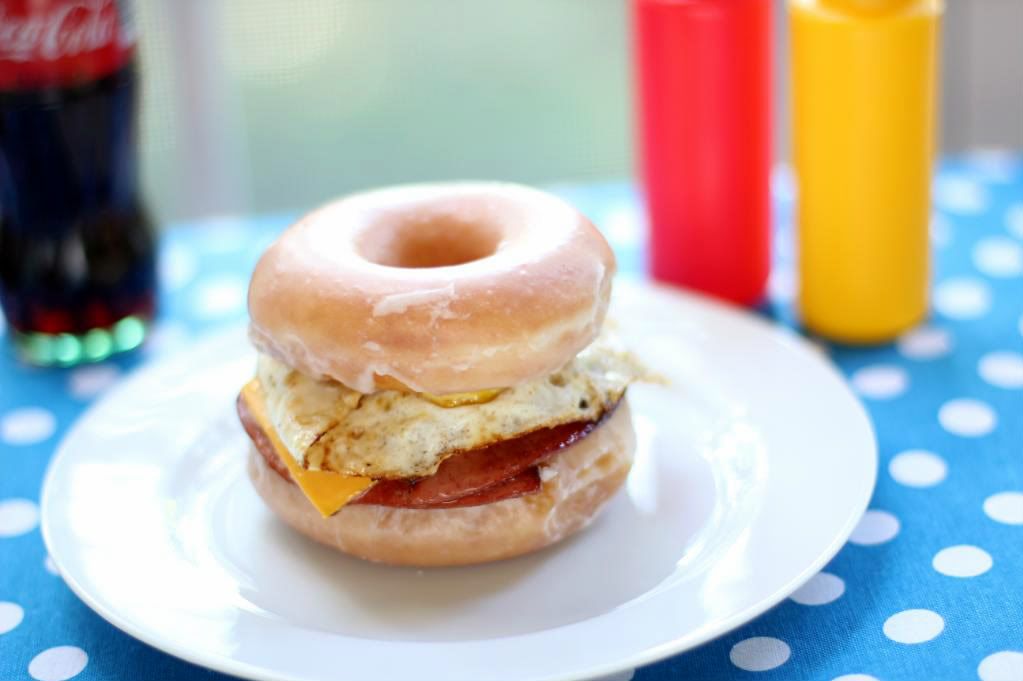
This breakfast “doughnutwich” has the absolute perfect balance of salty and sweet. Pillow-light Krispy Kreme glazed doughnuts act as a bun for savory fried bologna, a slice of cheese, and a gooey fried egg. Make this your new special occasion breakfast. It’s a little out of the ordinary, but so incredible!
Ingredients:
2 eggs
4 Krispy Kreme original glazed doughnuts*
2 tablespoons butter
2 slices bologna
2 slices American cheese
Directions:
Lay 2 doughnuts out on a plate. Cut a slit from the middle of each slice of bologna to the edge (so it won’t curl). Heat a skillet over medium-high heat and melt 1 tablespoon of butter in it. Place the slices of bologna in the frying pan. Laugh at how they start to look like little PacMen. Fry them until they’re browning on one side and then flip them. Add a slice of cheese to the top of each piece of bologna and continue frying until bottom is browned. Place the slices briefly onto a paper towel-lined plate to drain off the excess butter, and then place them onto the 2 waiting doughnuts.
Melt the last tablespoon of butter in your skillet. Break one egg at a time into the pan and fry it to your desired doneness (I’d like to make a pitch for over-easy or -medium, since the gooey yolk is delicious in this sandwich!) Place the fried egg briefly on the paper-towel lined plate to drain off the excess butter, and then place one on top of each slice of bologna and cheese. Top each doughnutwich with another doughnut as the “top bun” and serve immediately.
*Note: Feel squeamish about eating 2 doughnuts in one sitting? Carefully split one in half with a serrated knife to use as your bun. I don’t have this issue myself…!
Edited to add: Oh by the way, someone just asked in the comments if Mike liked it. Of course you’d want to know if it was Mike-approved. I’m happy to report that he loved every bite!
Edited to also add: I didn’t receive any compensation or product from Krispy Kreme — I just love ’em.