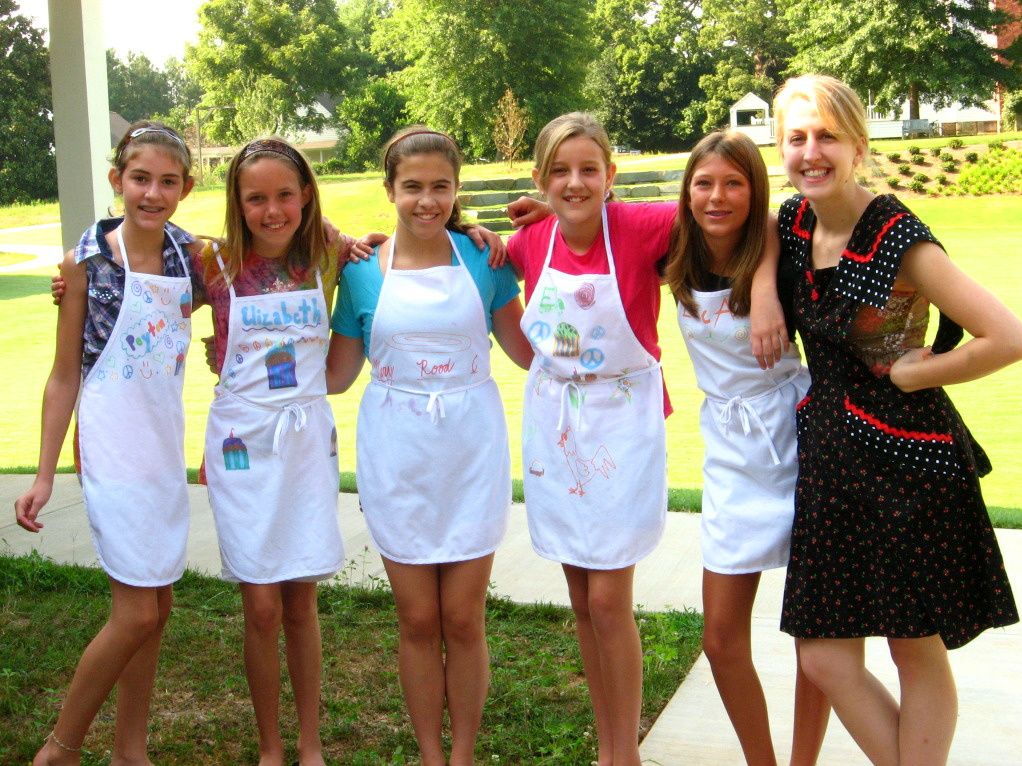
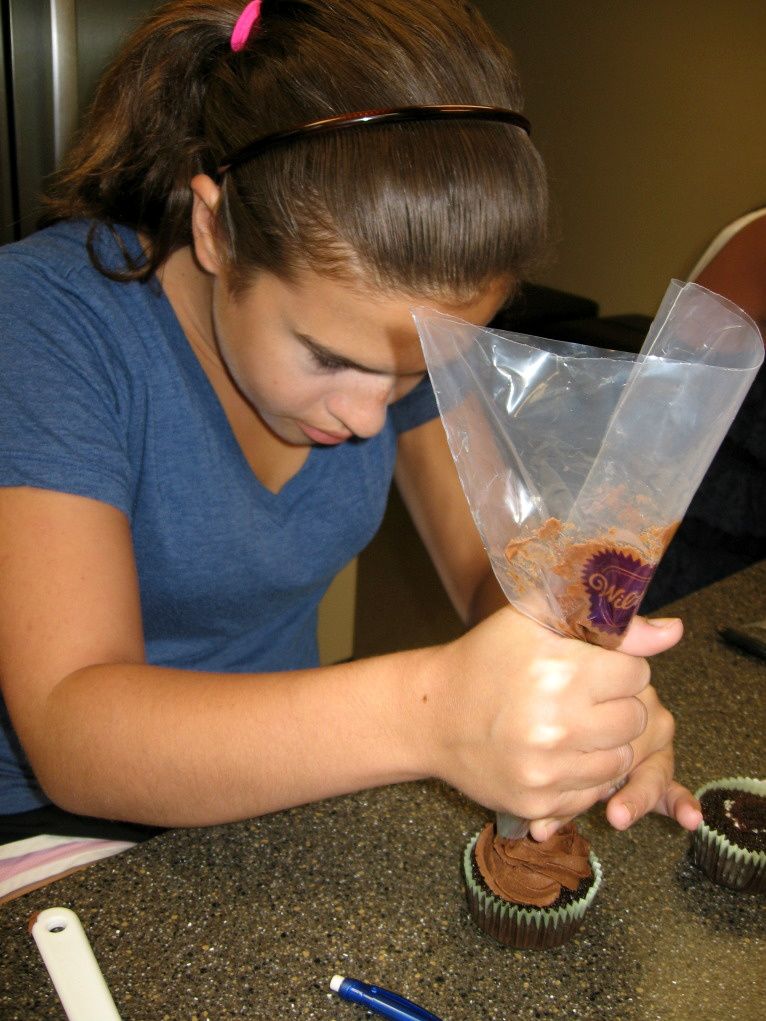
It’s Cupcake Week on Willow Bird Baking! Cupcake Capers was a 5-day summer camp I conducted last week wherein 5 middle school girls learned to bake, fill, and frost cupcakes. We eschewed pedestrian cupcake flavors in favor of creative combinations that I now get to share with you! Every day this week I’ll be posting fun memories and recipes from Cupcake Camp.
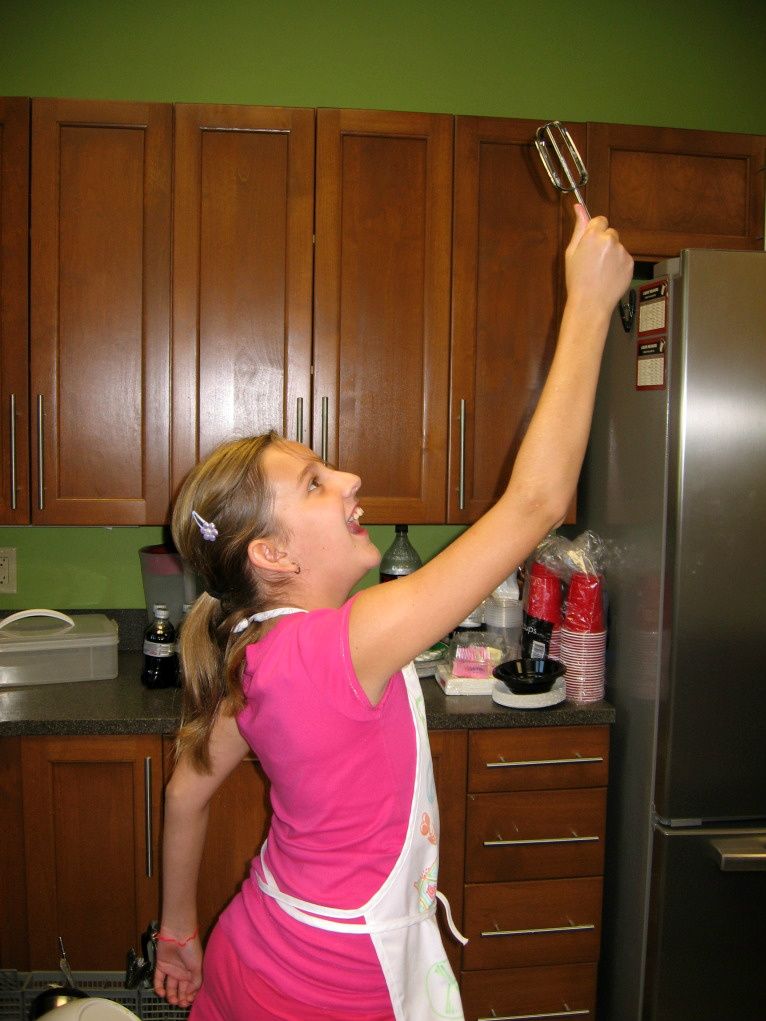
On Day 4 of Cupcake Camp, things got a little silly. I’ve talked before about the moment toward the end of the school year when teachers realize they’ve controlled their classes as long as they can, and that the powder keg of summer frenzy is about to blow. Turns out cupcake camp has that moment, too!
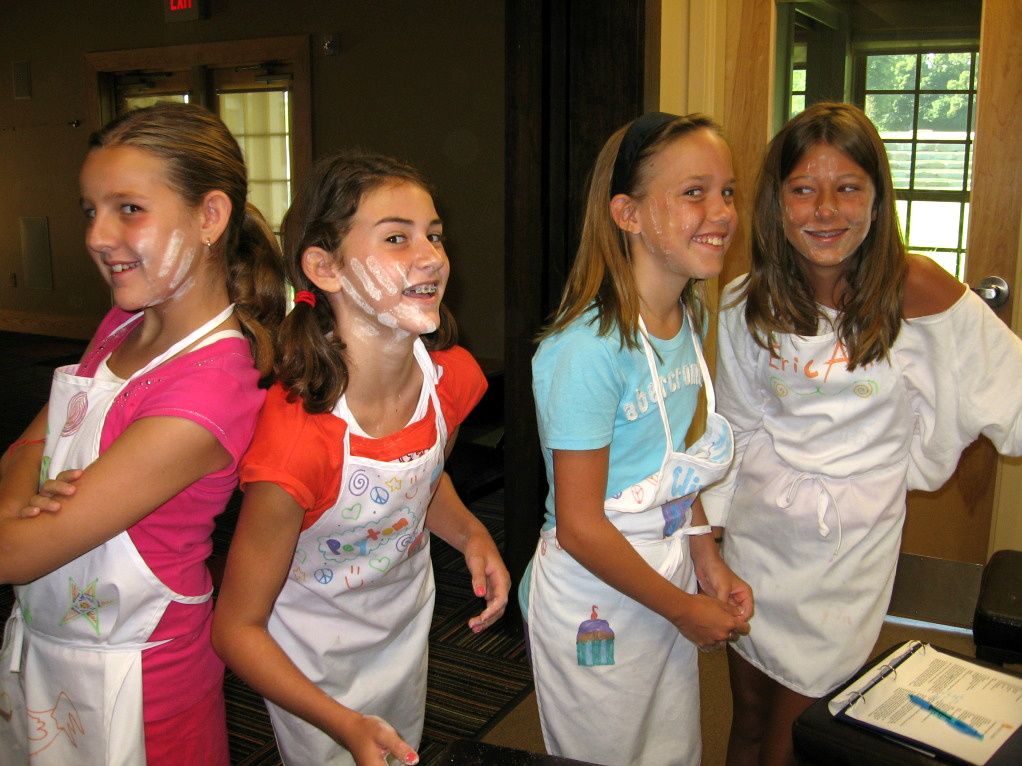
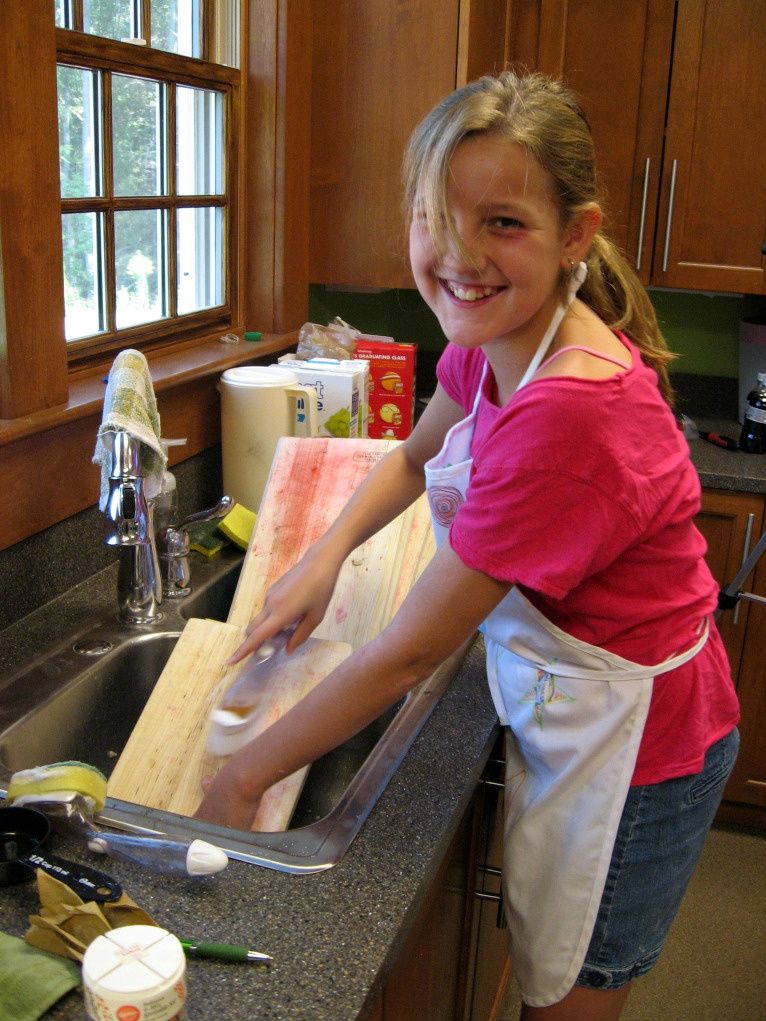
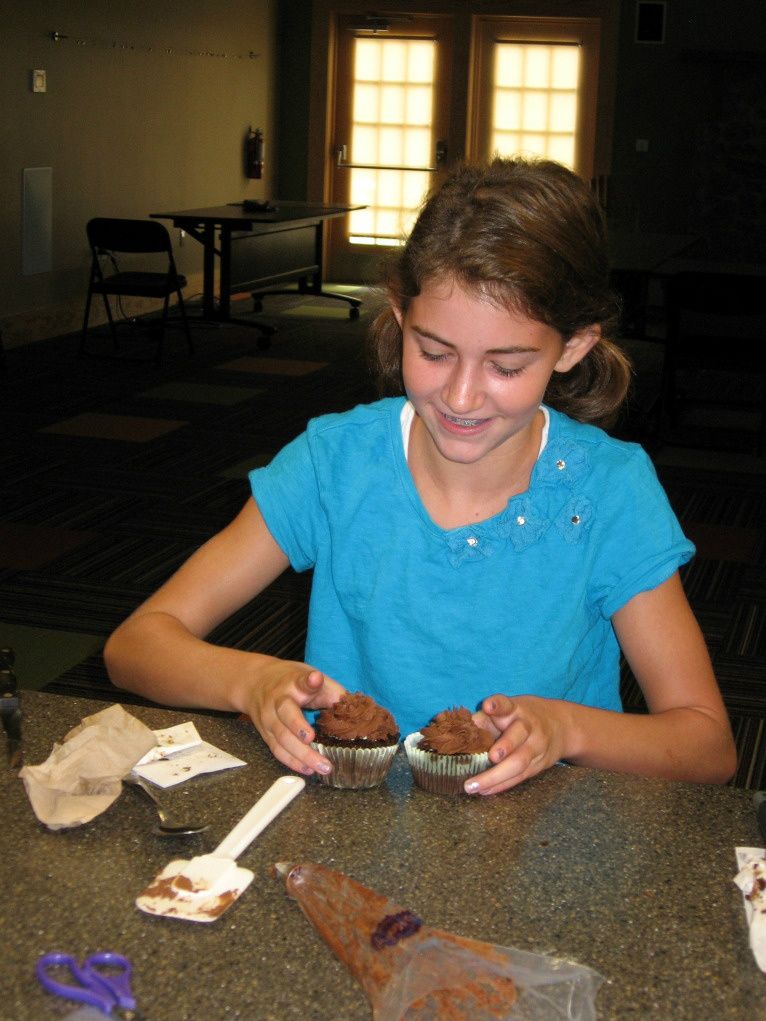
On Day 4, everyone went a little crazy in their own personal ways. Energetic Erica played the Carrot Song until I felt sure I was going to throw a cupcake at someone. Elbow Grease Ella decided she was going to decorate her cupcake with polka dots and then wash every bowl by hand (okay, so her particular method of going crazy happened to be awesome).

Meticulous Mary Rood and I convinced everyone to watch the YouTube video of the sneezing baby panda (no seriously, go watch it). And then there were Pistachio Peyton and Elaborate Elizabeth.
They decided to become architects.
Measuring powdered sugar can get messy. Like, whole-cups-of-powdered-sugar-spilled-on-the-counter messy. Instead of cleaning this up like ordinary children, Pistachio Peyton and Elaborate Elizabeth decided to be extraordinary. They carefully constructed a perfect block of powdered sugar that they then manipulated with a table knife into various shapes and messages. Because, you know, that’s what you do at Cupcake Camp, right?
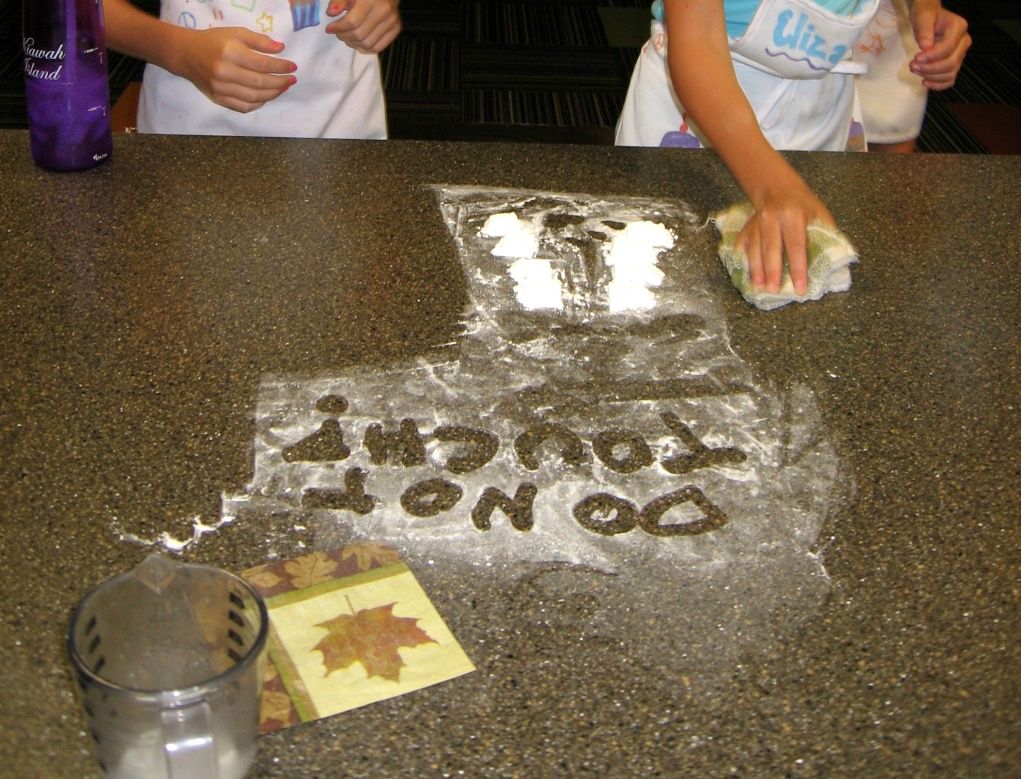
They may have gotten a little territorial.
I finally convinced the girls to clean off the counters despite their insistence that the powdered sugar sculpture should remain as an eternal (ahem) monument to Cupcake Camp. And believe it or not, in between watching crazy YouTube videos and playing with our food, we actually made some cupcakes!
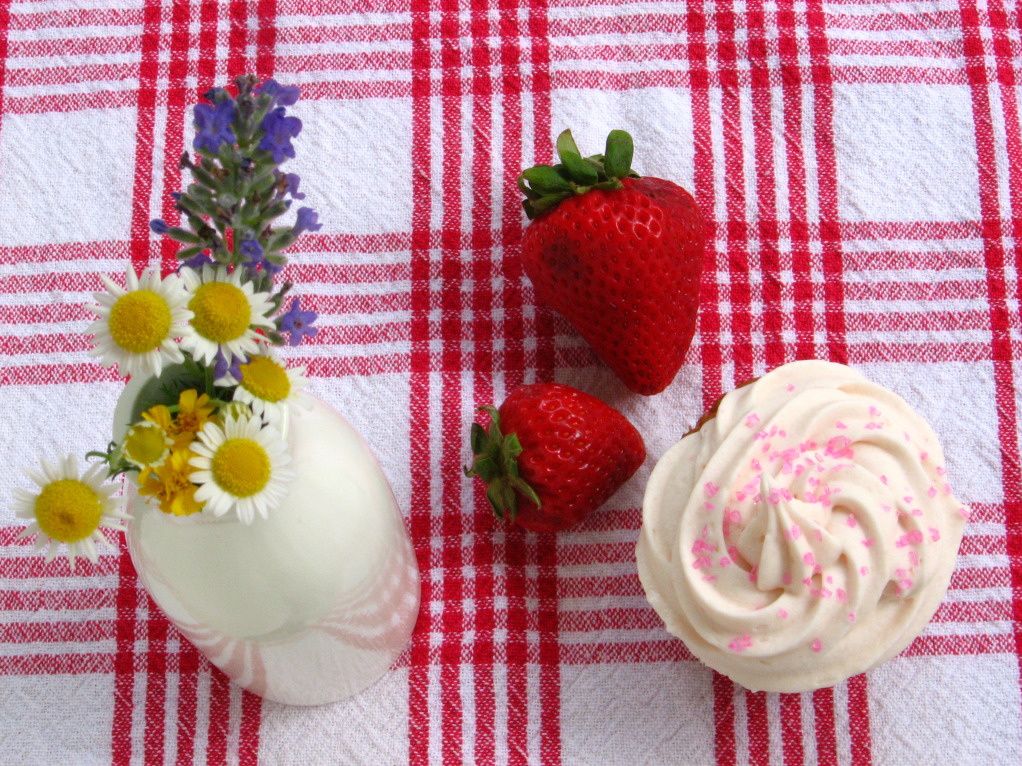
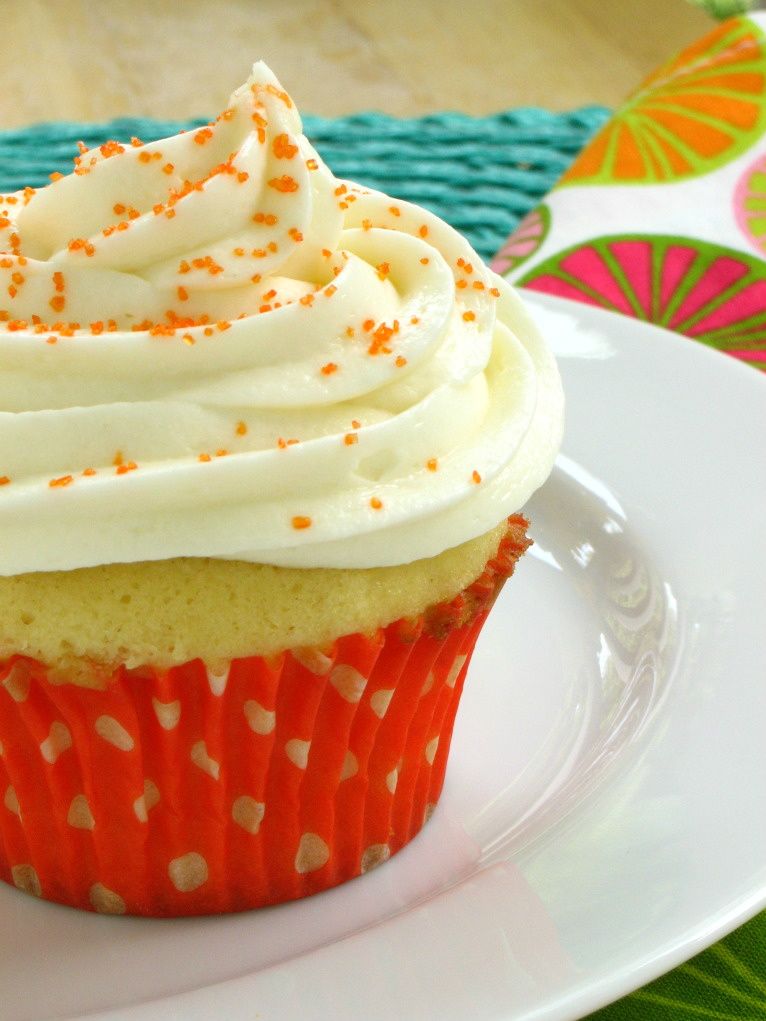
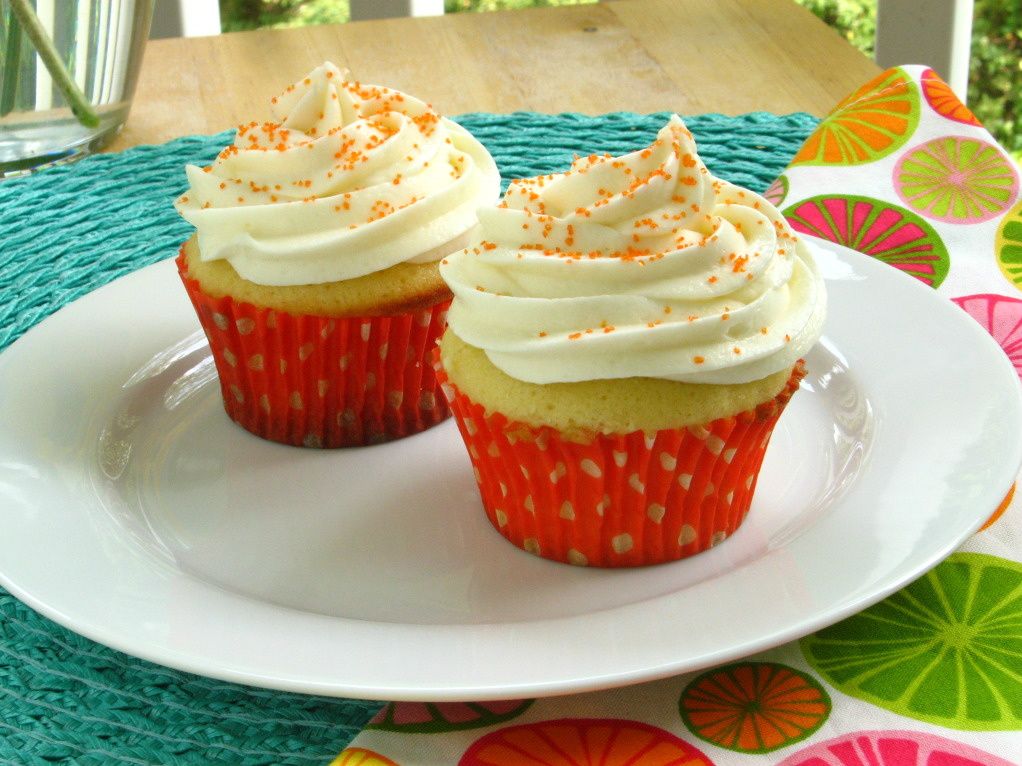
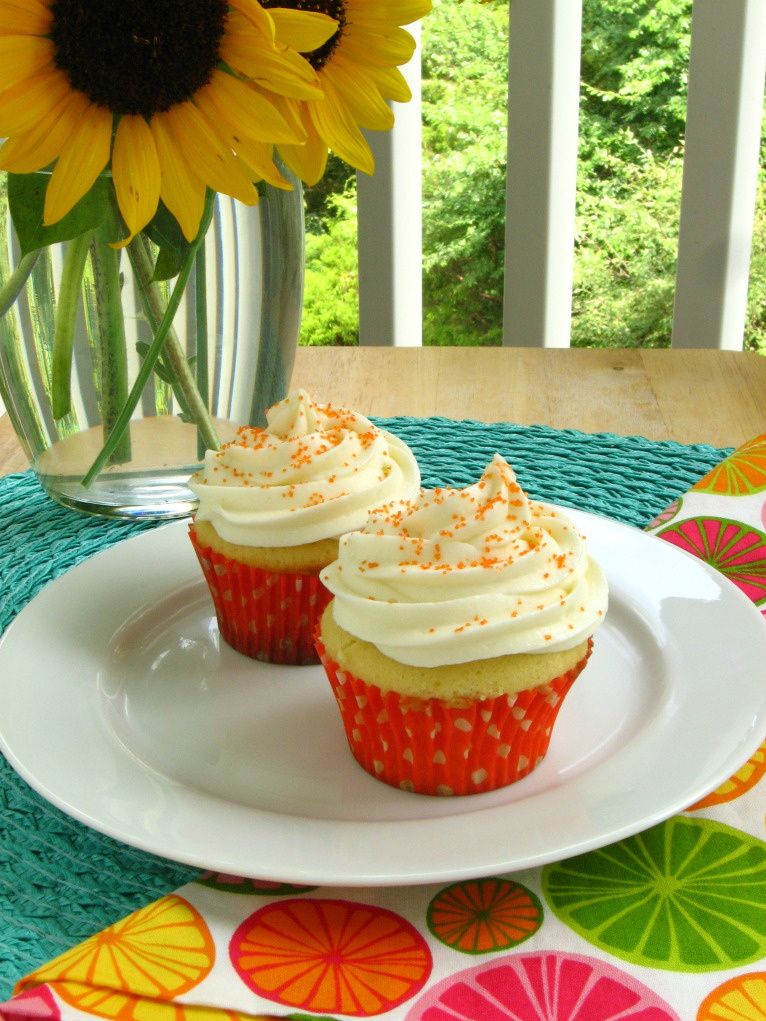
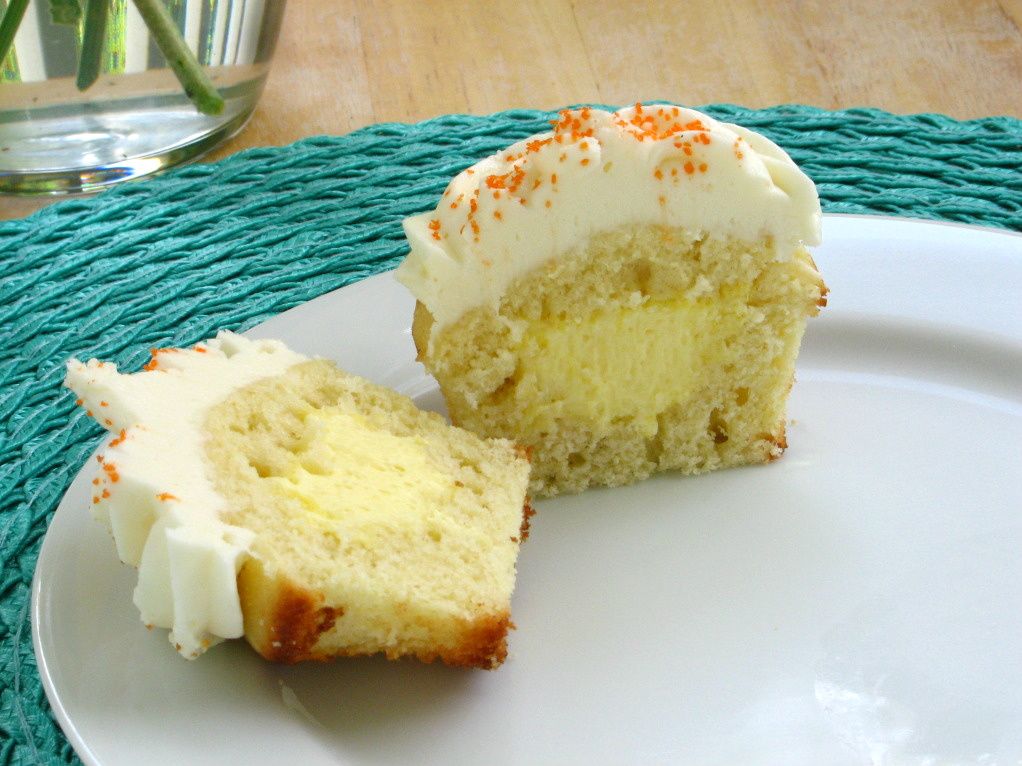
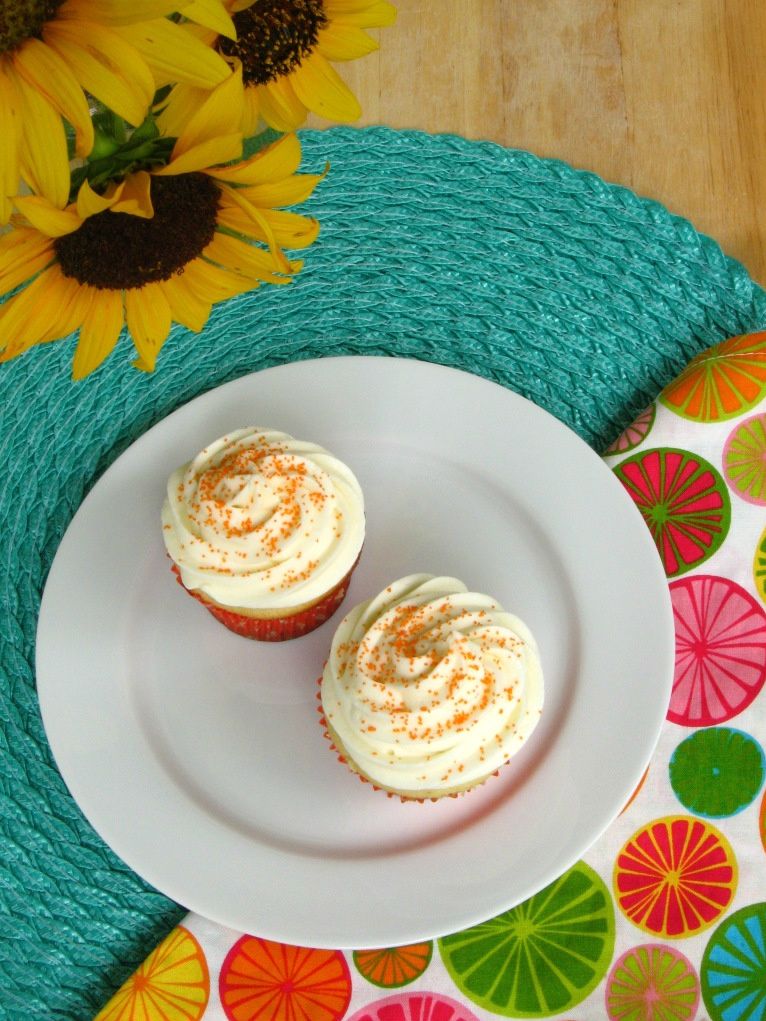
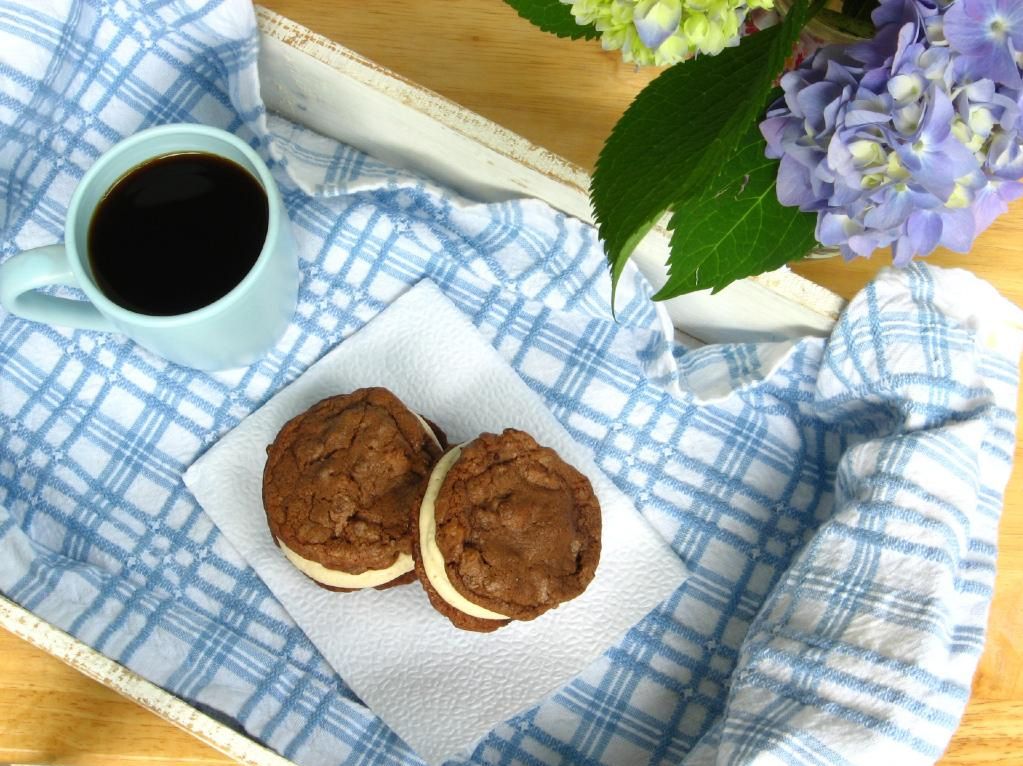
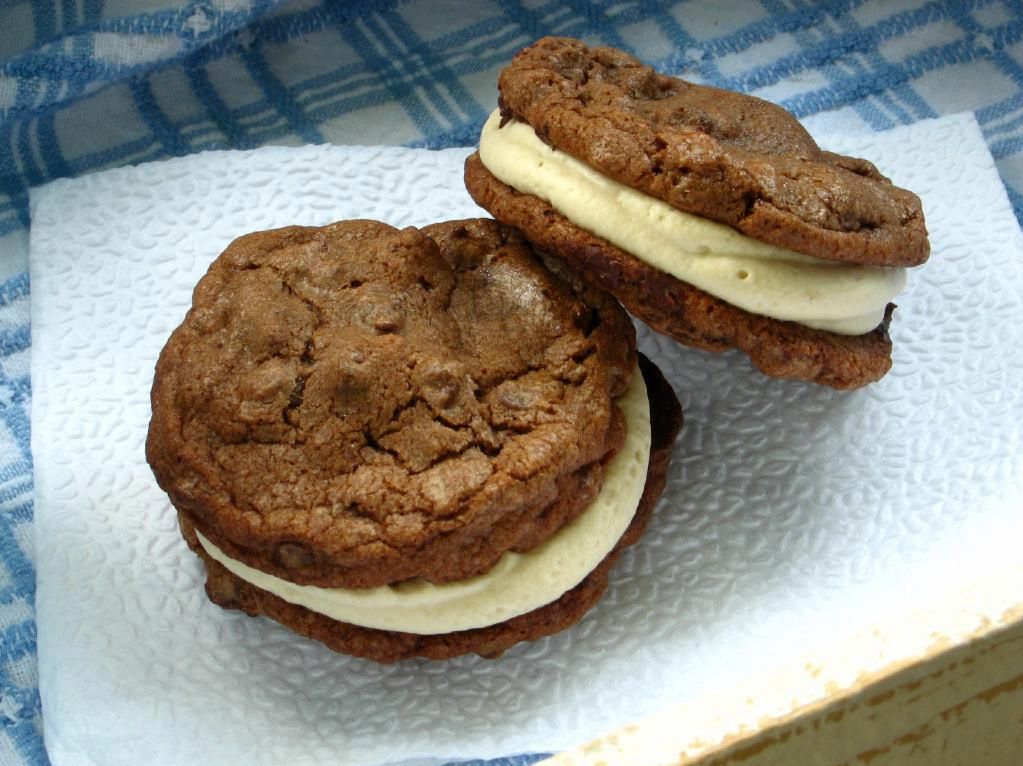
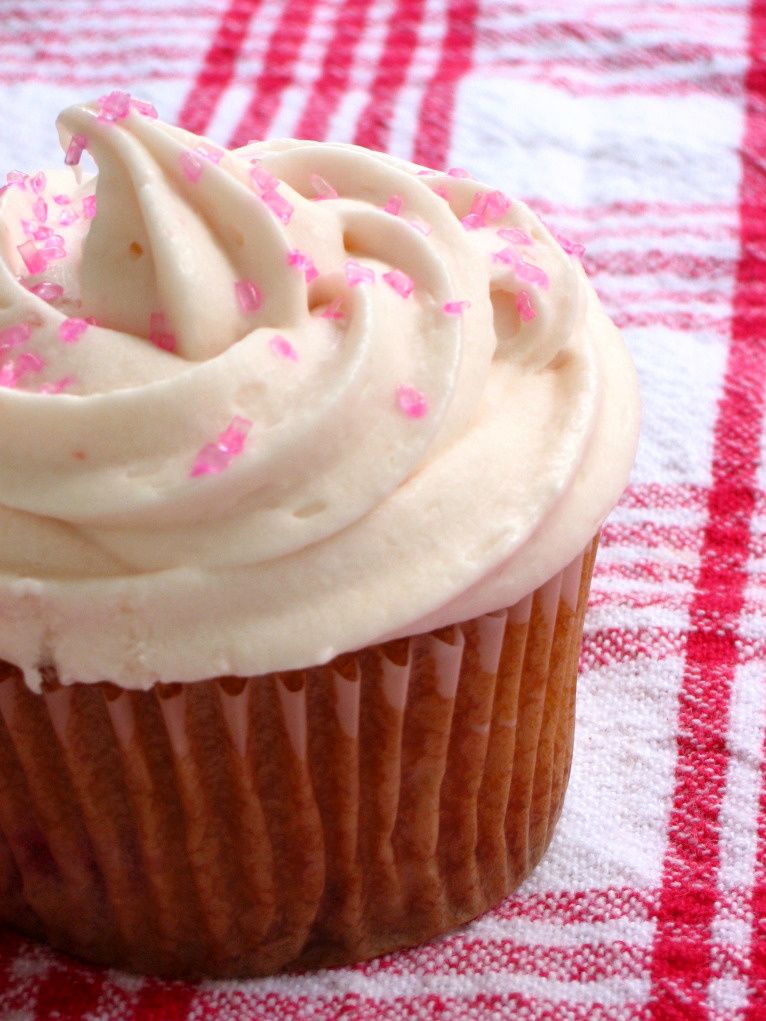
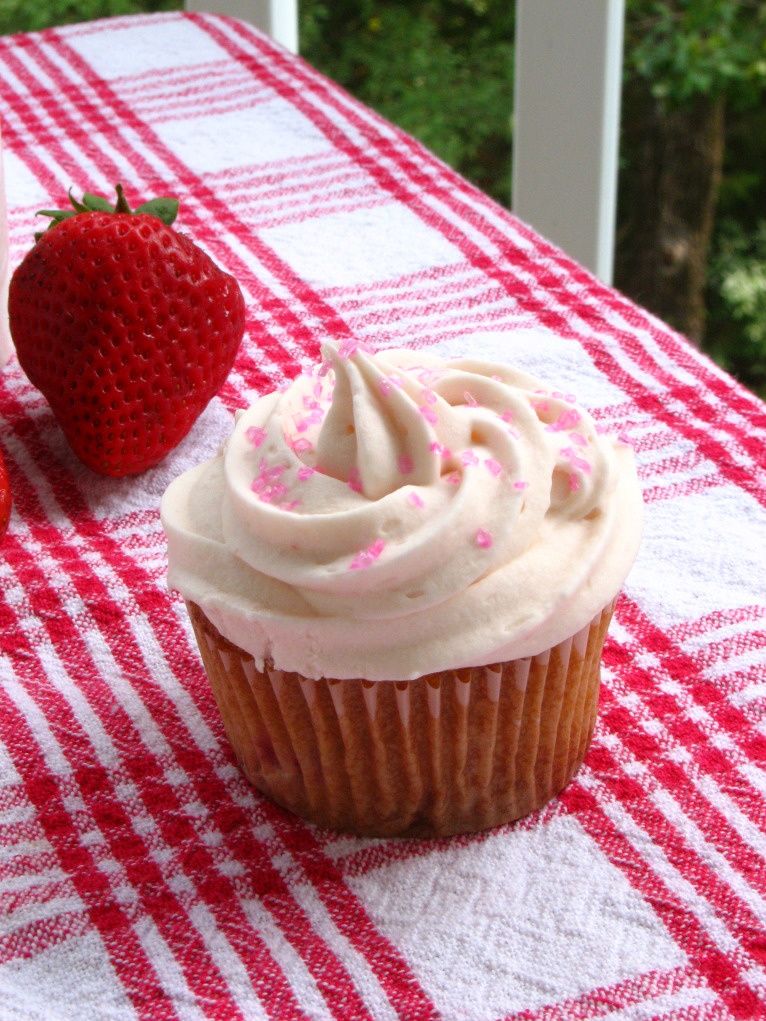
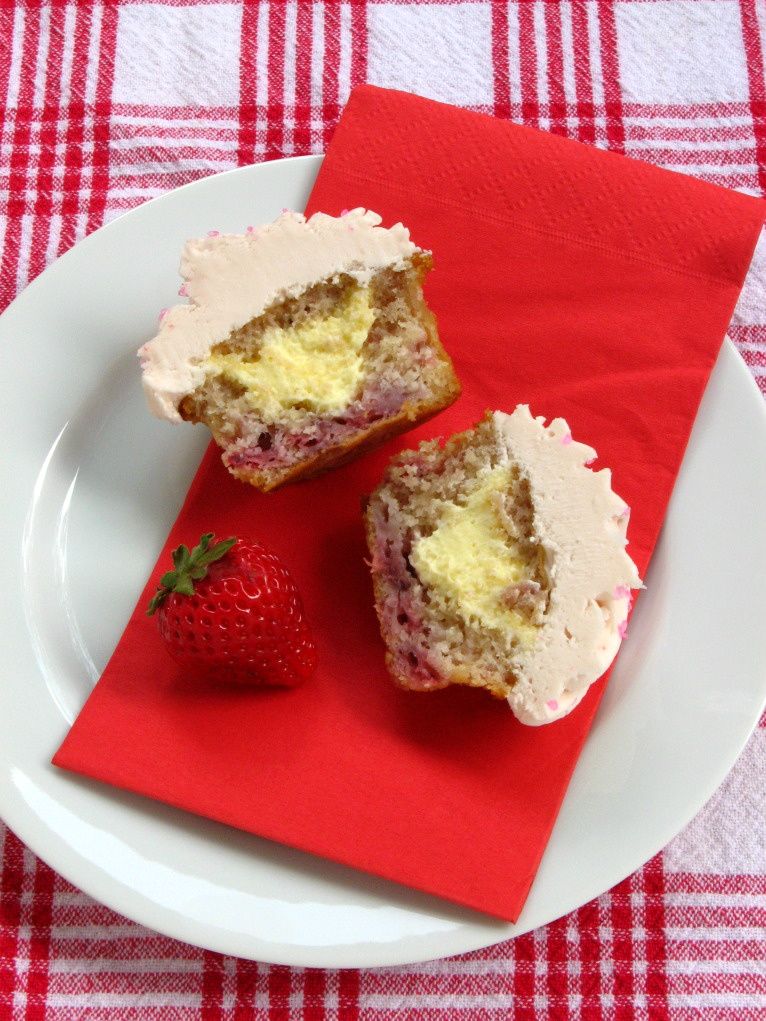
These Strawberry & Cream Cupcakes were the perfect cool, sweet treat for summer. Tender strawberry cakes were filled with easy vanilla mousse and topped with a creamy, delicious strawberry cream cheese frosting. We had leftover cupcakes, too, so can you guess what we did?
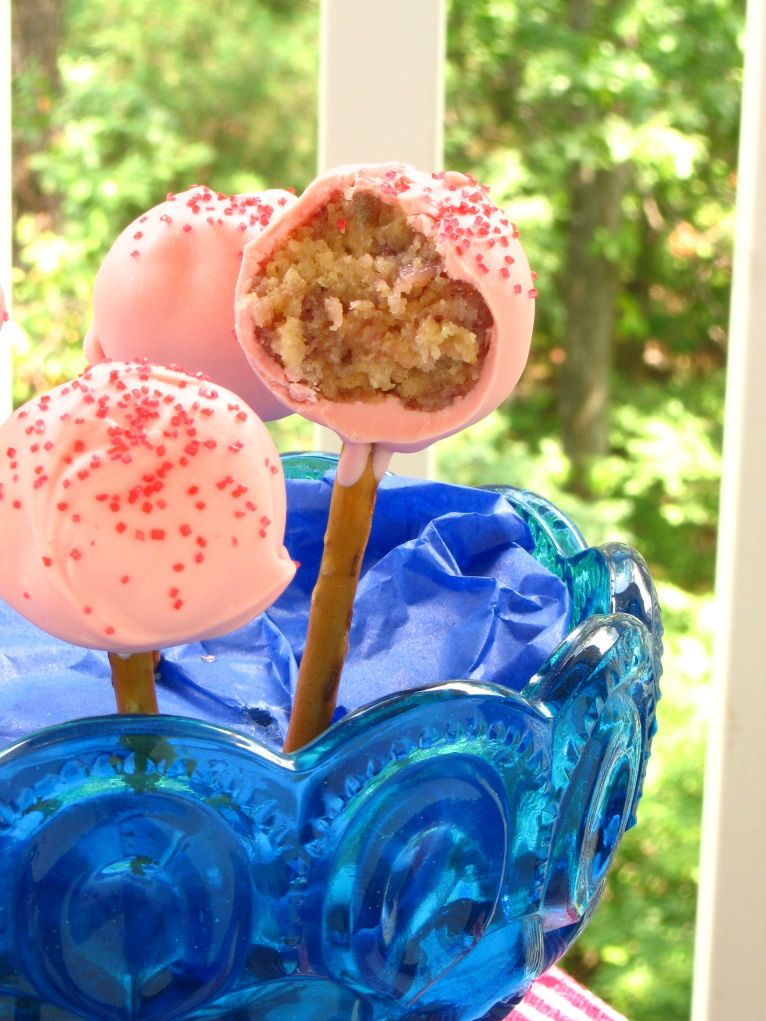
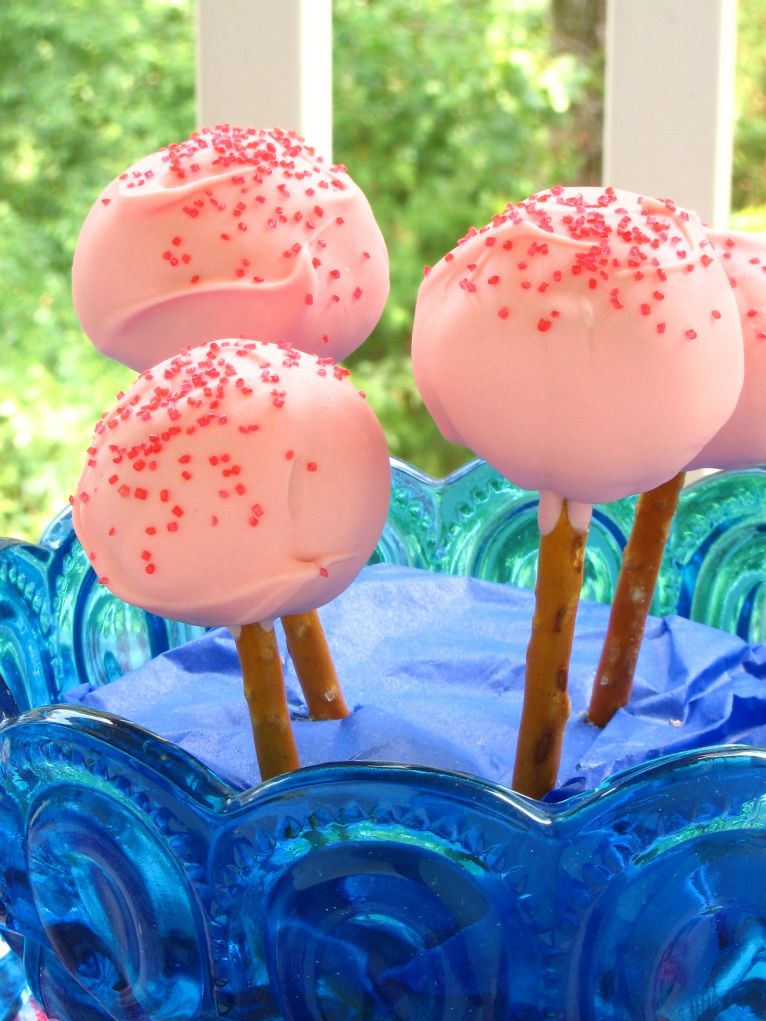
We made cake pops! We crumbled the cupcakes up and mixed them with some of the frosting, rolled them into balls, chilled them overnight, and dipped them in pink candy melts.
If you’ve ever made cake pops, you know that dipping them is the hardest part (see my video tutorial at the bottom of the recipe). I loved watching the girls develop their own dipping techniques as they got the hang of it.
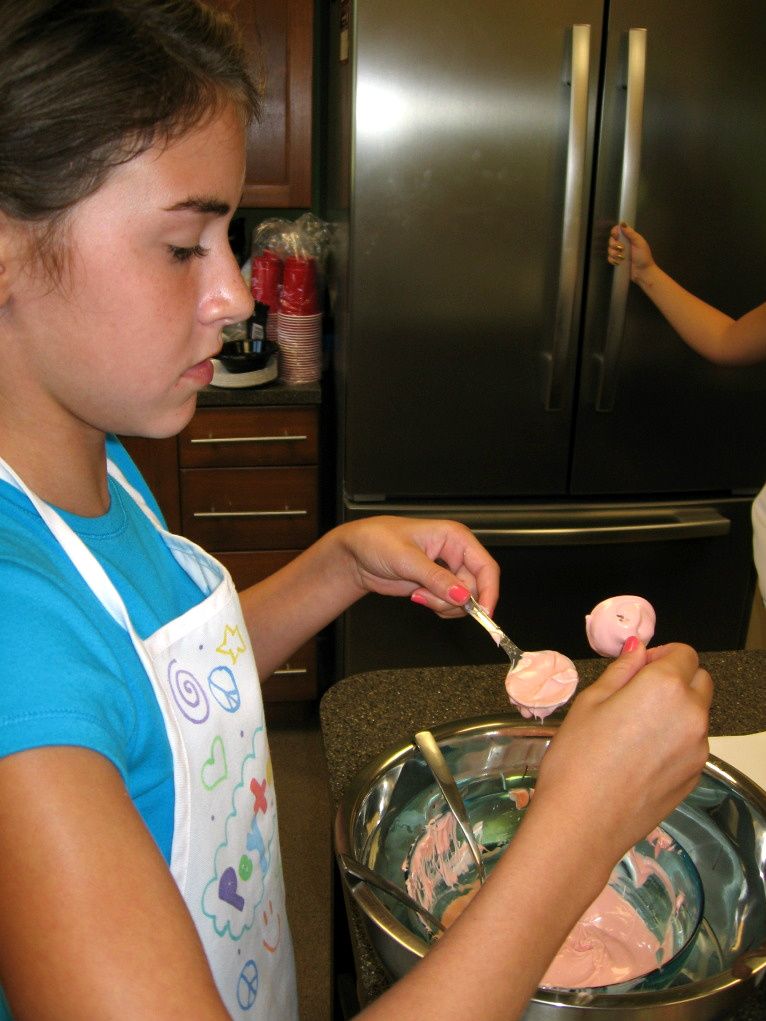
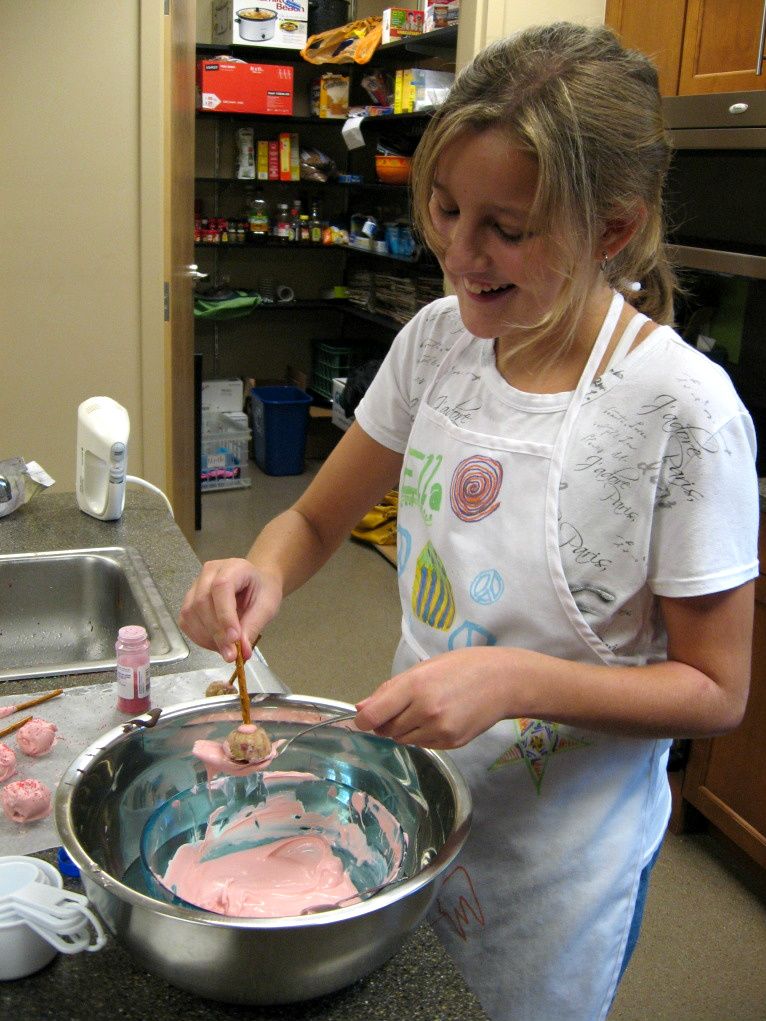
Pistachio Peyton dipped her pops and then rolled them in the spoon to get full coverage. Elbow Grease Ella used the spoon to drizzle candy melts over her cake pop. Elaborate Elizabeth was a pro at turning cake pops into cake balls if they fell off of their pretzel sticks (I love using these instead of lollipop sticks) by draining them on a couple of forks.
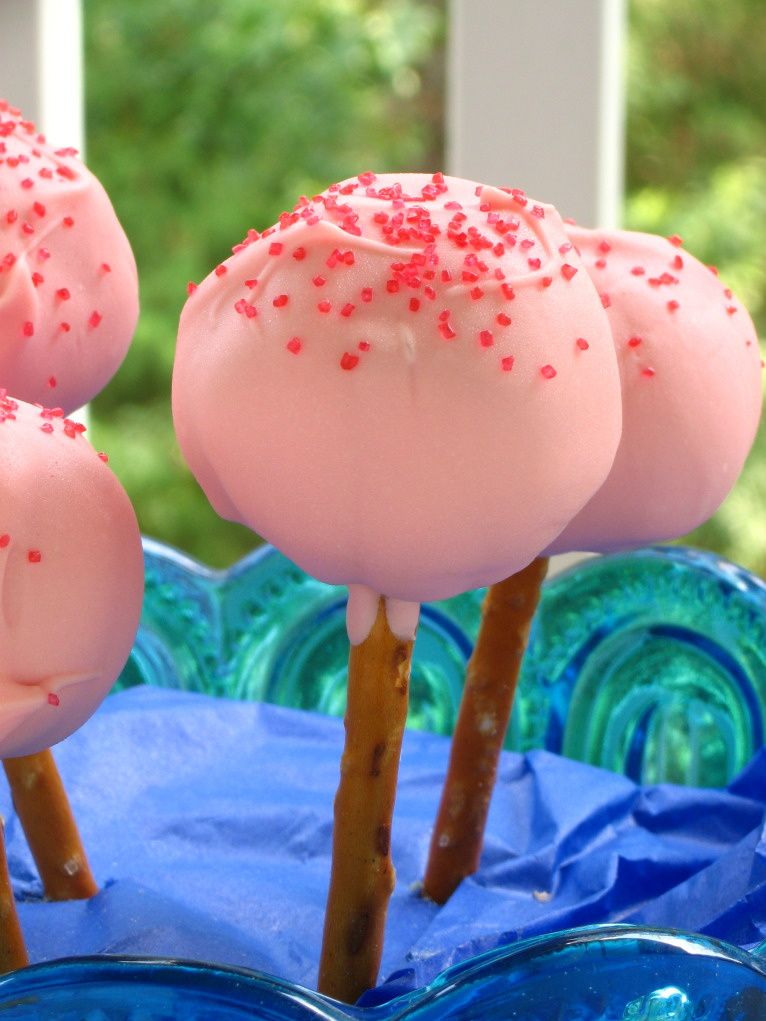
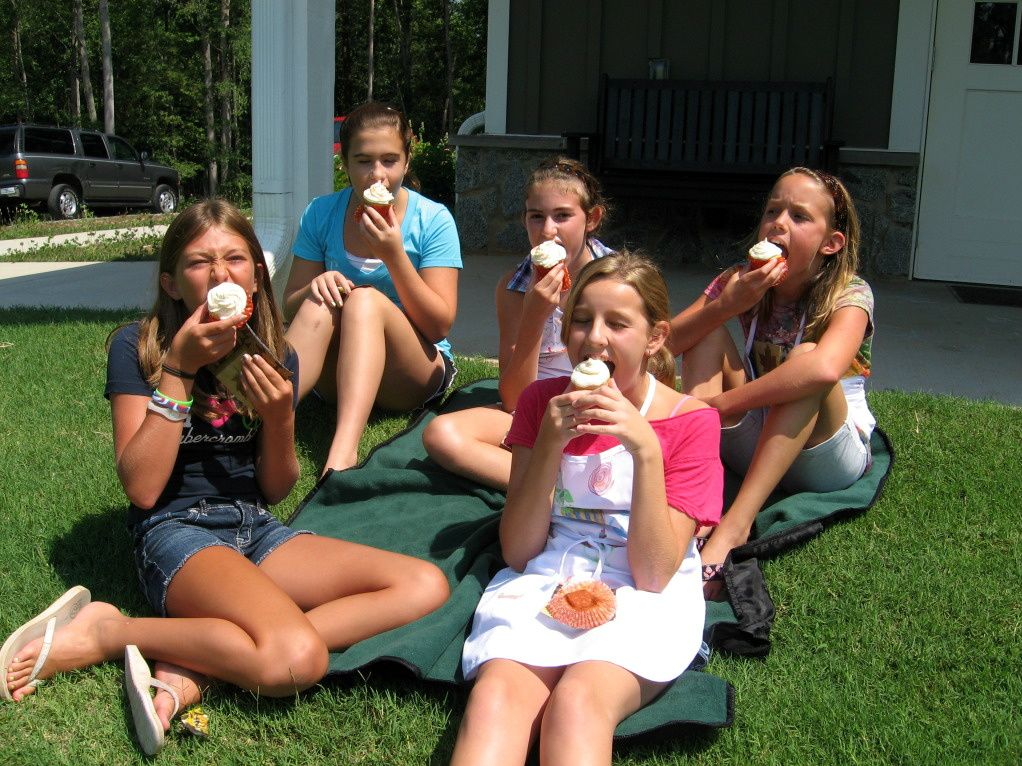
Despite a few inevitable cake pop missteps, the campers all successfully rolled, dipped, and ate! The cake pops were a tasty addition to our cupcake picnic.
With Day 4 complete, the girls dropped off their aprons and recipe notebooks and headed home. I’m pretty sure that I went home and collapsed into a cupcake coma (or maybe just a long nap). One more day left of cupcake camp!
What’s your favorite funny YouTube video?
Strawberry & Cream Cupcakes
Recipe by: adapted from Annie’s Eats
Yields: 18-24 cupcakes
Cupcake Ingredients:
2 ½ cups cake flour
1 teaspoon baking soda
¼ teaspoon salt
½ cup unsalted butter
1 ½ cups sugar
2 eggs
1/3 cup buttermilk
¼ cup oil
1 teaspoon vanilla extract
2 cups chopped strawberries
Vanilla Mousse Filling Ingredients:
1 cup milk
1 cup heavy cream
1 (4 serving) package vanilla Instant Pudding Mix (not Cook & Serve)
Strawberry Cream Cheese Frosting Ingredients:
½ cup strawberries
1 (8-ounce) package cream cheese, at room temperature
1 ½ sticks unsalted butter, at room temperature
4-5 cups powdered sugar, sifted
½ teaspoon lemon juice
1 tablespoon vanilla
pink sanding sugar, if desired
Directions:
*Note: This recipe makes twice as much mousse as you need for filling the cupcakes. If you want to use half the pudding pack and save the rest for later, just measure it out and do so. Or use the extra mousse for another project (you know, like eating it with a spoon).
Make cupcakes: Line two muffin tins with paper liners. Preheat oven to 350°F. Onto a sheet of parchment or wax paper, sift flour, salt and baking soda. Set aside. In a large bowl, cream butter and sugar until light, fluffy, and pale yellow (several minutes). Add eggs one at a time, mixing after each. Scrape down the sides of the bowl as needed. Mix in buttermilk, oil and vanilla. Pick up both ends of the parchment/wax paper and use it to add dry ingredients into the bowl and stir until just combined. Fold in the chopped strawberries (you could toss these with a few tablespoons of the dry ingredients first, if you were worried about them sinking to the bottom).
Fill each liner about 3/4 full of batter and bake for 15-20 minutes, or until a toothpick inserted into the center of several cupcakes comes out with just moist crumbs. Let cool completely.
Make mousse: To make the vanilla mousse, combine milk, cream, and pudding mix in a medium bowl. Beat with a mixer until you reach soft peaks, or a thick whipped cream consistency (this takes a few minutes). Refrigerate mousse until you’re ready to use it.
Make frosting: To make the frosting, puree the strawberries in food processor and then strain them through a fine mesh sieve to remove the seeds. In a separate bowl, beat the cream cheese and butter until fluffy and smooth before adding the lemon juice, vanilla, and sugar (start on the low side with the sugar and add more until the frosting reaches your desired consistency). Add the amount of puree needed to achieve your desired consistency and color (I do this before I’ve added all the sugar, so I can adjust both as needed). This is a loose frosting and benefits from sitting in the fridge for awhile after you make it with a damp cloth covering it.
Assemble cupcakes: To fill the cupcakes, use the Cone Method: cut an upside-down cone out of the top of each one. Cut off the tip of the cone (and eat it, if you wish) leaving just the “lid.” Fill the cavity with mousse using a piping bag or zip-top bag with the corner cut off, and then replace the “lid” to give you a relatively smooth surface to frost. Use a piping bag or zip-top bag to pipe on the frosting. Dust with pink sanding sugar if you wish.
Strawberry & Cream Cake Pops
Recipe by: adapted from Annie’s Eats
Yields: probably around 40-50 cake pops
Cupcake Ingredients:
2 ½ cups cake flour
1 teaspoon baking soda
¼ teaspoon salt
½ cup unsalted butter
1 ½ cups sugar
2 eggs
1/3 cup buttermilk
¼ cup oil
1 teaspoon vanilla extract
2 cups chopped strawberries
Strawberry Cream Cheese Frosting Ingredients:
1/4 cup strawberries
4 ounces cream cheese, at room temperature
6 tablespoons unsalted butter, at room temperature
2-2 1/2 cups powdered sugar, sifted
1/4 teaspoon lemon juice
1 1/2 teaspoons vanilla
Other Cake Pop Ingredients:
pretzel sticks
pink candy melts or candy bark
sprinkles or pink sanding sugar, if desired
Directions:
*NOTE: We made our cake pops with leftover cupcakes, so I’m printing instructions for making them with cupcakes here. I’m not sure how this recipe would work if you tried baking this as a cake to save liners, so I don’t want to recommend that, but let me know if you try it.
Make cupcakes: Line two muffin tins with paper liners. Preheat oven to 350°F. Onto a sheet of parchment or wax paper, sift flour, salt and baking soda. Set aside. In a large bowl, cream butter and sugar until light, fluffy, and pale yellow (several minutes). Add eggs one at a time, mixing after each. Scrape down the sides of the bowl as needed. Mix in buttermilk, oil and vanilla. Pick up both ends of the parchment/wax paper and use it to add dry ingredients into the bowl and stir until just combined. Fold in the chopped strawberries (you could toss these with a few tablespoons of the dry ingredients first, if you were worried about them sinking to the bottom).
Fill each liner about 3/4 full of batter and bake for 15-20 minutes, or until a toothpick inserted into the center of several cupcakes comes out with just moist crumbs. Let cool completely, and then crumble your cupcakes into a large bowl. Set aside.
Make frosting: To make the frosting, puree the strawberries in food processor and then strain them through a fine mesh sieve to remove the seeds. In a separate bowl, beat the cream cheese and butter until fluffy and smooth before adding the lemon juice, vanilla, and sugar (start on the low side with the sugar and add more until the frosting reaches your desired consistency). Add the amount of puree needed to achieve your desired consistency and color (I do this before I’ve added all the sugar, so I can adjust both as needed).
Make cake balls: Mix about 3/4 cup of frosting into your crumbled cake, adding more frosting if the mixture is still too crumbly. You want it to reach a sort of stiff play-dough texture so you can shape it into balls. Prepare a sheet pan with a sheet of wax paper on it. Shape your banana mixture into balls and line them on the wax paper. Chill these in the refrigerator overnight. I don’t freeze mine like some sites suggest, because I find chilling them in the fridge instead reduces cracking after I dip them.
Mount and dip cake balls: After cake balls have chilled overnight, melt your candy melts or chocolate bark according to the package directions. I keep my bowl of candy melts situated in a bigger bowl of hot water to keep them warm and fluid, but be careful no water gets into the melts! To mount each cake ball, take a pretzel stick and dip the end in candy melts. Gently but firmly push the end of the pretzel stick into the cake ball. Put these back on their silicone mat or wax paper to chill. Repeat until all cake balls are mounted and chill for about 30 minutes.
After chilling, you’re ready to dip! Dip each cake ball into the candy melts, using a spoon to help coat them. After dipping, hold your cake ball over the bowl and gently bounce to drain the excess off. Turn the pop as you drain. When well-drained, sprinkle some sprinkles on top and gently place the pop in a foam block to continue drying. I placed mine in the fridge to reduce drying time. Once they’re dry, you’re ready to eat them! These keep great in an airtight container in the fridge.
Never made cake pops before? I made this video tutorial to show you some techniques involved.
All Cupcake Week Recipes:
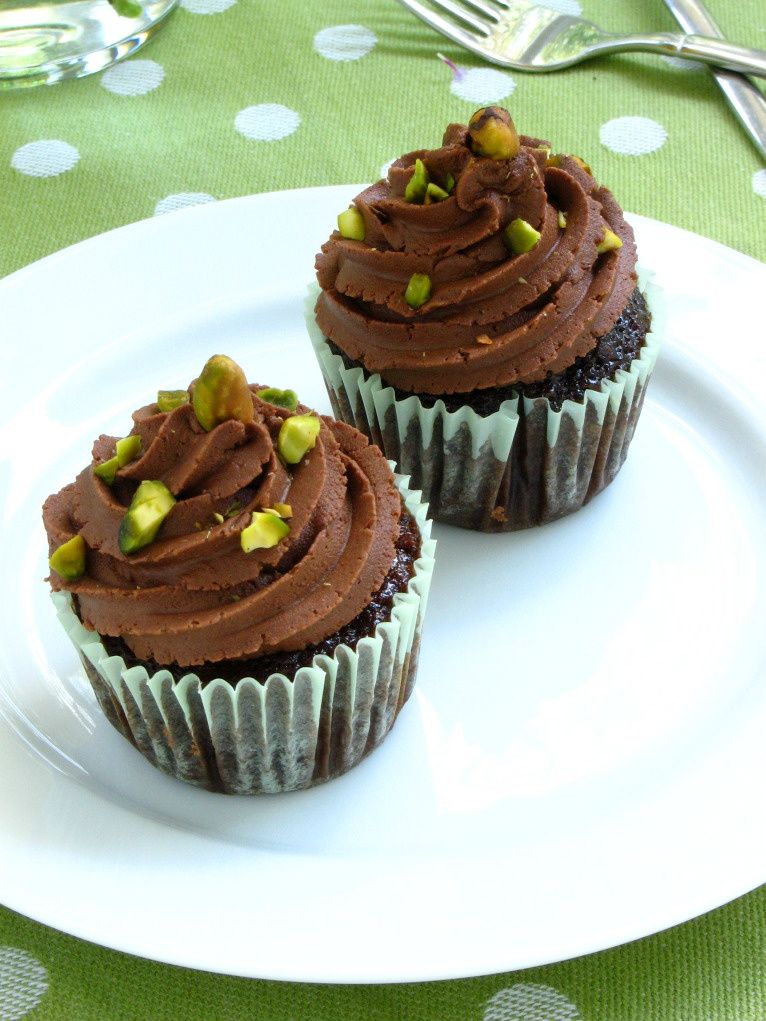
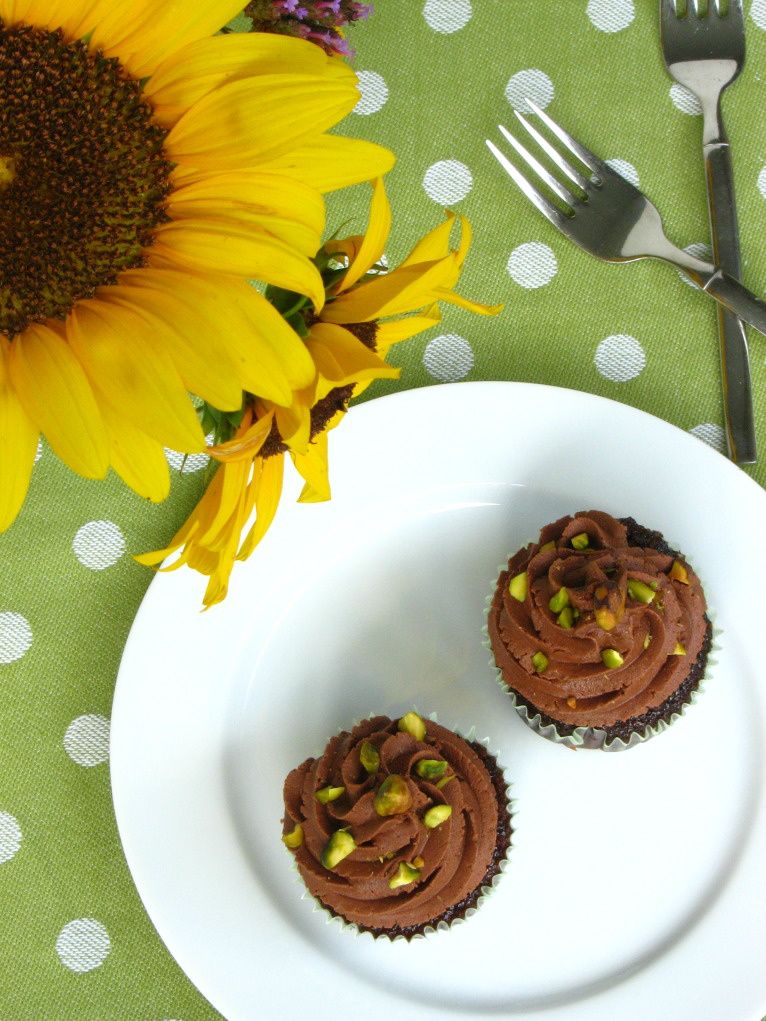
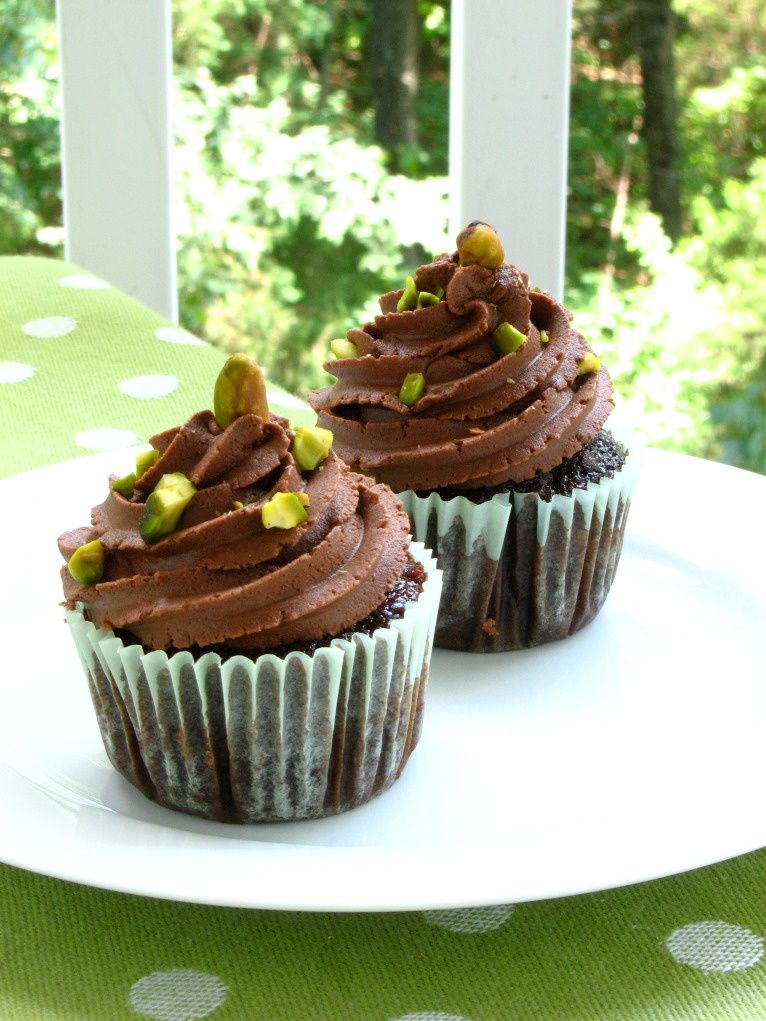
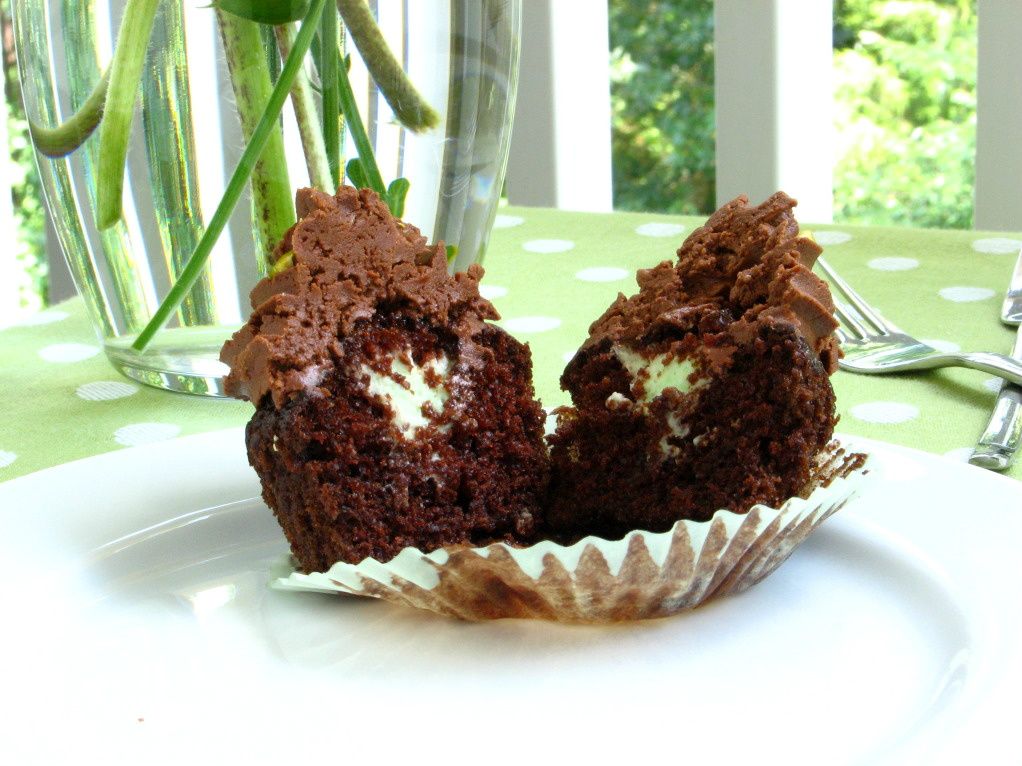
Day One: Chocolate Pistachio Cream Cupcakes
Day Two: Banana Split Cupcakes and Cake Pops
Day Three: Creamsicle Cupcakes
Day Four: Strawberry & Cream Cupcakes and Cake Pops
Day Five: Apple Cinnamon Cream Cupcakes
If you liked this post, please:
–Subscribe to Willow Bird Baking
–Follow Willow Bird Baking on Twitter
–Follow Willow Bird Baking on Facebook
–Give this post a thumbs up on StumbleUpon