decorations

Apple Cinnamon Cream Cupcakes: NOT Back-to-School Cupcakes!

It’s Cupcake Week on Willow Bird Baking! Cupcake Capers was a 5-day summer camp I conducted last week wherein 5 middle school girls learned to bake, fill, and frost cupcakes. We eschewed pedestrian cupcake flavors in favor of creative combinations that I now get to share with you! Every day this week I’ve been posting fun memories and recipes from Cupcake Camp.


No really, they’re not Back-to-School Cupcakes.

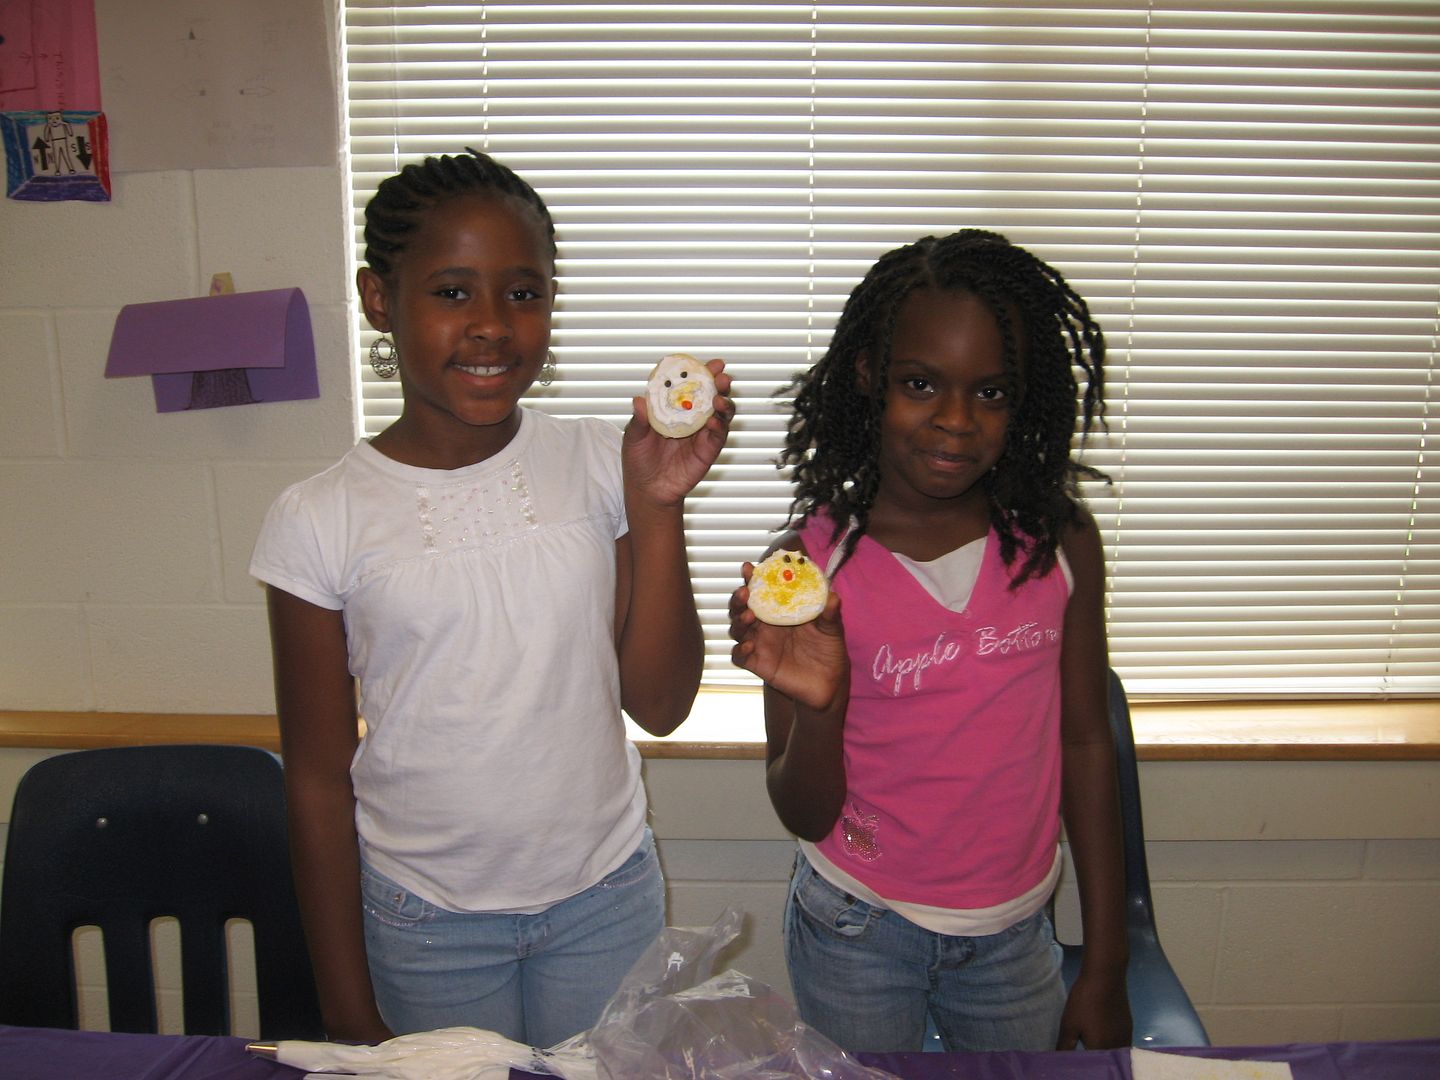
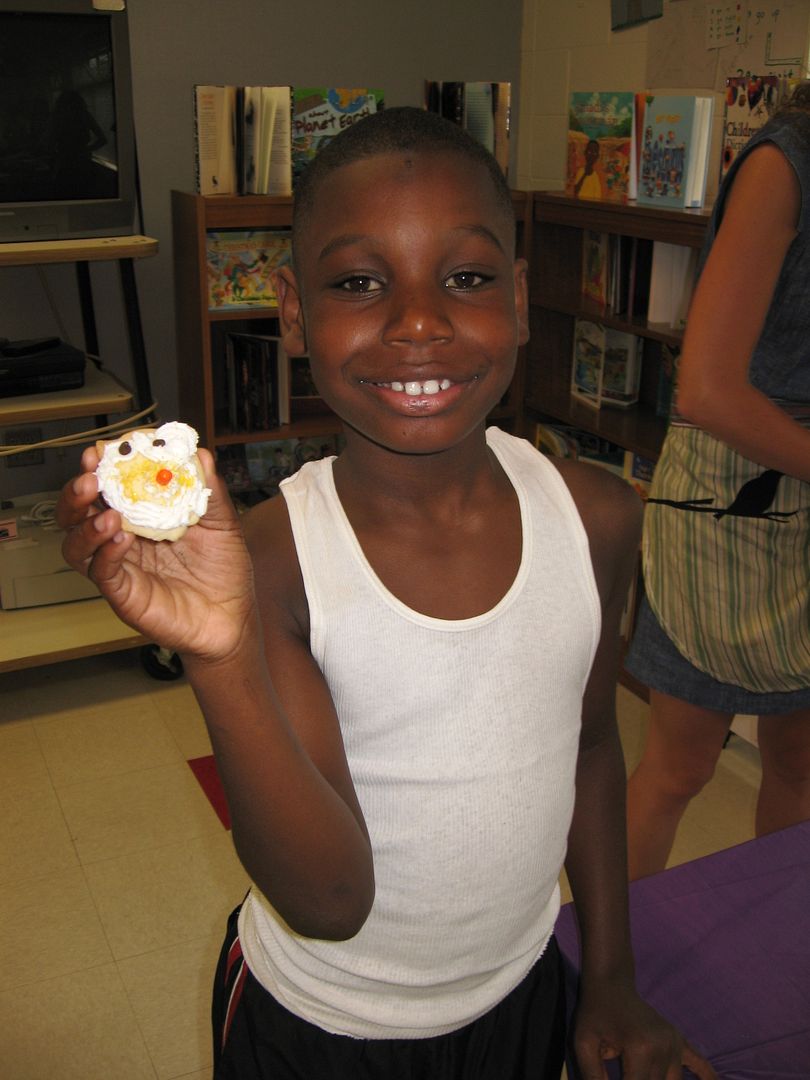
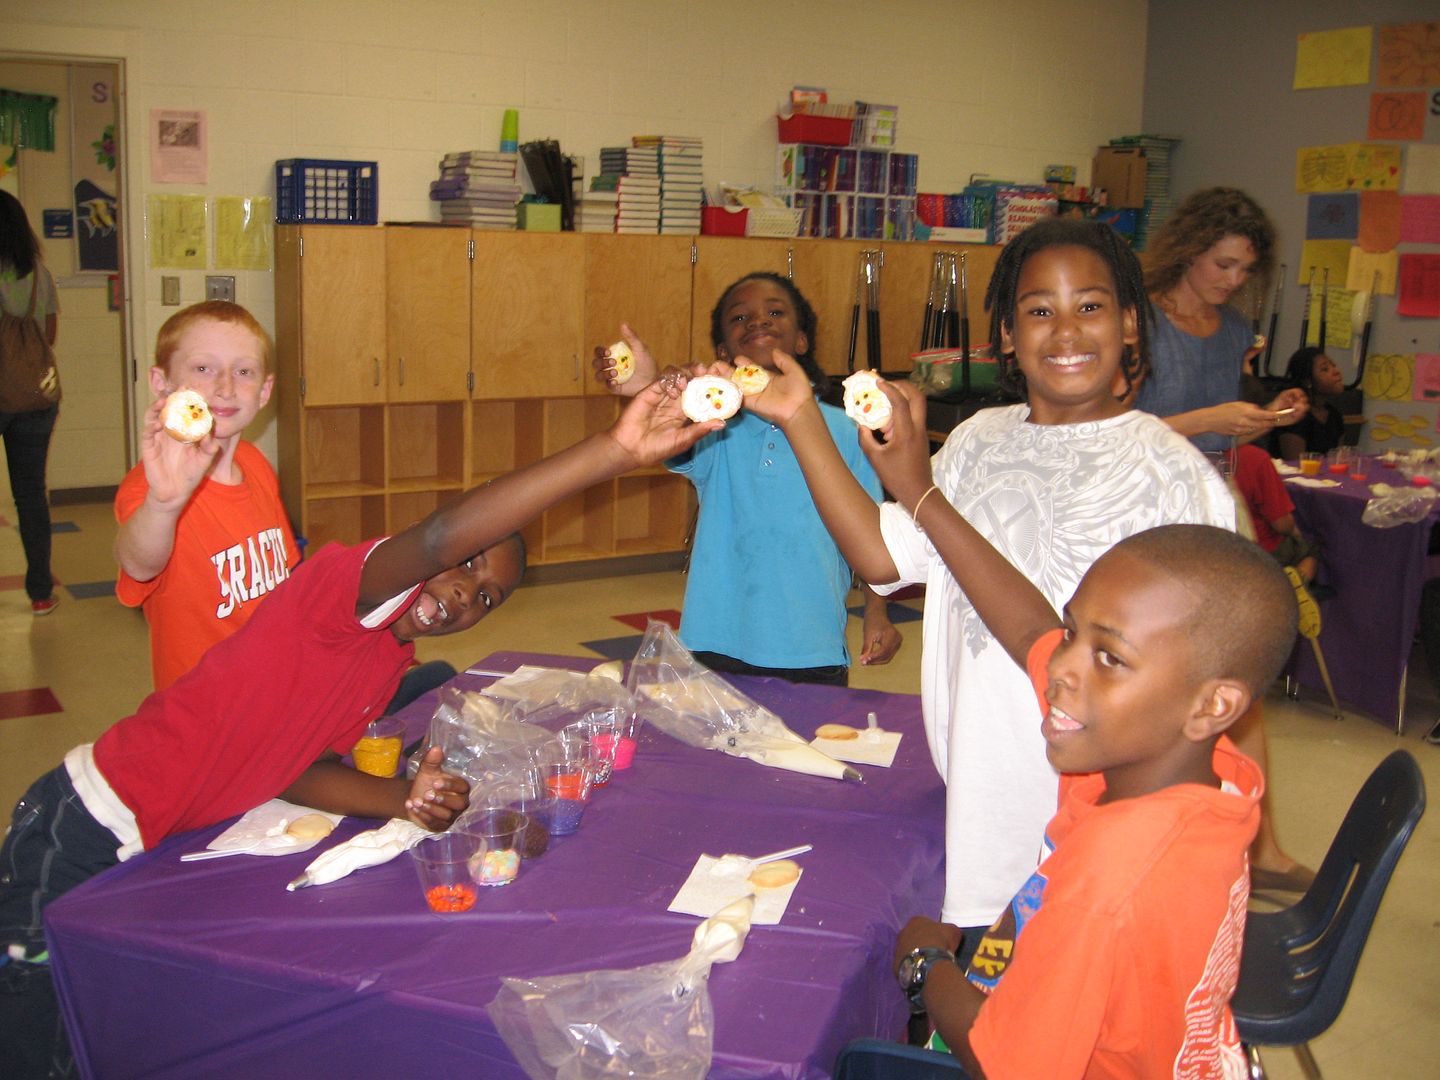
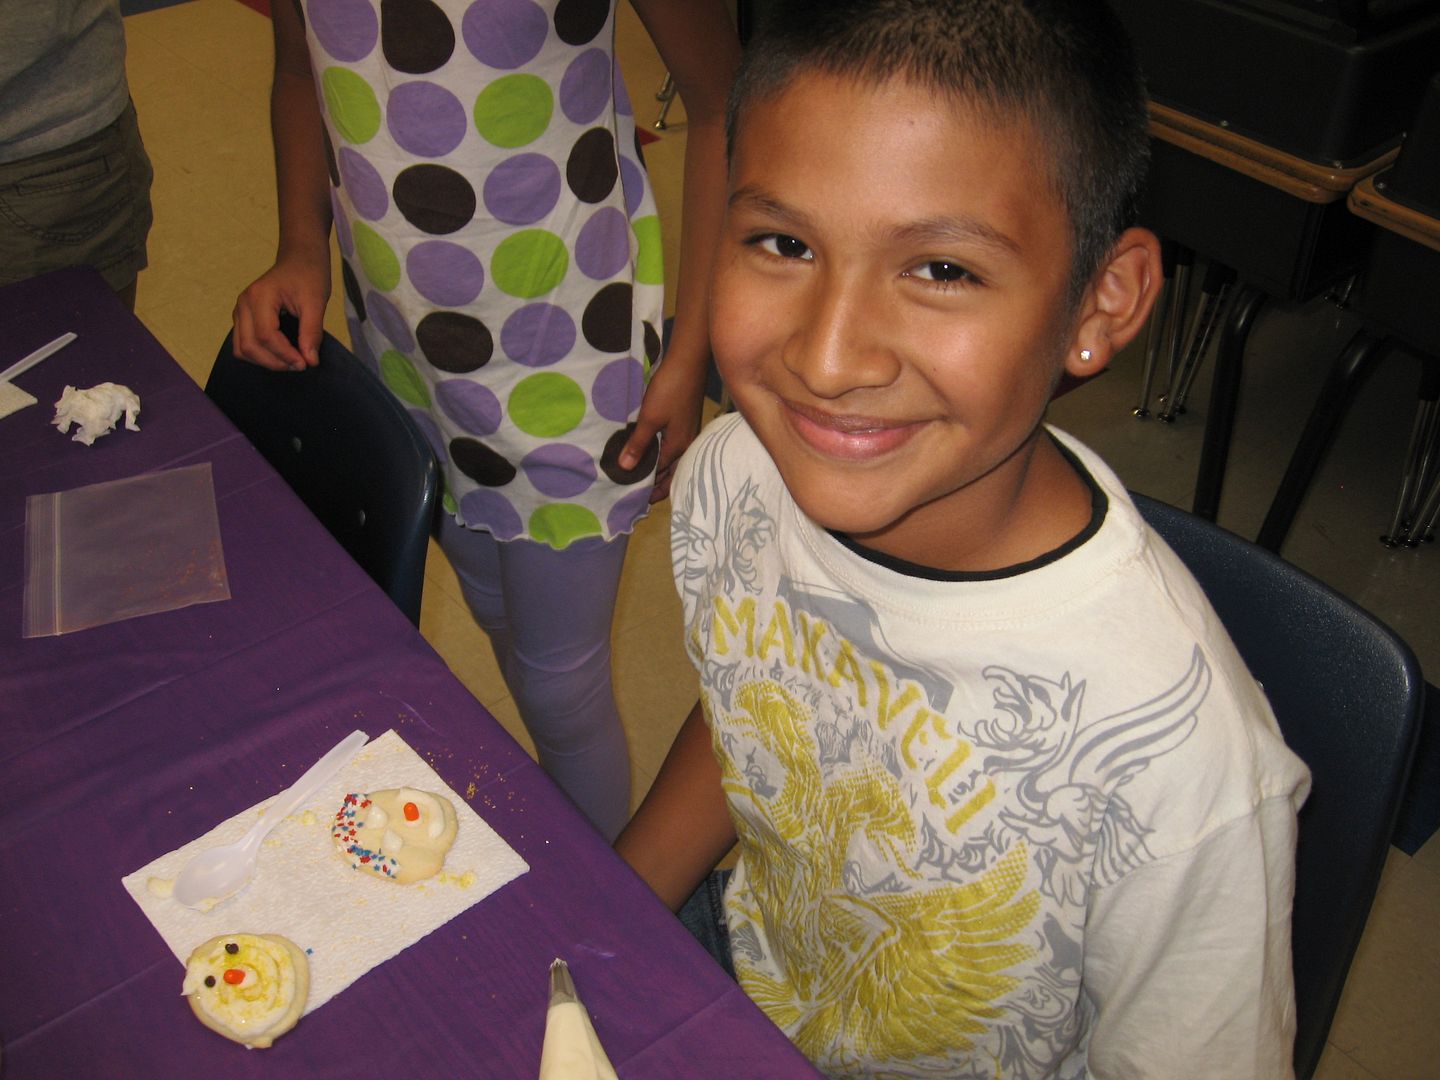
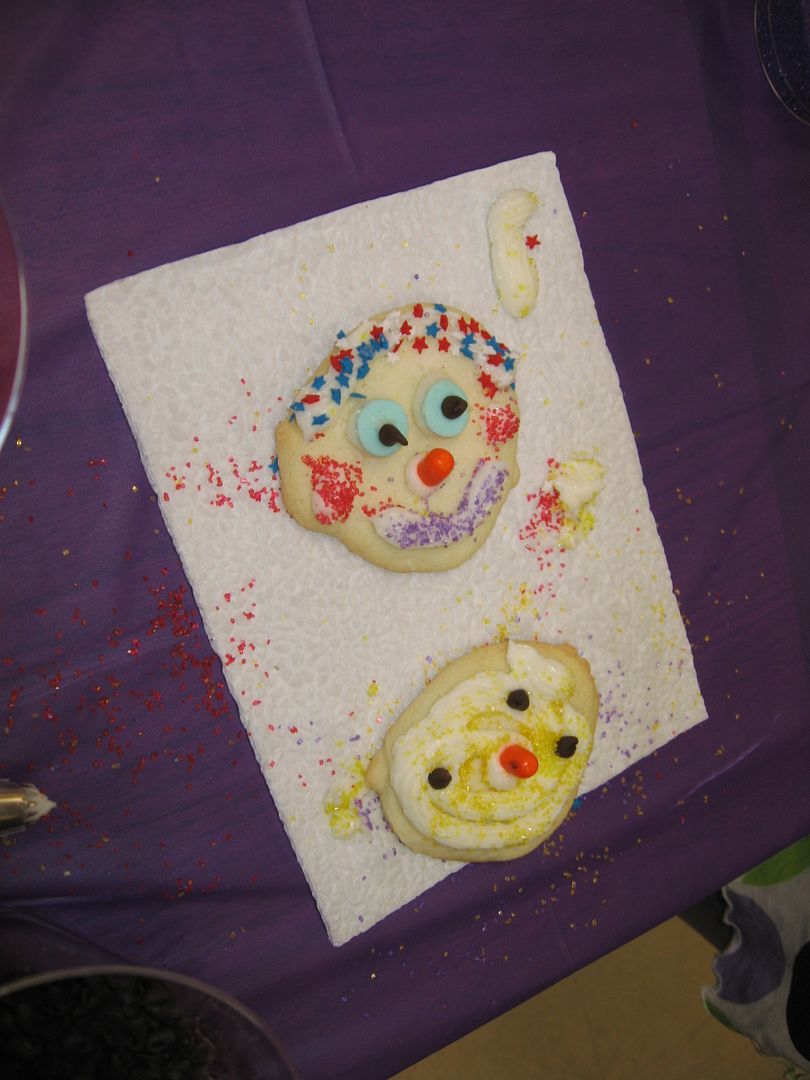
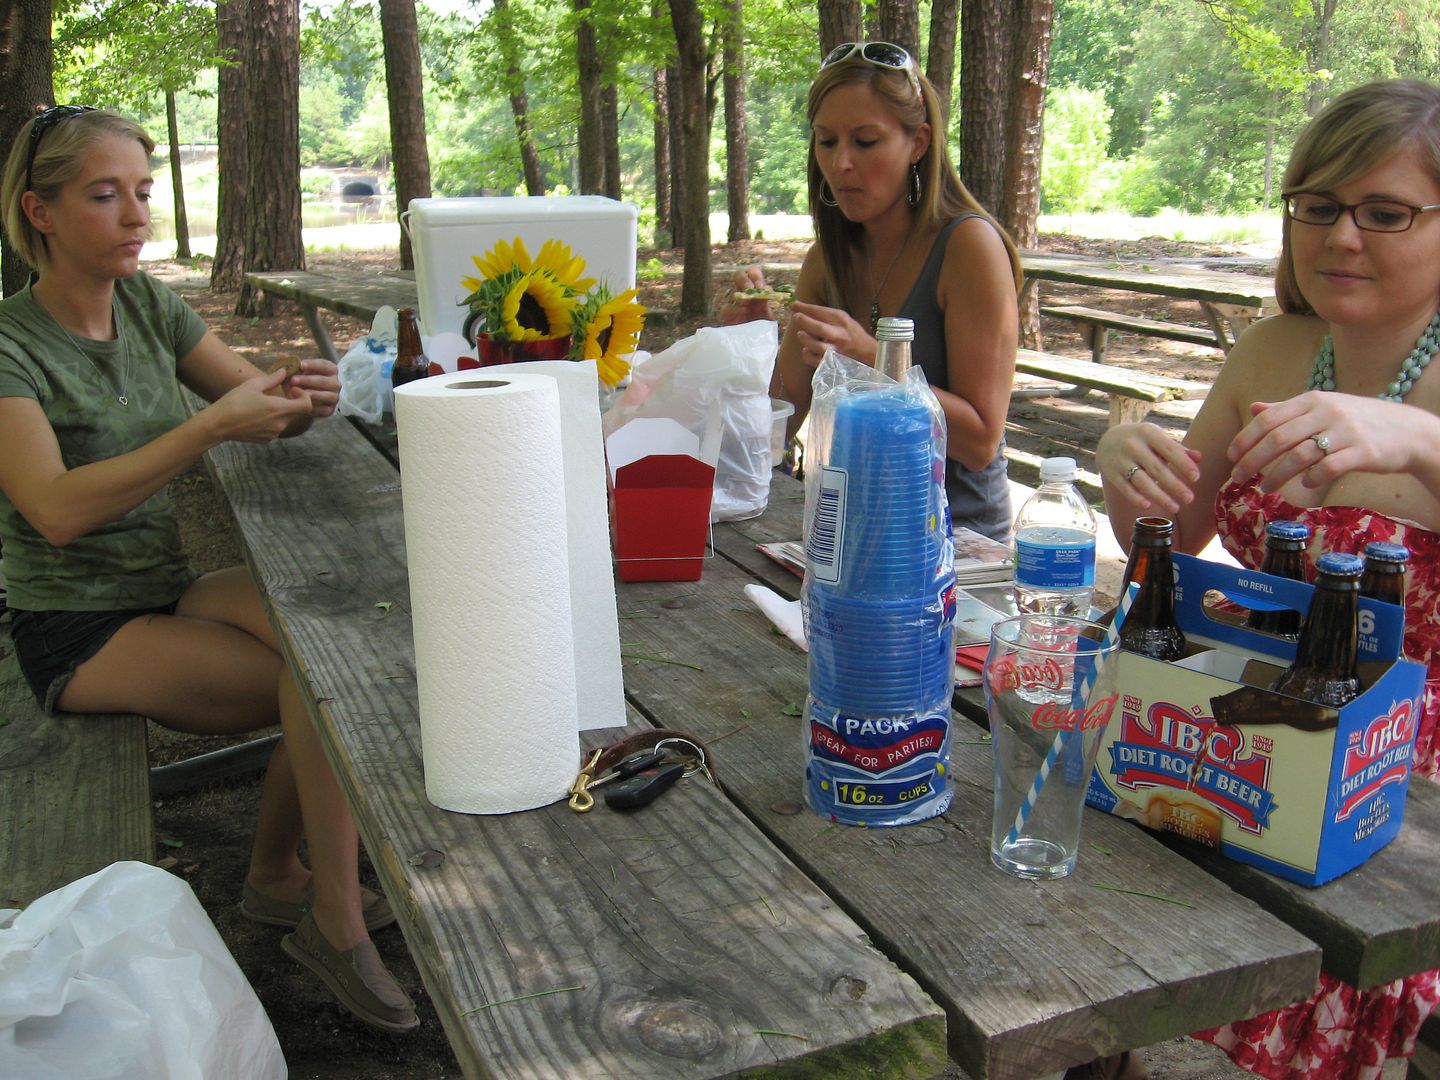
Like all good things, Cupcake Camp had to eventually come to an end. Day 5 arrived and so did the campers, eager to pack in one last day of cake pops and cupcakes. At the end of the day they would finally carry home their aprons, recipe notebooks, and colorful bakery boxes filled with the cupcakes we’d made all week (the ones they hadn’t already devoured, that is) to share with their families.

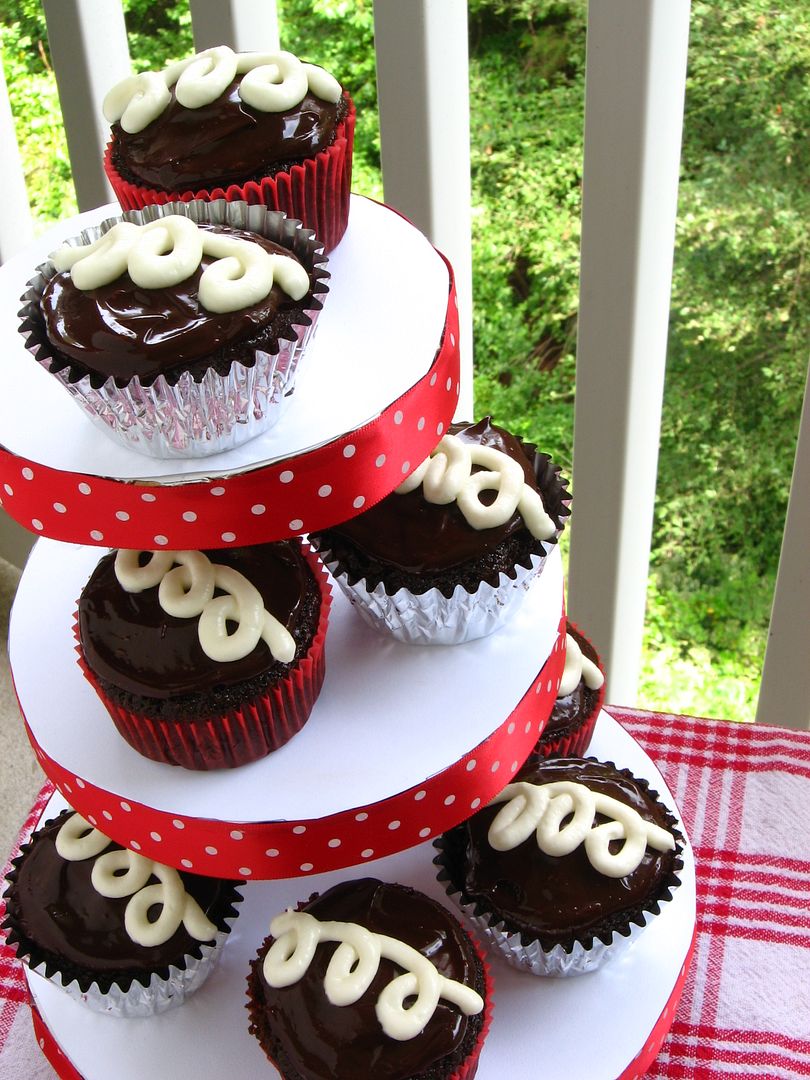
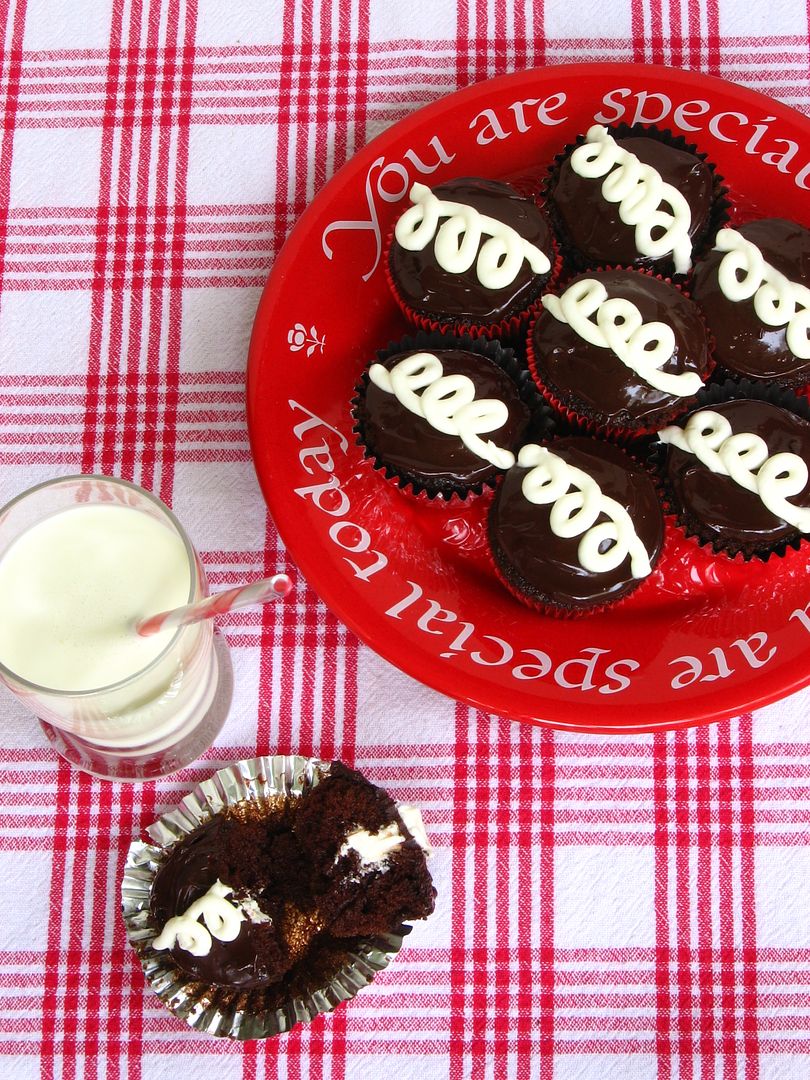
But first, we sat down to complete the cutest decorating job of the week: turning cupcakes into apples! We baked these apple cupcakes in bright red liners to begin creating the effect. Once they were cooled and frosted, we dipped the tops in red sanding sugar, used bits of pretzel for their “stems,” and cut “leaves” from green fruit roll-ups.

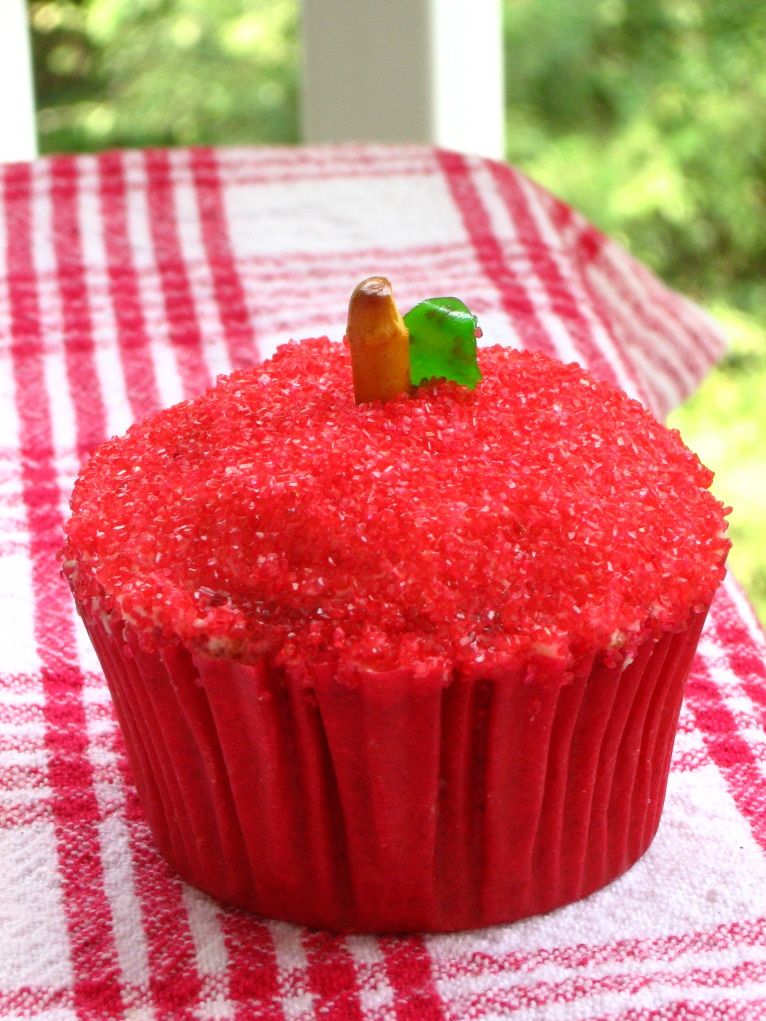
These cupcakes weren’t just adorable, though — they were also one of the girls’ favorite recipes all week long. The spice cake, creamy cinnamon mousse, and brown sugar buttercream frosting melded into a delicious preview of fall flavors. Bright smiles broke out all around as the campers first tasted one of their “apples.” Even though they had already ranked their favorite cupcakes, several of them went back and added Apple Cinnamon Cream Cupcakes right at the top of their lists!

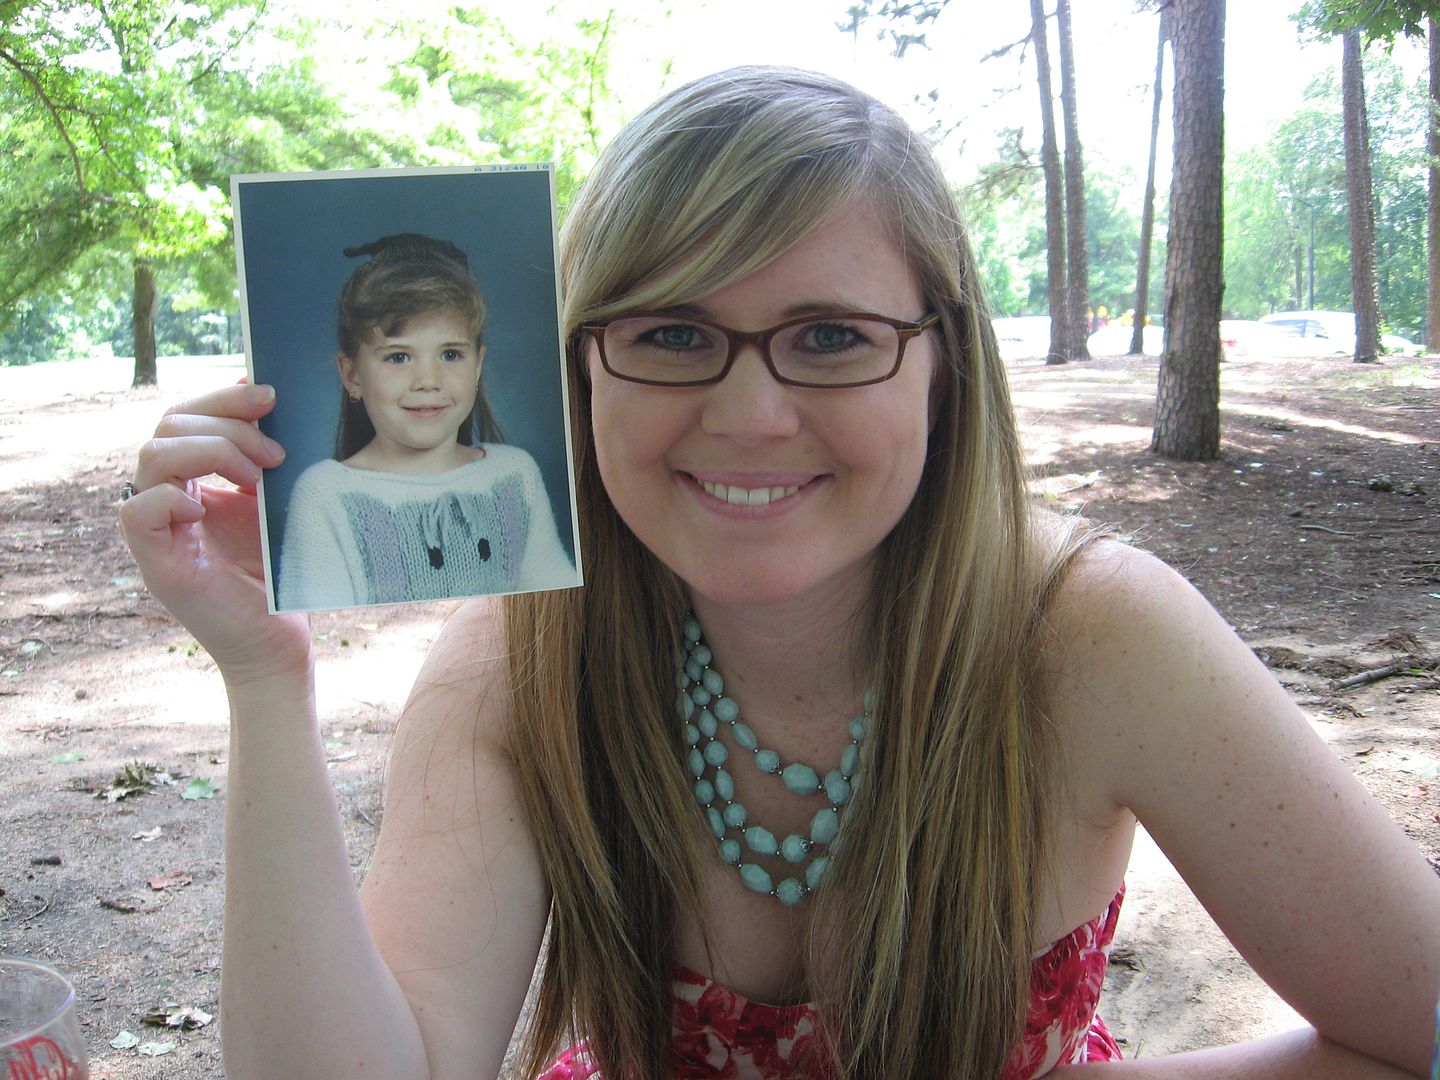
After tasting, we sat back and admired our handiwork. Meticulous Mary Rood made the comment that these looked like Back-to-School cupcakes. She’s right, of course. Isn’t it funny how just as soon as August peeks around the corner, stores everywhere roll out the red plaid, apples, mini chalkboards, and school supplies in an array of primary colors? These cupcakes fit right in.

Her comment sunk in for a moment before our summer spirit rebelled. We still have a few weeks of freedom! The temperature still climbs to 100 degrees each day! We still have beach trips, pool trips, and sprints through the sprinkler planned!

I don’t care what the stores might have you believe, it’s still SUMMER! We’ll go back to school when our parents drag us, kicking and screaming, and not one second before!

(Okay, I guess I can’t quite wait until my parents drag me . . . )

So these may look like Back-to-School cupcakes. They may taste like Back-to-School cupcakes. I may have gotten carried away and photographed them surrounded by a bunch of the brightly colored school supplies I just made fun of.

But these are NOT Back-to-School cupcakes. These are IT’S-STILL-SUMMER-AND-I-DON’T-CARE-WHAT-YOU-SAY-LA-LA-LA cupcakes.

Now that we’re clear on that, you should go make them and eat about twenty.

What summer plans do you still have to accomplish before summer ends? Or, for readers on the tail end of winter, what exciting things do you have lined up for the spring?

Apple Cinnamon Cream Cupcakes


Recipe by: adapted from Baked Bree
Yields:about 24-28 cupcakes

Cupcake Ingredients:
2 cups flour
2 teaspoons ground cinnamon
1 teaspoon baking soda
3/4 teaspoon salt
1/2 teaspoon fresh nutmeg
1/8 teaspoon ground cloves
2 sticks butter at room temperature
1 cup sugar
1/2 cups brown sugar
4 large eggs
1 1/2 cups applesauce
1 cup toasted pecans, chopped (optional)

Cinnamon Mousse Ingredients:
1 cup milk
1 cup heavy cream
1 (4 serving) package vanilla Instant Pudding Mix (not Cook & Serve)
1 1/2 teaspoons cinnamon
3/4 teaspoon nutmeg

Brown Sugar Buttercream Frosting Ingredients:
1 stick room temperature butter
1/4 cup shortening
1/3 cup brown sugar
1/2 teaspoon cinnamon
3 cups of powdered sugar (depends on consistency desired)
3 tablespoons of heavy cream (depends on consistency desired)

Directions:
*Note: This recipe makes twice as much mousse as you need for filling the cupcakes. If you want to use half the pudding pack and save the rest for later, just measure it out and do so. Or use the extra mousse for another project (you know, like eating it with a spoon).

Make cupcakes: Line two muffin tins with paper liners. Preheat oven to 350°F. In a medium bowl, whisk together dry ingredients. In a separate, large bowl, cream together butter, sugar, and brown sugar until light and fluffy (several minutes). Add the eggs in one at a time, beating after each addition, and then mix in the applesauce. Finally, mix in the dry ingredients until just combined.

Fill each cupcake liner about 3/4 full of batter. Bake for 15-20 minutes and let cool completely.

Make mousse: To make the cinnamon mousse, combine milk, cream, and pudding mix, and spices in a medium bowl. Beat with a mixer until you reach soft peaks, or a thick whipped cream consistency (this takes a few minutes). Refrigerate mousse until you’re ready to use it.

Make frosting: To make the frosting, beat butter and shortening together until light and fluffy. Add the brown sugar and cinnamon and mix. Gradually add the powdered sugar, 1/2 cup at a time, and alternately add the cream. Adjust these items until desired consistency is reached.

Assemble cupcakes: To fill the cupcakes, use the Cone Method: cut an upside-down cone out of the top of each one. Cut off the tip of the cone (and eat it, if you wish) leaving just the “lid.” Fill the cavity with mousse using a piping bag or zip-top bag with the corner cut off, and then replace the “lid” to give you a relatively smooth surface to frost. Don’t overfill these, or they’ll be hard to frost.

Use the back of a spoon, a knife, or an offset spatula to cover the cupcakes with a layer of frosting. To ensure you don’t accidentally shift your “lid,” use a pretty thick layer of frosting and just gently pull it out toward the sides of the cupcake to achieve full coverage — that way you’re never pulling your spoon/spatula straight up and pulling the lid off. Dip frosted cupcakes into a bowl of red sanding sugar or sprinkles. Add a piece of a pretzel stick for a stem. Add a leaf cut from a green fruit roll up (I made a little indentation in my frosting with the tip of a knife to stick the tip of the leaf into). Enjoy!

All Cupcake Week Recipes:
Day One: Chocolate Pistachio Cream Cupcakes
Day Two: Banana Split Cupcakes and Cake Pops
Day Three: Creamsicle Cupcakes
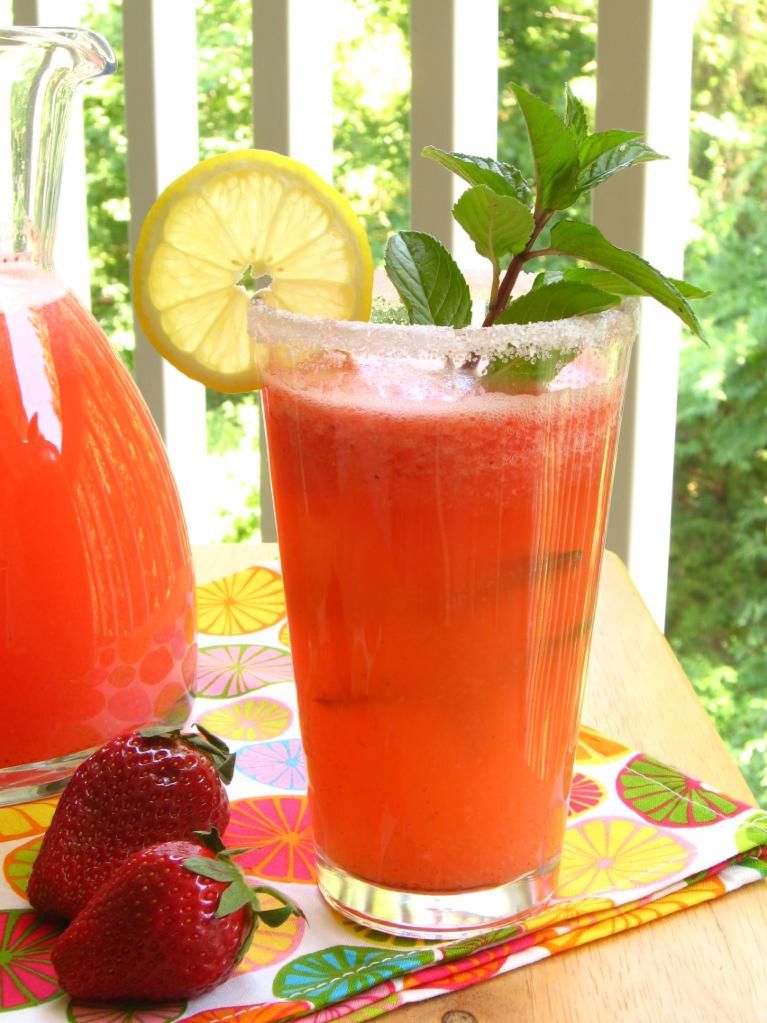
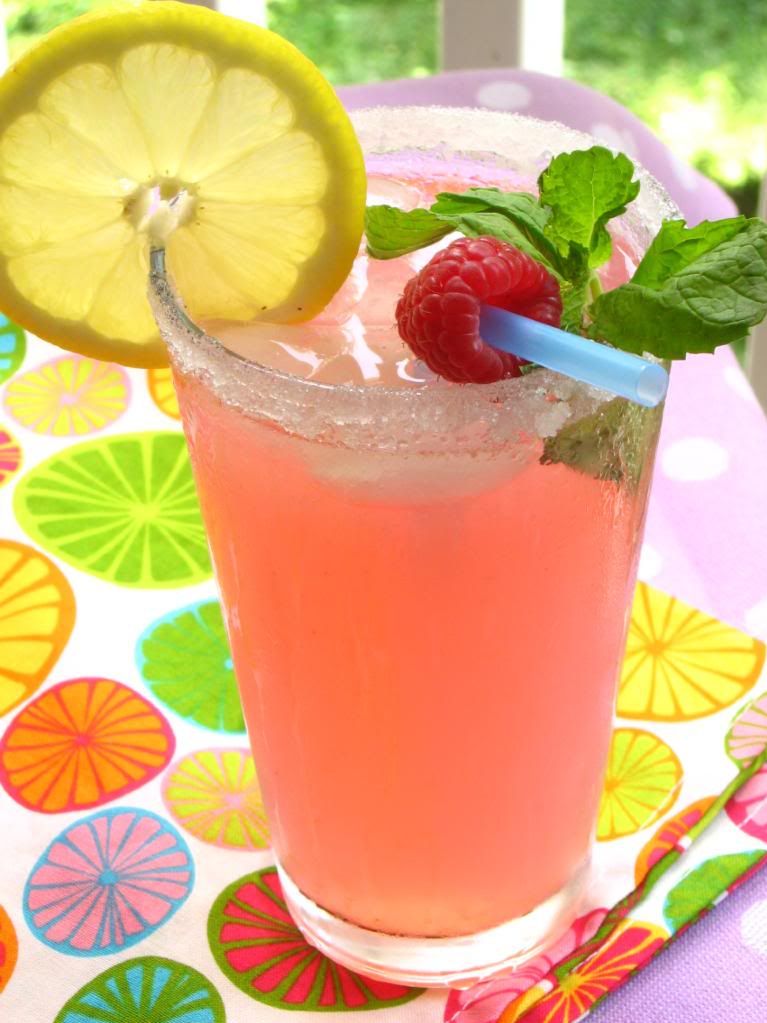
Day Four: Strawberry & Cream Cupcakes and Cake Pops
Day Five: Apple Cinnamon Cream Cupcakes

If you liked this post, please:
Subscribe to Willow Bird Baking
Follow Willow Bird Baking on Twitter
Follow Willow Bird Baking on Facebook
Give this post a thumbs up on StumbleUpon


ShareOther ways to share this post with friends!

Soft Sugar Cookies and Cookie Decorating with Freedom School

This is a love letter. Not the kind William wrote to me in third grade on the inside of a teddy bear greeting card — though that one was nice. Not the sort Abélard wrote Héloïse. In fact, not a romantic letter at all. But a love letter nonetheless.

It’s a love letter, first, to the kids of the world. It’s also a love letter to the communities that care for those kids. It’s a love letter to every person who encounters those kids and tells them, “You can be a teacher. You can be a businessperson. You can be an artist. You can be a chef. You can be a scholar. You are a scholar!” It’s a love letter to Freedom School.

Freedom School is a Children’s Defense Fund program designed to offer summer and after-school enrichment to at-risk kids. The Freedom School Partners in Charlotte are working to “improve academic achievement, reduce dropout rates, and inspire the love of reading” — things that can literally change a child’s life. Staff and volunteers for the program become friends, mentors, cheerleaders, teachers, and role models for these kids, serving them every day and motivating them to accomplish their life goals.

When my friend Kevin asked if I’d be willing to host a cookie decorating workshop for the kids, I gladly agreed. Eliminating the achievement gap for at-risk kids and letting them know they’re important is dear to my heart. Beyond that — and perhaps you’ve had the blessing of realizing this as well — any time I give myself in service, I receive so much more than I offer. This time was no exception.

One thing I received was an unbelievable flood of support from people who also love kids. My friends Mary, Katie, and Taylor offered to bake cookies or help the kids decorate. Polka Dot Bake Shop, home to some outstanding Charlotte cupcakes, donated 5 quarts of buttercream frosting and a dazzling array of colored sugars and sprinkles.


Box of goodies from Polka Dot Bake Shop

Most overwhelming, Amelie’s French Bakery, a well-beloved Charlotte institution, stepped in and offered to pay for all the other supplies and donate the use of their commercial kitchen for the preparation of dozens of cookies. I seriously cried when I read their email.

The owner, Lynn, worked with me and Mary for almost two hours. She’s an extremely busy person and could have been off doing hundreds of other things, but instead she was in the kitchen with us, washing our dishes as we baked.


Mary and I working in Amelie’s production kitchen.

There are awesome people in the world, y’all. I’ve vowed to be an Amelie’s customer for life (not that that’s a sacrifice — please go taste one of their salted caramel brownies before you waste time marveling at my loyalty.)

All of these beautiful people’s efforts culminated in a fantastic day! Upwards of 40 kids got to hear about becoming bakers and pastry chefs, learn how to use a pastry bag, and exercise their creativity. Each child decorated a duckie cookie (using some yellow sanding sugar, mini chocolate chips, and an orange tic tac beak) and then went wild on their own personal creations.

Katie and Taylor took on the most important role: while I led the workshop, they were on the front lines, encouraging the kids, listening to their stories and opinions (honey bun, anyone?), and building their self-confidence.


What was humbling throughout the day is how the kids themselves were dying to be of service — “Can I set out those sprinkles? Can I help pass out the spoons? Can I give everyone a napkin?” Here we were visiting and trying to serve them, and their precious little hearts just wanted to serve us. I stood back a few times during the fun to look around and just appreciate their joy.

When it comes down to it, this is a love letter to God: thank you for letting me serve your children. Thank you for modeling self-sacrificial service for me in the first place. Thank you for giving me these opportunities to be amazed by others’ generosity, to see the goodness in children, and to decorate duck cookies with friends.

Oh, and I can’t forget! This is a love letter to SugarBelle, the sugar cookie queen. Her soft, buttery sugar cookies were the base for all of our fun. I can’t wait to use this recipe a thousand times over for all sorts of cookie experiments — it’s such a nice dough and doesn’t need to be refrigerated. I love it when dough behaves and produces tasty results!

Have you served in a way that was a learning experience for you, or that left you with a beautiful memory? What service do you want to commit to doing for others?

Soft Sugar Cookies


Recipe by: The Sweet Adventures of SugarBelle
Yields: 2 – 2 1/2 dozen cookies

Ingredients:
1 cup (two sticks) butter, softened
1 1/2 cups confectioner’s sugar
1 egg
2-3 teaspoons flavoring (e.g. vanilla or almond extract)
2 1/2 – 2 3/4 cups all-purpose flour
2 teaspoons baking powder
1 teaspoon salt

Directions:
Preheat oven to 400 degrees F. Sift together the flour, baking powder, and salt (I like to sift it onto a sheet of wax paper that I can then pick up both sides of and use to funnel the dry ingredients). Set aside.

Cream together butter and confectioners’ sugar for a few minutes. Mix the egg and flavoring in a separate bowl and add it to the butter mixture once its fully creamed. When the egg is incorporated (you may need to scrape down the sides of the bowl throughout the process), add the dry ingredients little by little. SugarBelle says she can tell the dough is ready when most of it sticks to the paddle. It should have a little give but should not stick to your fingers. I had to add a little more flour to my initial 2 1/2 cups to achieve this — maybe about 1/8 cup more. Let the dough sit for a few minutes after mixing (no need to refrigerate — I LOVE this dough!)

Dust a counter with flour and roll out the dough to about 1/4 inch thick, lifting your corners and turning the dough initially to make sure it’s not sticking. Cut out shapes and place on a parchment lined baking sheet. Bake for 7-8 minutes (watch carefully to determine the best time in your oven). Let cool completely before frosting (SugarBelle says she prefers decorating day-old cookies, which is what we did, and they were still soft and lovely.)

P.S. You can find a place to donate to Freedom School on their website!

If you liked this post, please:
Subscribe to Willow Bird Baking
Follow Willow Bird Baking on Twitter
Follow Willow Bird Baking on Facebook
Give this post a thumbs up on StumbleUpon


ShareOther ways to share this post with friends!

Easy, Cheap DIY Party Pennant Banner

Every now and then I post a food related craft that I hope will add some joy to your family meals, parties, and picnics. Full disclosure: I know I’ve said this before, but just to reiterate, I am not a crafty person. When it comes to crazy fabricky, gluey, scissory things, I give up.

First off, I have tremendous patience in my kitchen. Said patience does not extend to cutting out finicky shapes or hand-stitching for five hours. Second off, nothing I make turns out better than something I can buy (food is obviously excluded from this statement, y’all. Don’t be cheeky.)

But for my picnic last week, I wanted a pennant banner.

In addition to being impatient, I’m always dirt poor. Poking around on Etsy for a pennant banner to purchase, I noticed that these triangles attached to string literally cost $20 and up. Don’t get me wrong; some of them were nice triangles attached to string. Fancy fabrics, lettering, etc. But not nice enough to make me spend $20. On triangles. Attached. To. String.

Enter felt, staples, liquid stitch, and string. This craft was literally one of the easiest I’ve ever attempted, as evidenced by the fact that I was successful at it.

I did the whole thing in an hour or so, and the only reason it took me that long is because America’s Got Talent was so enthralling that night. Did you guys see the girl on the Russian barre? The woman with the long blonde braids and the operatic voice? The silver-clad pole danc– uh. Okay, well. Back to crafting.

This pennant banner would work with any color of felt squares (e.g. red, white, and blue for Independence Day). It’d also be easy to cut out felt letters to liquid-stitch onto each of your triangles for a “Happy Birthday” or “Welcome Home” banner.

Best of all, the whole project costs about $8 — and since I bought a big spool of string, packs of felt rectangles with extra colors, and a whole tube of liquid stitch, I can actually make 2 or 3 more banners with the materials I have left! Perfect.

Easy Party Pennant Banner


Yields: about 24 feet

Supplies needed:
spool of hemp string
stapler
Liquid Stitch or similar product
15 felt triangles*
scissors

Directions:
*Note on triangles: I bought 5 packs of multicolored 8″ x 5″ felt rectangles at the dollar store and then cut just the red rectangles into triangles — saving the black, blue, and green for another project! You could do this or buy sheets of felt and cut out the triangles. You want a base of at least 5 inches and a height of about 8 inches to achieve the look shown above.

1. Leave about 2 feet of string empty before you add your first triangle — this gives you some space to tie your banner onto a hook or column.

2. Place the base (the long end, not the point) of your first triangle under your string with just about 1/4 inch of felt sticking up beyond the string. Staple both corners to the string (see photos above).

3. Squeeze a line of Liquid Stitch under the string between the two staples and hold the string against it for a few seconds until it begins to set. It’s best to go the full length of the string so the triangles won’t bunch up (I realized this too late. Oh well. I just have to do a little triangle fluffing before I hang mine.)

4. Measure about 4 inches from the corner of your attached triangle and lay your next triangle under your string (I actually placed a sheet of paper on my workspace and marked off a 4 inch space so I didn’t have to measure each time). Repeat steps 2 and 3.

5. Continue until all triangles have been added. Leave about 2 feet of empty string after your last triangle for tying.

6. Let dry overnight. Store your banner wrapped around something that can act as a spool (I used a mini plastic shelf, but have used empty cereal boxes, etc., in the past) like you would store Christmas lights, so it doesn’t get tangled.

If you liked this post, please:
Subscribe to Willow Bird Baking
Follow Willow Bird Baking on Twitter
Follow Willow Bird Baking on Facebook
Give this post a thumbs up on StumbleUpon


ShareOther ways to share this post with friends!

Red, White, and FOOD!

Here are some Willow Bird recipes that are perfect for your 4th of July celebration! If I had to tell you just one thing you have to make in order to fully enjoy all the fireworks and summer heat, it’d be the Old-fashioned Burger Stand Burgers. Everything else is delicious, too, but I’m craving one of those tender, thin, salty, juicy, tangy burgers right this second! And it doesn’t get much cuter than the printable fry pouches and checkered trays.


Old-fashioned Burger Stand Burgers with Easy Fries (and cute pouch/tray printables!)


Strawberry Lemonade Popsicles


Itsy Bitsy Berry Cream Pies


Deconstructed Pizza Bites


Pretzel Dogs


Red Berry Pie


Sparkling Strawberry Lemonade


Sparkling Raspberry Lemonade

Stay tuned later this week for a cute party banner that you can make with minimal effort and about $8. I made the whole thing while watching America’s Got Talent, so it obviously doesn’t take much concentration, either! Happy eating!

If you liked this post, please:
Subscribe to Willow Bird Baking
Follow Willow Bird Baking on Twitter
Follow Willow Bird Baking on Facebook
Give this post a thumbs up on StumbleUpon


ShareOther ways to share this post with friends!

Foodbuzz 24×24: School’s IN for Summer!

My students and I wait all year to hear the words, “School’s out for summer!” but this year is a little different for me, because I was chosen to host a June Foodbuzz 24×24 party. The Foodbuzz 24×24 “highlights unique meals occurring around the globe during a 24-hour period.”

For my unique meal, I wanted to create a whimsical, nostalgic picnic celebrating my memories of elementary school. The best part was the guest list: a handful of ladies I went to elementary school with and hadn’t seen since! School’s IN for Summer!

It was the early 90s. I was in elementary school, jamming out to Ace of Base on my walkman, collecting everything that had anything to do with cats, and rocking one-shoulder-unhooked overalls. I’m not even going to bother apologizing for those, because I know you were wearing them, too. And probably poofy bangs. So shut up.


Don’t, like, do your hair for picture day or anything, Julie.

My entrepreneurial spirit was strong even back then — over the years I created a stuffed animal school, a stuffed animal savings bank, and a lotion company (wherein I mixed several of my mother’s lotions together and sold the result with a handmade label. Sorry, mom.)

I was also already a writer (albeit of questionable quality). I started writing a collection of stories on my toy typewriter called Julie and the Strawberry Point Patrol that I was sure would eventually be a profitable series of detective novels. I also, in all seriousness, sent off a handwritten/drawn book manuscript to Harper Collins. I was That Kid. If only I’d had some thick coke-bottle glasses.

Those were definitely days worth remembering, but more importantly, there are so many people worth remembering. That’s why this past weekend, I threw an elementary school mini-reunion picnic and invited three lovely ladies I hadn’t seen in years. I wish all of Lebanon Road Elementary School class of 1996 could’ve been there, too, because it was so much fun.

I set the picnic table in bright primary colors with sunflowers, foam ABCs, striped party straws, and gigantic candy jars full of nostalgic treats: Ring Pops, Pixie Stix, Dubble Bubble gumballs, Pez dispensers, Nik-L-Nips, and Tootsie Pops. A homemade party banner and some balloons stretched over our picnic table. Everyone brought childhood photos, elementary school yearbooks, mementos, and tons of fun memories to share.

The Cast of Characters:

Amber was a pint-sized dynamo in elementary school. She was tiny, but she took gymnastics and could do all sorts of amazing things. I remember thinking Amber was the sweetest friend in 4th grade, when we were both in Ms. Oatman’s class together.


Amber, then and now.

Now, Amber is married to her high school sweetheart, Patrick. She’s a nurse and lives in Charlotte with her zoo: 4 dogs and 2 cats!


Amber in elementary school.

Oh, yeah, and she’s still a dedicated athlete. Amber’s now a powerlifter, and, um, she could totally kick your butt:


Photo by Jeff “Boomer” Alred

Alisha was my BFF from second grade until distance finally got the best of us: she moved away in the middle of fifth grade. We lived down the street from each other, so almost every day would find me scuttling off to her house to play with her and her sister, Lauren. Her mom, Loretta, is also so important to me — she drove me to church youth events with Alisha when I was little, in addition to driving us home from school, driving us to get ice cream, driving us to the moon and back. You get the idea.


Alisha lovvvved Bradley Hood — well, most of the time.

Alisha and I were the perfect pair of friends: she was the cute, social one and I was the strategic, nerdy one. When our powers combined, we could tackle anything. I still remember the day 6 or 7 years ago when she called me and told me she was going to be a mommy! Here was the girl I’d played in the creek with at 7 years old, and she was going to have a baby of her own. Now Alisha and her daughter Olivia live in Mt. Pleasant, where Alisha works at an eye doctor’s office.


Alisha and Olivia

Ashley was so sweet in elementary school (and still is)! She lived down the street from my friend Tamara, and in fifth and sixth grade I’d go over to their neighborhood and we’d all hang out. She jokes that she had horrible hair in elementary school, but I always thought her hair was adorable.


Ashley, then and now.

Today, Ashley works in sales at a software company and is married to — get this — a guy we went to elementary school with! His name is Scott, and he was my buddy in second grade, before he moved to another school. Though he and Ashley are both from North Carolina, they actually reunited in Georgia after college. Now that they’re married, they live with their dog and their pet pig, Clyde.


Ashley and her future husband, Scott, in elementary school.

The Menu: School Lunch Redux

I set a nice table and invited a fun bunch, but a picnic’s not a picnic without the food! To make the menu match the theme, I took foods you might remember from your cafeteria tray or lunchbox and updated them for adult tastes. Thanks to my coworker Anne for this fun idea!

Here’s the lineup:

Cardboard-like, square lunchroom pizza became a homemade Fig and Prosciutto Pizza topped with fresh arugula and shaved Parmesan. Instead of a classic peanut butter and jelly sandwich, I made a bright Italian Pressed Sandwich. Baggies of grapes and potato chips morphed into Pickled Grapes with Goat Cheese and Savory Sour Cream and Fig Cookie Spirals, slathered with whipped cream cheese and fig jam. Fruit Roll-Ups and Hostess Cupcakes became homemade Straw-Raspberry Basil Fruit Leather and Fauxstess Cupcakes. We drank lemonade and root beer with our updated lunchroom fare.

During the picnic, we shared scores of memories. We talked about Terilyn Cunningham, our sweet friend who died from an asthma attack after elementary school. I remember her having an attack one day in gym class and the teacher asking me to walk with her to the classroom to get her inhaler. On the way, she explained what it felt like to be unable to breathe. In just a year or two, she was gone.

On happier notes, we laughed at our sixth grade newsletter, The Leopard’s Roar, written on an early 90s Word Processor with a big block font. Alisha recalled the field trip when I called out to Bobby Joe (and his dad, who was chaperoning) that she liked him. Oops. We remembered teachers and administrators — Mrs. Shaughnessy! Ms. Oatman! Mr. Meserve! Mrs. Foster! Mrs. Hildreth! Ms. Horne! Mrs. Borders! Mrs. Taylor! — as well as friends who’ve been flung far and wide over time.

The Inevitable Near-Disaster

Right smack in the middle of our meal, though, this happened:

Picnics and parties never seem to go off without a hitch, and this one was no exception. Though I’d made a point to check that the picnic area we were using hadn’t been reserved, turns out it had been! After all the work setting everything up, we had to quickly shuffle everything back into my car and relocate to another picnic table to finish up.

The girls didn’t miss a step before pitching in, and a helpful park employee assisted. In no time at all, we were laughing about the mess, eating, and picking up our conversation where we left off. The new picnic table might not have been decked out quite as nicely, but it was in the shade and turned out to be the perfect place to continue the festivities. All’s well that ends well, right?

And things did end well! The huge candy jars I filled for table centerpieces doubled as party favors. At the end of the picnic, each of us grabbed a treat box to fill full of candy. It might have been easier to sort through the candy when it was sitting on a pretty picnic table, but at this point, we weren’t above scrounging through the jars in the parking lot. Not even a little bit.

I had so much fun with these interesting, successful, strong, lovely ladies, and I can’t wait to see them again soon! Despite a few obstacles, the elementary school throwback was a fantastic blast from the past, and worth every ounce of this:


Tons of picnic planning.


Over the coming weeks, the following recipes and crafts will appear on Willow Bird Baking. I hope you enjoy these updated cafeteria classics as much as we did!

School’s IN for Summer:
Recipes and Crafts

  1. Homemade Red Berry Basil Fruit Leather
  2. Pickled Grapes with Goat Cheese
  3. Savory Sour Cream Fig Spiral Cookies
  4. Fig and Prosciutto Pizza
  5. Italian Pressed Sandwiches
  6. Fauxstess Cupcakes
  7. Easy Homemade Party Banner

P.S. A special thanks to Taylor Mathis for bringing his pretty blue tablecloth and gigantic diffuser to help me out!

What’s your favorite elementary school memory?

If you liked this post, please:
Subscribe to Willow Bird Baking
Follow Willow Bird Baking on Twitter
Follow Willow Bird Baking on Facebook
Give this post a thumbs up on StumbleUpon
Buzz this post up on Foodbuzz’s 24×24 site!


ShareOther ways to share this post with friends!

1 2 3 4 6