Willow Bird Baking is a contestant in Project Food Blog, a contest comprised of a series of challenges to find the next food blog star. Today is the last day to vote for me in Round 2! To vote, register for a Foodbuzz account. Once you’re registered, sign in and go here. To vote, click the heart next to the words “Vote for this Entry.” I am so grateful for your support!
Willow Bird Bakers, I have one thing to say to you:
You’re my honeybun, sugarplum,
Pumpy-umpy-umpkin; you’re my sweetie pie.
You’re my cuppycake, gumdrop,
snoogums-boogums; you’re the apple of my eye!
And I love you so and I want you to know
That I’ll always be right here,
And I love to sing sweet songs to you,
Because you are so dear!

Mike thinks this song is annoying, but we’ll ignore him for a moment — because it’s too true to resist. I got an email today from a stranger-turned-fast-friend that reminded me (again!) how special the opportunity to share with you really is.
This now-friend, J, said that she’s been experiencing some hard times, and that something she found here — on a food blog of all things — comforted her on a difficult day.

Little did she know that I was also having a difficult day: Byrd’s tummy has been upset and after all her knee surgery woes, this feels like the proverbial camel’s back-breaking straw. Mike and I are struggling with the distance between us, among other things. A confluence of so many issues has been forming a river of worry in my heart.

Her note letting me know that she had found comfort here was, so fittingly, a huge comfort to me. Apart from just the reminder that the food community is an army of friends and supporters, her email calmed the river of worry and helped me listen to the living waters inside of me. The main points of a sermon I heard just this past Sunday while visiting Mike in Raleigh flooded into my mind: God is in control, He is faithful, and I can rest in Him in my time of need.
Indeed, Jesus said, “Come to Me, all you who labor and are heavy laden, and I will give you rest.”

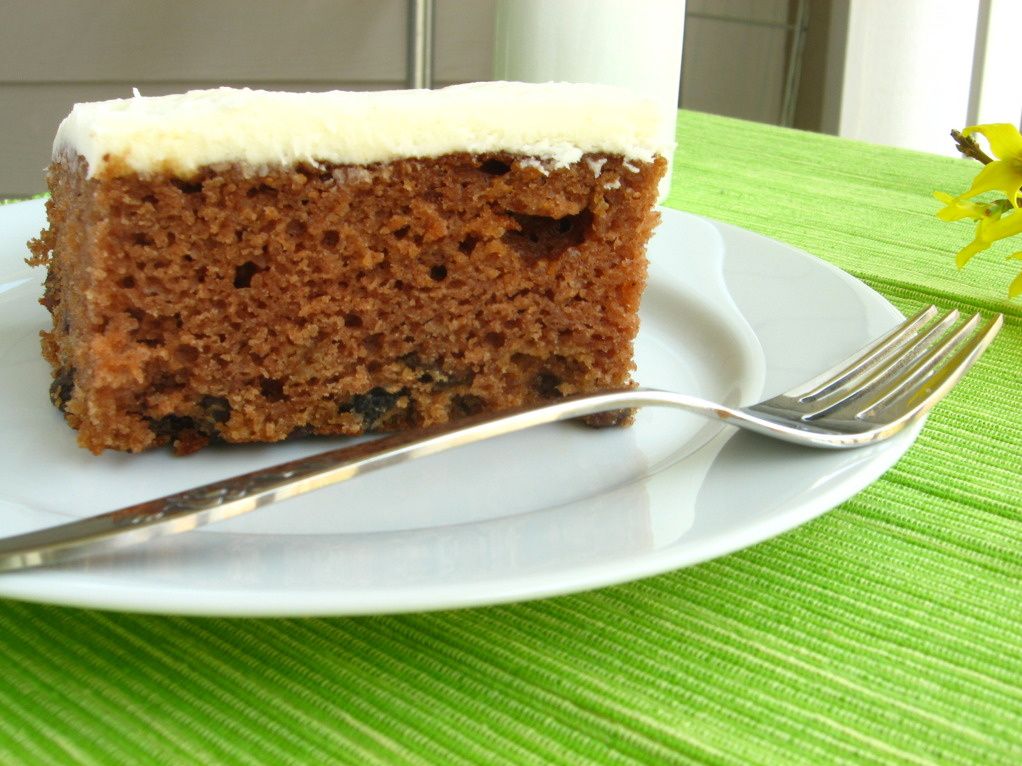
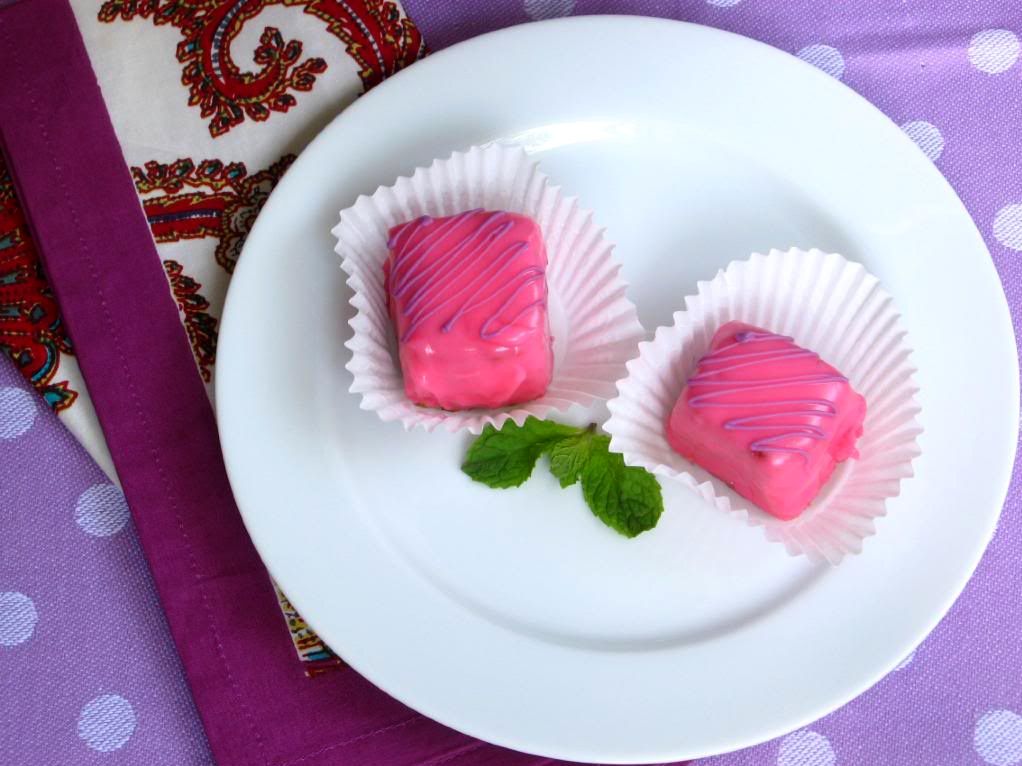
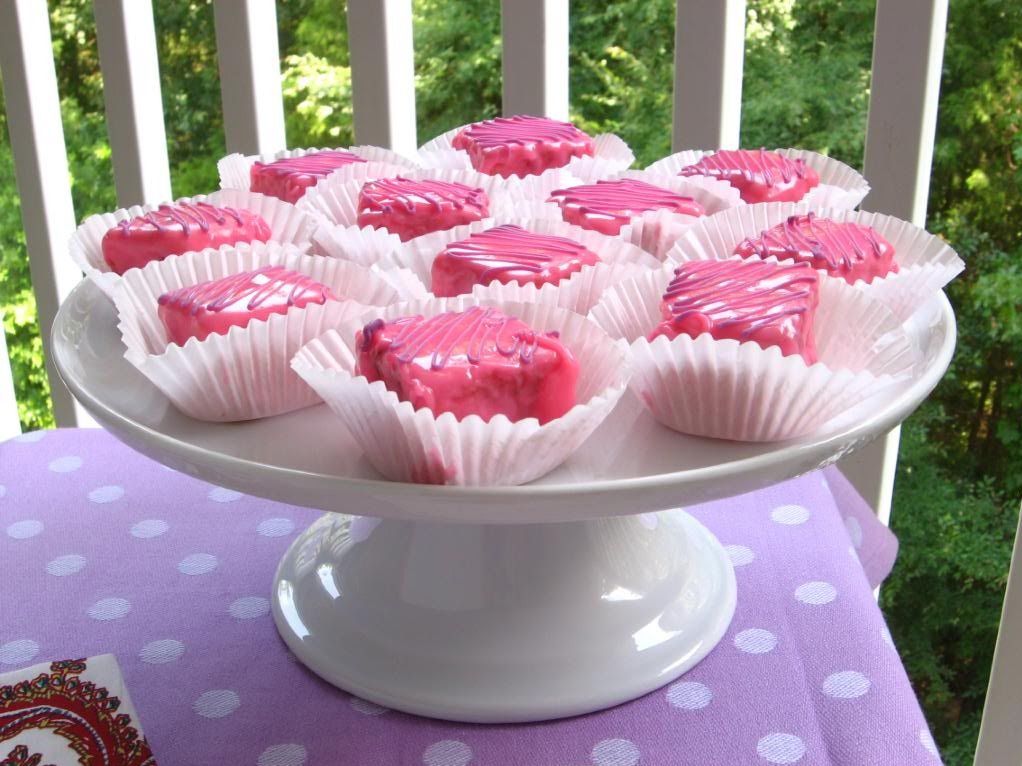
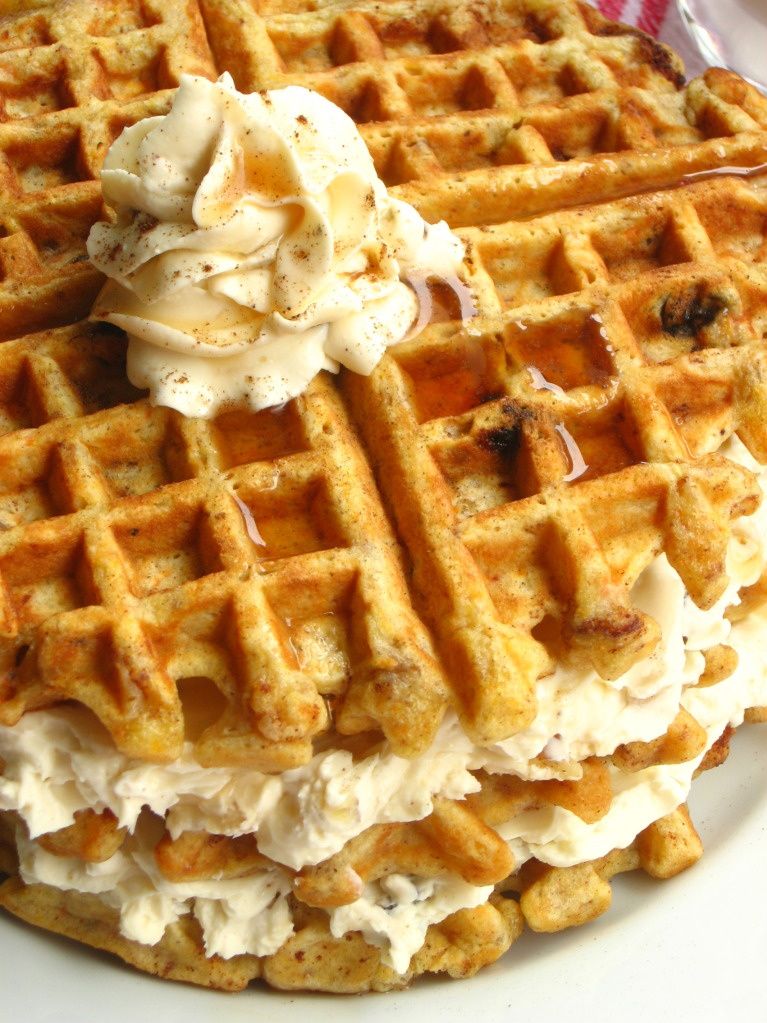
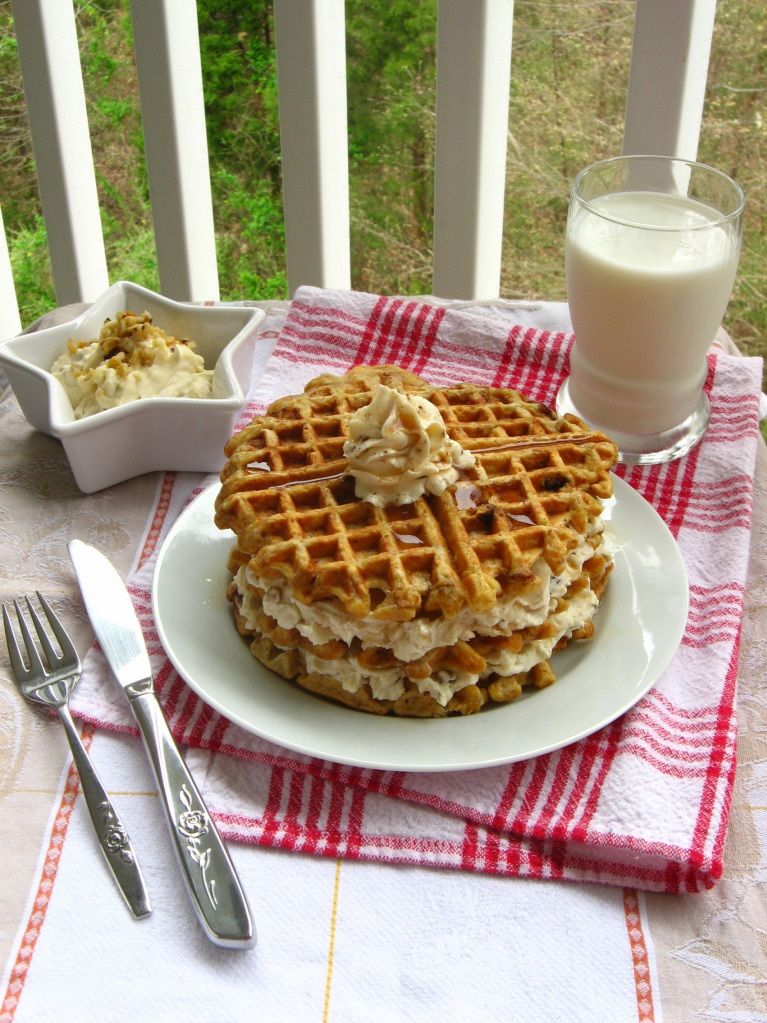
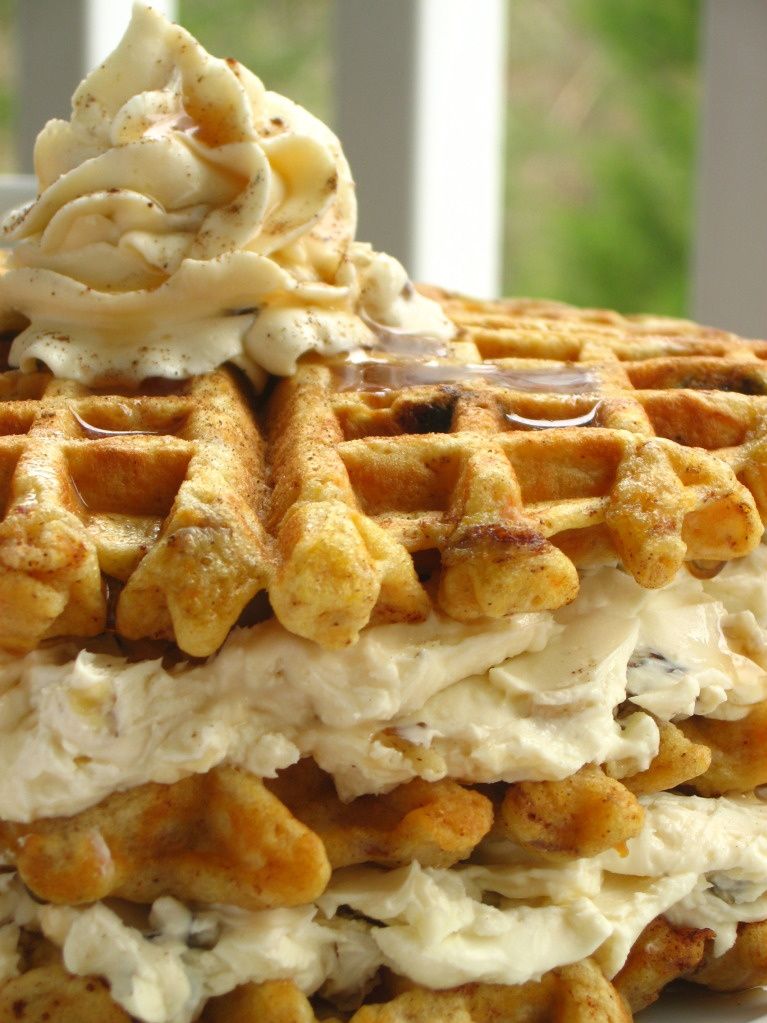
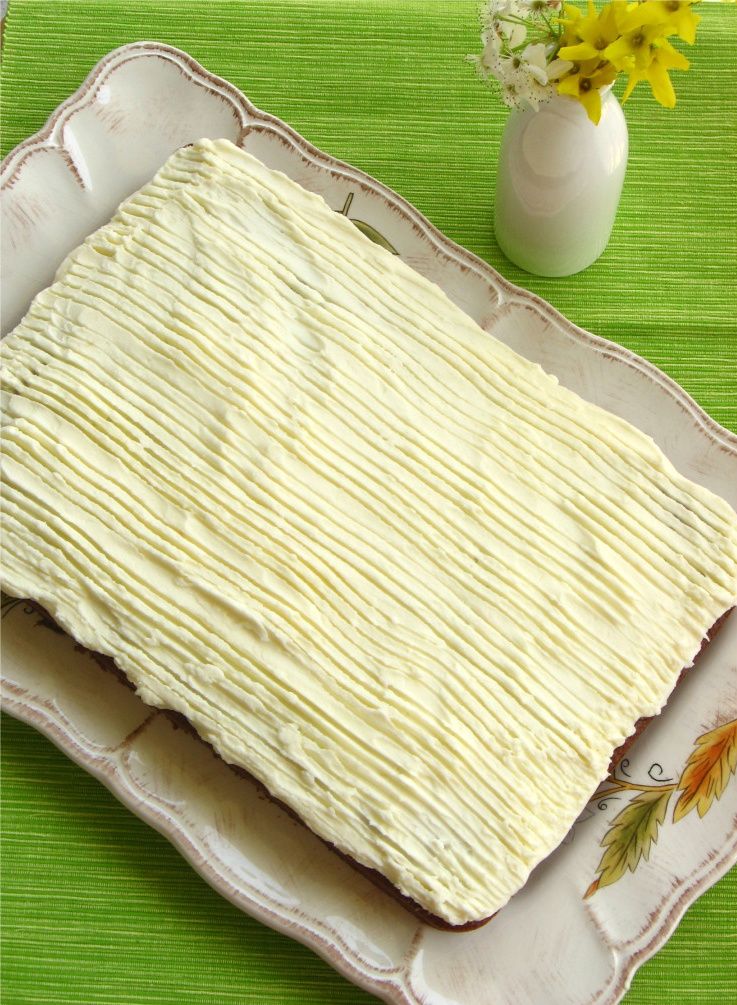
With how you’ve supported me, no wonder I can’t help but call you my honeybuns — and give you some honeybun cake.
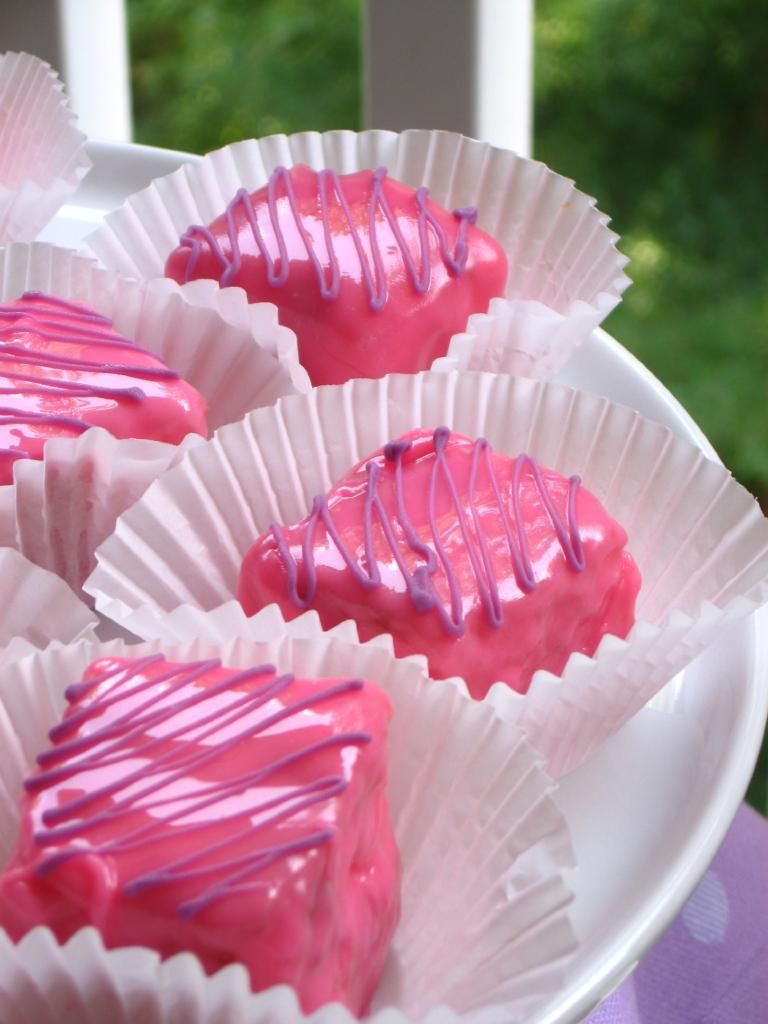
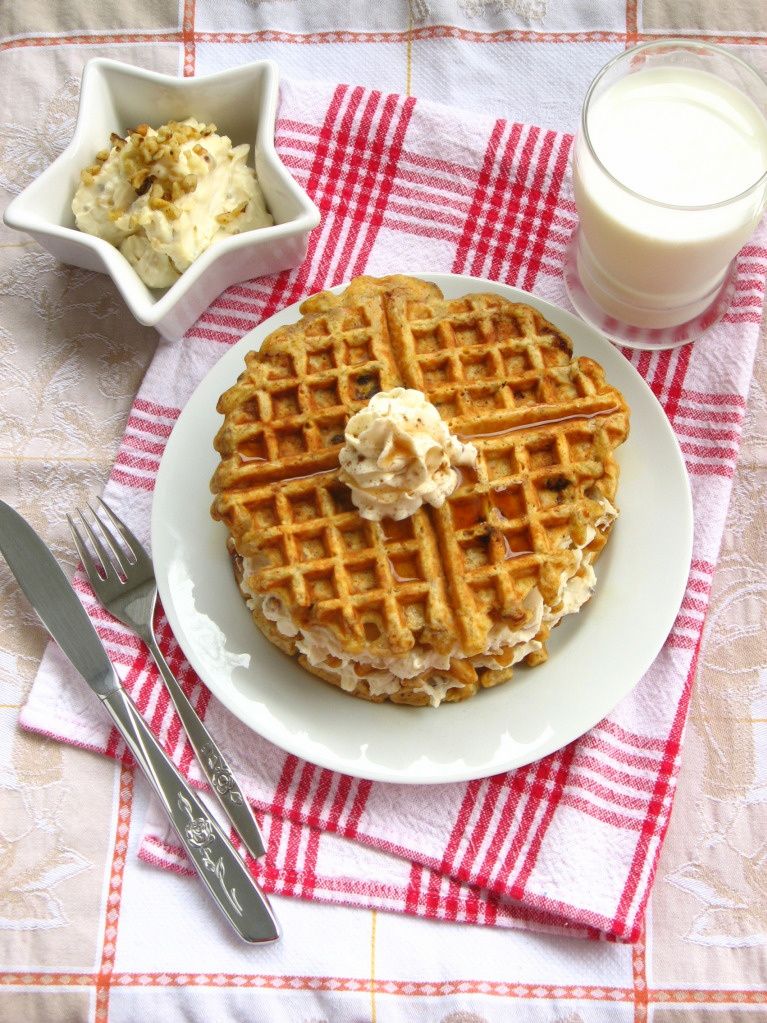
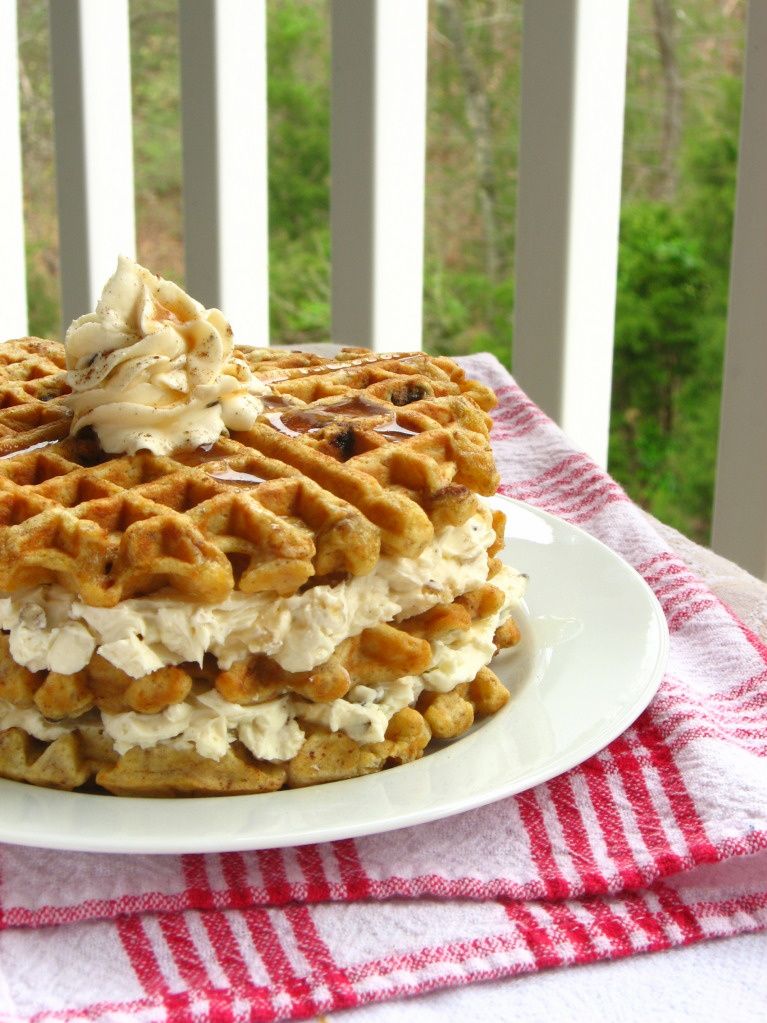
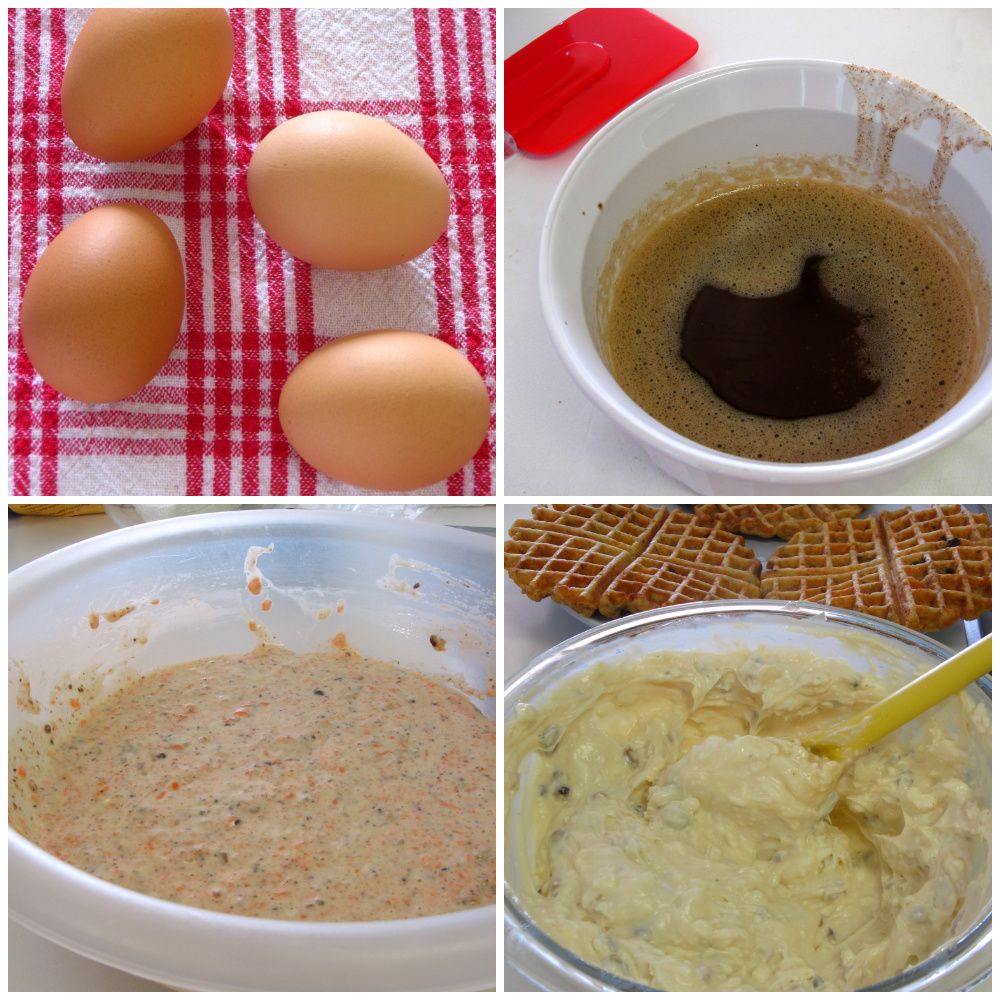
This cake is a simple, fuss-free dessert to make and serve. More importantly, though, it’s dynamite! The buttery cake base with the deep cinnamon swirl reminds me of the best sort of coffee cake, and the buttery caramel drizzle makes it gooey, just like a real honeybun. Each bite is a revelation of different flavors, since the swirl ensures you get a different proportion of cinnamon to butter cake with each forkful. In short: YUM.

Regarding the recipe, it calls for a box cake mix. I’m not a box mix snob — I’m of the camp that says use a box mix if you feel like it, and don’t use one if you don’t feel like it. Frankly, box mixes taste great. The only argument against them that resonates with me is the fact that they contain preservatives and artificial flavorings, but really, y’all, we’re making a honeybun cake — exactly how healthy do you think you could make this thing? (answer: not very.) We eat dessert in moderation anyway (ahem).
That being said, I prefer to make things from scratch. One reason is because I feel like people are too far removed lately from the raw ingredients of their meals, and have decided that baking or cooking from scratch is intimidating. A primary message of my blog is that cooking from scratch isn’t scary — that anyone can do it. Another reason I cook from scratch is just because I like to. Simple!

from-scratch version
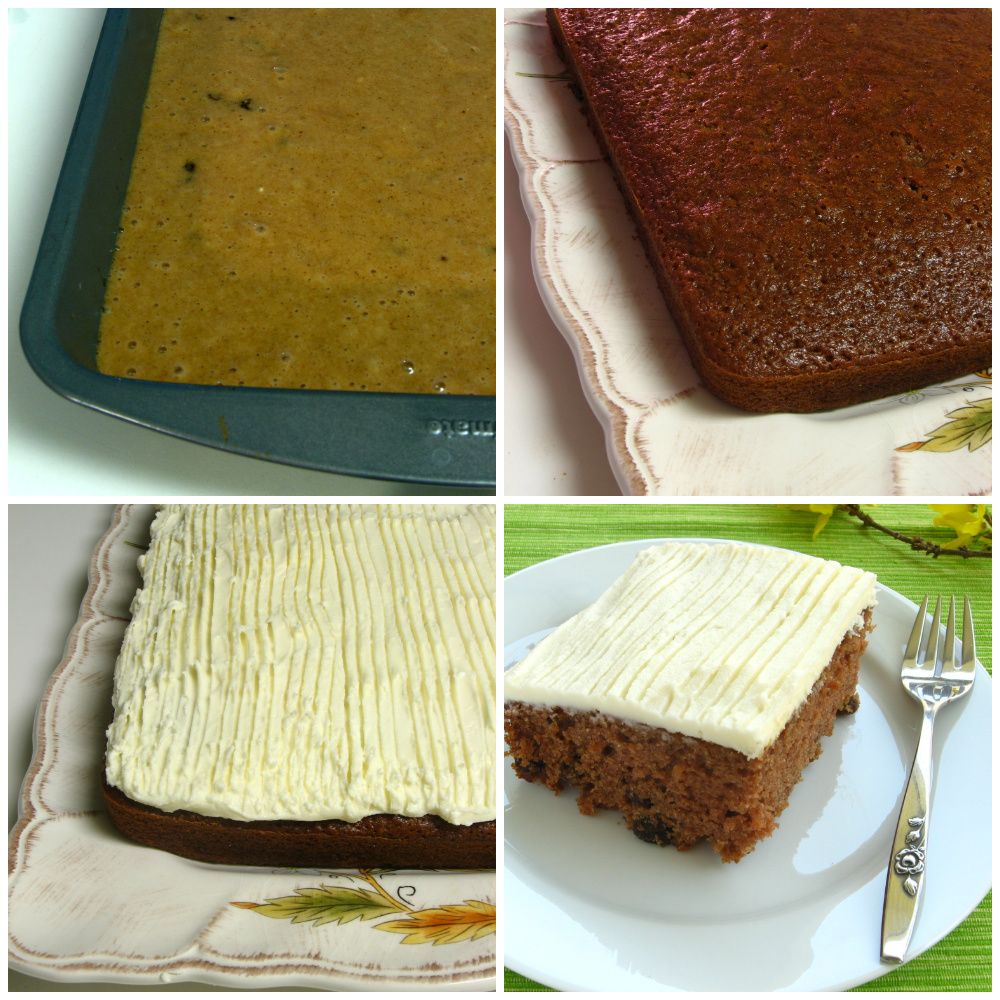
For this cake, I tried it two ways. I didn’t set out to try it two ways, mind you, but that’s how it ended up happening! First, I tried baking it with a homemade cake mix. Turns out that recipe’s proportions were off somehow. The cake overflowed a bit, and was gooey in the center while done on the sides. Disappointed and in need of a dish for a school potluck, I grabbed my roommate’s box of butter cake mix and hastily remade the cake.
When my second cake was in the oven, though, I realized that my first cake was actually lookin’ pretty delicious despite being wonky. If anything, the slightly undercooked middle was appealingly moist. Just like that, I had two cakes — and the perfect setup for a box mix versus homemade comparison!

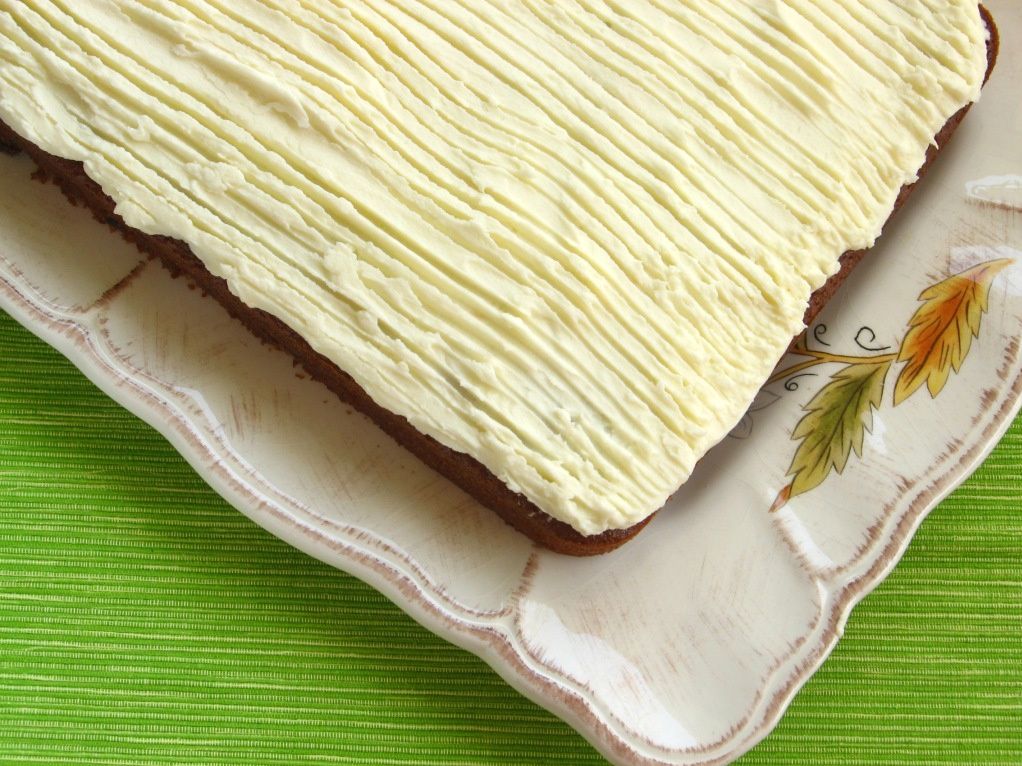
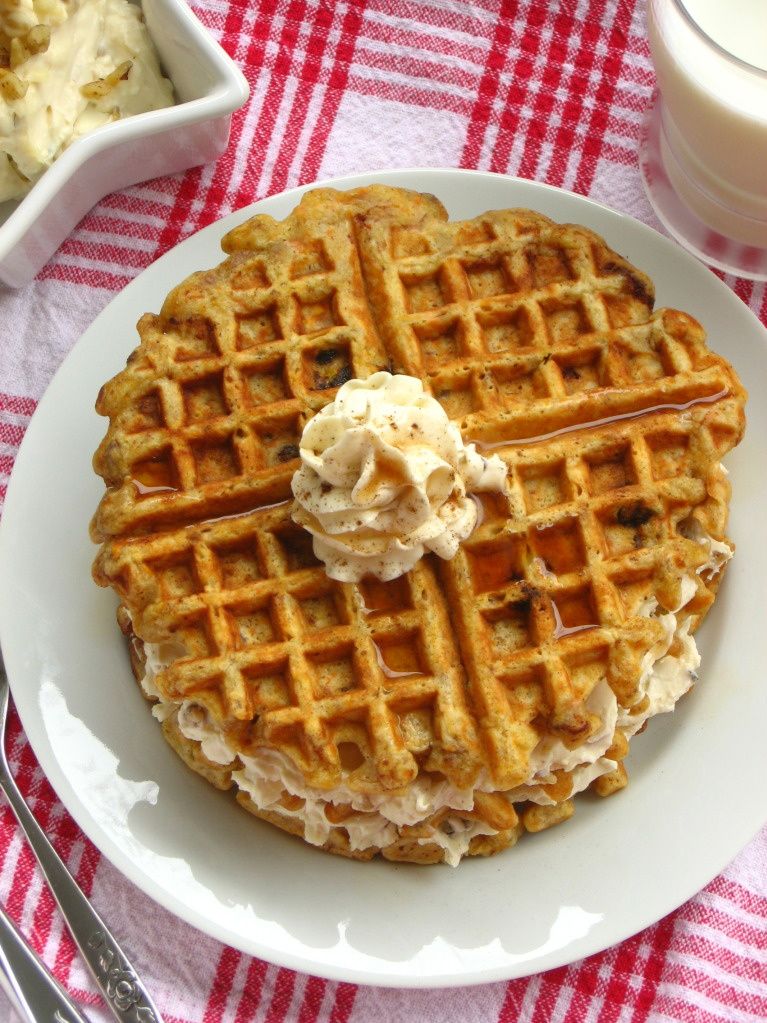
box mix version – note the yellow!
So which did I like better? Honestly, it was a very close call. The box mix has a more pronounced butter flavor that was delicious, but did taste artificial. The homemade cake had a deeper from-scratch flavor, but wasn’t as buttery. In the end, I think I preferred the homemade version, but with such close results, you can feel comfortable going either way. If you do use the homemade cake mix, though, be prepared for the wonky manner in which is bakes — and maybe line your oven with foil to guard against spills.
What about you – do you use box cake mixes? Why or why not?
Honeybun Cake with Caramel Sauce
Recipe by: My friend Lora and Martha Stewart (caramel sauce)
Yield: one 9 x 13 inch cake; serves about 12-15 depending on size of pieces
Cake Ingredients:
1 box butter recipe yellow cake mix (or 1 recipe homemade cake mix, below)
4 eggs
1 cup milk
3/4 cup vegetable oil
1 cup sugar
2 tablespoons cinnamon
1 cup brown sugar
Caramel Sauce Ingredients:*
3/4 cups sugar
1/8 cup water
1/2 cup heavy cream
1/8 cup creme fraiche or sour cream
1/4 teaspoon pure vanilla extract
Pinch of coarse salt
Directions:
Make caramel sauce first. Prepare a bowl set in an ice-water bath. Place sugar and water in a saucepan and heat over medium-high heat until it boils and the sugar is dissolved. Throughout this process, use a wet pastry brush to wash down the sides of your saucepan often to prevent crystal formation. Reduce the heat to medium and cook until the mixture reaches 345 degrees on a candy thermometer (begin swirling gently when you see hints of amber, so the sugar cooks evenly), about 5-7 minutes. Immediately remove from the heat and add cream carefully (the mixture will bubble up) while whisking constantly. Return mixture to medium heat until it boils and sugar melts.
Remove from heat, and pour into the bowl set in your ice-water bath. Let the caramel cool, whisking often, for 10 minutes before whisking in creme fraiche, vanilla, and salt. Cover and refrigerate at least 2 hours before serving over heated honeybun cake. Can store in the refrigerator for up to 5 days.
To make honeybun cake, preheat oven to 200 degrees F. Mix together homemade or store-bought cake mix, eggs, milk, sugar, and oil. Pour this mixture into a greased 9 x 13 inch baking pan. Mix cinnamon and brown sugar together and sprinkle this mixture over the batter. Use a fork to swirl the batter over the entire cake, going to the bottom of the pan, until it is well-swirled. Bake cake at 200 degrees F for 20 minutes before increasing the temperature to 300 degrees F and baking for an additional 30 minutes. Drizzle caramel sauce over hot pieces of cake.
*(Alternate glaze, if you’re not a caramel fan (though that is some phenomenal caramel, y’all, and very easy to make with a candy thermometer! Glaze: mix 1 cup powdered sugar, 2 tablespoons milk, 1 teaspoons vanilla and pour over hot cake.)
Homemade Cake Mix
Recipe by: My Kitchen Cafe
Yield: one box mix worth
NOTE: as mentioned in the post above, this recipe bakes wonkily in a 9 x 13 in. pan. Visit My Kitchen Cafe to read her note about it. I still think it’s worth making, since mine turned out delicious, but do line your oven with foil and watch that the sides of the cake don’t burn while you’re waiting for the middle to finish cooking.
Yellow “Cake Mix” Cake Ingredients:
2 cups granulated sugar
1 1/2 cups all-purpose flour
1 1/2 cups cake flour
1/2 cup nonfat dry milk powder
1 tablespoon baking powder
1 teaspoon salt
16 tablespoons butter (2 sticks), cut into 1/2-inch pieces and chilled
1 tablespoon vanilla extract
2 teaspoons imitation butter flavor
Directions:
Pulse sugar, flours, milk powder, baking powder, and salt in a food processor for 15 seconds to combine. Add butter, vanilla, and butter flavor and pulse until the mixture resembles coarse meal (much finer than, say, a pie crust). Freeze the dry mixture in a zipper-lock bag for up to 2 months or use immediately in recipe above.

If you liked this post, please:
–Subscribe to Willow Bird Baking
–Follow Willow Bird Baking on Twitter
–Follow Willow Bird Baking on Facebook
–Give this post a thumbs up on StumbleUpon


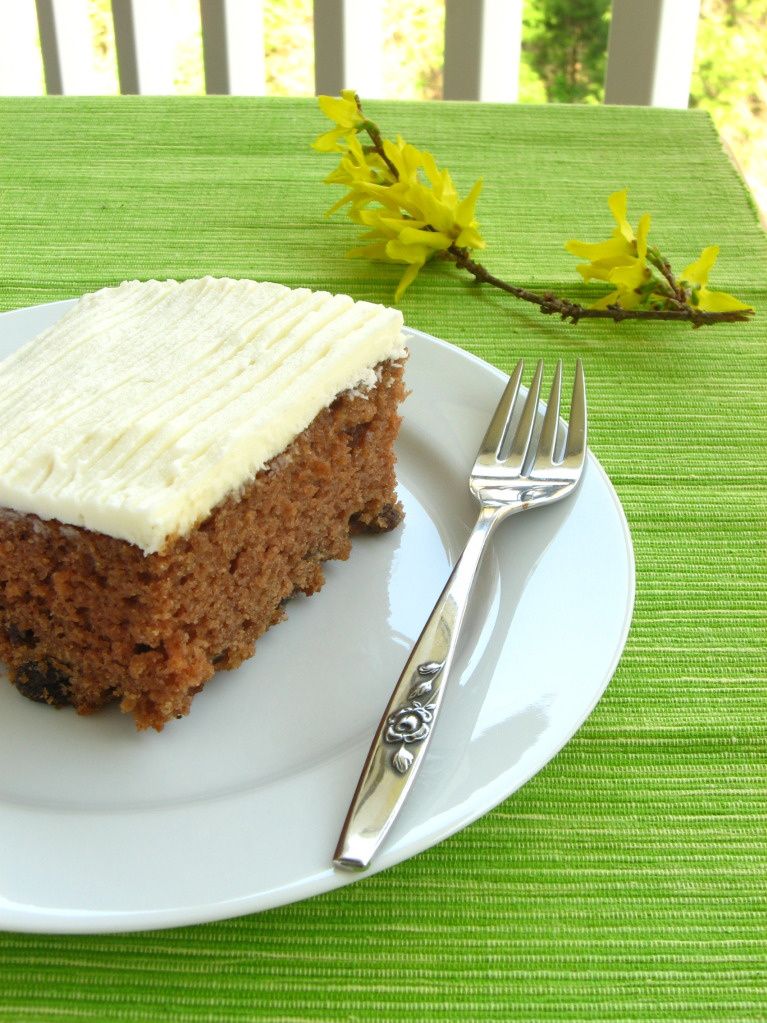
 Yay, SPRING!!