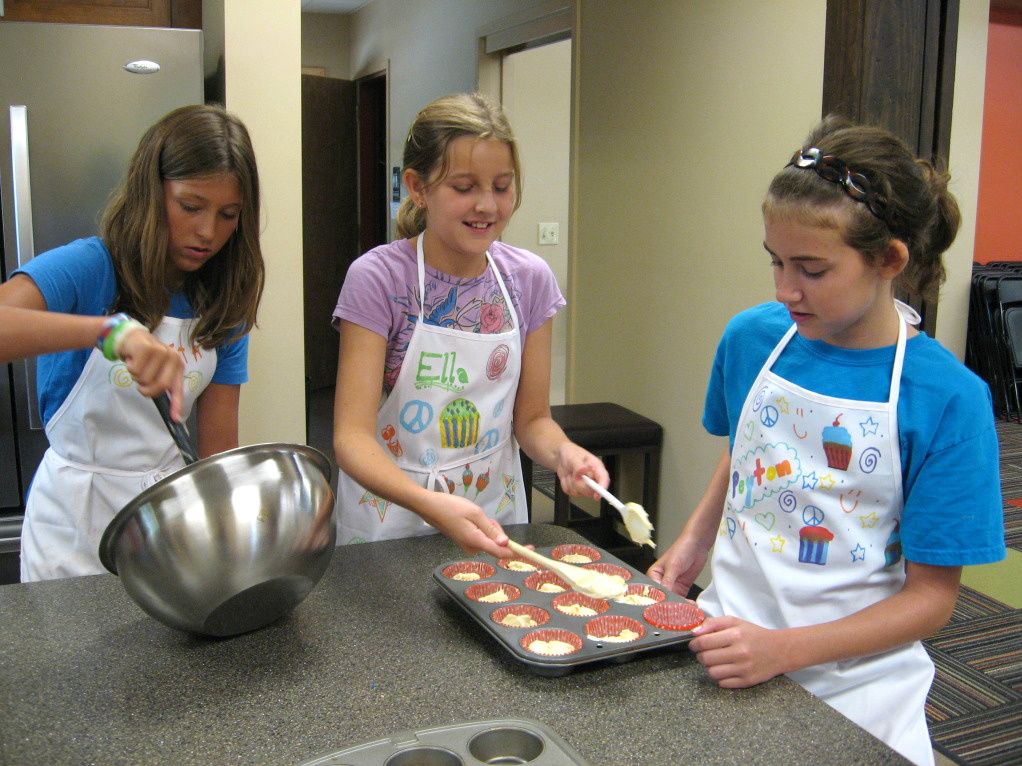
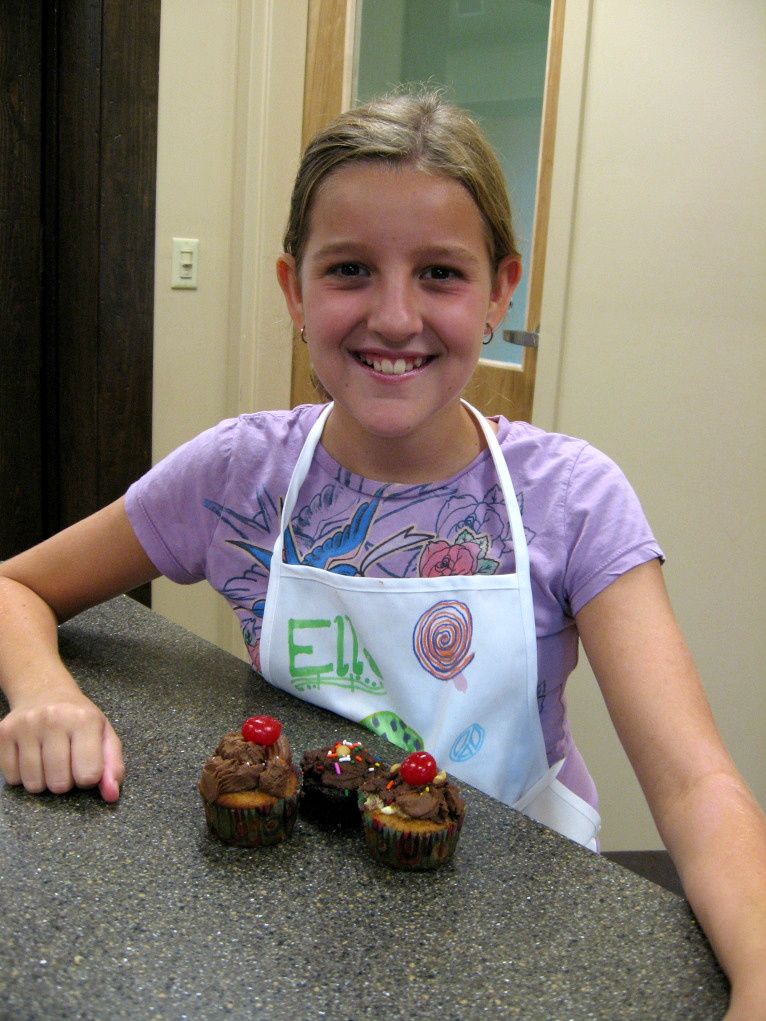
It’s Cupcake Week on Willow Bird Baking! Cupcake Capers was a 5-day summer camp I conducted last week wherein 5 middle school girls learned to bake, fill, and frost cupcakes. We eschewed pedestrian cupcake flavors in favor of creative combinations that I now get to share with you! Every day this week I’ll be posting fun memories and recipes from Cupcake Camp.
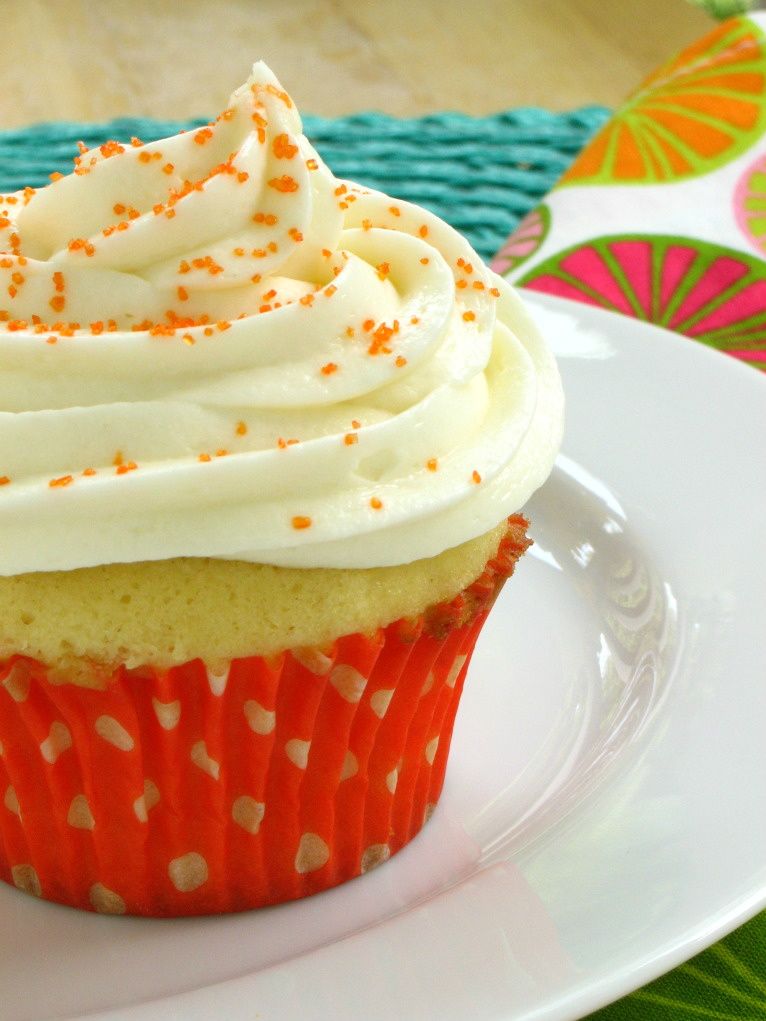
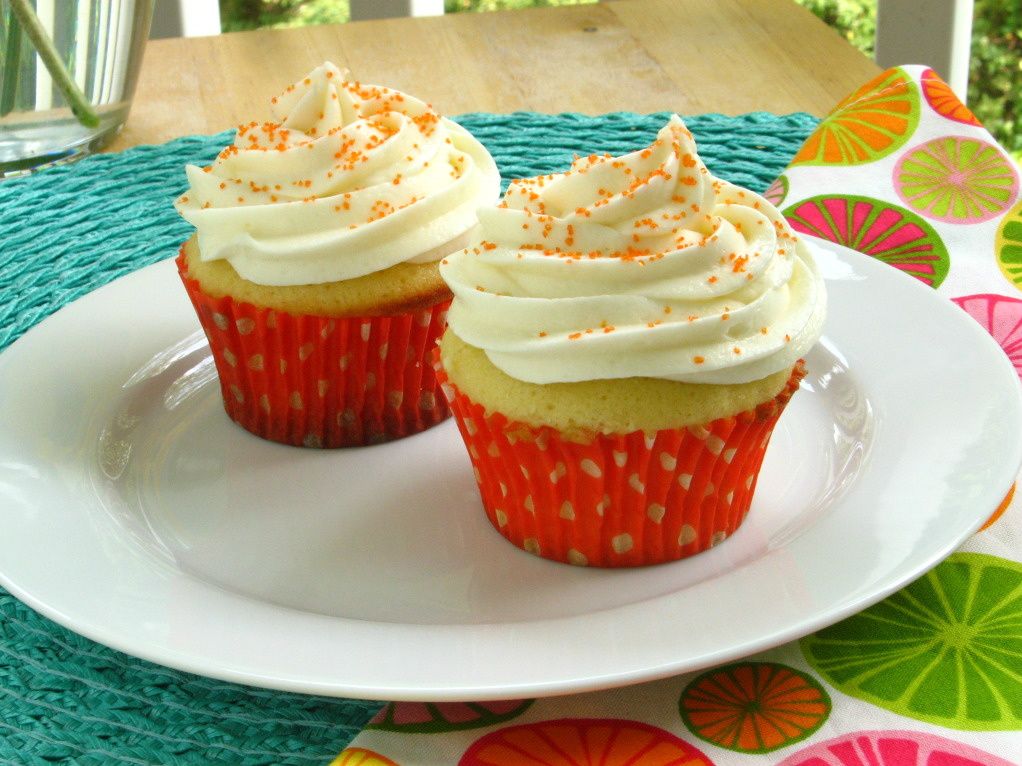
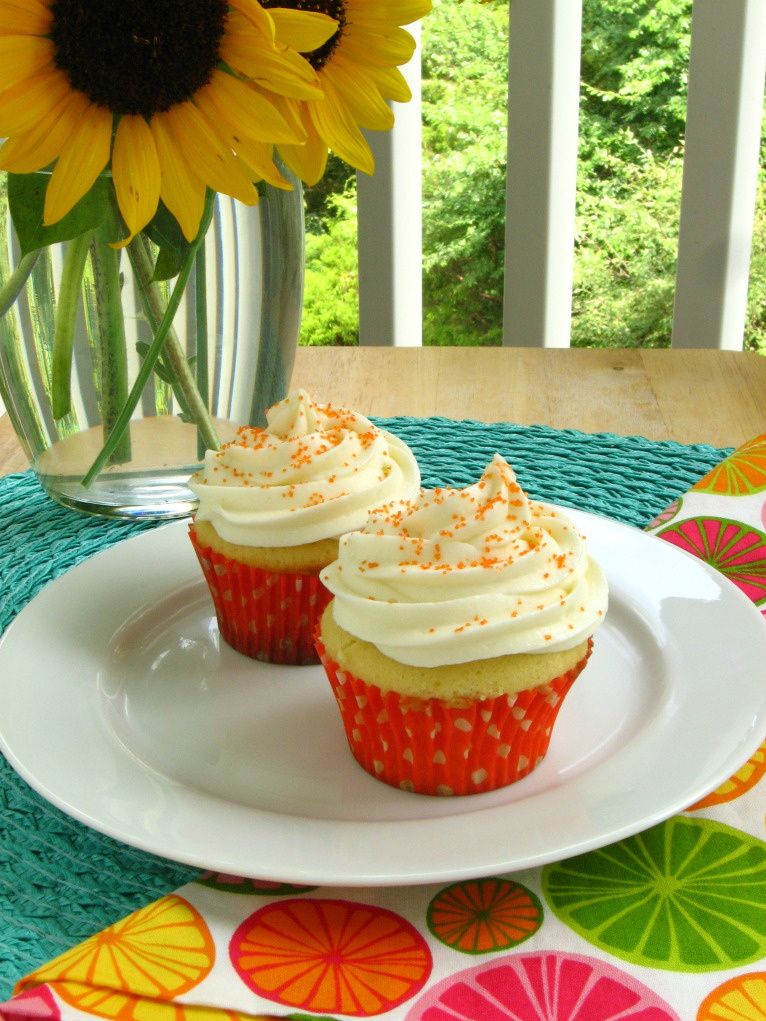
Day 3 of Cupcake Camp was a day several of the campers had been waiting for. It was Creamsicle Cupcake day.
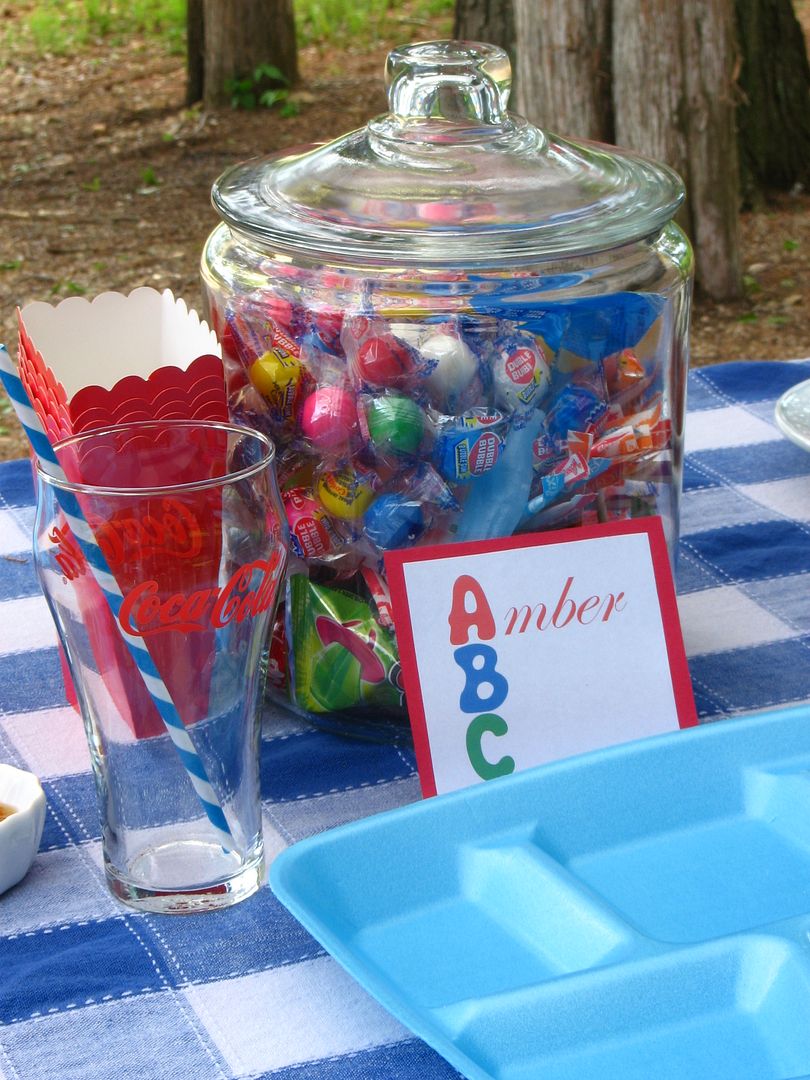
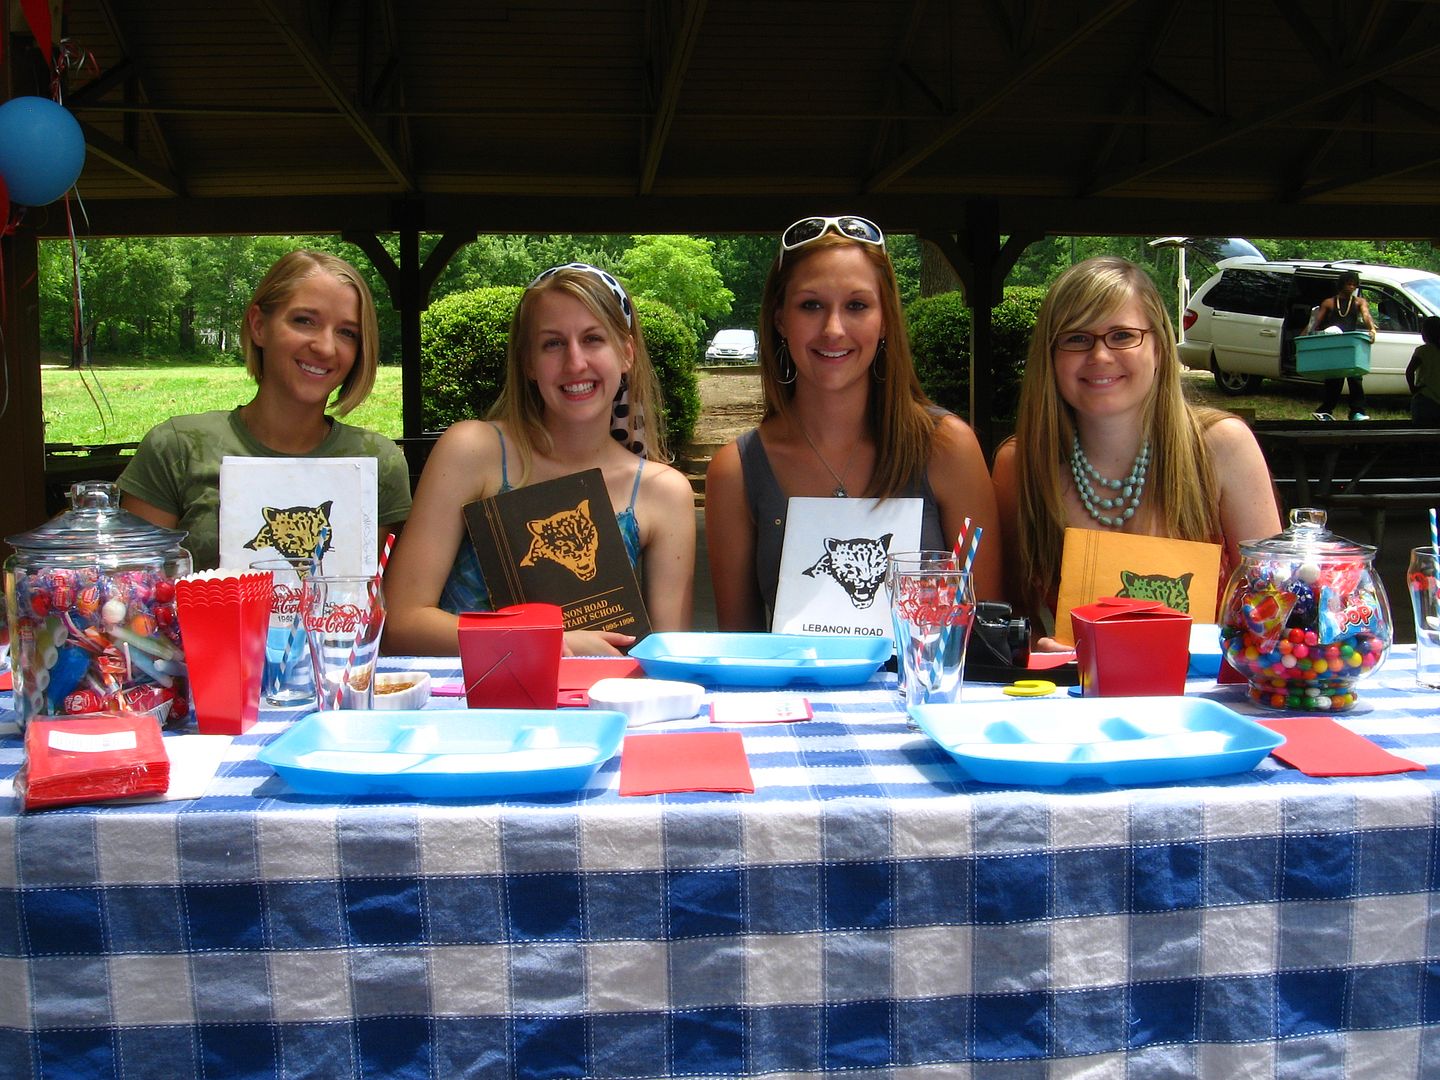
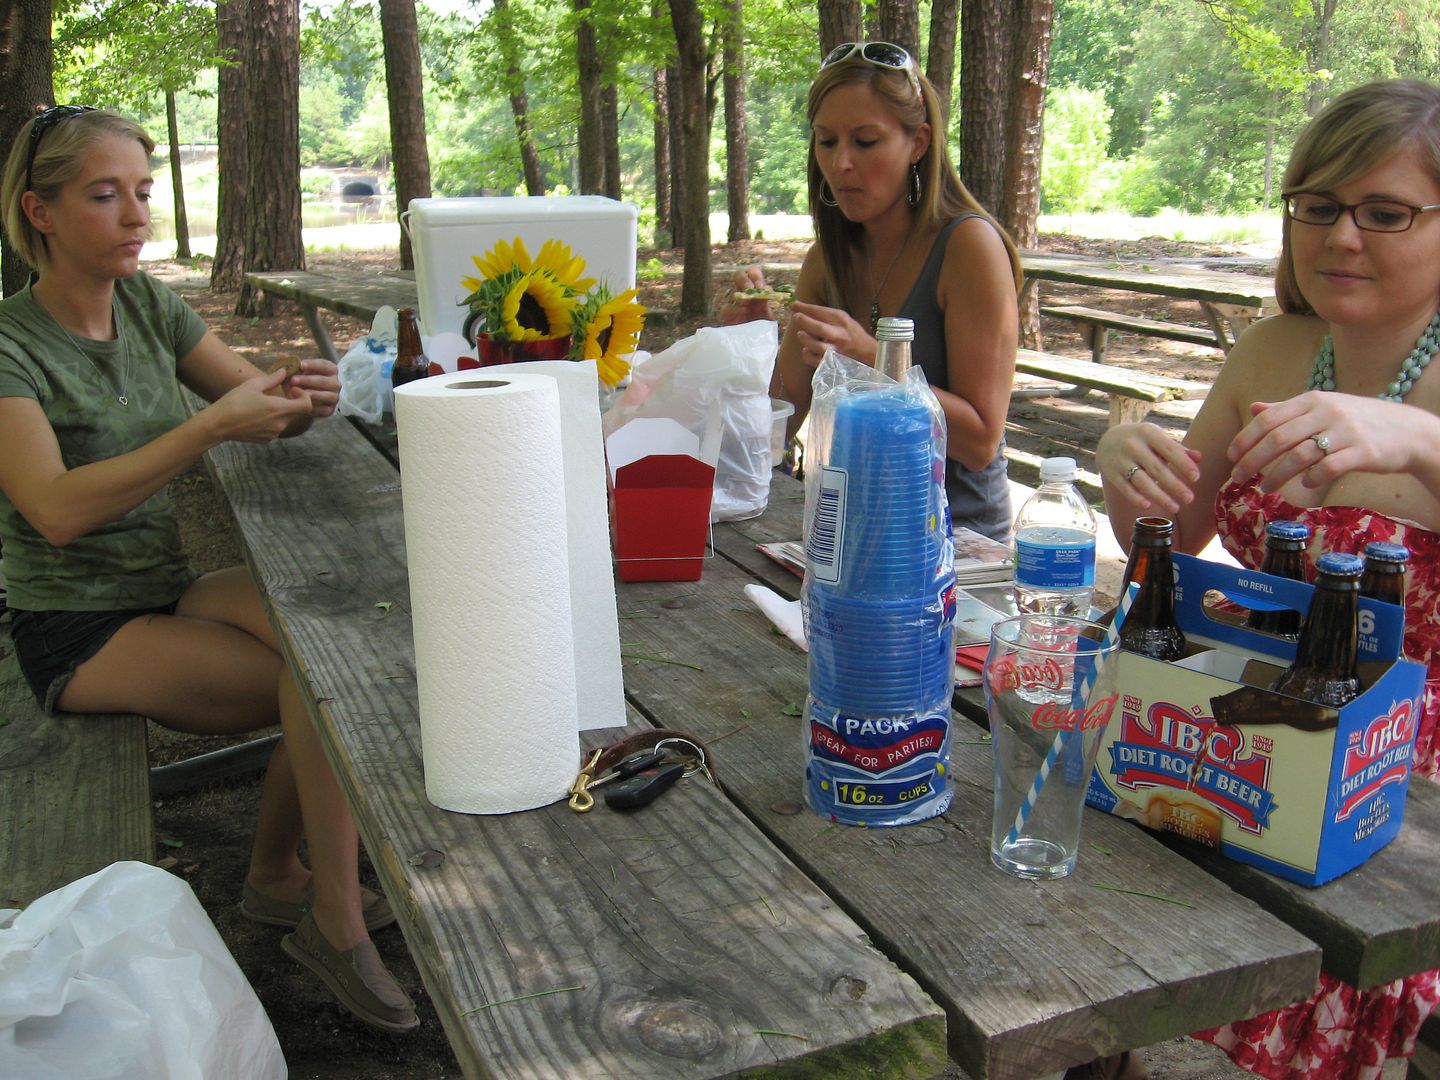
Each day at our cupcake picnic, I’d been asking the girls what they thought of the day’s cupcake and mousse. And each day, like clockwork, a few of them had been ready with the same response: “This one’s good, but I think my favorite is going to be the Creamsicle!”
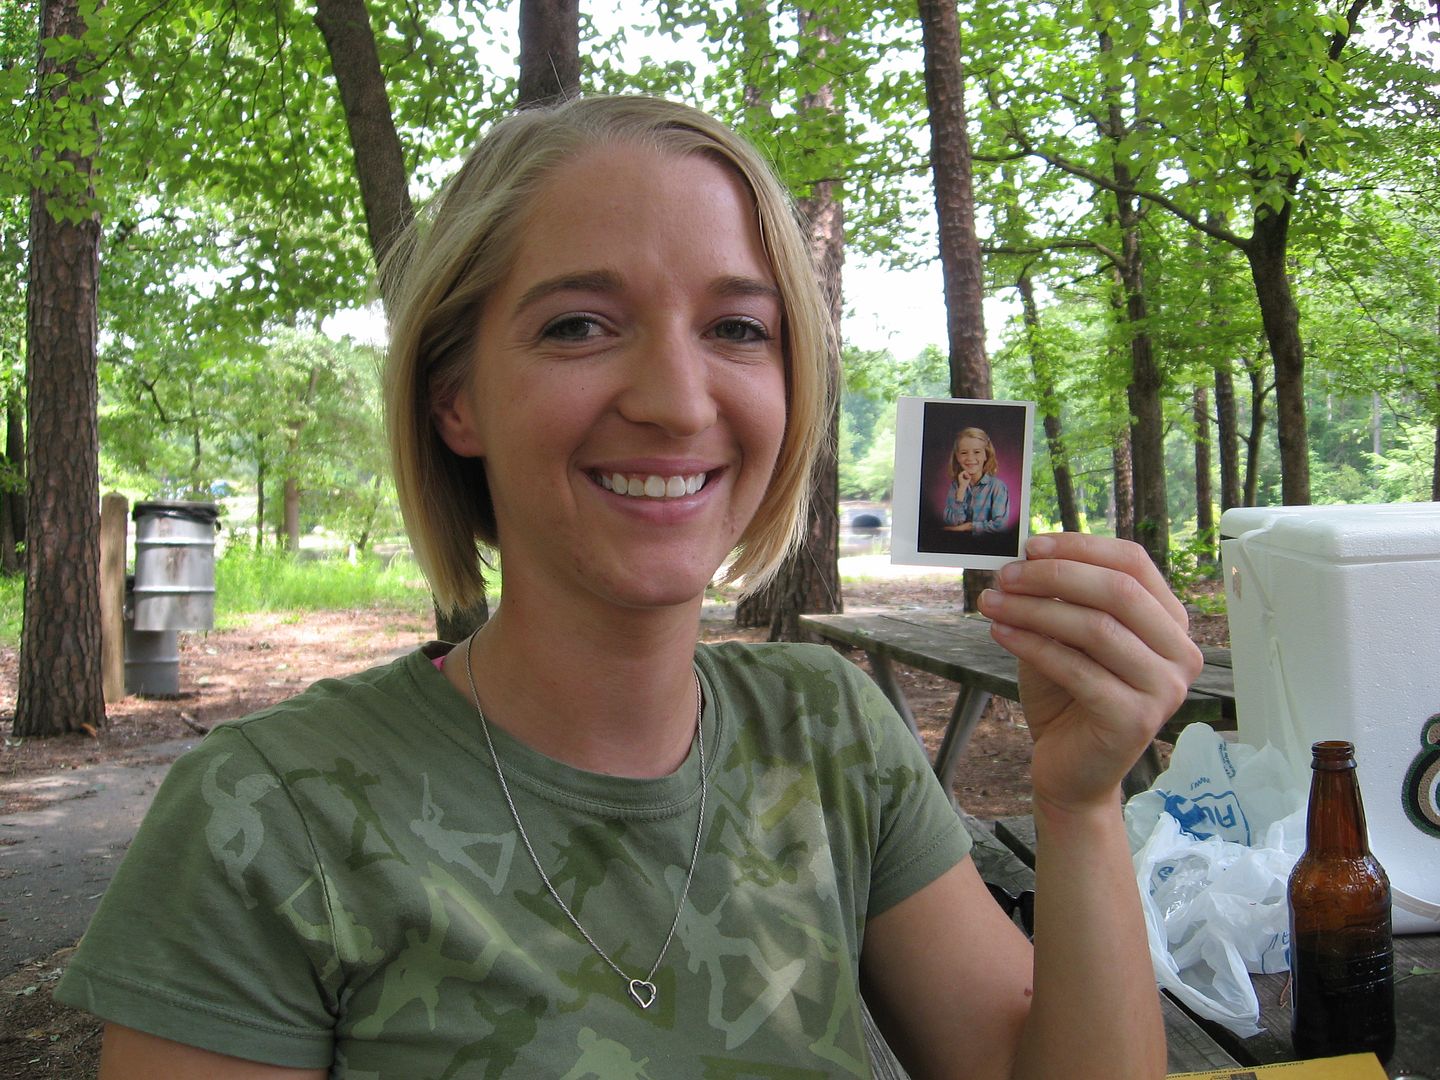
Meticulous Mary Rood and I discussed this phenomenon in the kitchen before the others arrived one morning. We agreed that it was impressive how certain they were of their favorite before they’d ever tasted it. Some of them had had the cupcakes ranked from favorite to least favorite as soon as Day 2! She wondered aloud if the Creamsicle cupcakes would live up to their expectations.
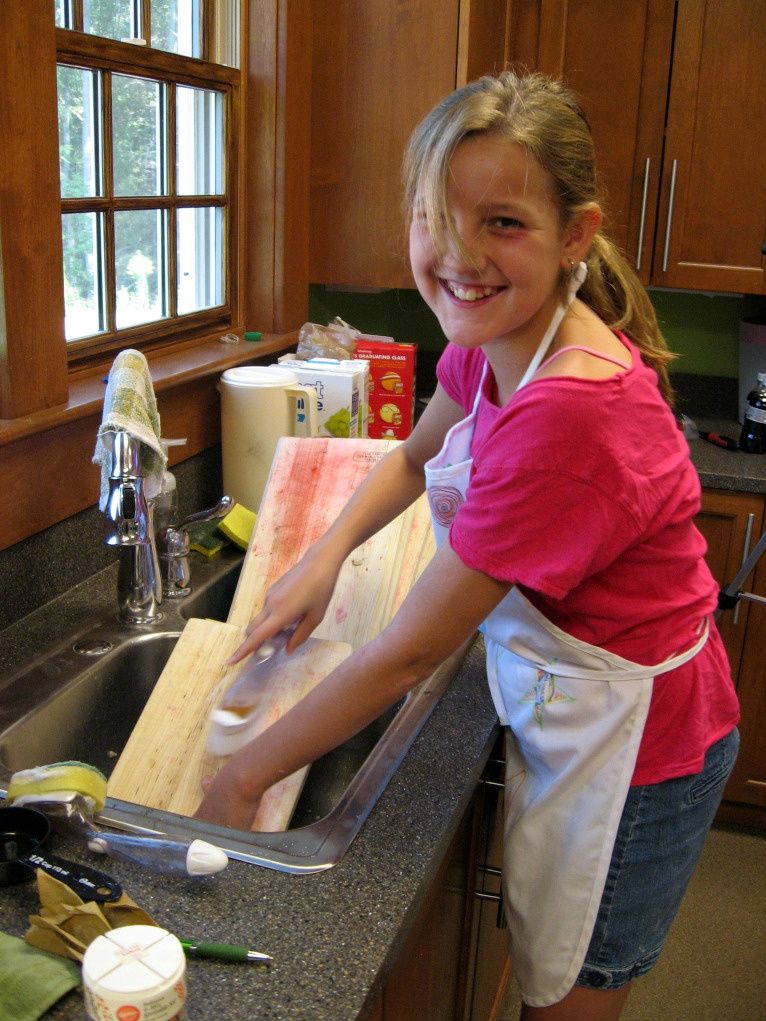

First thing’s first, though — before we could eat or even decorate our Creamsicle Cupcakes, we had an activity to complete. When all the campers had arrived, I sat them down with a list of cake flavors, filling flavors, frosting flavors, and toppings and gave them 10 minutes to come up with creative cupcake combinations of their own. Anyone can be given a book of fun recipes and whip them up, but I wanted these kids to experience what it’s like to create a new flavor.
Turns out they’re creative geniuses. Pistachio Peyton was dreaming of chocolate when she came up with her Chocolate Dream Cupcake, comprised of chocolate cake, chocolate filling, and chocolate frosting. Elaborate Elizabeth wanted to make a Fruit Punch Cupcake, while Elbow Grease Ella was excited about one covered in cashews. And these are just three examples of the almost 20 ideas they came up with!
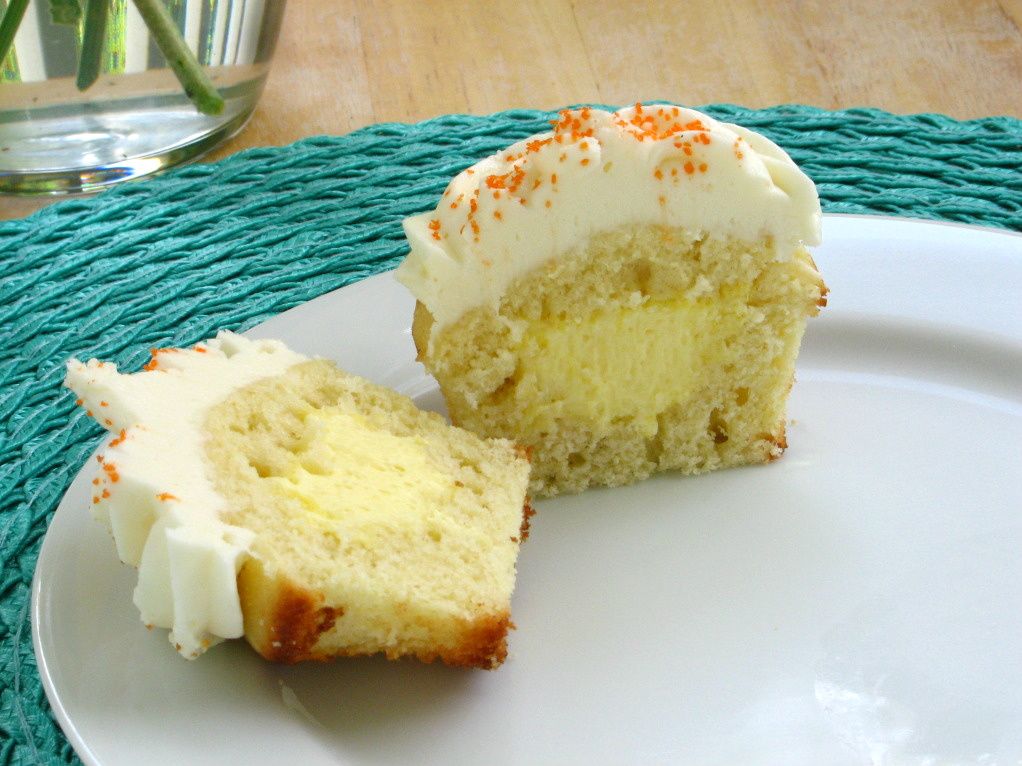
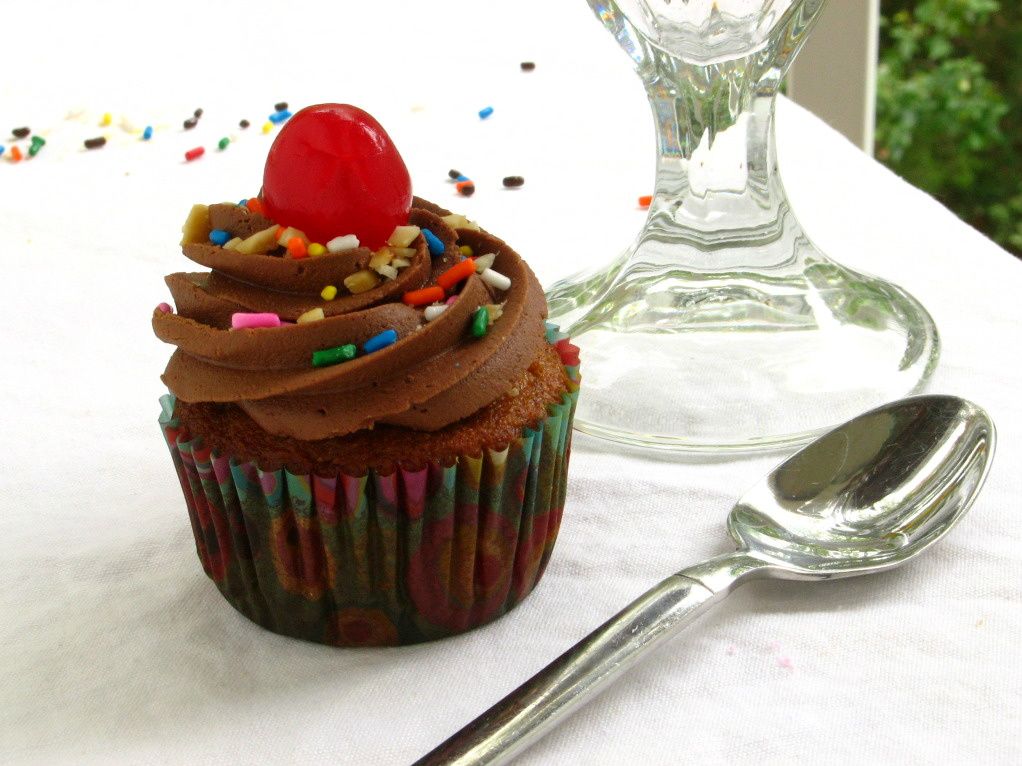
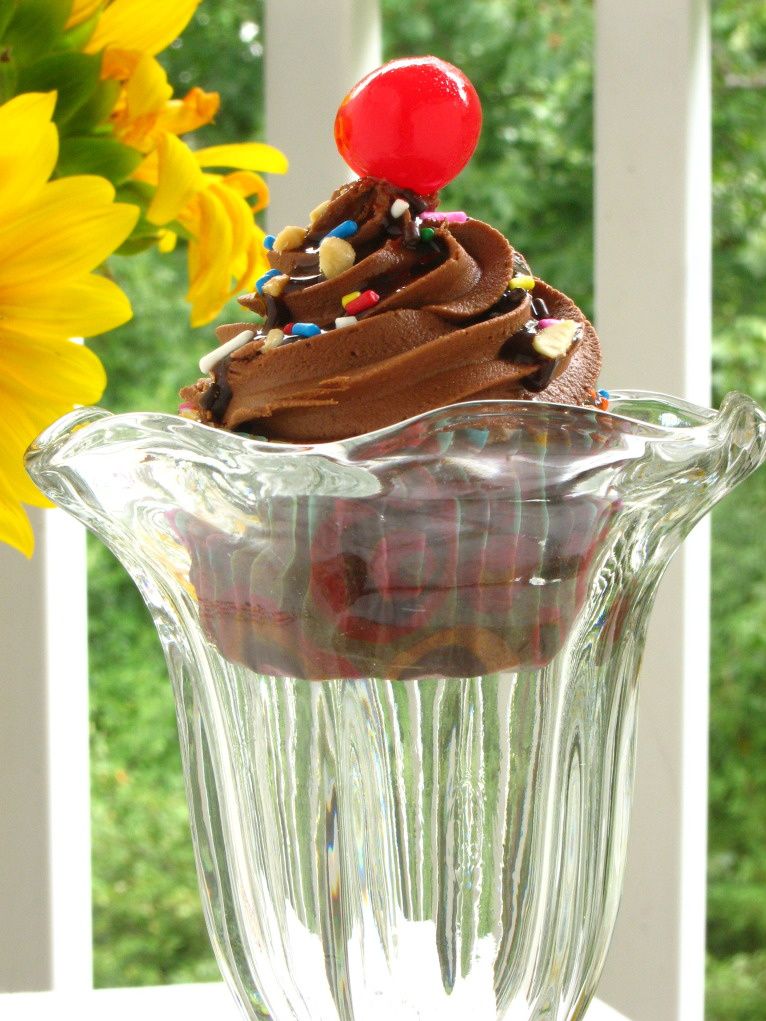
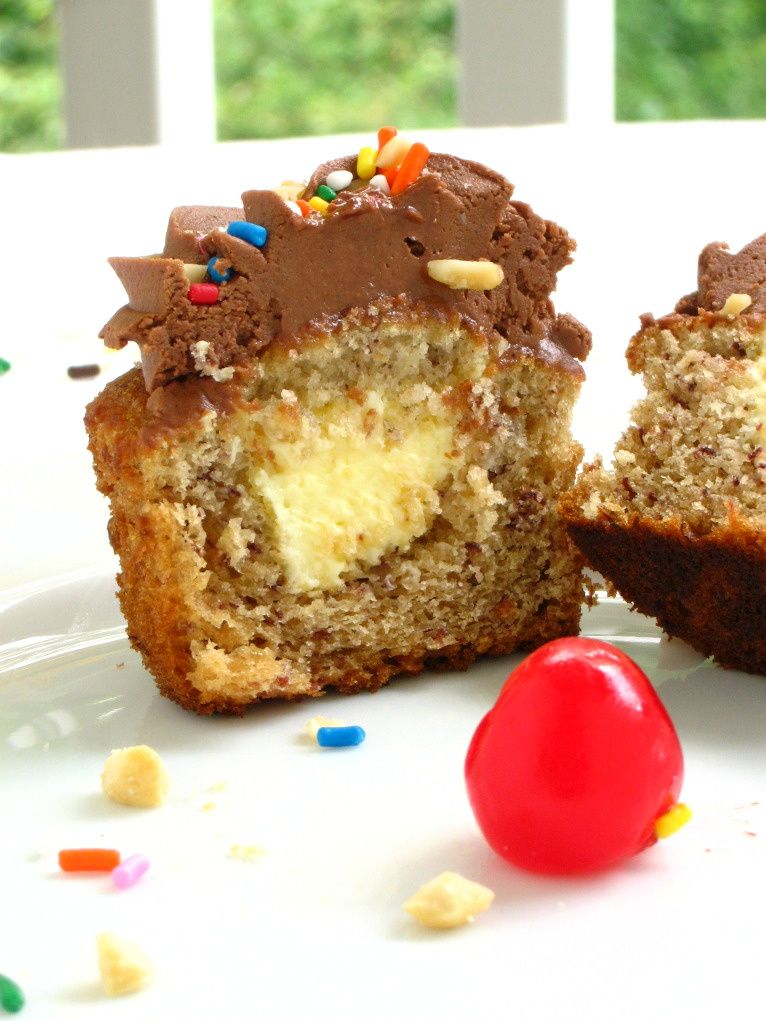
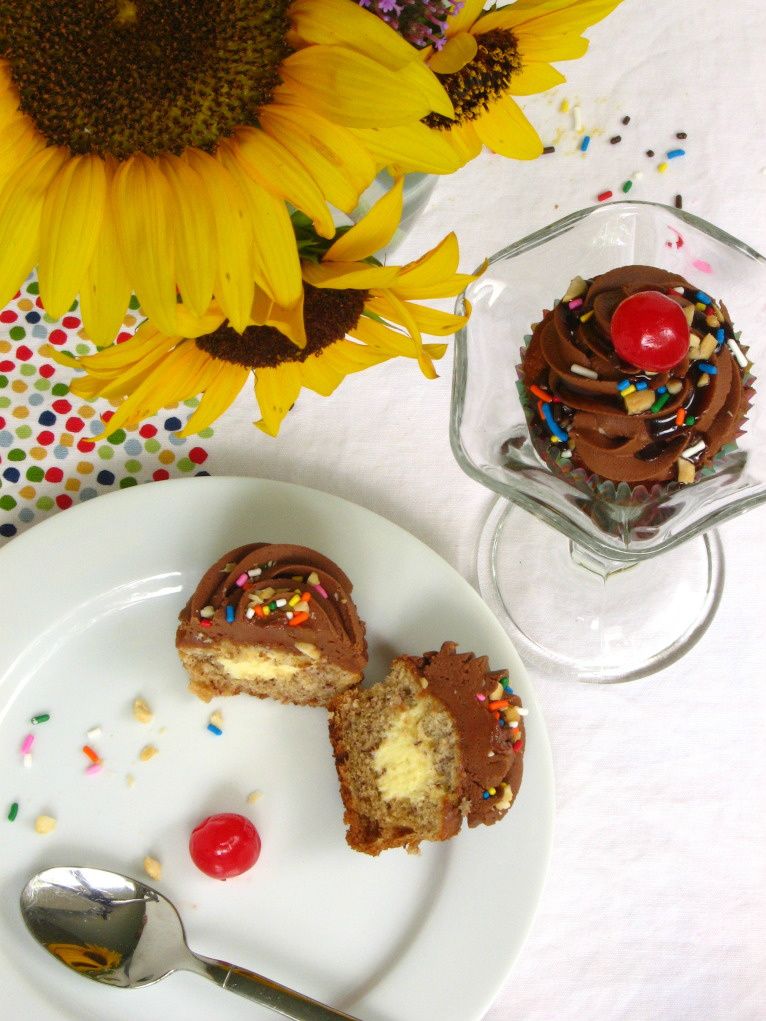
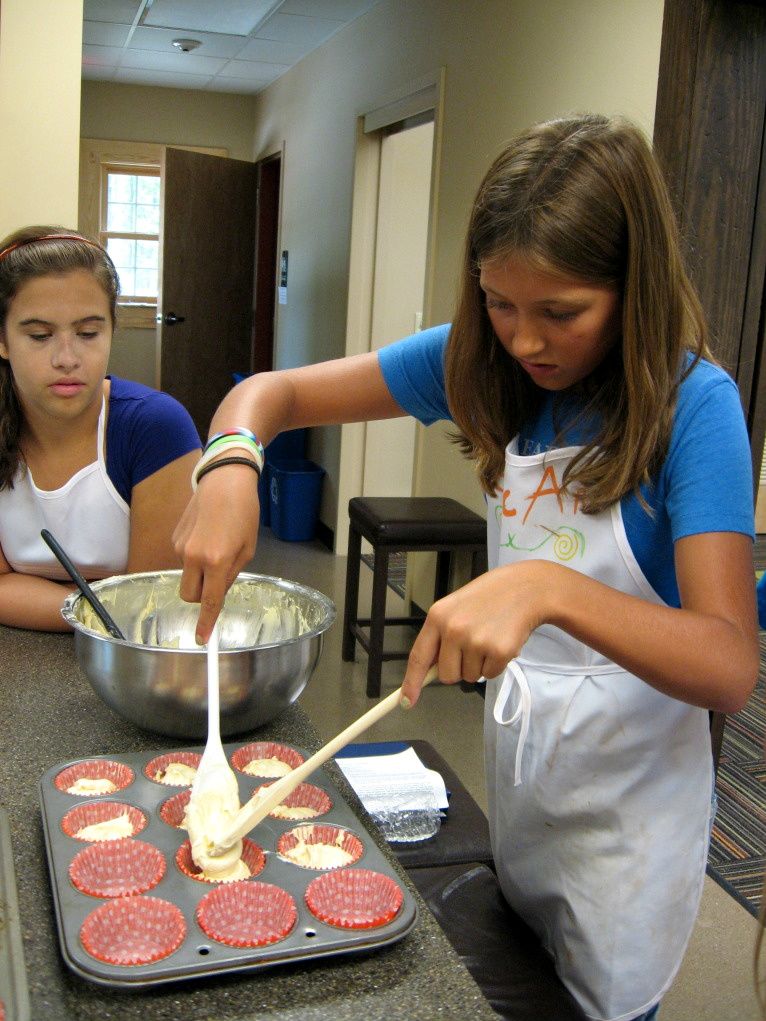
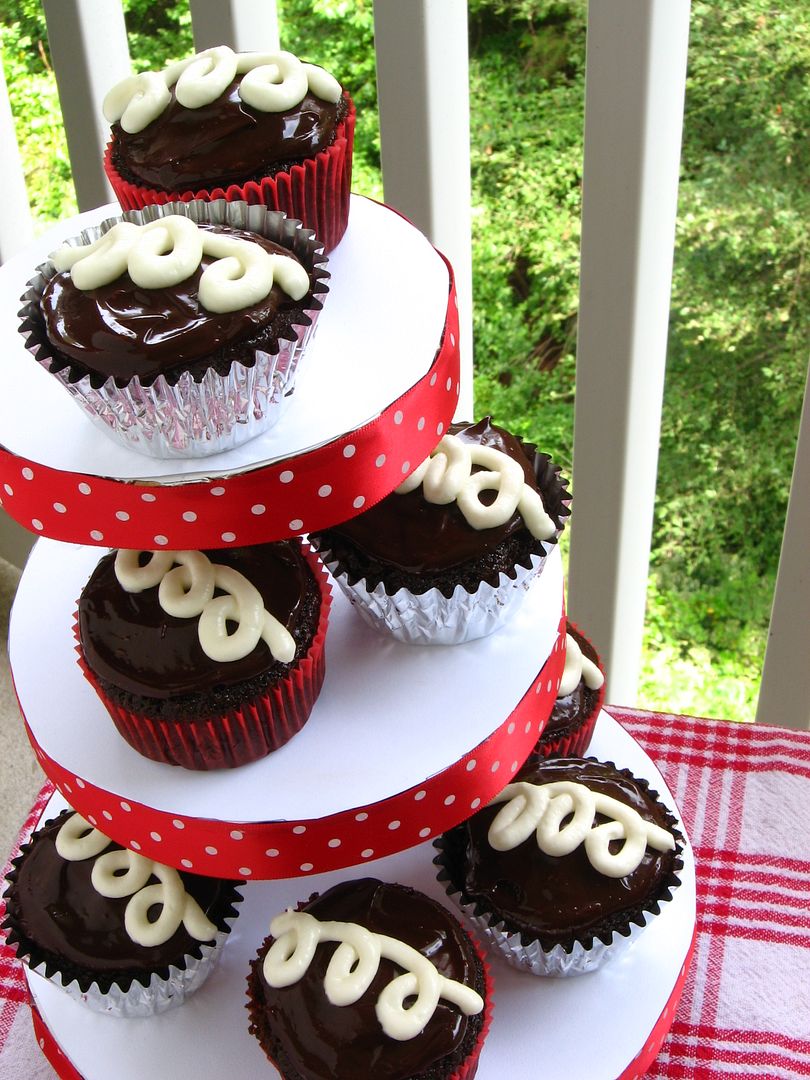
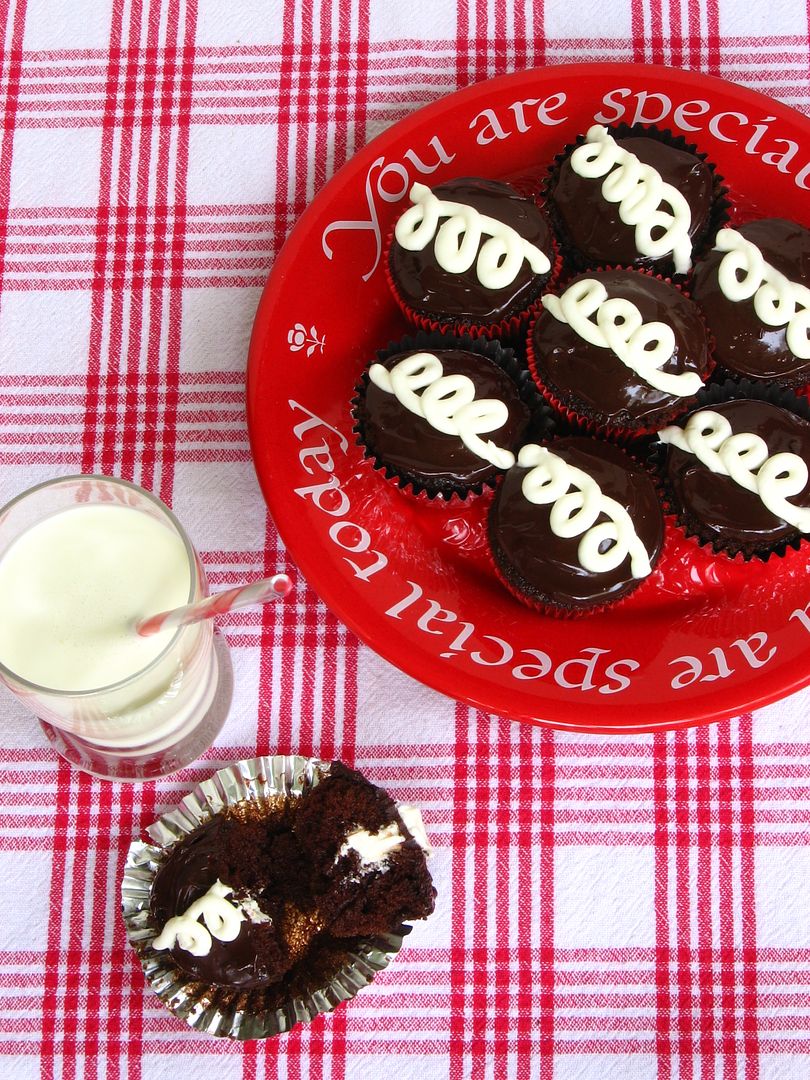
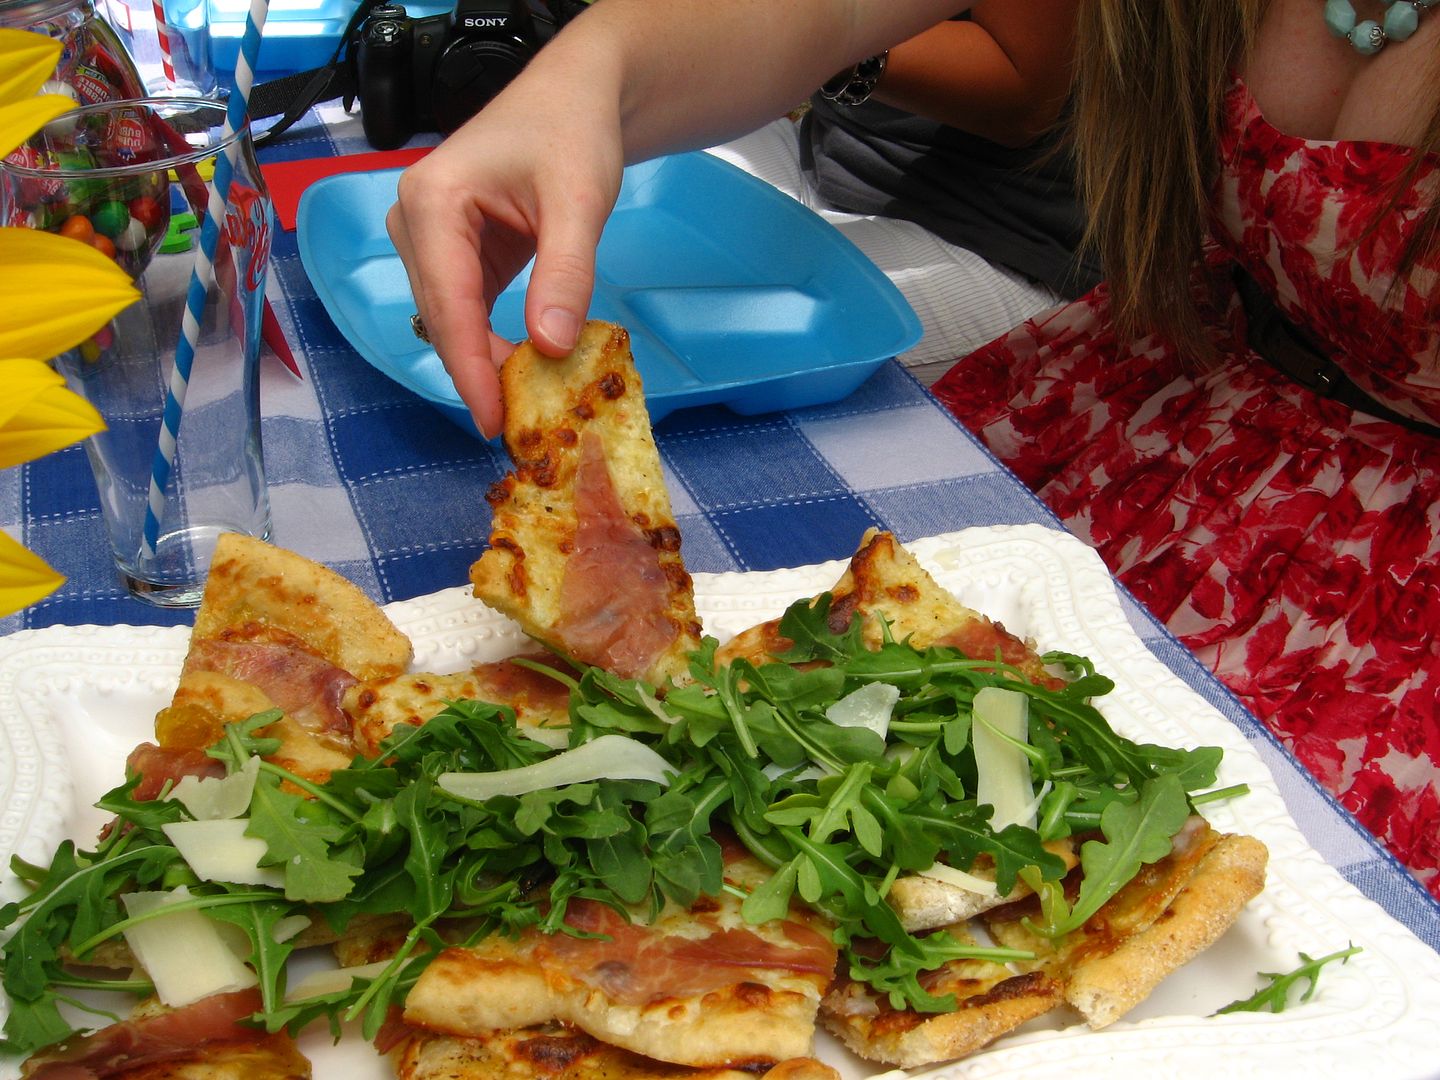
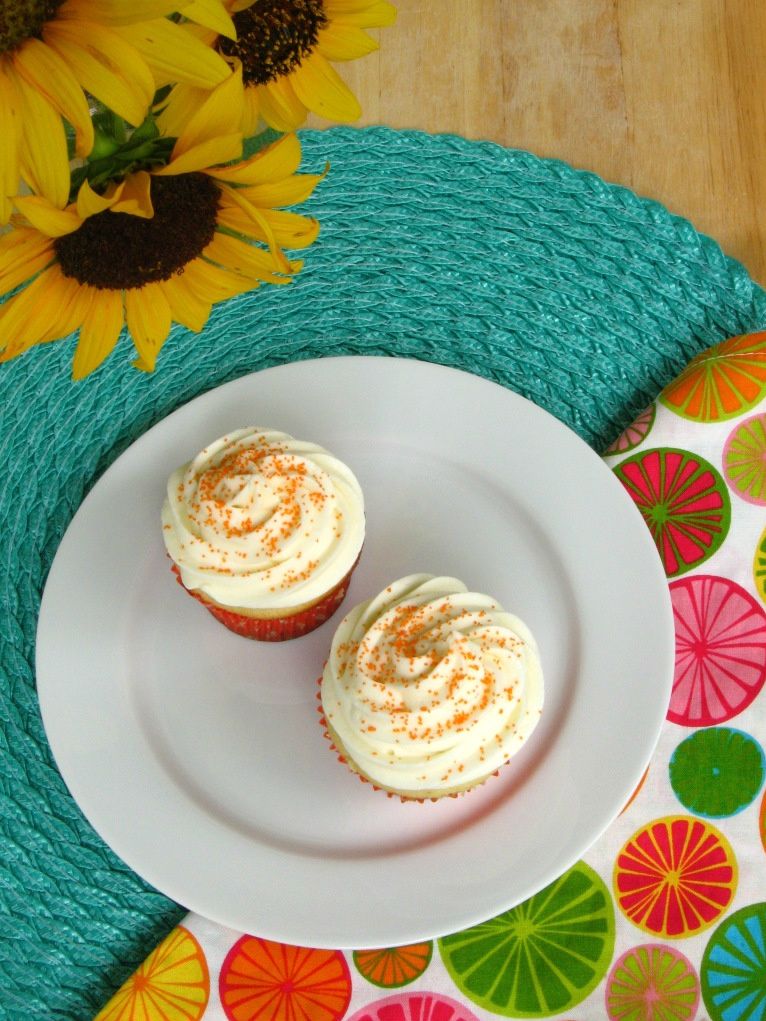
With our brainstorming complete, we set about filling our moist orange cupcakes with the easy vanilla mousse I discussed yesterday. Each camper then frosted their masterpiece with a big swirl of orange cream cheese frosting.
They were thrilled with how their piping skills had improved since Day 1 of camp, and especially with the consistency of the cream cheese frosting, which is soft and easy to pipe. They topped their cupcakes with a dusting of orange sanding sugar before refrigerating them to let the frosting stiffen up.
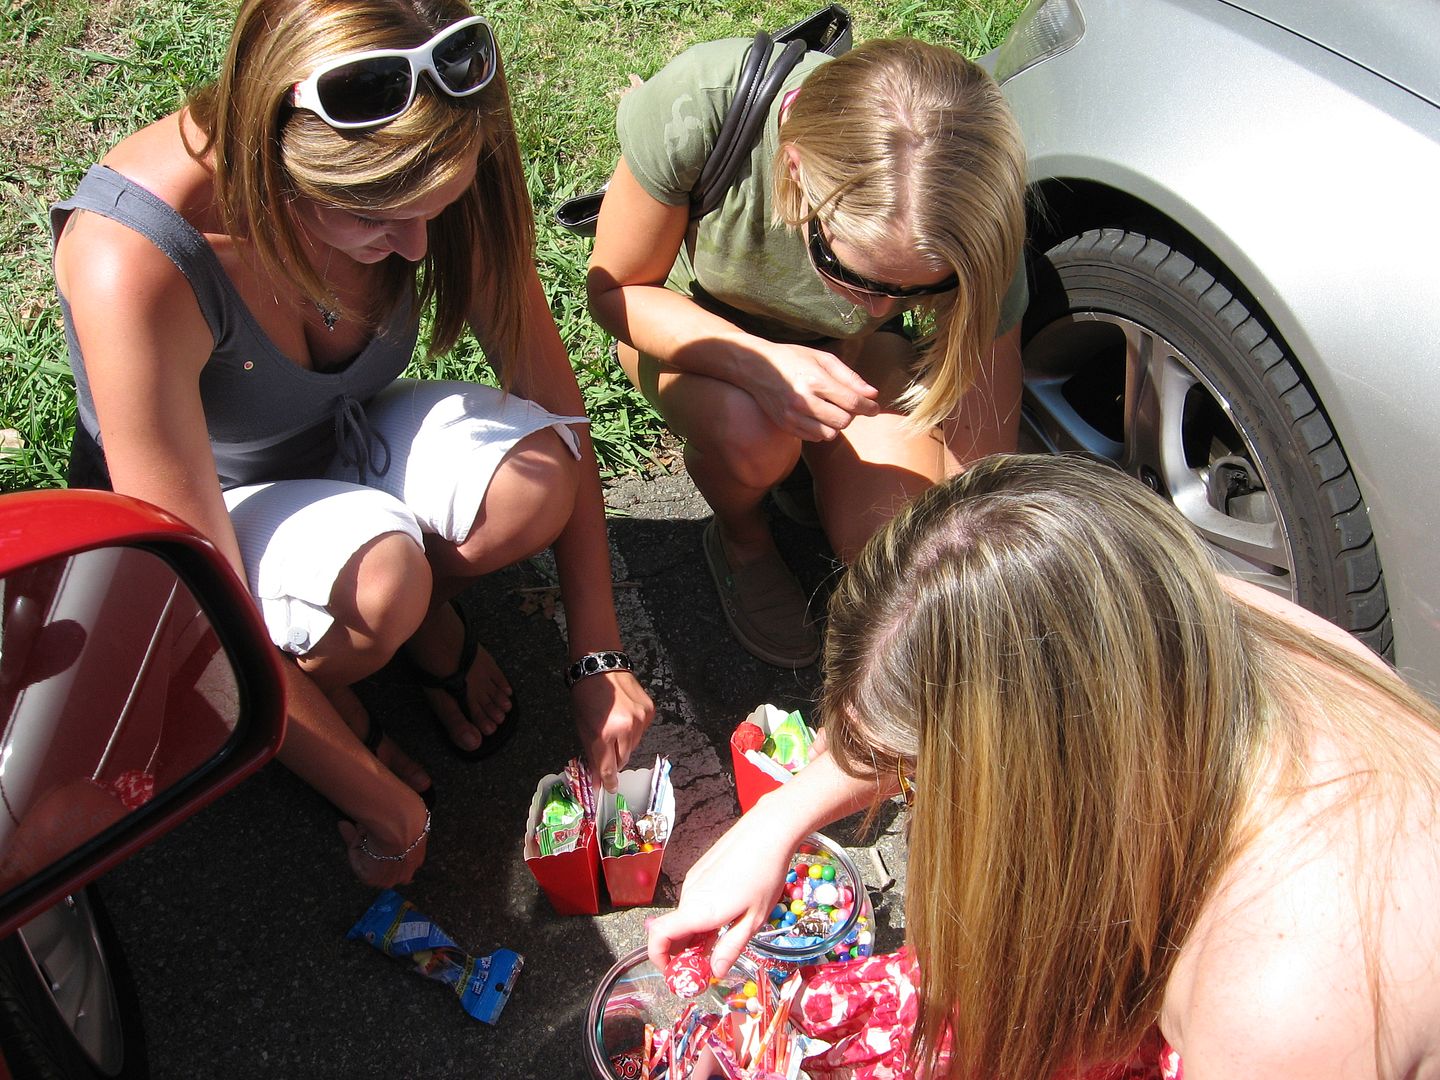
At our cupcake picnic that day, the moment of truth had finally arrived. Everyone peeled off their cupcake papers, eager to see if the Creamsicle Cupcake was as awesome as they’d imagined it to be. Five hungry mouths opened and took five gigantic first bites, and . . . silence.
Lots of silence, and lots of this:
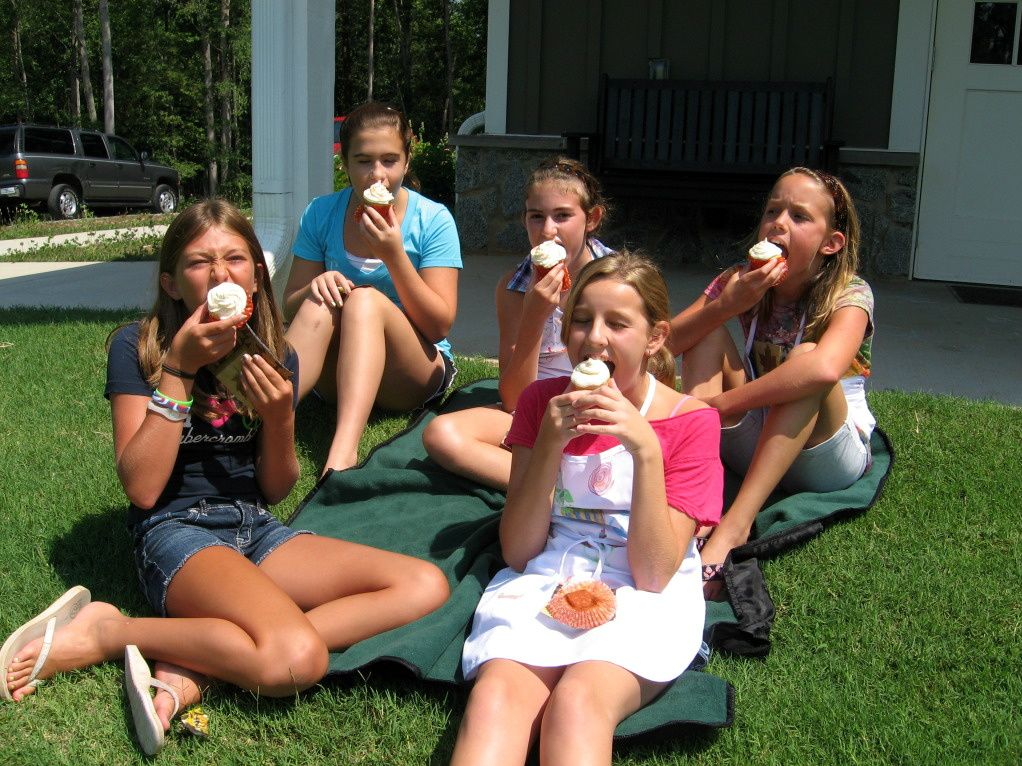
In other words, 10 middle schooler thumbs up! I have to hand it to the girls, they know how to pick ’em. I hope you enjoy these as much as they did!
What creative cupcake flavors can you imagine? Have you made any fantastic cupcake combinations lately?
Creamsicle Cupcakes
Recipe by: adapted from My Baking Addiction
Yields: about 14-16 cupcakes
Cupcake Ingredients:
1/2 cup unsalted butter, room temperature
2/3 cup granulated white sugar
3 large eggs
1 1/2 teaspoon pure vanilla extract
1 1/2 teaspoon of pure orange extract
1 1/2 cups all purpose flour
1 1/2 teaspoons baking powder
1/4 teaspoon salt
1/4 cup milk
Vanilla Mousse Filling Ingredients:
1 cup milk
1 cup heavy cream
1 (4 serving) package vanilla Instant Pudding Mix (not Cook & Serve)
Orange Cream Cheese Frosting Ingredients:
1 8-ounce package of cream cheese, room temperature
1/2 cup (1 stick) butter, room temperature
1/2 teaspoon clear vanilla extract
1 teaspoon orange extract
4 cups confectioners’ sugar
orange sprinkles or sanding sugar, if desired
Directions:
*Note: This recipe makes twice as much mousse as you need for filling the cupcakes. If you want to use half the pudding pack and save the rest for later, just measure it out and do so. Or use the extra mousse for another project (you know, like eating it with a spoon).
Make cupcakes: Line two muffin tins with paper liners. Preheat oven to 350°F. In a small bowl, whisk together the flour, baking powder, and salt. In a separate, medium bowl, cream butter and sugar together until light, fluffy, and pale yellow. Add the eggs in one at a time, beating after each, and then beat in the vanilla and orange extract. Add the dry ingredients in, alternating with the milk, in three additions. Begin and end by adding the dry ingredients. Scrape down the sides of the bowl periodically.
Fill the paper liners about 2/3 full of batter and bake cupcakes for 15-20 minutes or until a toothpick inserted into the center comes out with just a few moist crumbs. Remove cupcakes from the oven and let cool completely.
Make mousse: To make the vanilla mousse, combine milk, cream, and pudding mix in a medium bowl. Beat with a mixer until you reach soft peaks, or a thick whipped cream consistency (this takes a few minutes). Refrigerate mousse until you’re ready to use it.
Make frosting: To make the frosting, cream butter and cream cheese together until fluffy in a large bowl. Add extracts and mix. Add sugar gradually, mixing as you go, and then beat the frosting until smooth and creamy. Cover the bowl with a damp cloth until ready to use.
Assemble cupcakes: To fill the cupcakes, use the Cone Method: cut an upside-down cone out of the top of each one. Cut off the tip of the cone (and eat it, if you wish) leaving just the “lid.” Fill the cavity with mousse using a piping bag or zip-top bag with the corner cut off, and then replace the “lid” to give you a relatively smooth surface to frost. Use a piping bag or zip-top bag to pipe on the frosting. Sprinkle on orange sanding sugar, if desired.
All Cupcake Week Recipes:
Day One: Chocolate Pistachio Cream Cupcakes
Day Two: Banana Split Cupcakes and Cake Pops
Day Three: Creamsicle Cupcakes
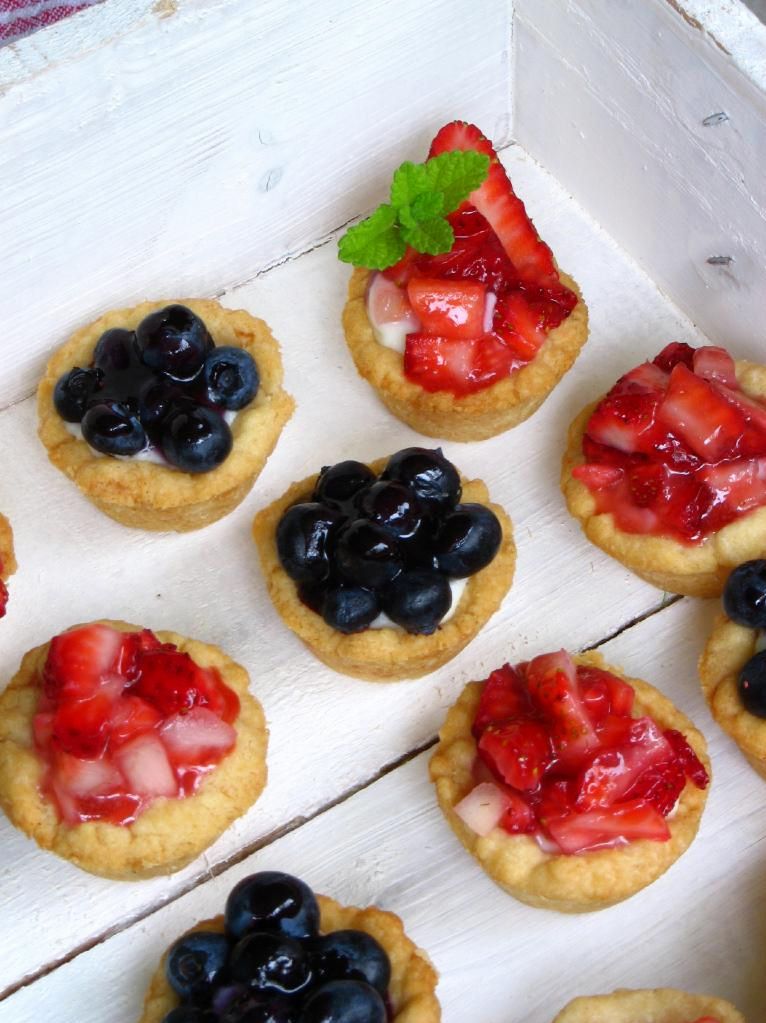
Day Four: Strawberry & Cream Cupcakes and Cake Pops
Day Five: Apple Cinnamon Cream Cupcakes
If you liked this post, please:
–Subscribe to Willow Bird Baking
–Follow Willow Bird Baking on Twitter
–Follow Willow Bird Baking on Facebook
–Give this post a thumbs up on StumbleUpon