cream cheese

Lemon Blueberry Cheesecake Squares with Shortbread Crust

This post could also be titled, “Lessons on Planning” (please don’t confuse that with “lesson planning” — I’m on Spring Break!).

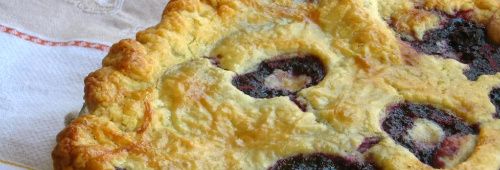
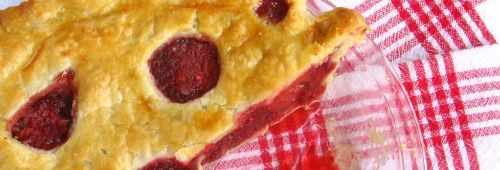
My plans this weekend were exciting. I wanted to create a triple layered dessert with joyful Spring flavors. Doesn’t this sound amazing: lemon squares on a shortbread crust with a delicious layer of blueberry cheesecake. Can’t you see the gorgeous, pale shortbread layer; the bright yellow layer of lemony bliss; the creamy cheesecake layer studded with purple blue orbs — all topped with a fine sprinkling of powdered sugar? Well, take a good look at your fantasy, because that’s the only place you’ll be seeing that image.


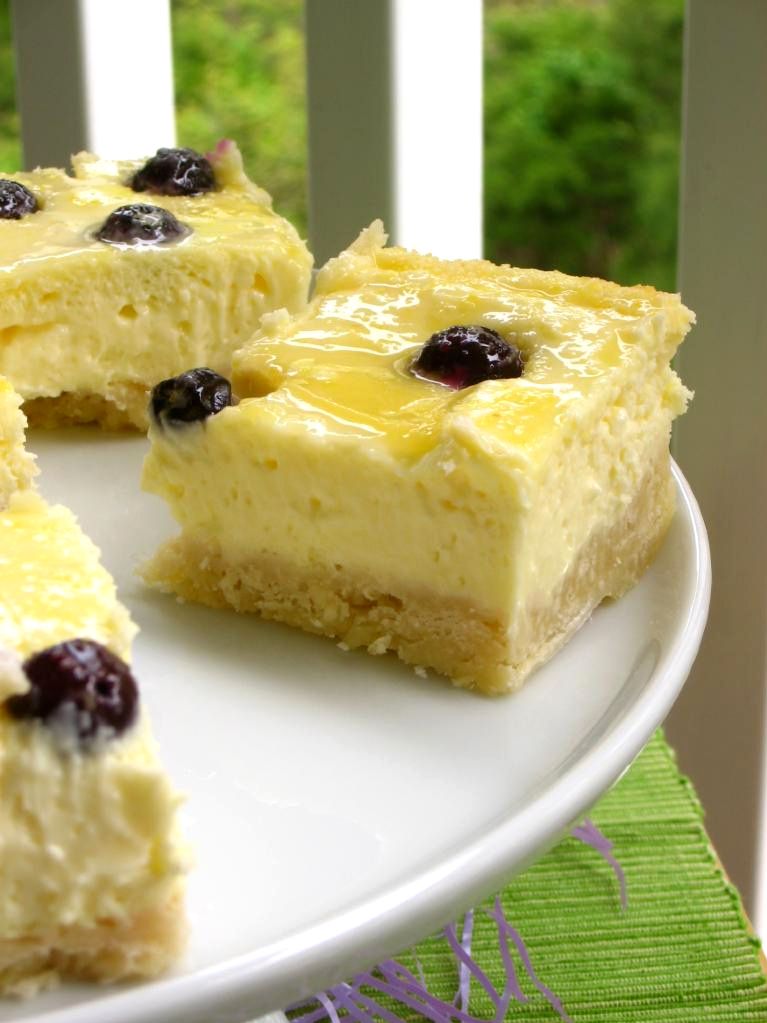
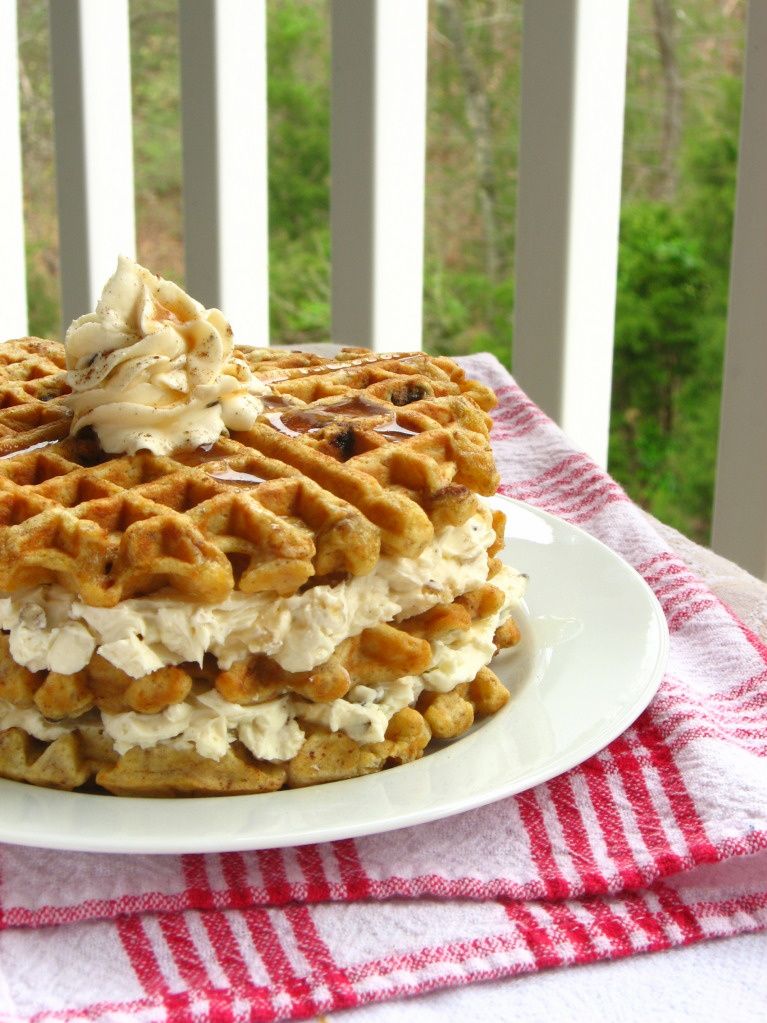
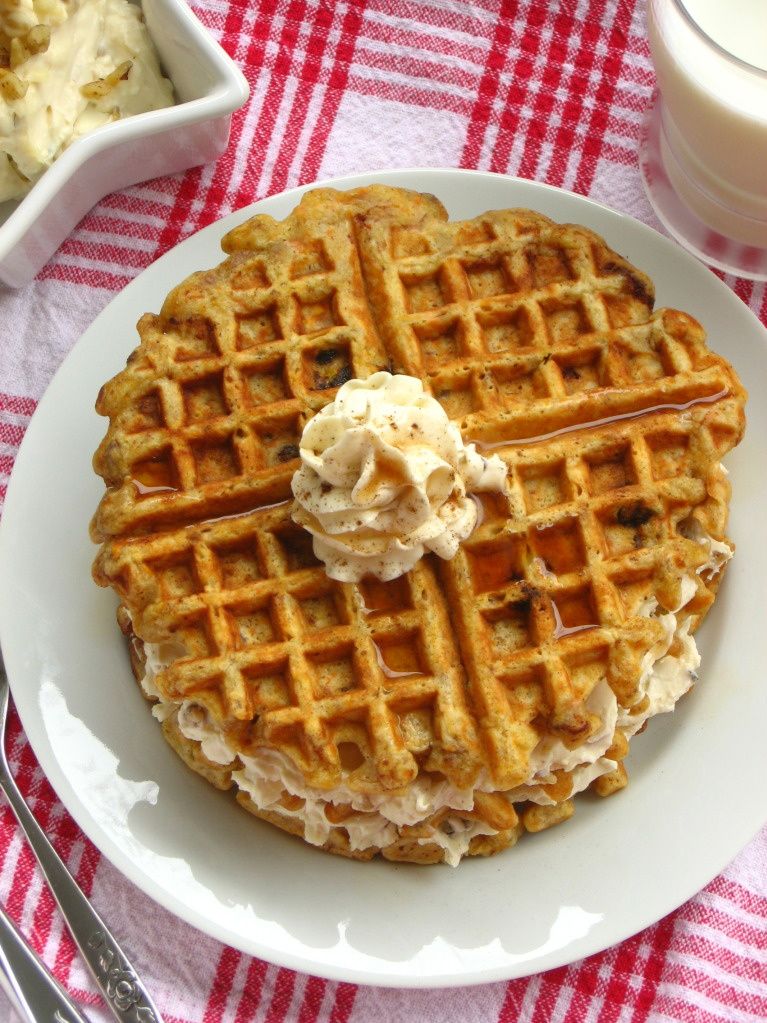
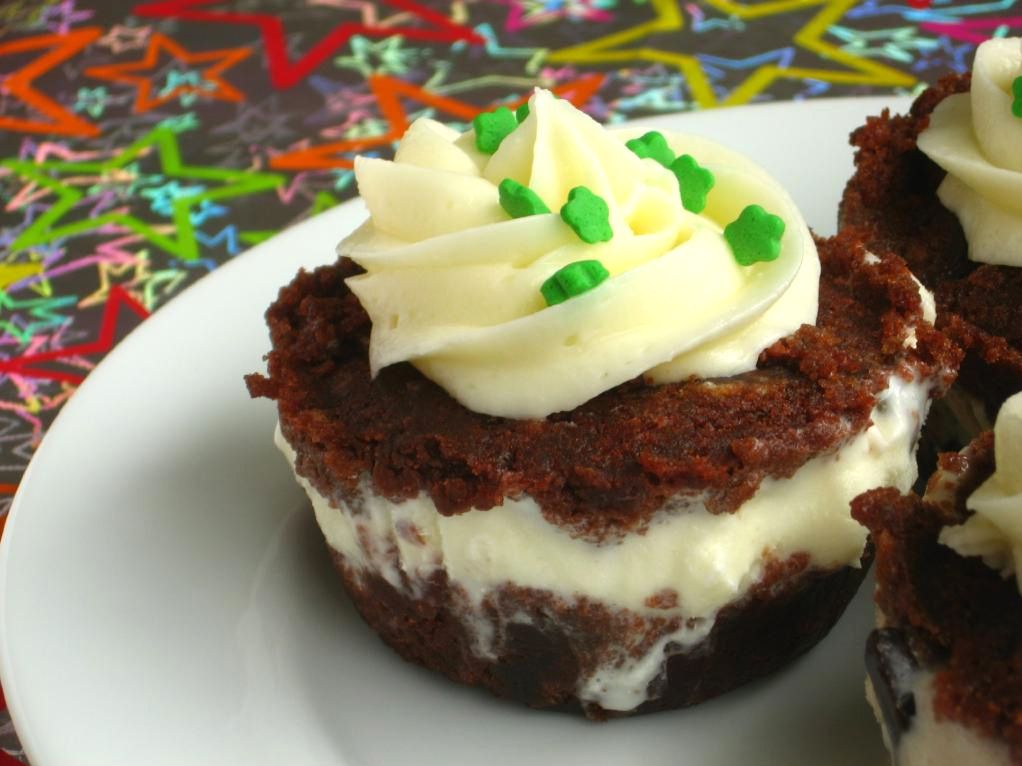
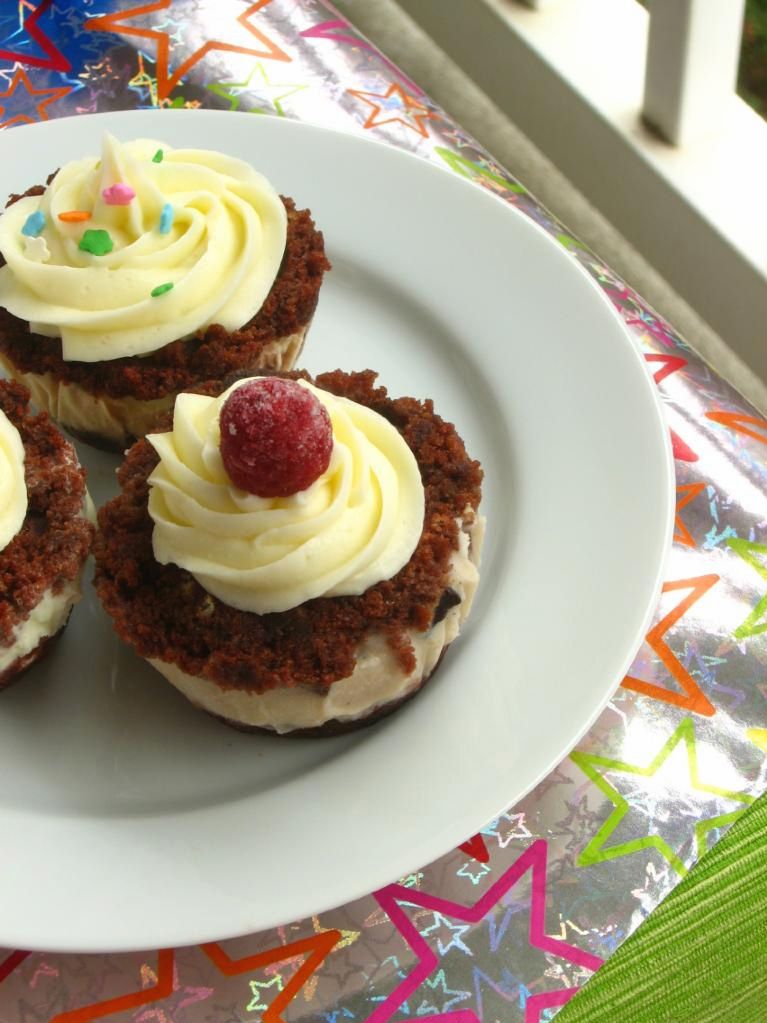
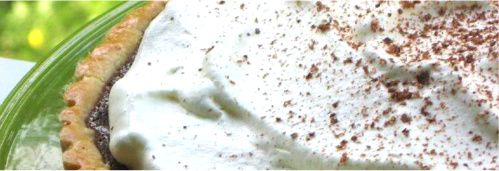
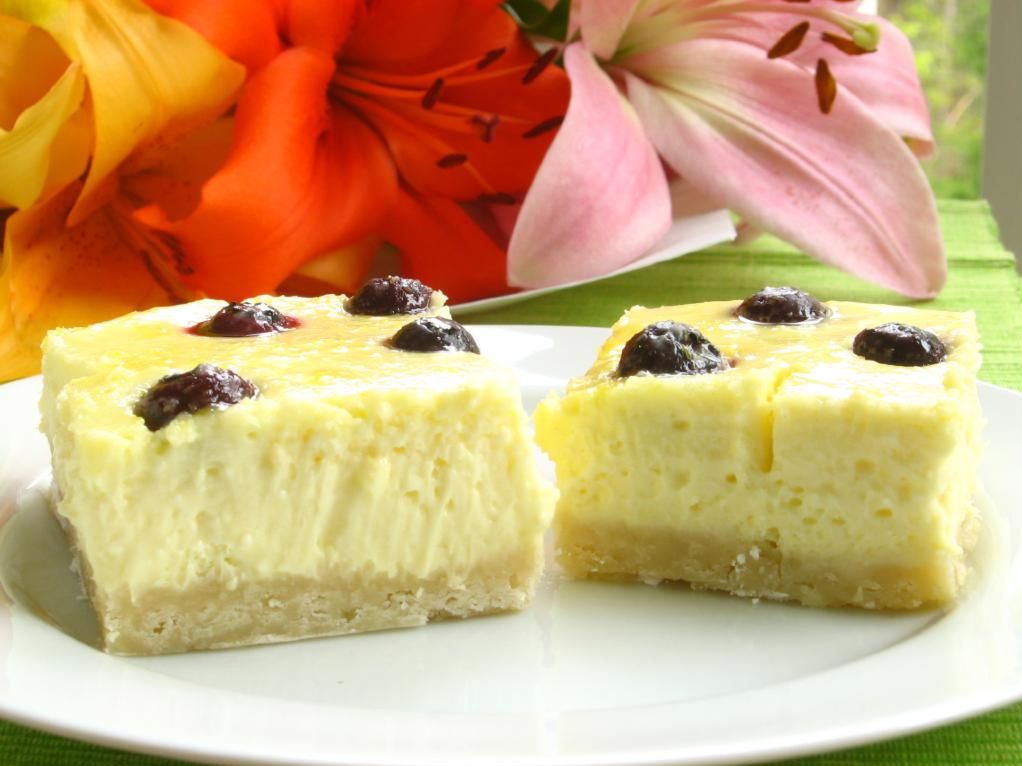
Not exactly as planned, but delicious.

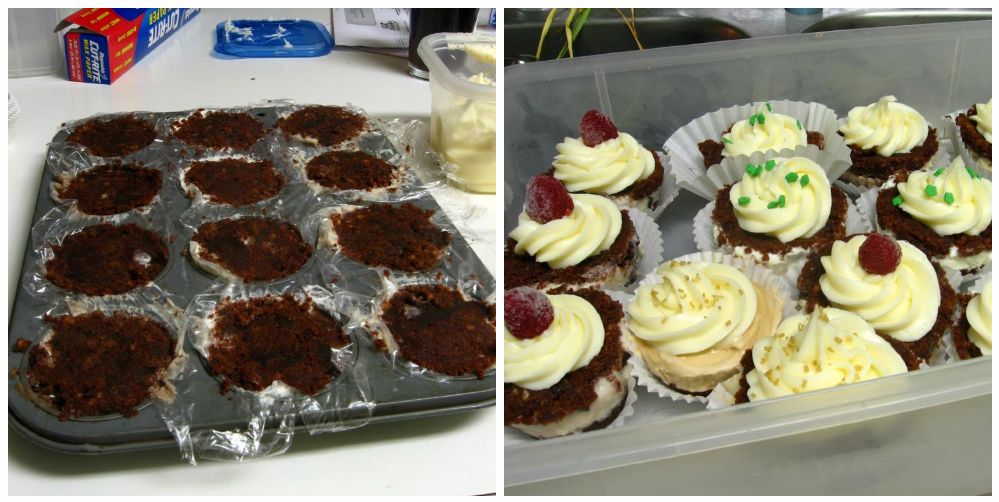
See, it didn’t quite go according to plan. My blueprints for this recipe began when I saw these delicious lemon blueberry cheesecake squares on Shared Sugar. I started pining for them, but I’ve also been pining for lemon squares. Naturally, it dawned on me that I should combine the two.

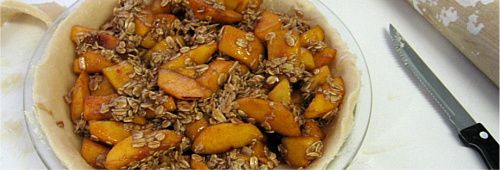
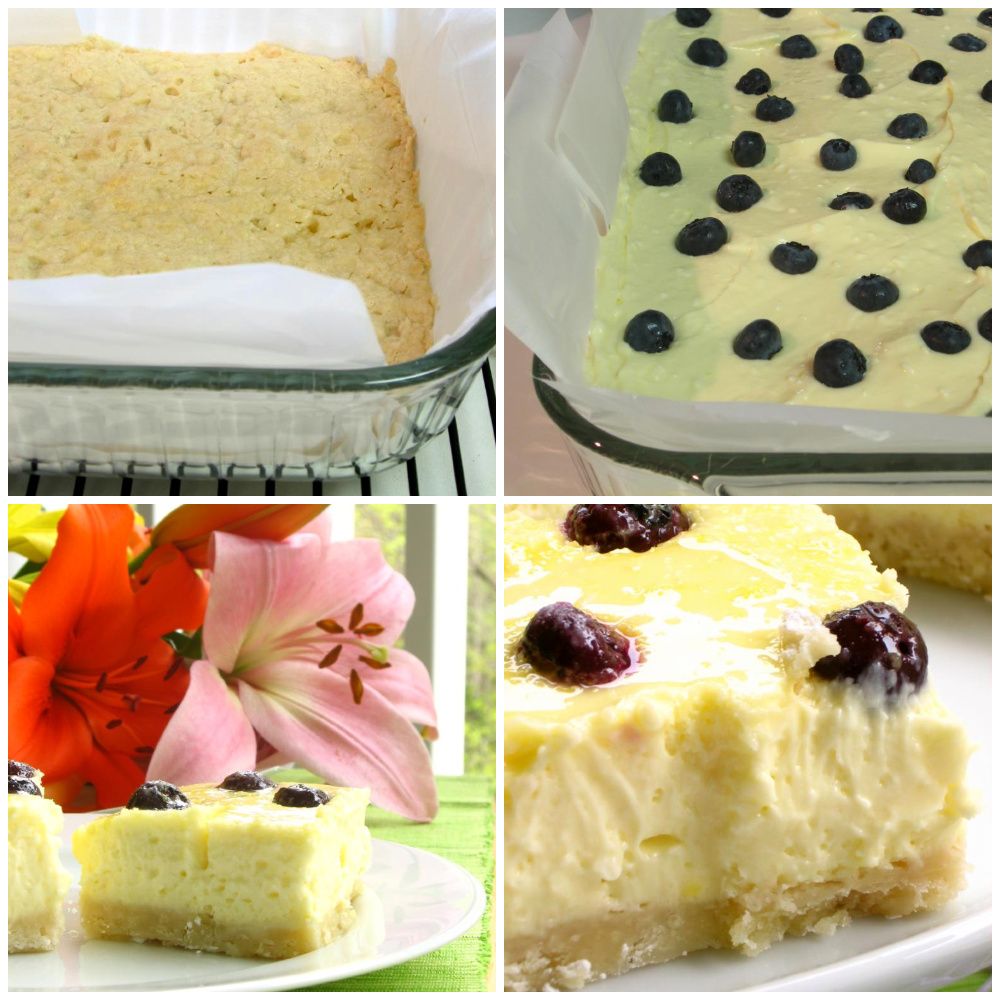
My process (which you shouldn’t repeat) was to bake the shortbread crust for lemon squares as usual, top it with a cheesecake layer, pour the lemon mixture on top, and bake. Sounds great. But what actually happened was that the lemon mixture leaked under the parchment paper I’d lined my pan with and coagulated underneath the entire dessert. Um, so in a way, I actually ended up with a quadruple layer dessert . . . if you count the parchment paper?


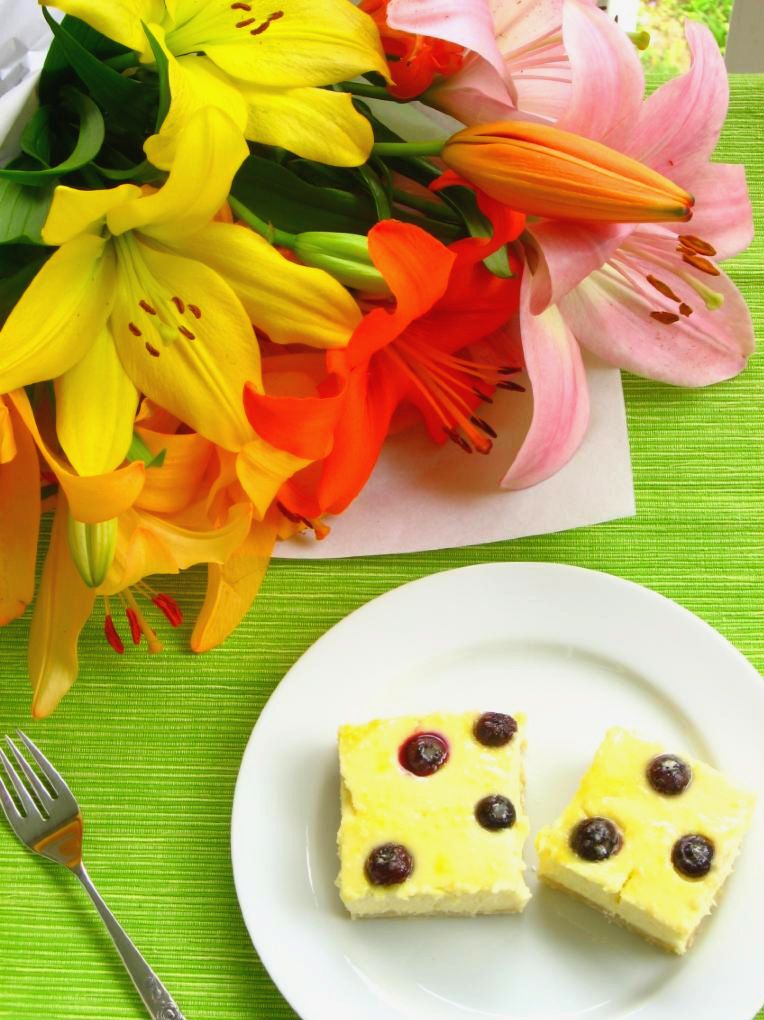
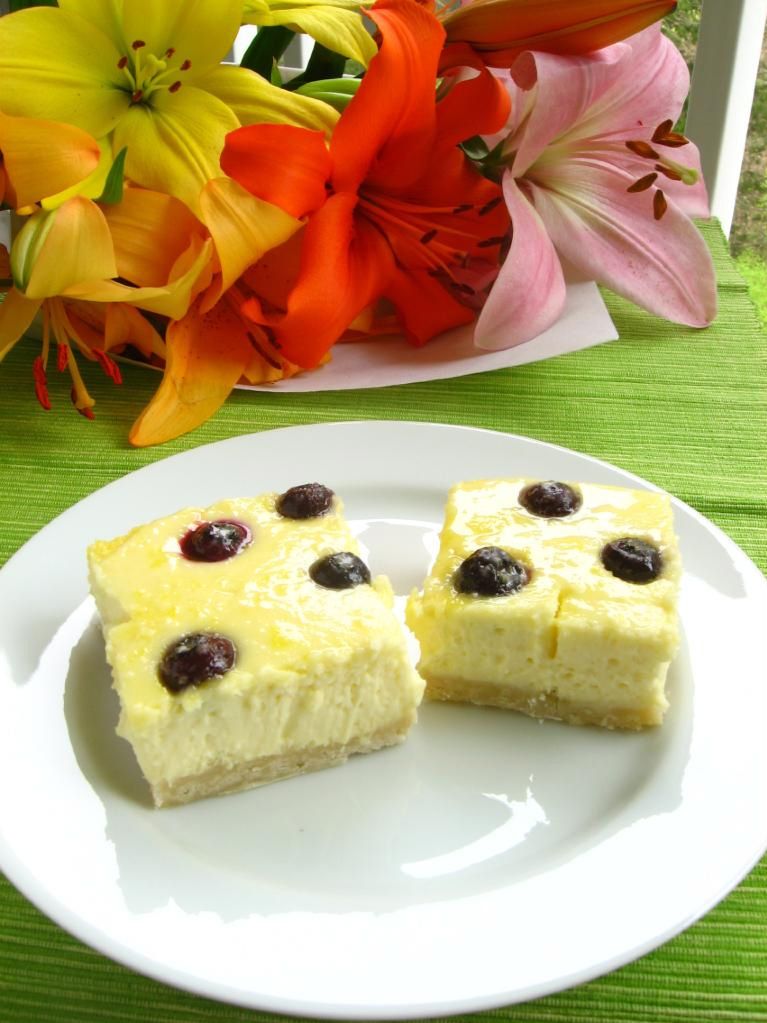
Flowers from a student’s parents! So gorgeous!

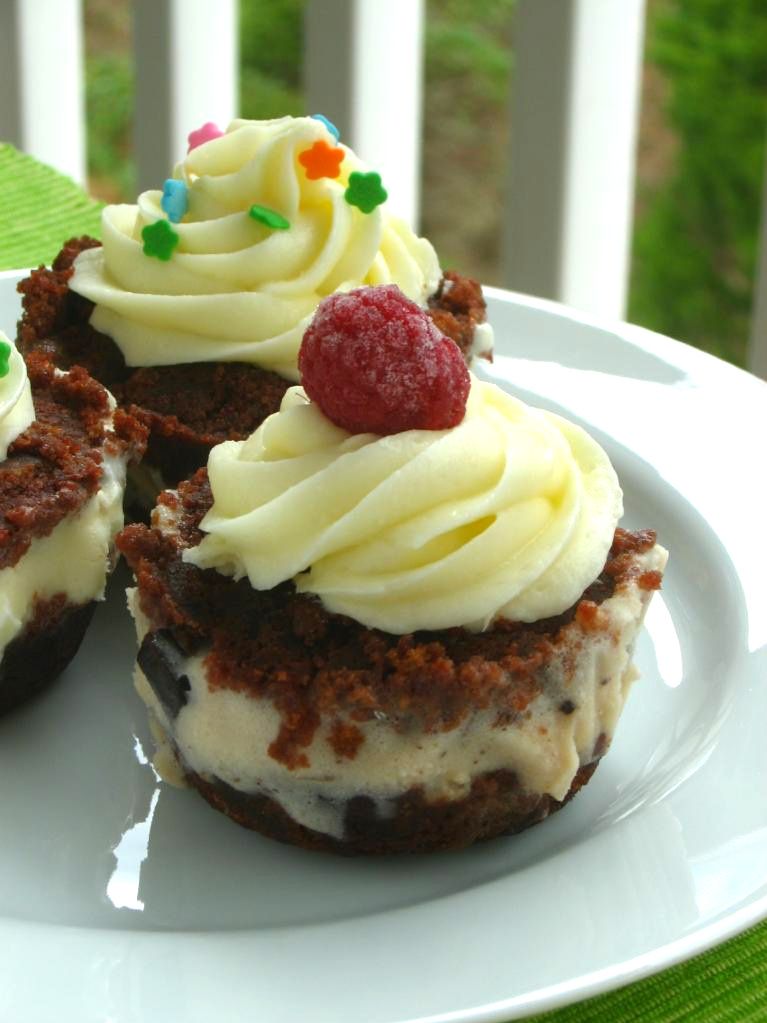
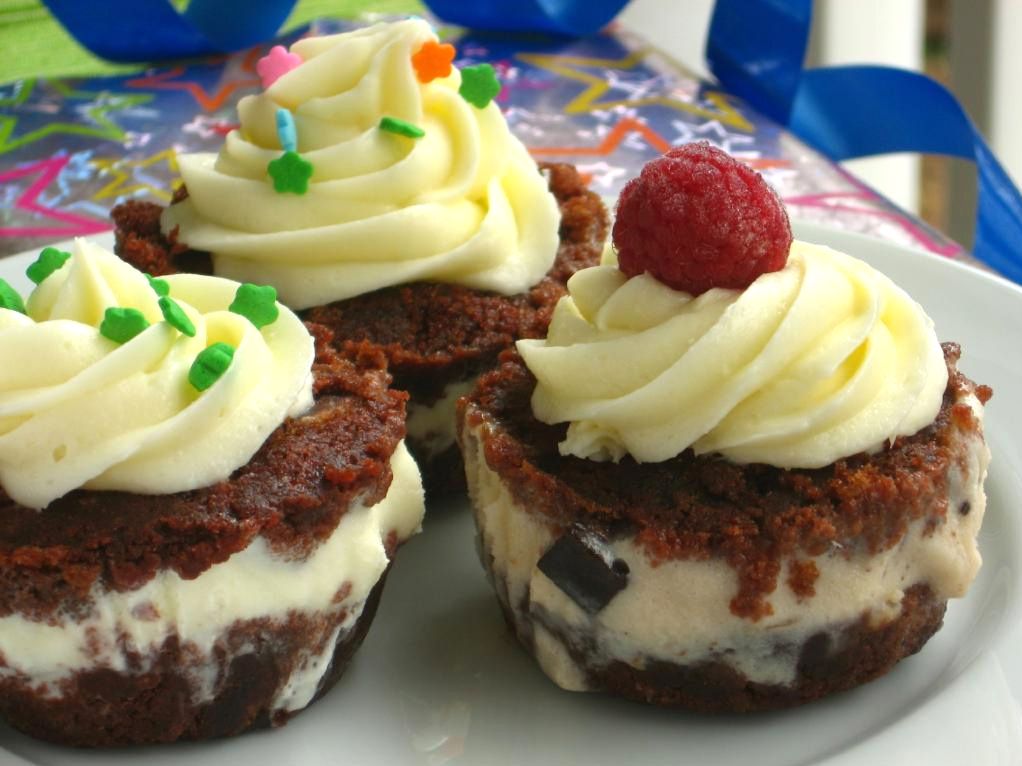
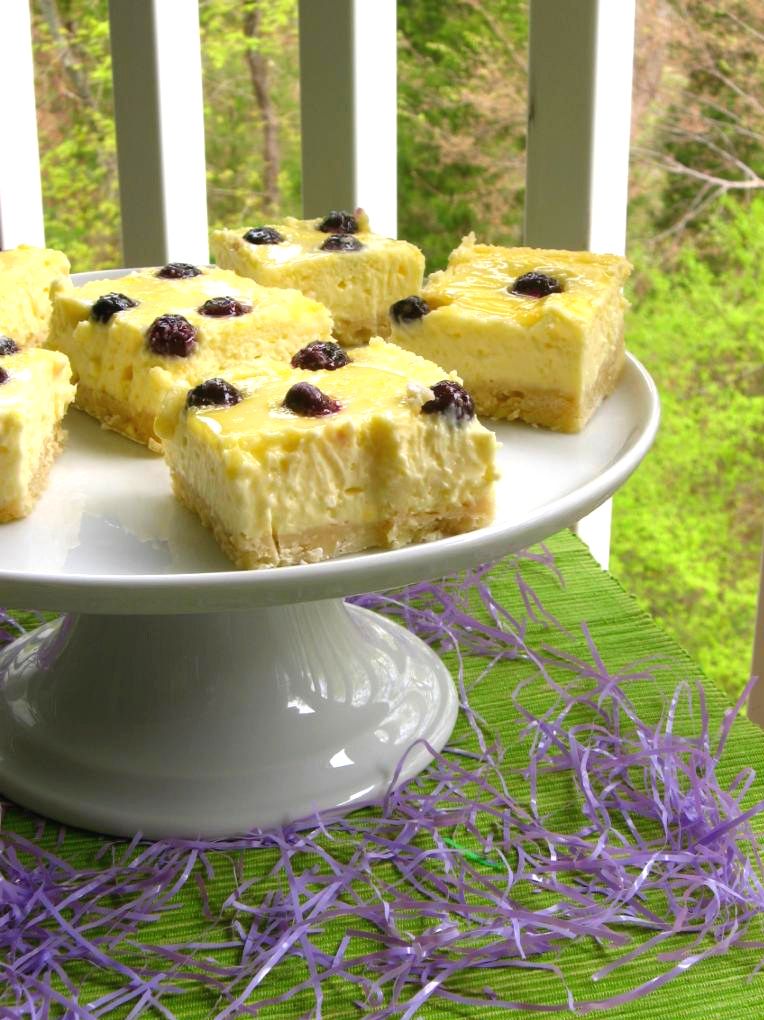
Some of the lemony liquid stayed on top of the cheesecake forming an odd lemon “glaze” of sorts. The entire dessert now looks a bit weepy, but I assure you, it tasted amazing. How can you go wrong with these flavors? Nevertheless, I decided you wouldn’t want to repeat the whole frustrating process. I’ve deleted the lemon layer from the recipe below, leaving you with a simple two layer dessert: lemon blueberry cheesecake squares on a shortbread crust. Still amazing, bright, springy, creamy, indulgent.

So much for plans. I’m a big planner, and it can be hard on me when things don’t work out like I think they should (pat on the back for myself, though, because I think I handled this culinary detour well). Thank God that He’s had big plans since before the foundation of the world — plans to send His only Son as a sacrifice for us, even while we were still sinners ignoring the God who loved us.

And of course, with Easter around the corner, thank God for the miracle He had planned for three days after that sacrifice: Christ’s resurrection from the dead to triumph over death and the grave.

My plans in the kitchen and in life don’t always work out. I leave out the baking soda, don’t thicken the fruit filling enough, or who even knows what else (yeah, I never even posted that travesty). But God says, “As the heavens are higher than the earth, so are my ways higher than your ways and my thoughts than your thoughts” (Isaiah 55:9). His plans worked — thank God — and we can now have abundant and eternal life because of them.

So, I can’t be too upset about my cheesecake squares not having a lemon layer. I’ve tweaked the recipe below so you can now go make these amazing cheesecake squares without worrying about that either. I’ll try again soon — I’m thinking of making lemon squares as usual, and then doing a no-bake cheesecake layer on top. We’ll see how that works. But it’s okay if my plans don’t work out, because you know how planning goes!

Lemon Blueberry Cheesecake Squares with Shortbread Crust


Recipe by: Adapted from King Arthur Flour (crust) and Shared Sugar (cheesecake)
Yields: about 18 bars

Crust Ingredients:
1 cup (2 sticks) butter
2 cups all-purpose flour
1/2 cup confectioners’ sugar

Cheesecake Layer Ingredients:
32 ounces cream cheese, at room temperature
4 eggs
4 tablespoons lemon juice
1 cup sugar
2 cup blueberries

powdered sugar for topping

Directions:
Preheat your oven to 350°F. Prepare a 9 x 13 in. baking dish with a parchment paper sling. Cut the butter into the flour and confectioners’ sugar and press into the baking dish (I used a food processor to cut the fat into the flour, and then the bottom of a dish to press the mixture into the pan). Bake 20 minutes or until light brown. Let cool on wire rack.

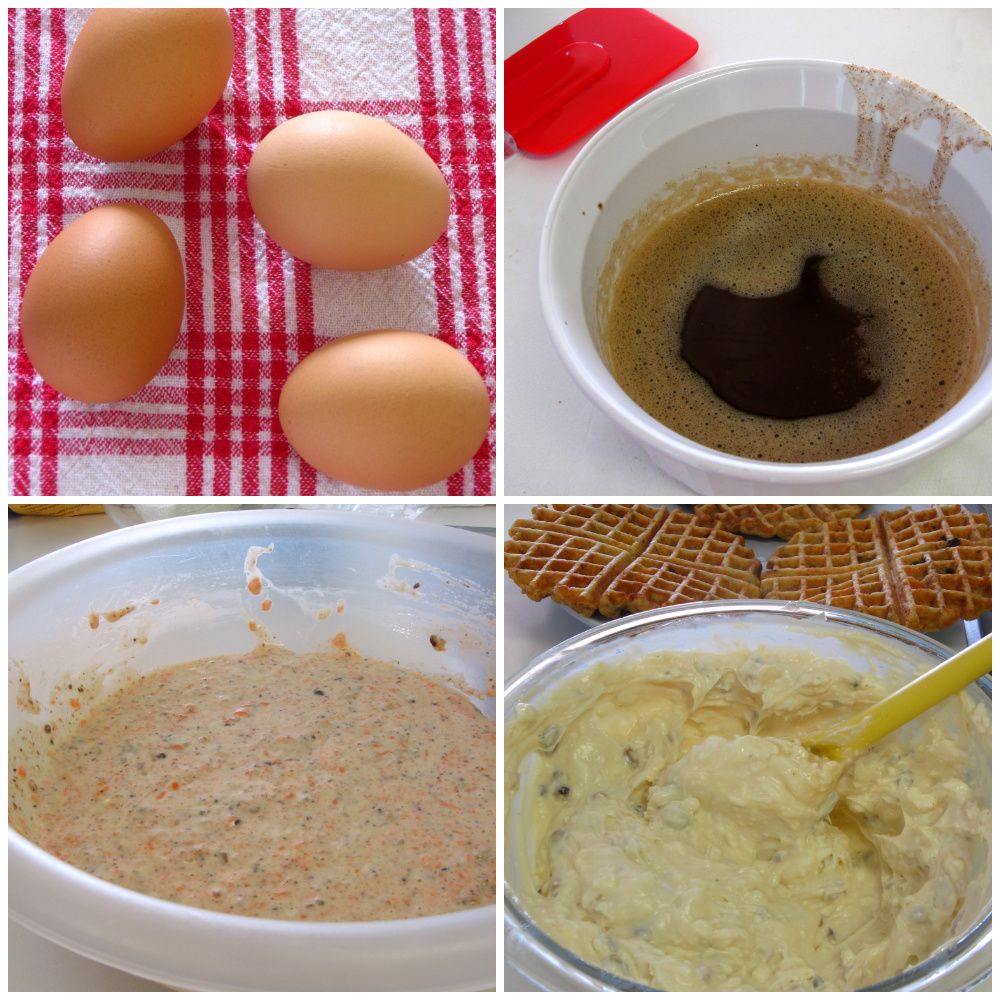
In a bowl with an electric mixer, add the cream cheese, eggs, lemon juice and sugar. Mix until the ingredients are creamy and the cream cheese is fully incorporated. Pour into the pan with the cooled crust. Then evenly distribute the blueberries.

Bake 30-35 minutes or until filling is set. Remove from the oven and cool completely. Then refrigerate for at least 3 hours. Remove the cheesecake from the pan using the parchment paper. Cut into bars and sprinkle with powdered sugar.


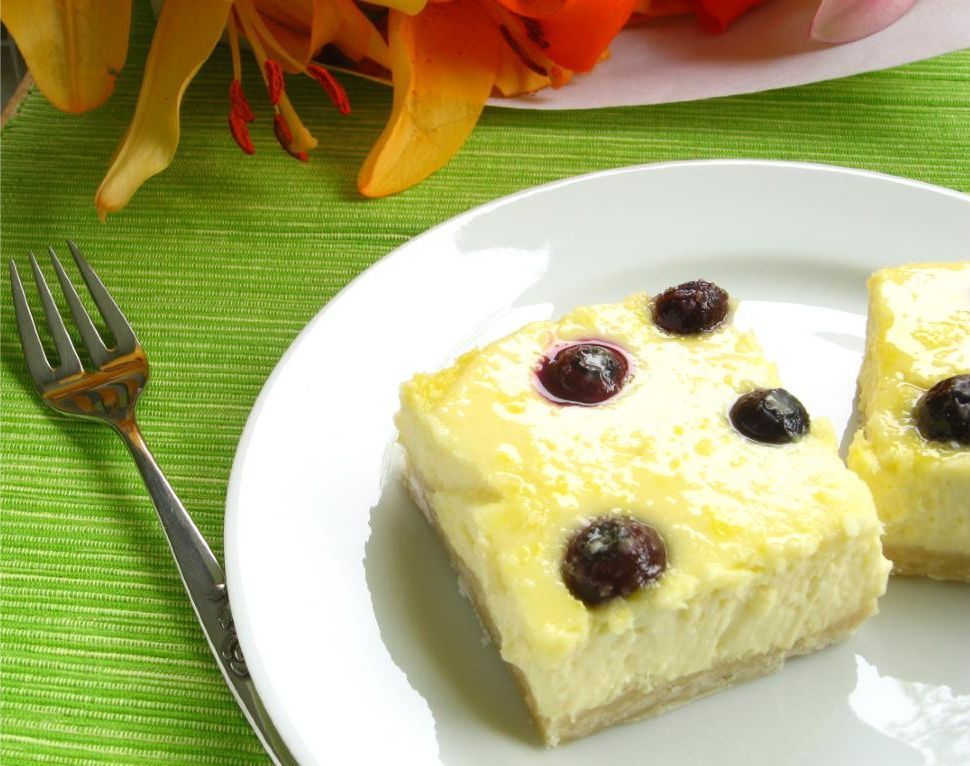
Byrd loves these flowers — imagine a very excited toy poodle with her curly snout stuffed into one of these big blooms. I know: awwww!


Share Share this post with friends!

Carrot Cake Waffles

Wouldn’t it be cool if bakers got to choose flashy names like WWF Wrestlers? You could be the Vanilla Villain, the Meat Tenderizer, the Mighty Masher, the Blender Blade, the Sweaty Spatula.

Ew. Nevermind that last one.

Today, my flashy baking name is the Waffle Wrangler. See, I finally acquired a waffle iron. Or . . . okay, actually I acquired it months ago. You’ll forgive me for not having tried it out yet, right? Especially since I happen to know for a fact your waffle iron is sitting under a coat of dust in a dark cabinet somewhere? It’s okay! No shame! You just need a reason to lug it out, wipe it off, and heat it up. I think I can help.

Despite appearances, I have been anxious to try this baby out. Waffles seem especially apt for one of my favorite culinary tricks: combining two well-known dishes into one. For instance, the recipes for Peach Cobbler Cupcakes, Peach Crisp Pie, and Blueberry Lemon Cheesecake Cupcakes each combine two desserts into a super-dessert.

So of course, I’ve spent the last few weeks pondering what sort of waffles to create. I could’ve taken a cue from this breakfast and made Pecan Maple Bacon Waffles (yum), but I had an urge to try something new. Apple or peach crisp waffles? Chocolate cake waffles? A bacon, egg, and cheese waffle sandwich? Peanut butter and jelly waffles? And then, as if Mike were sending me telepathic messages reminding me about his favorite dessert, it dawned on me . . .

CARROT CAKE WAFFLES! I’ve actually been trying to think of some recipe to add carrot cake flavors to after seeing this amazing Carrot Cake Ice Cream over on Not Quite Nigella. This was my chance!

The foundation of the recipe I’ve spliced together is a simple but delicious buttermilk waffle recipe. To it, I’ve added the spice cake flavors of cinnamon, allspice, and nutmeg, bloomed in brown butter according to America’s Test Kitchen’s recommendation. I also added the lovely hunks you’d find in any carrot cake: raisins, chopped walnuts, and grated carrots. Finally, the waffles were topped with a schmear of Maple Nut Cream Cheese spread, which merges the main component of traditional carrot cake frosting with the familiar breakfast flavor of maple.

I was nervous the entire time I was mixing this batter: would it be the right consistency? Would the raisins and carrots burn? But it worked out perfectly! I did a little dance of joy (inwardly — mustn’t alarm the roommate!) with each waffle I successfully wrangled off of my waffle iron.

And how did they taste? Delicious, and exactly like you might expect: like the convergence of a hunky carrot cake and a fluffy waffle! The spices were warm and aromatic, and the nuts, raisins, and carrots made for a hearty texture. And I can’t forget one of the best parts: the Maple Nut Cream Cheese spread.

This Maple Nut Spread is ridiculous! If your cream cheese isn’t already softening to mix some up, you should grab it out of the fridge right now. It’s rich, creamy, and perfectly sweet, with the satisfying crunch of chopped walnuts. I want to spread this stuff on bagels, toast, waffles, you name it. The photos you see here (in which I tried to build a “layer cake” out of the waffles — ha ha, get it? Carrot Cake Waffles?) are only a slight exaggeration of how much Maple Nut Cream Cheese I ate with my breakfast. I’m too embarrassed to tell you how much of it I ate straight from the spoon, so just take my word for it: you’re going to love it.

Okay, you have your reason — now go dust off your waffle irons! Have your cake and eat it for breakfast, too!

5 from 1 reviews
Carrot Cake Waffles
 
Prep time
Cook time
Total time
 
It's like your favorite dessert -- but it's breakfast!!
Ingredients
Waffle Ingredients:
  • 2 cups all-purpose flour
  • 1/2 teaspoon salt
  • 2 tablespoons sugar
  • 1 1/2 teaspoons baking soda
  • 1 teaspoon cinnamon
  • 1 teaspoon nutmeg
  • 1 teaspoon allspice
  • 1 3/4 cups buttermilk
  • 2 eggs, separated
  • 4 tablespoons (1/2 stick) butter
  • 1/2 teaspoon vanilla extract
  • 1 cup raisins
  • 1 cup walnuts, chopped
  • 1 1/2 cup finely grated carrots
  • Cooking spray for waffle iron
Maple Nut Cream Cheese Spread Ingredients:
  • 8 ounces cream cheese, softened
  • 3-4 tablespoons maple syrup
  • 1/8 cup chopped walnuts
Instructions
  1. Bloom the spices in butter: Heat 4 tablespoons butter in skillet over medium heat until melted, 1 to 2 minutes. Continue to cook, swirling pan constantly, until butter is light brown and has faint nutty aroma, 2 to 4 minutes. Add spices and continue to cook, stirring constantly, 15 seconds. Remove from heat and cool to room temperature, about 30 minutes.
  2. Combine the flour, salt, sugar, baking soda.
  3. Mix together the buttermilk (or buttermilk substitute) and the egg yolks. Stir in the spiced butter and vanilla. Spray the waffle iron well and preheat it. Stir the wet into the dry ingredients.
  4. Beat the egg whites in a separate bowl with a whisk or electric mixer (make sure bowl and mixer are spotlessly clean) until they hold soft peaks. Stir them gently into the batter. Add carrots, walnuts, and raisins. Stir gently to combine.
  5. Spread a ladleful or so of batter onto the waffle iron and bake until the waffle is done, usually 3 to 5 minutes, depending on your iron. Spray iron with cooking spray between waffles as needed.
  6. To make Maple Cream Cheese spread, simply combine nuts, syrup, and cream cheese and mix well. Serve waffles immediately with a schmear of Maple Cream Cheese spread (which will get lovely and melty), or keep them warm for a few minutes in a low oven. Waffles also freeze well. You can make a big batch, allow them to cool, and freeze them for a homemade alternative to preservative-laden commercial frozen waffles.


Breakfast for dessert-lovers!

Ice Cream Cupcakes

My sister Sarah is a Tetris addict. Something about spinning those awkwardly shaped blocks around and packing them together must release happy chemicals in her brain. It’s serious: she played Tetris in her wedding gown right before walking down the aisle, and she thinks this guy is totally hot.

I really can’t talk. I play real-life Tetris. All my errands have to be planned to ensure maximum efficiency: no driving out of my way or backtracking. My groceries are arranged on the checkout belt so that they fit together nicely. Periodically I’ll rearrange my fridge so that all the food is organized by shape (flat items on bottom, tall items shoved together in the back, and materials to make a quick dinner wrap all stacked together neatly for easy grabbing). But the fridge is nothing compared to the freezer.


Pistachio Ice Cream Cupcakes

My roommate and I are world champions at Freezer Tetris. We both overshop, and every now and then one of us will come home with a month’s worth of foodstuffs to shove into our already-full freezer (cue the excuses: “It was on sale! It’s cheaper when you buy in bulk!”). Let the games begin! We set to work emptying, rearranging, tossing, organizing, repackaging, and creatively stuffing until every last green pea has its own chilly little space in the freezer. There ought to be an international competition we can enter or something — why let all this talent go to waste?

I don’t know about other bakers, but the bulk of my freezer space is consumed by dessert scraps: leftover cake, extra frosting, the last piece of blueberry pie, curds, berries, ice creams, doughs. For someone who only eats dessert on the weekend, I have a lot of fixins! Well, my Freezer Tetris has served me well. This week I went out and bought some of my favorite ice cream flavors, grabbed out some of my scraps, and created Ice Cream Cupcakes. If you have sweet bits and pieces lying around your freezer, this is just the leftover makeover you need!


The Coffee Cupcake decided it was too sophisticated to be photographed with the others. Love that beautiful stamped mug as much as I do? It’s made by local artist Julie Payne. She also makes lovely clay pendants.

This post is actually more of a method than a recipe (as such, you’ll find detailed process photos below). You can use any ice creams, cakes, brownies, cookies, or creative add-ins that suit your fancy. The overall idea is to create a personal ice cream cupcake with three layers (two cake layers sandwiching a thick slab of ice cream), freezing the layers as you build. The whole thing is topped with icing and decorated before being stuck back in the freezer.


Clockwise from top: Cake Batter Ice Cream Cupcake, Cherry Garcia FroYo Cupcake, and Pistachio Ice Cream Cupcake.

Personally, I had some leftover chocolate sheet cake (the best cake in the world, and so easy!) and cream cheese frosting. I made four variations: Cake Batter Ice Cream Cupcakes (with and without toffee pieces added), Pistachio Ice Cream Cupcakes, Cherry Garcia FroYo Cupcakes, and Coffee Ice Cream Cupcakes (with and without Ferrero Rocher or toffee pieces added).


The ice cream line-up.

I can’t decide which was my favorite! The deep coffee flavor complemented the chocolate cake and Ferrero Rocher perfectly, creating a rich, indulgent cupcake. The cake batter cupcake tasted just like a big ice cream birthday cake. I think if forced to choose, though . . . I might have to go with the pistachio! Something about the sweet, otherworldly flavor of pistachio ice cream with toasted pistachios and chocolate cake just bowled me over. Speaking of bowls, that’s how we ate these: in a bowl with a spoon. No sticky fingers!


Shall we call this a Café au Lait Cupcake?

Grab a couple of pints of ice cream, some leftovers, and go wild! You could even whip up a small cake or some brownies just for the purpose of tearing it up and making some ice cream cupcakes! I won’t tell. What ice cream flavor would you pick for your cupcakes?

Ice Cream Cupcakes


Recipe by: Willow Bird Baking
Yields: Varies depending on amounts of ingredients

Ingredients:
Cake or brownie scraps, crumbled (I used Chocolate Sheet Cake)
Ice cream of your choice, softened slightly
Frosting of your choice (I used this delicious cream cheese frosting)
Add-ins (chocolate, peanut butter, cinnamon, or butterscotch chips; toffee; candy; nuts; frozen berries etc.)

Equipment:
muffin tin
plastic wrap
a glass with a bottom that fits into muffin wells
wax paper

Directions (also see process photos below):
1. Clean out some space in your freezer. You’ll need room for the muffin tins in addition to the container you’ll eventually store your cupcakes in. You don’t want to have to clear out space in the middle of the process while your cupcakes melt on the counter! Don’t ask me how I know this.

2. Line your muffin tins with plastic wrap, leaving an overhang. I did this by cutting a long sheet of plastic wrap in half lengthwise. I then used each long, thin strip to line one column of wells on my muffin tin — using 3 strips total.

3. Form the base cake layer: Place a heaping scoop of cake or brownie into each well. Lay a small square of wax paper over the wells one at a time, pressing on the cake with the bottom of the glass to flatten and pack it. Carefully peel wax paper away and continue until all wells have a base cake layer. You also might be able to put wax paper over all of the wells, press down with the bottom of another muffin pan, and pack cake into all the wells at once — but I didn’t try this.

4. Form the ice cream layer: Scoop a heaping spoonful of ice cream over the packed cake and level it with the back of a spoon. Sprinkle any add-ins over the ice cream layer. Try to leave some room at the top of the well for another cake layer!

5. Cover muffin tin with plastic wrap and freeze for a few hours.

6. Form final cake layer: Working quickly, scoop a final spoonful of cake over each well. Lay a small square of wax paper over the wells one at a time, pressing on the cake with the bottom of the glass to flatten and pack it. Carefully peel wax paper away and use a table knife to scrape away any uneven edges. Continue until all cupcakes have a top cake layer.

7. Cover muffin tin with plastic wrap and freeze for about an hour.

8. Frosting and decorating: Do this step in batches if possible! Things can get melty and messy if your cupcakes sit out too long waiting to be decorated. Don’t ask me how I know this. Pull 4 cupcakes out of your tin at a time using the plastic wrap overhang, keeping the rest of the cupcakes in the freezer. Place cupcakes carefully into cupcake papers if desired, or directly into storage container. Frost with a big star tip and decorate with sprinkles, nuts, or frozen berries as desired. Place finished cupcakes into your storage container and then into then freezer while you move on to the next batch. Keep cupcakes frozen until you’re ready to enjoy them (no need to soften before eating)!


Step 2: Cut long strips of plastic wrap to line columns of wells in your muffin tin.


Step 3: Spoon cake into the well, cover with a square of wax paper, and use the base of a glass to pack and flatten.


Step 4: This is a good time to add Ferrero Rocher halves! Add ice cream layer and freeze for a few hours.


Step 6 and final cupcakes! Pack another layer of cake on, cover and freeze, and then decorate!


Share Share this post with friends!

3.14159265358979323846…

Happy Pi Day! My math geek boyfriend had never heard of it, so go figure.

Here are my favorite pie recipes (and okay, some tarts for good measure). Whether you’re a math nerd or just want another excuse to eat pie, you have my blessing.


Fresh Blueberry Pie


Red Berry Pie


Mini-Pies! Pumpkin, Sour Cream Apple, Peach Crisp


Raspberry Cream Cheese Tart


Chocolate Tart


Peach Crisp Pie

Apparently there’s also a Pie — er, I mean Pi — Approximation Day in July?! Score!


Share Share this post with friends!

Clementine Burst Cupcakes

A few weeks ago, clementines flooded the grocery stores here, much to Mike’s delight. I’m surprised he isn’t sporting an orange tint after eating pounds of the little cuties. While it’s quite common to hear me raving about food, when I noticed him gushing about his clementines on an almost daily basis, I knew he had developed a thing.

I regularly develop a thing. For months I’ll have a thing for sweet potatoes, or a thing for cream cheese. Currently, I have a thing for olives. Mike is typically immune to these cravings, so I assumed they were just a girl thing . . . but he definitely has a thing for clementines. His favorite part is what I affectionately call the splush: when all the fresh, cold juice bursts into your mouth from each little segment.

When pondering his Valentine’s feast, I knew I had to incorporate some clementine. I recently stumbled on a fantastic recipe for clementine curd (I know! swoon!) and what better use is there for a great curd than cupcake stuffin’? Thus the Clementine Burst Cupcakes were born: fluffy, moist, citrus-scented white cake stuffed to the brim with clementine curd, topped with smooth cream cheese frosting, and adorned with a shimmering slice of candied clementine peel.

I’ll introduce you to each component of these fancy pants cupcakes individually. First up is the star of the show, the clementine curd. Curds are one of my favorite things. Perfect for slathering on toast or even eating with a spoon straight from the freezer (not that I would know). They combine the bright flavor of citrus with a buttery, smooth texture. This curd took longer to make than lemon curd (I was stirring for a good 30 minutes), but was definitely worth the wait.

Clementine Curd


Recipe by: Jaime Oliver via Butterflyfood, adapted to use Fine Cooking’s method
Yields: about 850 grams of curd

Ingredients:
6 clementines, juiced
2 lemons, juiced (or about 4 tablespoons lemon juice)
350 g caster sugar (about 1 1/2 cups)
4 eggs, beaten
2 egg yolks, beaten
100 g unsalted butter (about 7 tablespoons)

Directions:
In a large bowl, beat the butter and sugar with an electric mixer, about 2 minutes. Slowly add the eggs and yolks. Beat for 1 minute. Mix in the clementine juice and lemon juice. The mixture will look curdled, but it will smooth out as it cooks.

Place over medium heat. Cook, constantly stirring, until the curd is thick and coats the back of the spoon (this took a long time for me — about 20-30 minutes). Remove from heat. Stir in zest of fruits. Transfer the curd to a bowl. Press plastic wrap on the surface of the lemon curd to keep a skin from forming and chill the curd in the refrigerator. The curd will thicken further as it cools. Covered tightly, it will keep in the refrigerator for a week and in the freezer for 2 months.

The candied clementine peel was gorgeous: jeweled bright orange wedges standing in contrast to the creamy white frosting. They were also fun; they reminded me of the hurt-cheeked grinning of childhood, when mouthfuls of candy were preferable to any fancy dessert. Now we can have our candy and eat our cake too! While the candied peels take awhile to make, they’re content to simmer by themselves on the stove while you work on other food prep.

Candied Clementine Peel


Recipe by: Gourmet
Yields: More candied clementine peel than you can actually eat!

Ingredients:
1 pound clementines (4 to 7)
1 teaspoon salt
2 cups regular granulated sugar
1 1/2 cups water
Vegetable oil for greasing rack
1 cup superfine granulated sugar

Directions:
Halve clementines crosswise and juice them with a citrus juicer, reserving juice for clementine curd or other use. Discard any membranes still attached to peel, then cut each half into eighths.

Bring peel to a boil in a 3-quart saucepan three-fourths full of cold water with 1/2 teaspoon salt and boil, uncovered, 10 minutes, then drain and rinse peel. Repeat procedure with more water and salt, draining and rinsing peel again.

Bring regular sugar and 1 1/2 cups water to a boil in a 2- to 3-quart heavy saucepan, stirring until sugar is dissolved, then reduce heat and simmer 5 minutes. Add peel and gently simmer, uncovered, until tender and translucent and syrup is thickened, about 1 hour (this took 45 minutes for me). Transfer candied peel with a slotted spoon to a lightly oiled rack set in a shallow baking pan, spreading it out so pieces don’t touch, and let drain 30 minutes.

Put superfine sugar in a small bowl and toss peel, a few pieces at a time, in sugar to coat, then transfer with a dry slotted spoon to a sheet of wax paper to dry slightly, about 1 hour.

Candied peel can be left in syrup and cooled, then chilled, covered, 2 weeks. Candied peel tossed with sugar keeps, uncovered, at room temperature 1 day or, chilled between sheets of wax paper in an airtight container, 1 month (you may need to recoat with sugar).

Overall, the components of these cupcakes work together beautifully. The cold curd center of the soft, citrusy cake mimics the splush of a real clementine, and the cream cheese frosting cuts some of the sweetness. I will change the cake I use next time around: I used the Ugly as Sin Coconut Cake and, despite being delicious in cake form, and it simply didn’t translate well to cupcakes. I’ve altered the recipe below to use the perfect, amazing white cake recipe that worked so beautifully with my Mango Raspberry Rosecakes. With this slight change, voila — Mike’s favorite fruit, now available in cupcake form! It’s a little splash of summer on this colllld Valentine’s Day.

Clementine Burst Cupcakes


Recipe by: The Way the Cookie Crumbles (white cake, adapted to cupcakes), Paula Deen (frosting)
Yields: about 19 cupcakes

Cupcake Ingredients:
2 1/4 cups cake flour (9 ounces)
1 cup + 2 tablespoons whole milk, at room temperature (can replace some of this with coconut milk for a nice flavor)
6 large egg whites (3/4 cup), at room temperature
2 teaspoons almond extract
1 teaspoon vanilla extract (or 1 inch vanilla bean seeds)
1½ cups + 2 tablespoons granulated sugar (11.35 ounces)
4 teaspoons baking powder
1 teaspoon salt
12 tablespoons unsalted butter (1½ sticks), softened but still cool
zest of one clementine
Clementine curd (see recipe above)
Candied clementine peel (see recipe above)

Cream Cheese Frosting:
1 pound cream cheese, softened
2 sticks butter, softened
1 teaspoon vanilla extract
4 cups sifted confectioners’ sugar

Directions:
Set oven rack in middle position. Heat oven to 350 degrees F. Spray cupcake pans with nonstick cooking spray or line with cupcake papers.

Pour milk, egg whites, and extracts into 2-cup glass measure, and mix with fork until blended.

Mix cake flour, sugar, baking powder, and salt in bowl of electric mixer at slow speed. Add butter; continue beating at slow speed until mixture resembles moist crumbs, with no powdery streaks remaining.

Add all but 1/2 cup of milk mixture to crumbs and beat at medium speed (or high speed if using handheld mixer) for 1 1/2 minutes. Add remaining 1/2 cup of milk mixture and beat 30 seconds more. Stop mixer and scrape sides of bowl. Return mixer to medium (or high) speed and beat 20 seconds longer.

Divide batter evenly in cupcake pans and smooth tops of cupcakes. Arrange pans at least 3 inches from the oven walls and 3 inches apart. (If oven is small, place pans on separate racks in staggered fashion to allow for air circulation.) Bake until thin skewer or toothpick inserted in the center comes out clean, about 15-16 minutes.

Let cakes rest in pans for 3 minutes. Transfer to wire rack for cooling completely, about 1 1/2 hours.

When cool, fill with clementine curd. Core the middle of the cupcake using something like the cone method (not easy with such a moist cake, but no worries — your frosting will cover any mess you make). Pipe or spoon in as much mango curd as you can fit. Replace your cupcake “cone” and frost.

To make frosting: In a large mixing bowl, beat the cream cheese, butter and vanilla together until smooth. Add the sugar and on low speed, beat until incorporated. Increase the speed to high and mix until very light and fluffy. Pipe on with a large star tip, and garnish with candied clementine peel.


Making the candied clementine peel.


Making the candied clementine peel.


Baking and assembling cupcakes.


Baking and assembling cupcakes.


Want to see what I made for Mike’s Valentine’s dinner to go along with his Clementine Burst Cupcakes? Click here for some sweetheart ravioli!


Share Share this post with friends!

1 14 15 16 17 18 20