Soft Sugar Cookies and Cookie Decorating with Freedom School

This is a love letter. Not the kind William wrote to me in third grade on the inside of a teddy bear greeting card — though that one was nice. Not the sort Abélard wrote Héloïse. In fact, not a romantic letter at all. But a love letter nonetheless.

It’s a love letter, first, to the kids of the world. It’s also a love letter to the communities that care for those kids. It’s a love letter to every person who encounters those kids and tells them, “You can be a teacher. You can be a businessperson. You can be an artist. You can be a chef. You can be a scholar. You are a scholar!” It’s a love letter to Freedom School.

Freedom School is a Children’s Defense Fund program designed to offer summer and after-school enrichment to at-risk kids. The Freedom School Partners in Charlotte are working to “improve academic achievement, reduce dropout rates, and inspire the love of reading” — things that can literally change a child’s life. Staff and volunteers for the program become friends, mentors, cheerleaders, teachers, and role models for these kids, serving them every day and motivating them to accomplish their life goals.

When my friend Kevin asked if I’d be willing to host a cookie decorating workshop for the kids, I gladly agreed. Eliminating the achievement gap for at-risk kids and letting them know they’re important is dear to my heart. Beyond that — and perhaps you’ve had the blessing of realizing this as well — any time I give myself in service, I receive so much more than I offer. This time was no exception.

One thing I received was an unbelievable flood of support from people who also love kids. My friends Mary, Katie, and Taylor offered to bake cookies or help the kids decorate. Polka Dot Bake Shop, home to some outstanding Charlotte cupcakes, donated 5 quarts of buttercream frosting and a dazzling array of colored sugars and sprinkles.


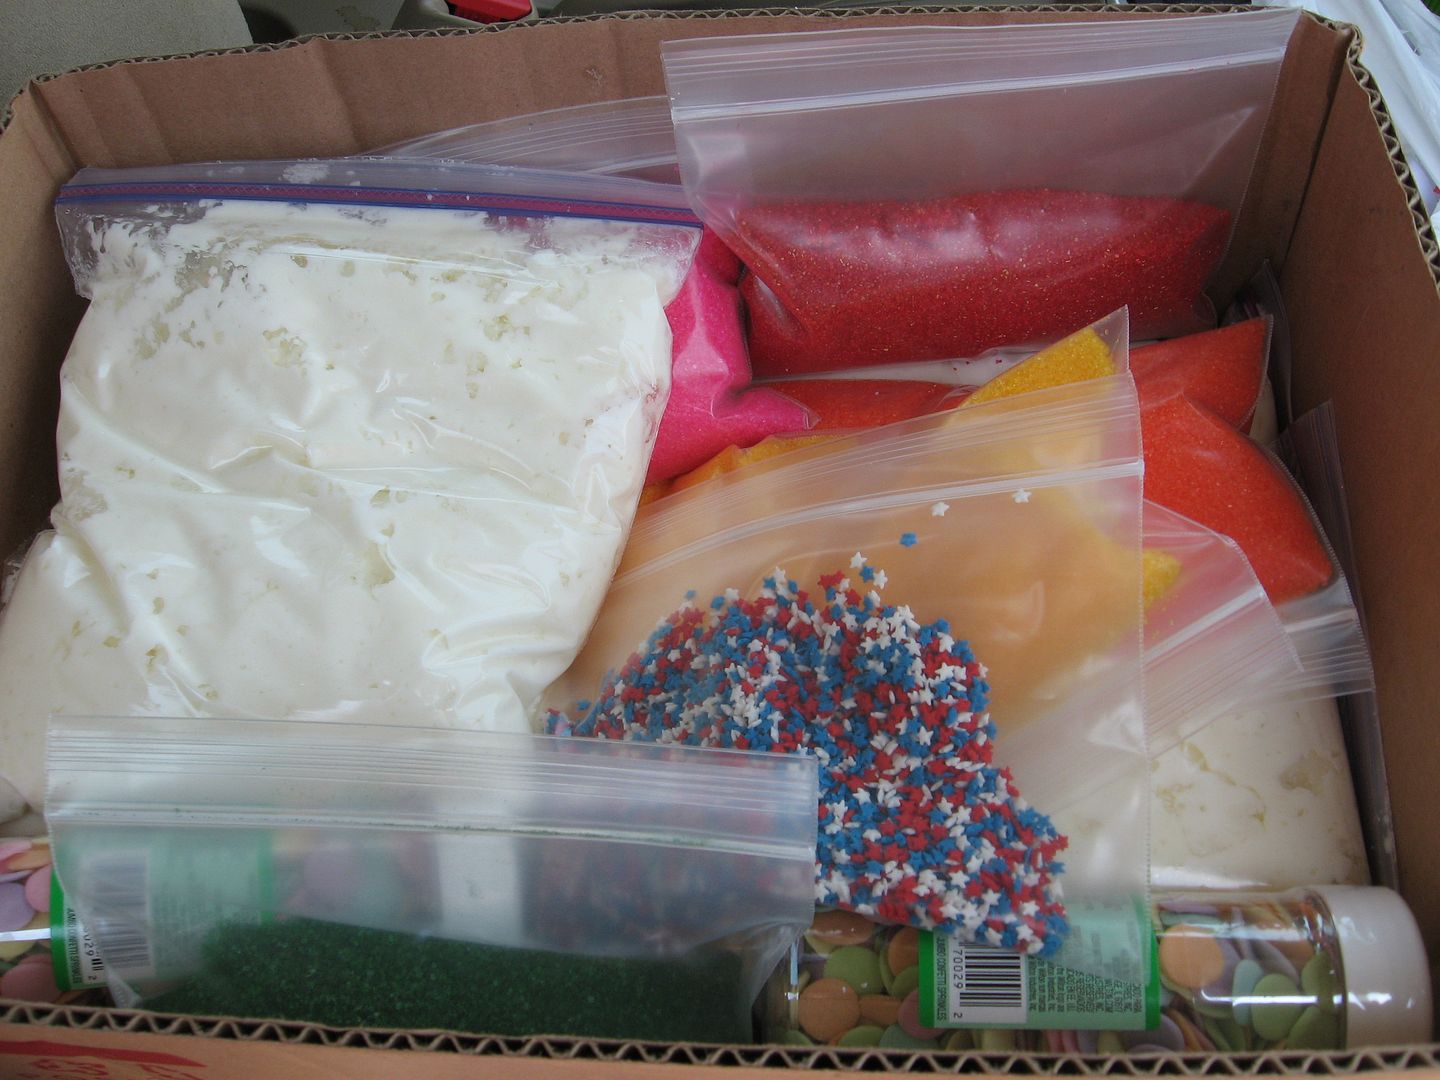
Box of goodies from Polka Dot Bake Shop

Most overwhelming, Amelie’s French Bakery, a well-beloved Charlotte institution, stepped in and offered to pay for all the other supplies and donate the use of their commercial kitchen for the preparation of dozens of cookies. I seriously cried when I read their email.

The owner, Lynn, worked with me and Mary for almost two hours. She’s an extremely busy person and could have been off doing hundreds of other things, but instead she was in the kitchen with us, washing our dishes as we baked.


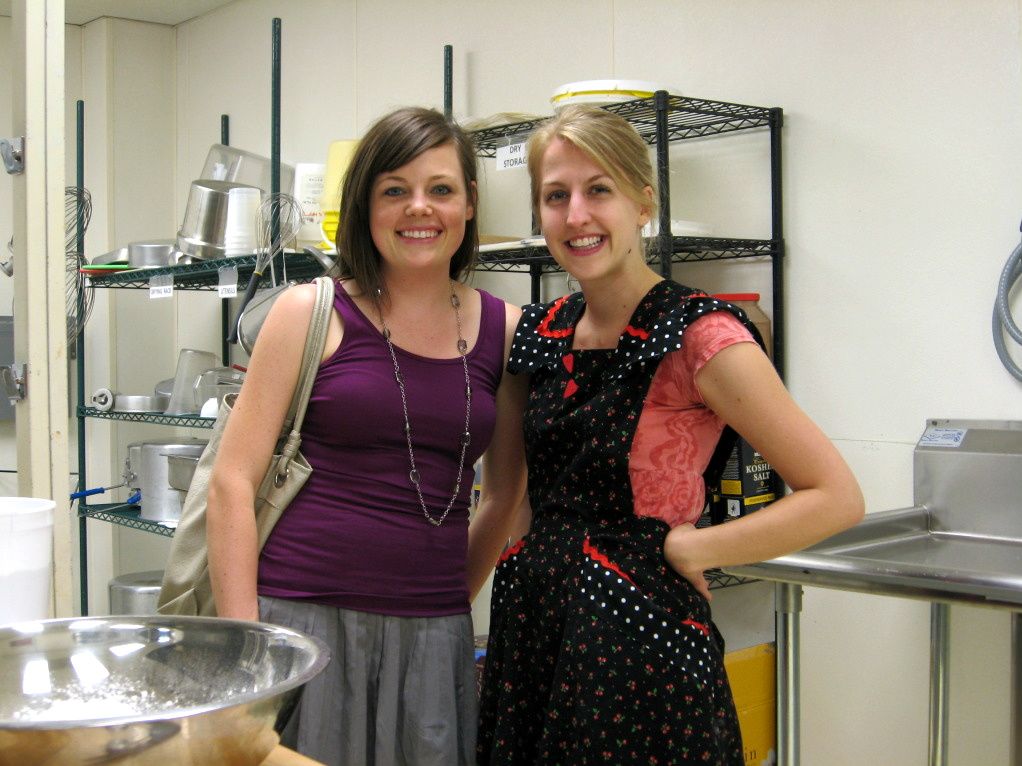
Mary and I working in Amelie’s production kitchen.

There are awesome people in the world, y’all. I’ve vowed to be an Amelie’s customer for life (not that that’s a sacrifice — please go taste one of their salted caramel brownies before you waste time marveling at my loyalty.)

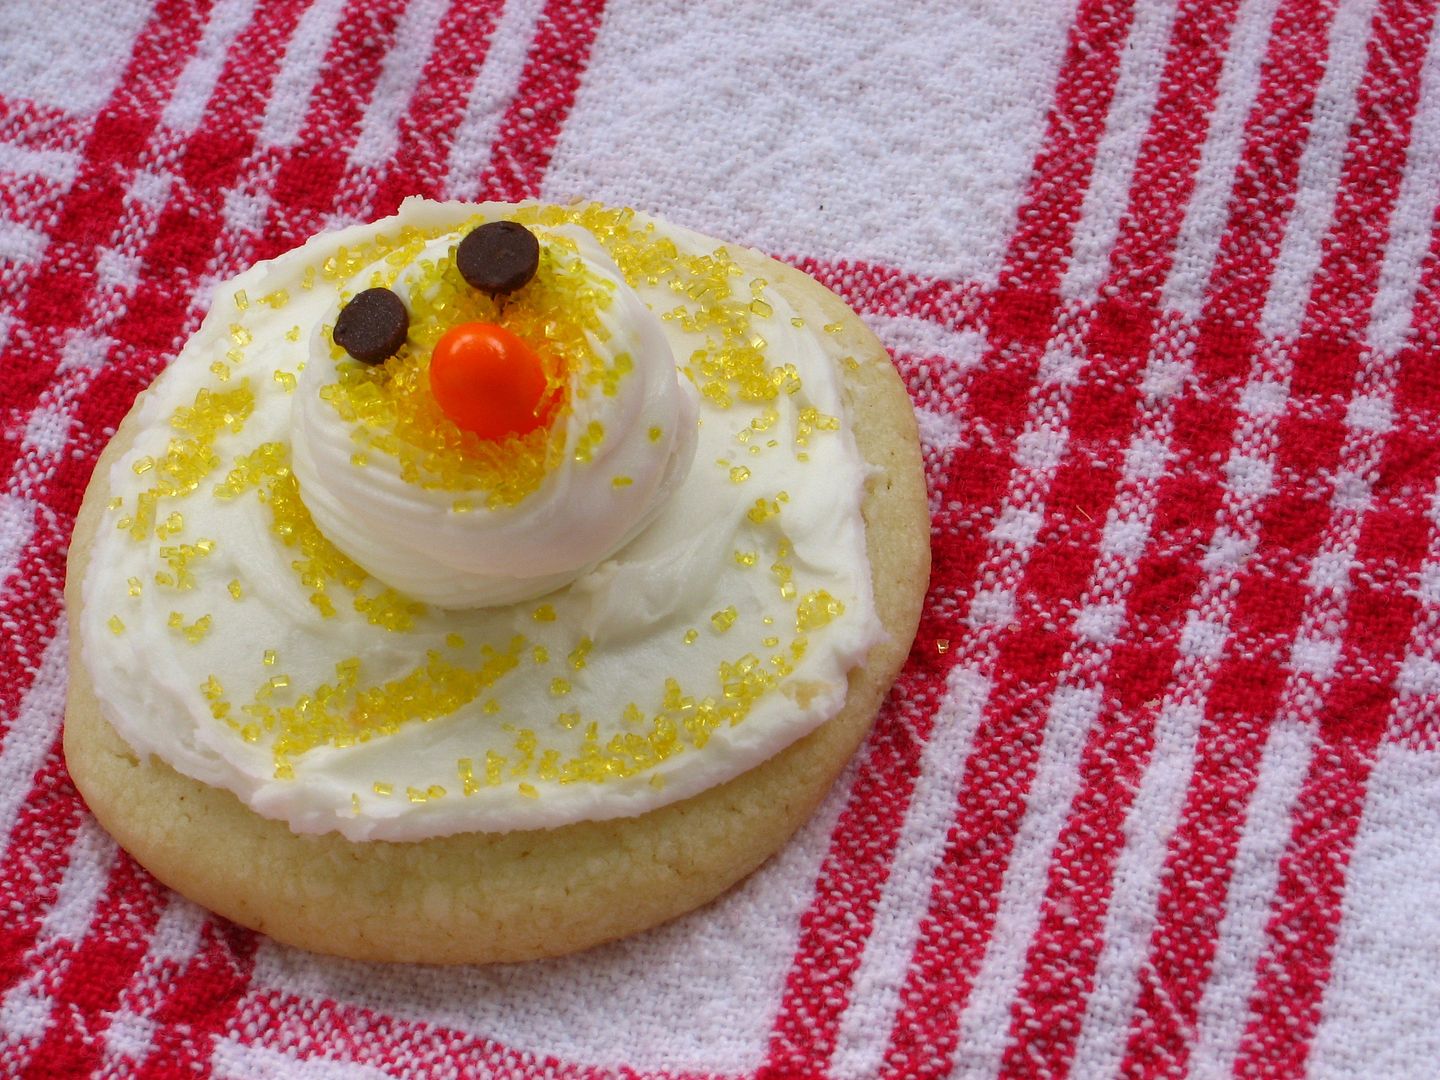
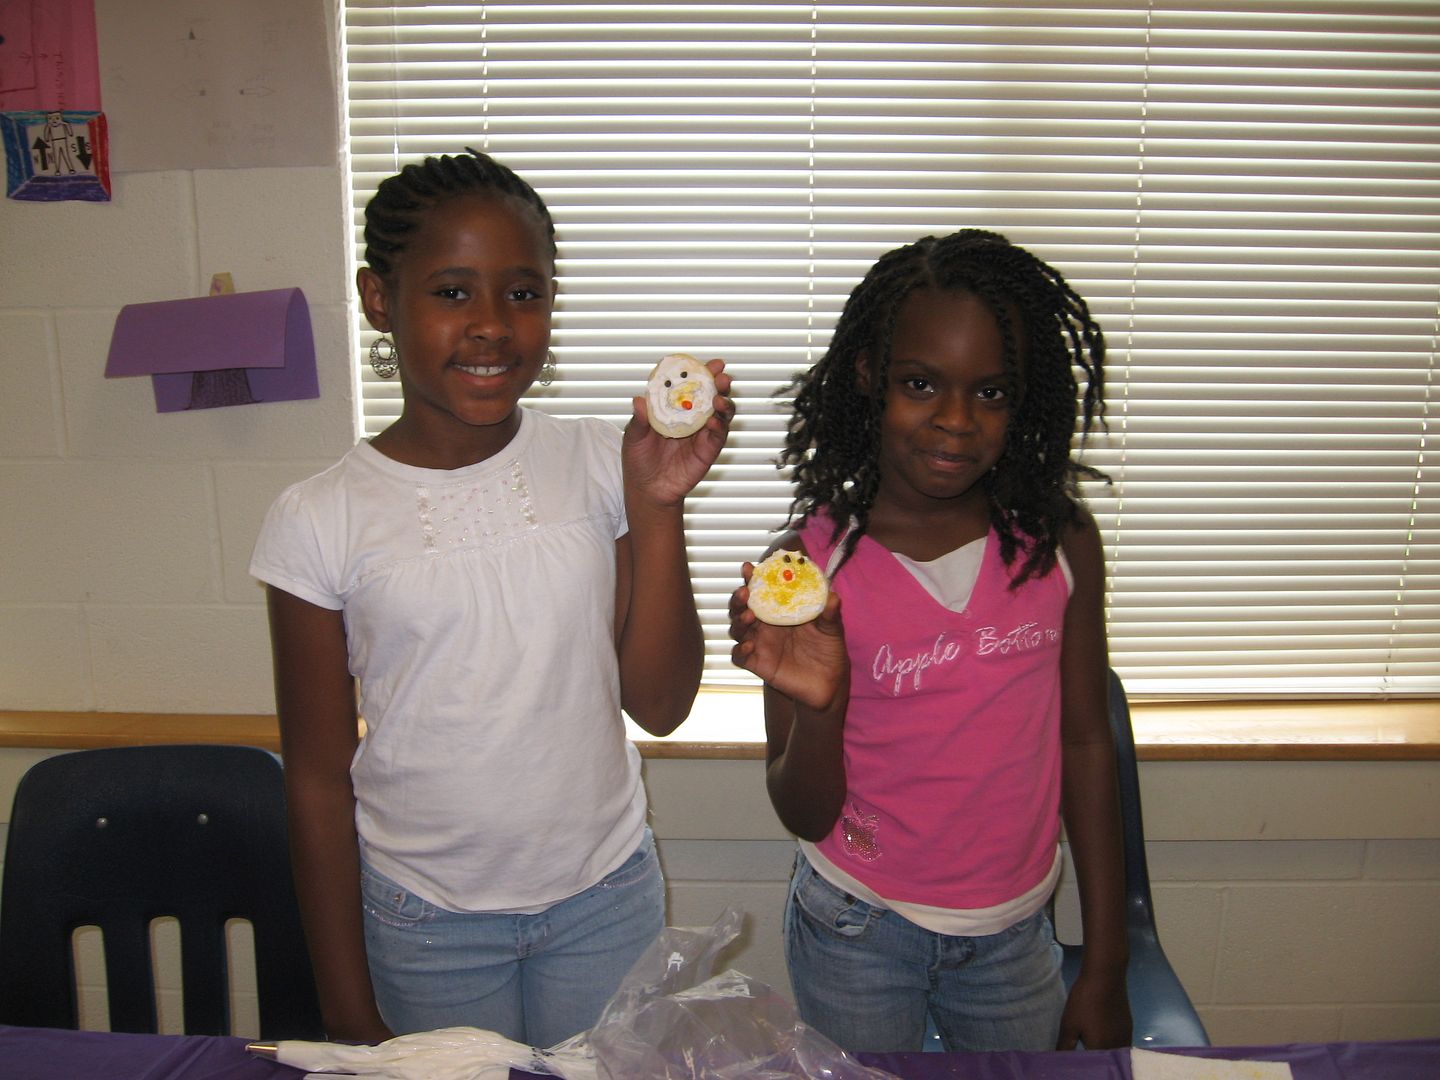
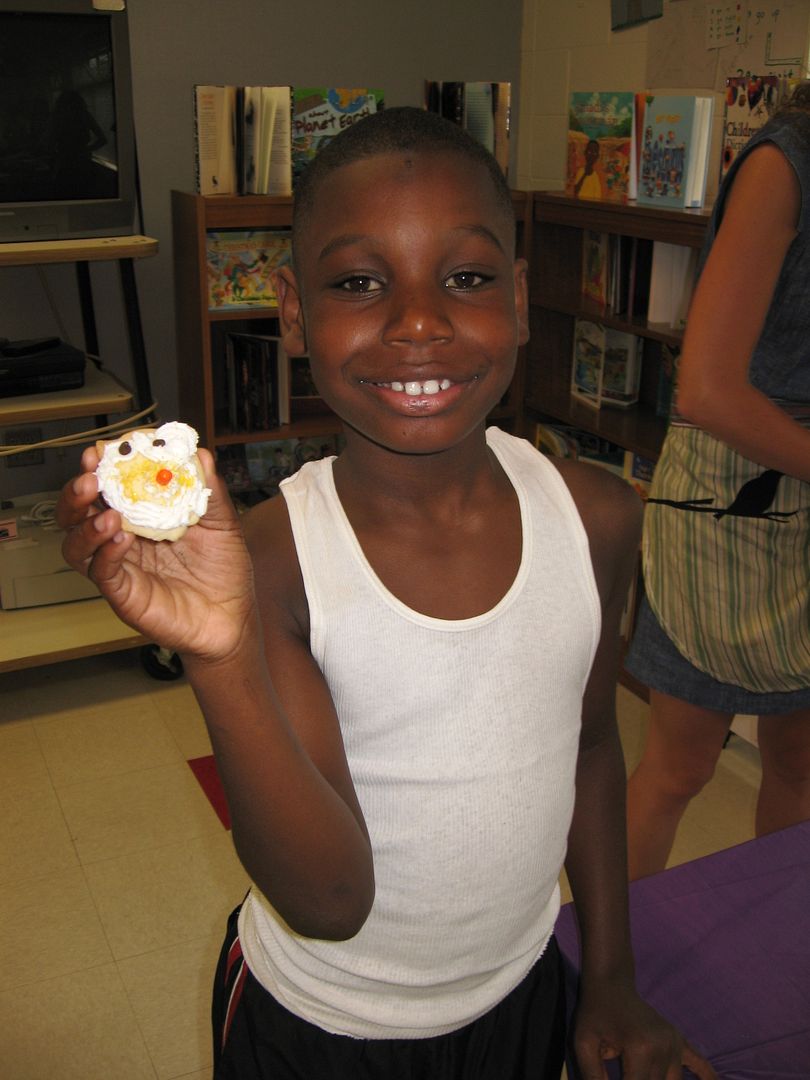
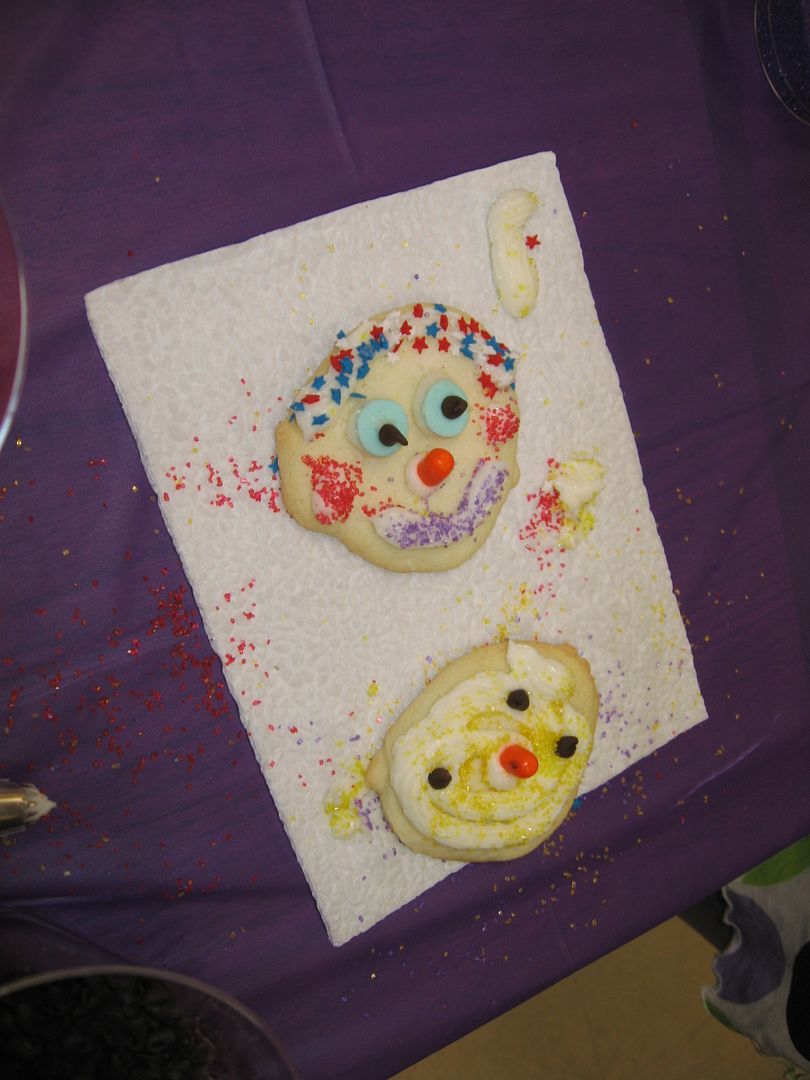
All of these beautiful people’s efforts culminated in a fantastic day! Upwards of 40 kids got to hear about becoming bakers and pastry chefs, learn how to use a pastry bag, and exercise their creativity. Each child decorated a duckie cookie (using some yellow sanding sugar, mini chocolate chips, and an orange tic tac beak) and then went wild on their own personal creations.

Katie and Taylor took on the most important role: while I led the workshop, they were on the front lines, encouraging the kids, listening to their stories and opinions (honey bun, anyone?), and building their self-confidence.


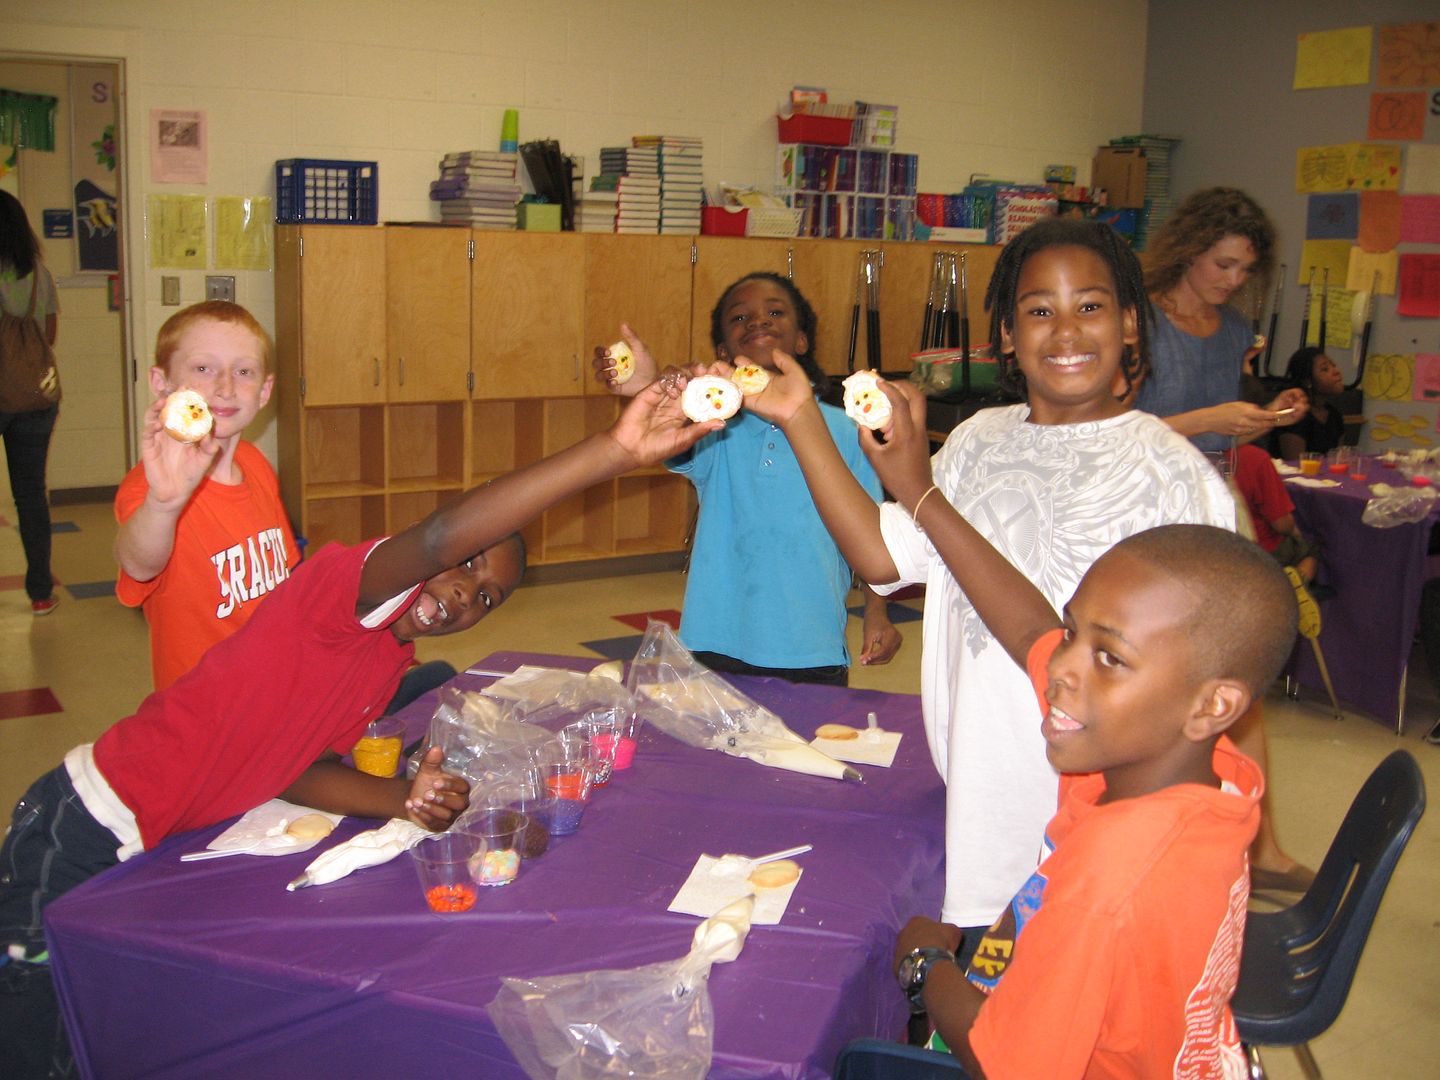
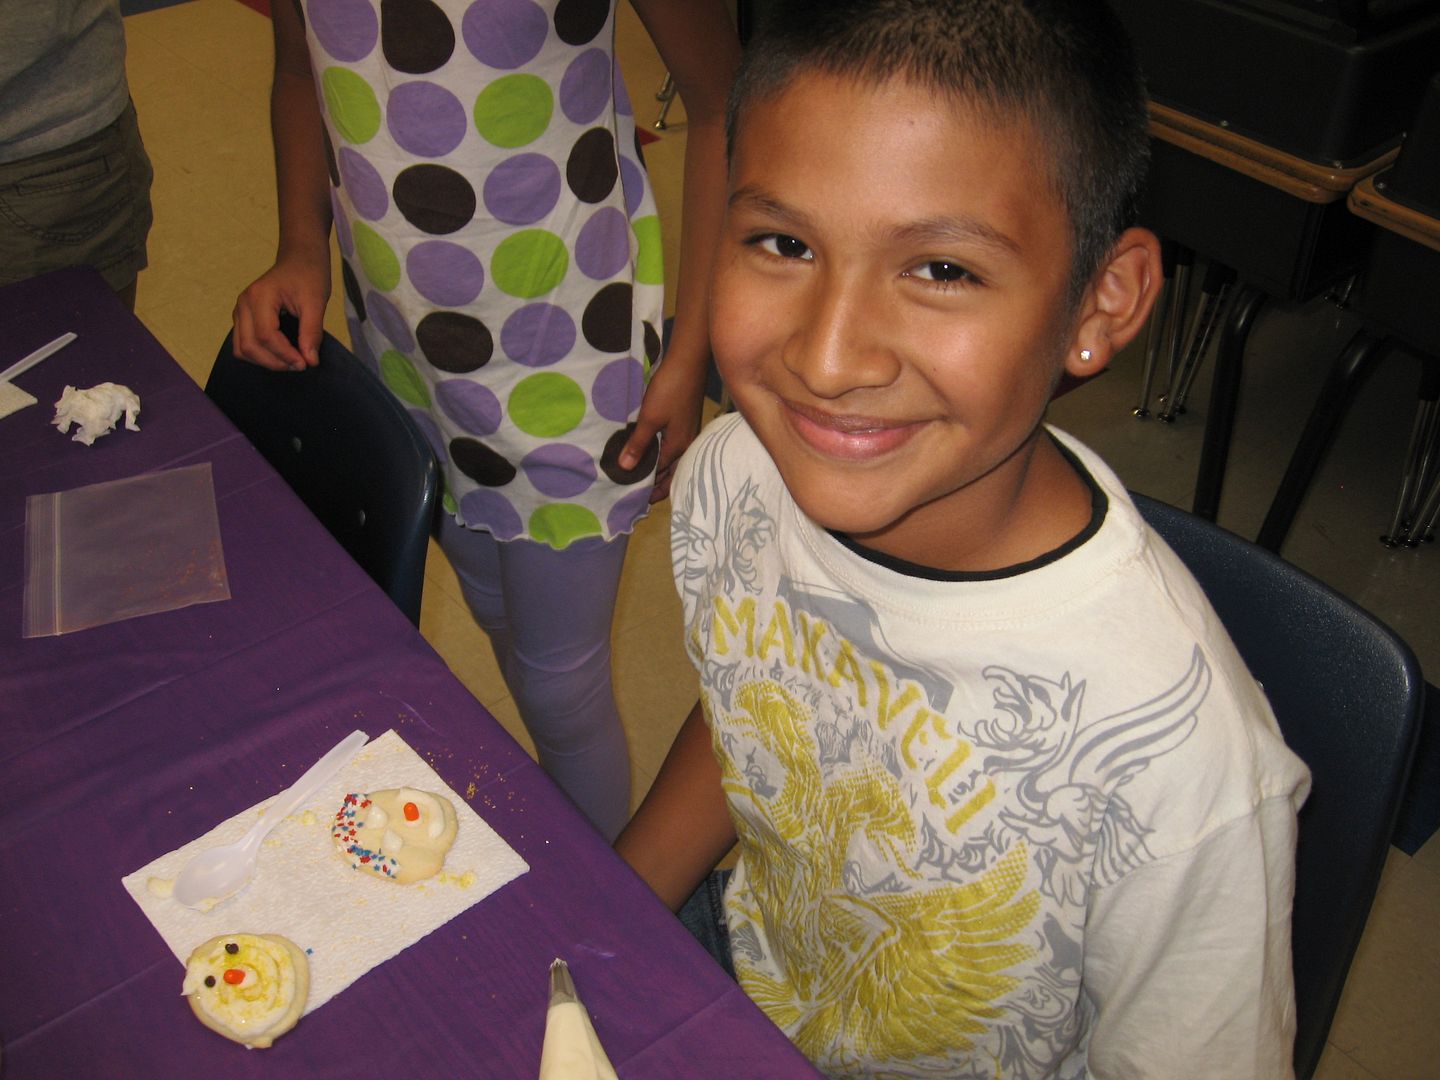
What was humbling throughout the day is how the kids themselves were dying to be of service — “Can I set out those sprinkles? Can I help pass out the spoons? Can I give everyone a napkin?” Here we were visiting and trying to serve them, and their precious little hearts just wanted to serve us. I stood back a few times during the fun to look around and just appreciate their joy.

When it comes down to it, this is a love letter to God: thank you for letting me serve your children. Thank you for modeling self-sacrificial service for me in the first place. Thank you for giving me these opportunities to be amazed by others’ generosity, to see the goodness in children, and to decorate duck cookies with friends.

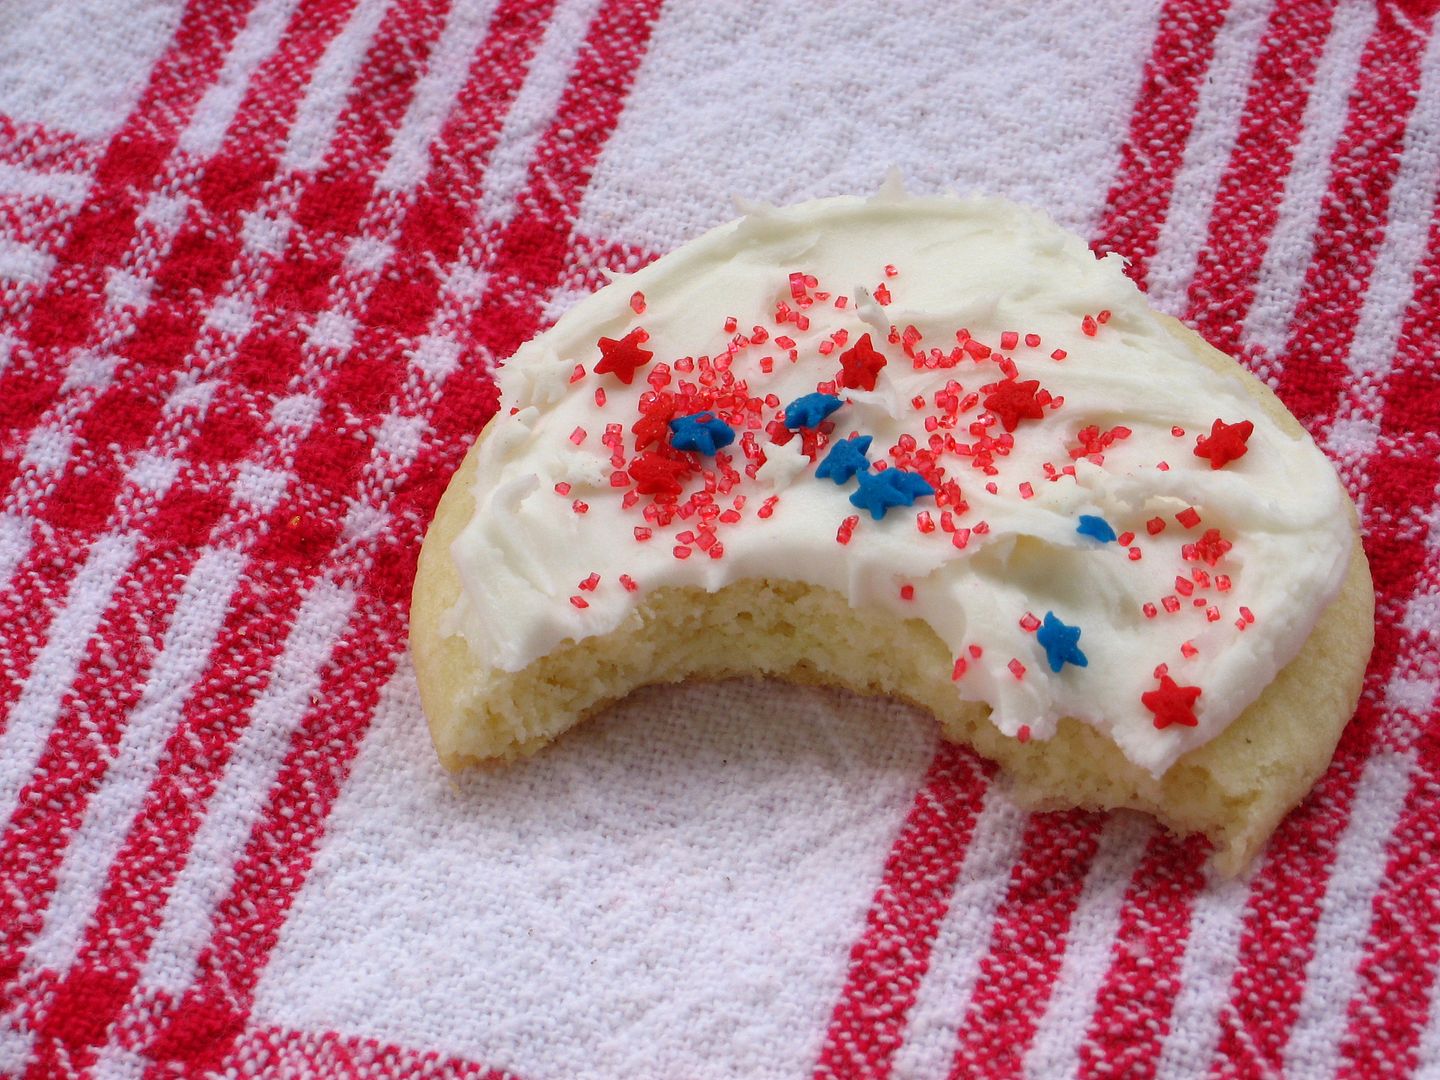
Oh, and I can’t forget! This is a love letter to SugarBelle, the sugar cookie queen. Her soft, buttery sugar cookies were the base for all of our fun. I can’t wait to use this recipe a thousand times over for all sorts of cookie experiments — it’s such a nice dough and doesn’t need to be refrigerated. I love it when dough behaves and produces tasty results!

Have you served in a way that was a learning experience for you, or that left you with a beautiful memory? What service do you want to commit to doing for others?

Soft Sugar Cookies


Recipe by: The Sweet Adventures of SugarBelle
Yields: 2 – 2 1/2 dozen cookies

Ingredients:
1 cup (two sticks) butter, softened
1 1/2 cups confectioner’s sugar
1 egg
2-3 teaspoons flavoring (e.g. vanilla or almond extract)
2 1/2 – 2 3/4 cups all-purpose flour
2 teaspoons baking powder
1 teaspoon salt

Directions:
Preheat oven to 400 degrees F. Sift together the flour, baking powder, and salt (I like to sift it onto a sheet of wax paper that I can then pick up both sides of and use to funnel the dry ingredients). Set aside.

Cream together butter and confectioners’ sugar for a few minutes. Mix the egg and flavoring in a separate bowl and add it to the butter mixture once its fully creamed. When the egg is incorporated (you may need to scrape down the sides of the bowl throughout the process), add the dry ingredients little by little. SugarBelle says she can tell the dough is ready when most of it sticks to the paddle. It should have a little give but should not stick to your fingers. I had to add a little more flour to my initial 2 1/2 cups to achieve this — maybe about 1/8 cup more. Let the dough sit for a few minutes after mixing (no need to refrigerate — I LOVE this dough!)

Dust a counter with flour and roll out the dough to about 1/4 inch thick, lifting your corners and turning the dough initially to make sure it’s not sticking. Cut out shapes and place on a parchment lined baking sheet. Bake for 7-8 minutes (watch carefully to determine the best time in your oven). Let cool completely before frosting (SugarBelle says she prefers decorating day-old cookies, which is what we did, and they were still soft and lovely.)

P.S. You can find a place to donate to Freedom School on their website!

If you liked this post, please:
Subscribe to Willow Bird Baking
Follow Willow Bird Baking on Twitter
Follow Willow Bird Baking on Facebook
Give this post a thumbs up on StumbleUpon


ShareOther ways to share this post with friends!

Willow Bird Weekly

Each week I bookmark tons of fascinating recipes, trek to interesting food-related places, find neat kitchen tricks, and make unique little dishes. Willow Bird Weekly is a miscellany of stuff I’ve collected throughout the week that I hope you’ll find entertaining.

Stuff I Can’t Wait to Make:

Chocolate Chip Ice Cream Pies on Bakers Royale
Banana Dream Cake on The Novice Chef (have I mentioned how much I love banana baked goods? Oh goodness.)
Oreo Brownies on My Baking Addiction
French Toasted Angel Food Cake by Sprinkle Bakes


French Toasted Angel Food Cake, photo by Heather

Strawberry Shortcake Cookies & Ice Cream Sandwiches by Buns In My Oven
Lemon Yogurt and Cherry Cake by The Boy Who Bakes
Pepperoni Pizza Monkey Bread by Confessions of a Foodie Bride


Pepperoni Pizza Monkey Bread, photo by Shawnda

Stuff I Already Made:

For Katie’s birthday, I made my first vegan chocolate cake. It looked awful, but I promise it tasted great.


Photo by Katie

I used this recipe for the cake, and about 10 minutes into baking, I put a whole dark chocolate bar on top to bake into the cake. That turned out to be a good move, because it created a layer of chocolate goo — yum!

I used this recipe for icing, which ended up way more soupy than I expected. I added more confectioners’ sugar and some shortening in an attempt to improve the texture, but it still flowed down the cake like flippin’ lava. I used the Post Punk Kitchen directions, which called for melting the Earth Balance, and I wouldn’t recommend that. Next time, I’ll just soften it and use it at room temperature. At least it tasted good — especially with tons of toasted coconut on top.

Places I Went and Stuff I Ate:

This week was full of fun. I went to Katie’s cupcakes and cocktails birthday party, where I ate her fantastic vegan, gluten-free cupcakes and drank lots of sparkly pink lemonade. Katie writes Sweet Tater Blog, which is comprised of lots of cat hilarity, awesome healthy food, and great writing — you should definitely go see.


Highlights: Cat-in-a bag and Cupcakes

This is a little sneak peek of another fun thing I did this week, but I’m going to keep you waiting another couple of days to hear about it:


Why do I think it’s cute to make that face? HAHA.

Other fun food times this week:


clockwise from top left: personal trifle with leftover vegan frosting + berries + frozen cake, strawberry and pistachio cakes from Cakes ‘N Flakes, takeout from my favorite Tex-Mex chain, On the Border, and a baby breakfast burrito from visiting the Roots Farm Food truck with Vanessa.

Stuff That Rocks:

I got two awesome emails this week from readers who made gorgeous WBB treats! Becky won 3rd place in a BBQ Dessert competition with her cheesecake, and Susan made a patriotic Strawberry Cream Pie for the 4th of July.


Becky’s cheesecake (top) and Susan’s Strawberry Cream Pie

Another thing that rocks is all of the organizing I’m doing around my apartment. Turns out that if you want to clean your house, watching Hoarders is excellent inspiration. Within hours of watching a few shows, I had a huge box ready to donate and several trash bags full of things to be thrown away.

One of my favorite organizing tricks is my new “spice rack.” I saw this idea somewhere and finally got around to trying it — and it cleared up so much space in my kitchen:


That’s a shoe organizer that I bought for $8 (this is an affiliate link — if you use it to buy one, I get a small commission at no extra cost to you)!

I love that I can see all of the spices available instead of digging through jars in a dark cabinet (hopefully this means no more buying duplicates!), and they’re all readily accessible. In addition to organizing my spices, I bought a $13 bookshelf to organize my extra books and threw away a lot of stale and out-of-date food lurking in the back of my pantry.

Be sure to share your organization tips with me in the comments this week; I’m on a roll! I’m even contemplating cleaning out my vacuum cleaner. We’ll see . . .

What fantastic recipes have you discovered online this week? What fun food experiences have you had? And what organizing tricks do you use around your house?

If you liked this post, please:
Subscribe to Willow Bird Baking
Follow Willow Bird Baking on Twitter
Follow Willow Bird Baking on Facebook
Give this post a thumbs up on StumbleUpon


ShareOther ways to share this post with friends!

Straw-Raspberry Basil Fruit Leather

I’m a writer, personally and professionally. I write poetry (my first literary love), I keep a journal, I write essays and articles. I even have this blog — I don’t know if you’ve heard of it — where I write about food and stuff. Cough.

I love well-chosen words, purposeful syntax, concrete images, a sturdy grammatical infrastructure. I even love the thoughtful absence of words, the careful economy of constructing meaning.

But in second grade, let’s just say I didn’t know what syntax was just yet. And I was a twerp.

By twerp, I mean I was one of those flippant kids who think they’re immeasurably witty. You’ve probably run across a twerp or two in your own life. Hopefully you’ve resisted the urge to kick them, or at least haven’t gotten caught doing so.

My beloved second grade teacher, Mrs. Shaughnessy, was adept at resisting the urge to kick me. In fact, that amazing woman seemed to genuinely love me and want me to explore my talents.

Our daily journal assignment was supposed to give me the opportunity to do so. We’d all receive a sheet of that burlap-brown paper ruled with inch-wide lines — the only kind hospitable to the malformed block letters second grade hands produce. It was the sort with a blank space up top for an illustration, so the required length of our journal entries was automatically halved. Apparently, though, having to fill 3 whole lines with text was too fussy for me.

Every single day, I’d grab my sheet of paper and my great big honkin’ pencil — which had both the girth and color of a dingy school bus — and write some variation (ha ha, pun intended) of the following:

Today I was very, very, very, very, very bored.

The number of veries (verys? “very”s?) changed depending on how large I was writing that day — I’d just keep adding them until I filled up the page. Then I’d slap a half-hearted illustration of a teddy bear or a heart on that baby and stick a fork in myself, ’cause I was DONE. Time to color.

God bless my teachers.

One day, Mrs. Shaughnessy addressed the subject of my journal writing strategy by hacking off its legs. With a stern look, she declared that I was officially limited to two veries per page. The end. No arguments. I would just have to find it within myself to meet the length requirements without my crafty adverbs, and I might even have to, like, actually describe my day or something. The horror.

I look back now and think this shows saintly restraint on her part. If I’d been her, I might have also added, “And stop saying my class is boring, and stop drawing hearts just because they’re easy, and stop being such a twerp!”

Okay, okay, I guess I’d nix the twerp part.

Ah, second grade. The year of twerpitude, of learning that shortcuts don’t pay off, of Mrs. Shaughnessy’s encouragement. And the year of fruit roll-ups.

Really, I loved all of the tangy, sweet incarnations of processed fruit leather throughout my childhood: old school fruit roll-ups, fruit roll-ups with shape cut-outs, fruit-by-the-foot. I’d unroll them from their thin plastic wrappers and stuff a huge hunk in my mouth, pick the sweet stickiness out of my teeth with my tongue for a few minutes, and then repeat the process.

Because of all of my fond fruit snack memories, I knew my recent elementary school throwback picnic wouldn’t be complete without a grownup version of the fruit roll-up.

This recipe uses a combination of strawberries and raspberries with some minced basil thrown in for herbal brightness. The resulting fruit leather tastes more like a burst of tangy fruit than the processed kind. The recipe does take quite awhile (though not too much active work time) and only produces about 5 fruit roll-up sized portions, so you may want to work on two pans at once.

I’m not sure that I’d make this all the time given the amount of fruit required, but I enjoyed the fun results. I also love that it packs a ton of fruit into a single snack; if I had children, being able to control what was in their lunchboxes might motivate me to make it more often.

Were you a twerp as a child? Know any twerps? Do tell.

P.S. Dear Mrs. Shaughnessy, your class was very, very, very, very, very, very engaging. I promise.

Straw-Raspberry Basil Fruit Leather


Recipe by: adapted from Gourmet, with tips from Simply Recipes
Yield: about 5 “fruit roll-up” sized squares

Ingredients:
about 3 cups halved strawberries
about 1 cup raspberries
spritz lemon juice
1 tablespoon minced fresh basil
scant 1/2 cup sugar

Directions:
Preheat the oven to 200 degrees F and line a sheet pan with microwave-safe plastic wrap.

Place berries, spritz of lemon juice, and sugar in a food processor or blender and purée. Strain into a heavy saucepan using a fine-mesh sieve and bring it to a boil, stirring occasionally. Reduce heat to medium-low and simmer for about 10 minutes, continuing to stir occasionally. Stir in the basil and simmer for about 10 more minutes, stirring more frequently towards the end.

Pour the purée onto prepared baking sheet and use an offset spatula to spread it out as thinly and evenly as possible. Dry in oven for 2 to 3 hours until it’s slightly tacky but doesn’t stick to your fingers. At this point I turned the oven off and left it in for about 5 more hours. Then take it out and let it continue drying on a cooling rack for up to 19 more hours until completely dry and set. If some still-sticky purée exists around the edges where the plastic wrap prevented drying, just scrape that off and discard.

Lay a sheet of parchment or wax paper on the counter and invert sheet pan onto it. Slowly and carefully peel plastic wrap off of the back of the fruit leather and then roll it up in the parchment/wax paper, cutting it into portions if you’d like. Store in a sealed bag at room temperature for up to 1 month, or in the fridge.

If you liked this post, please:
Subscribe to Willow Bird Baking
Follow Willow Bird Baking on Twitter
Follow Willow Bird Baking on Facebook
Give this post a thumbs up on StumbleUpon


ShareOther ways to share this post with friends!

Willow Bird Weekly

Each week I bookmark tons of fascinating recipes, trek to interesting food-related places, find neat kitchen tricks, and make unique little dishes. Willow Bird Weekly is a miscellany of stuff I’ve collected throughout the week that I hope you’ll find entertaining.

Stuff I Can’t Wait to Make:

Red, White, and Blue Macaroni and Cheese on Taylor Takes a Taste
Sour Cream Custard Brioche (Gâteau à la Crème Fraîche) on Not Quite Nigella
Fourth of July Fruit Pops by Bakers Royale


Fourth of July Fruit Pops, photo by Naomi

Melted Ice Cream Cupcakes by Confessions of a Cookbook Queen
Bloomin’ Onion Bread by Buns In My Oven


Bloomin’ Onion Bread, photo by Karly

Places I Went and Stuff I Ate:

The Charlotte Food Bloggers had their first weeknight meeting this week at one of the 987,945,2532 local frozen yogurt (a.k.a. froyo) joints that now exist in Charlotte. We went to TCBY, which is pretty old school, but they’ve revitalized their restaurants to be hip and self-serve (with lotsa toppings) to match the new trend.

I was going to forgo the froyo because I usually try not to eat much sugar during the week, but I checked out the nutrition stats on the TCBY website and they were surprisingly reasonable. A half cup of their froyo generally has about 100-120 calories and 15-20 grams soluble carbohydrates. I got about 1/2 cup of no sugar added strawberry froyo topped with strawberries, raspberries, and mochi. It was tasty, and only $3.50.

The Food Blogsters and I had lots of fun talking about how awesome Tom Colicchio is, how not-awesome some other unnamed TV personalities are, and how one might go about getting a date with Cam Newton. Fun times!

Stuff That Rocks:

Barbara over at Barbara Bakes was craving hot dogs, so she did what any rational human being would do and made bacon-wrapped cheese hot dogs.


Bacon Wrapped Cheese Hot Dogs, photo by Barbara

I just have two words for you, Barbara, from me and everyone else heading into this summer holiday weekend: thank you.

You know what else rocks? MY TURTLE. My friend Erin pointed out that Byrd has shown up on WBB a few times now, but Squirt hasn’t made an appearance yet. Well, here’s Byrd’s handsome older brother, Squirt. He’s a 6-7 year old Red Eared Slider and he lives in a 140-gallon tank in my dining room. Love this little guy!


“I AM smiling.”

But also, Byrd is cute. And she loves flowers.

Another thing that rocks is that my lovely friend Jordan from Kitchen Karate just opened a new online shop, I’m With Cupcake! It has lots of adorable items, and from July 2 to 3, you can use the promo code willowbirdbaking to get 10% off a purchase of $30 or more before taxes and shipping. You can only use the promo code once per purchase and it can’t be combined with any other offer.

Congratulations on the grand opening, Jordan!


And Then There’s This:


[youtube=http://www.youtube.com/watch?v=-sSK_iW6P8Q]

What fantastic recipes have you discovered online this week? What fun food experiences have you had? What ridiculous ways do you procrastinate?

If you liked this post, please:
Subscribe to Willow Bird Baking
Follow Willow Bird Baking on Twitter
Follow Willow Bird Baking on Facebook
Give this post a thumbs up on StumbleUpon


ShareOther ways to share this post with friends!

Easy, Cheap DIY Party Pennant Banner

Every now and then I post a food related craft that I hope will add some joy to your family meals, parties, and picnics. Full disclosure: I know I’ve said this before, but just to reiterate, I am not a crafty person. When it comes to crazy fabricky, gluey, scissory things, I give up.

First off, I have tremendous patience in my kitchen. Said patience does not extend to cutting out finicky shapes or hand-stitching for five hours. Second off, nothing I make turns out better than something I can buy (food is obviously excluded from this statement, y’all. Don’t be cheeky.)

But for my picnic last week, I wanted a pennant banner.

In addition to being impatient, I’m always dirt poor. Poking around on Etsy for a pennant banner to purchase, I noticed that these triangles attached to string literally cost $20 and up. Don’t get me wrong; some of them were nice triangles attached to string. Fancy fabrics, lettering, etc. But not nice enough to make me spend $20. On triangles. Attached. To. String.

Enter felt, staples, liquid stitch, and string. This craft was literally one of the easiest I’ve ever attempted, as evidenced by the fact that I was successful at it.

I did the whole thing in an hour or so, and the only reason it took me that long is because America’s Got Talent was so enthralling that night. Did you guys see the girl on the Russian barre? The woman with the long blonde braids and the operatic voice? The silver-clad pole danc– uh. Okay, well. Back to crafting.

This pennant banner would work with any color of felt squares (e.g. red, white, and blue for Independence Day). It’d also be easy to cut out felt letters to liquid-stitch onto each of your triangles for a “Happy Birthday” or “Welcome Home” banner.

Best of all, the whole project costs about $8 — and since I bought a big spool of string, packs of felt rectangles with extra colors, and a whole tube of liquid stitch, I can actually make 2 or 3 more banners with the materials I have left! Perfect.

Easy Party Pennant Banner


Yields: about 24 feet

Supplies needed:
spool of hemp string
stapler
Liquid Stitch or similar product
15 felt triangles*
scissors

Directions:
*Note on triangles: I bought 5 packs of multicolored 8″ x 5″ felt rectangles at the dollar store and then cut just the red rectangles into triangles — saving the black, blue, and green for another project! You could do this or buy sheets of felt and cut out the triangles. You want a base of at least 5 inches and a height of about 8 inches to achieve the look shown above.

1. Leave about 2 feet of string empty before you add your first triangle — this gives you some space to tie your banner onto a hook or column.

2. Place the base (the long end, not the point) of your first triangle under your string with just about 1/4 inch of felt sticking up beyond the string. Staple both corners to the string (see photos above).

3. Squeeze a line of Liquid Stitch under the string between the two staples and hold the string against it for a few seconds until it begins to set. It’s best to go the full length of the string so the triangles won’t bunch up (I realized this too late. Oh well. I just have to do a little triangle fluffing before I hang mine.)

4. Measure about 4 inches from the corner of your attached triangle and lay your next triangle under your string (I actually placed a sheet of paper on my workspace and marked off a 4 inch space so I didn’t have to measure each time). Repeat steps 2 and 3.

5. Continue until all triangles have been added. Leave about 2 feet of empty string after your last triangle for tying.

6. Let dry overnight. Store your banner wrapped around something that can act as a spool (I used a mini plastic shelf, but have used empty cereal boxes, etc., in the past) like you would store Christmas lights, so it doesn’t get tangled.

If you liked this post, please:
Subscribe to Willow Bird Baking
Follow Willow Bird Baking on Twitter
Follow Willow Bird Baking on Facebook
Give this post a thumbs up on StumbleUpon


ShareOther ways to share this post with friends!

1 88 89 90 91 92 127